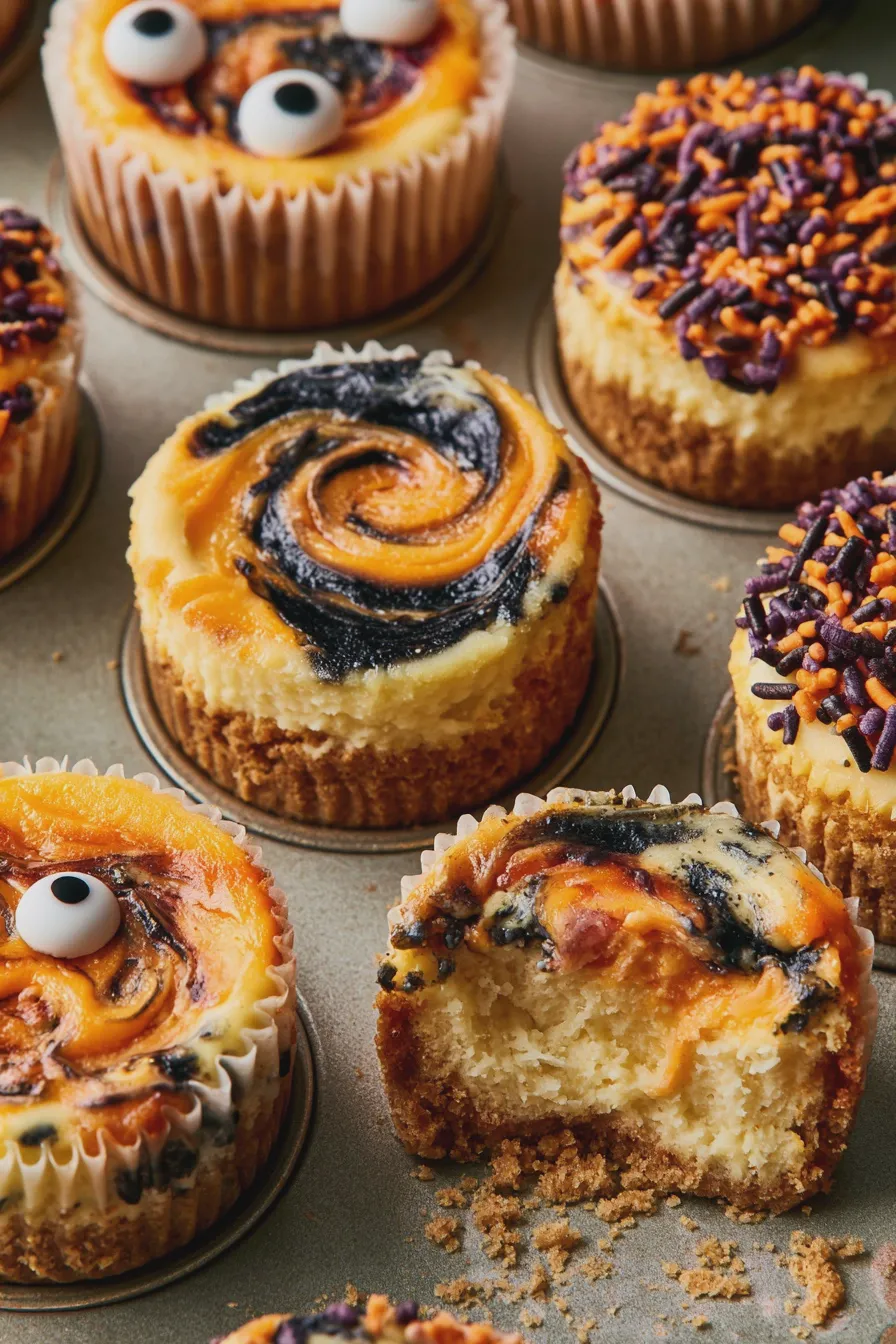
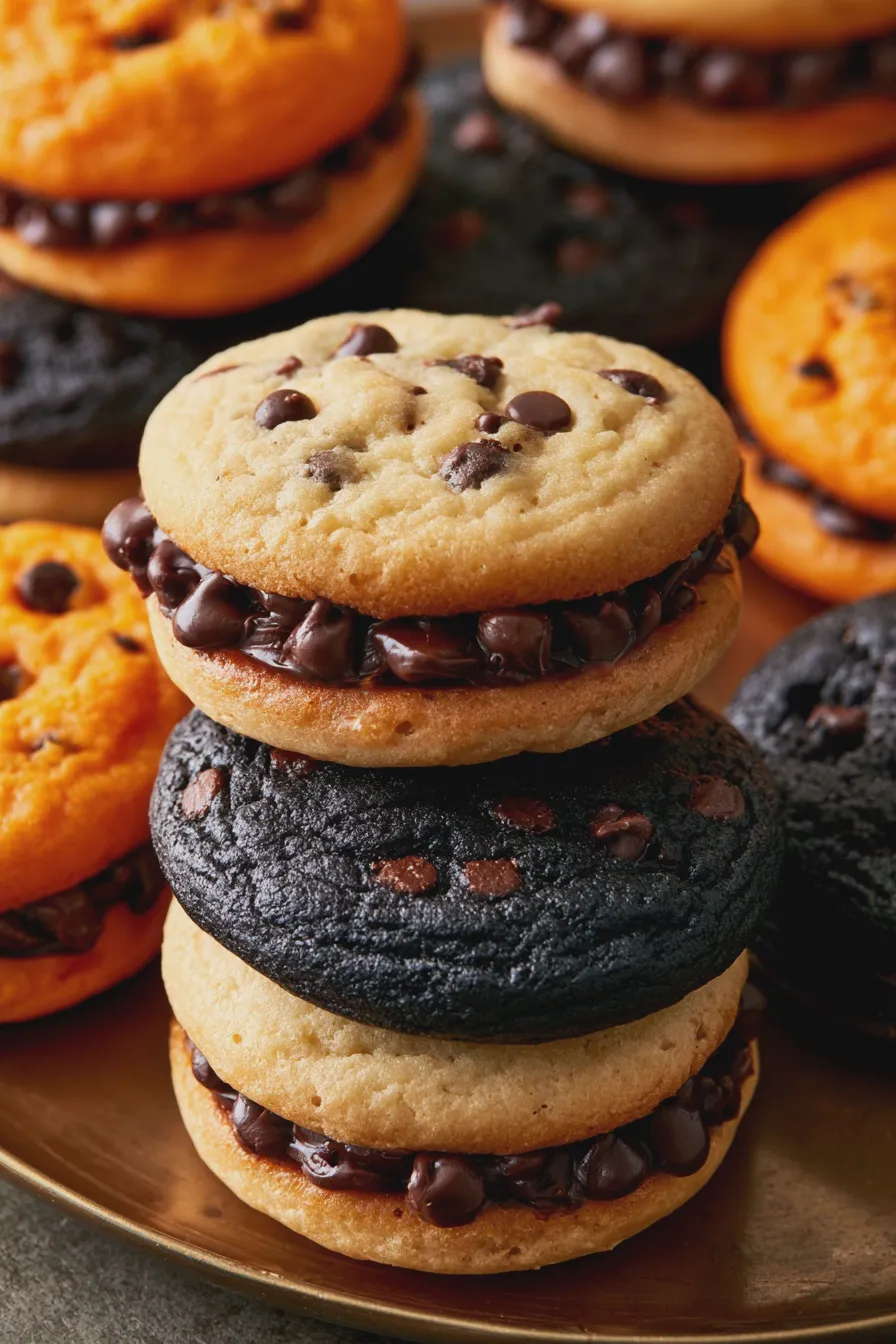
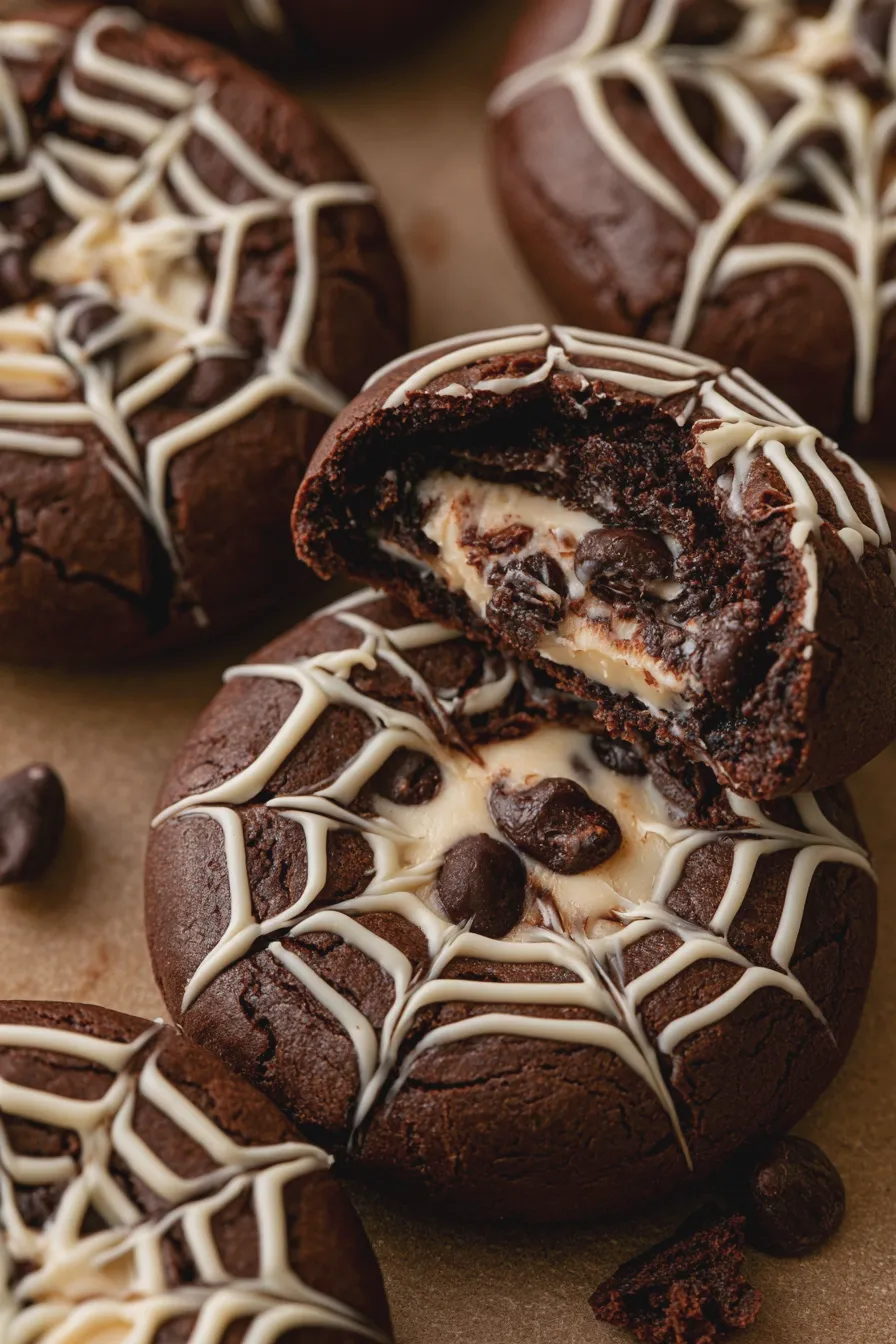
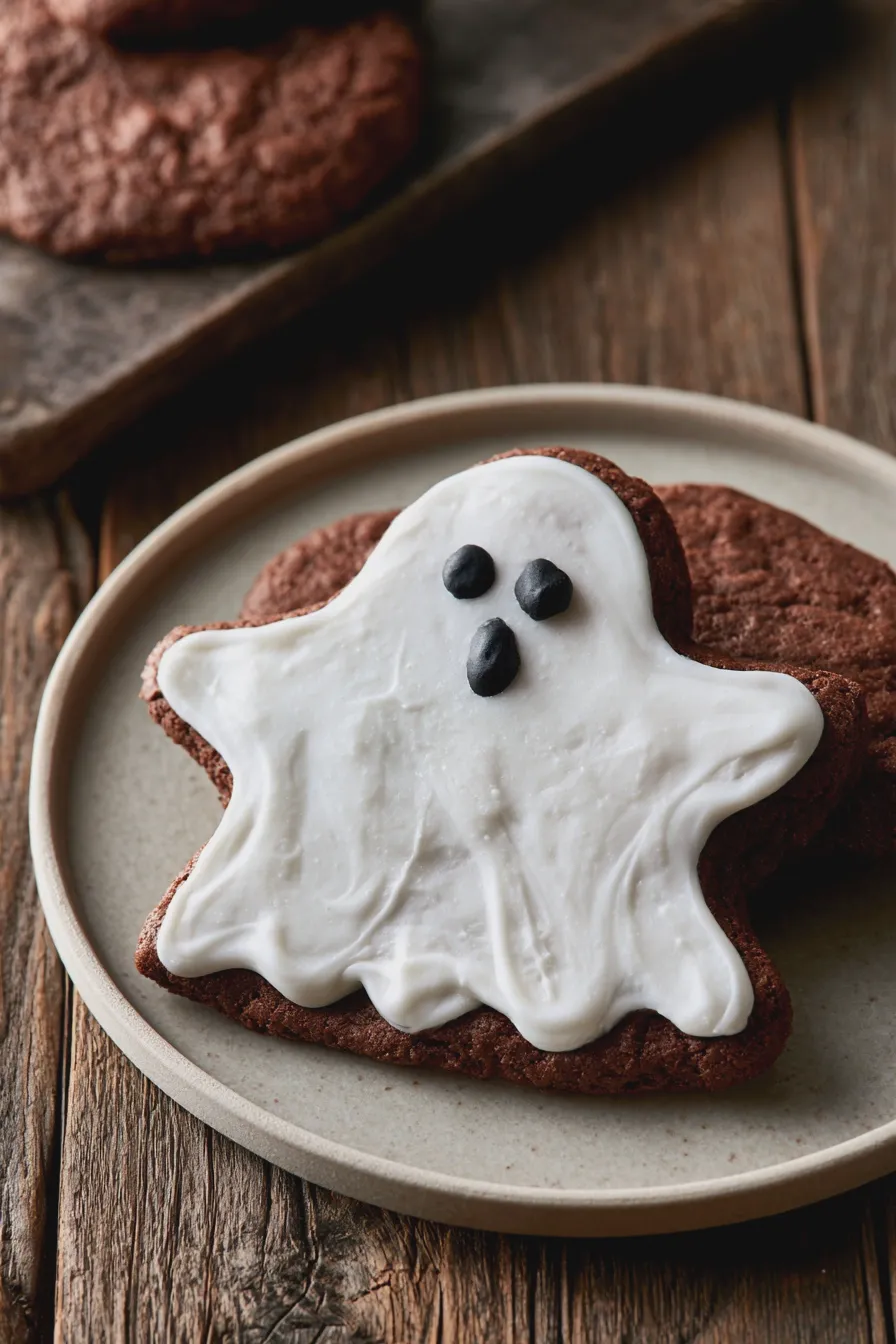
As the leaves turn golden and a crisp chill fills the air, it’s time to start thinking about the most spooktacular season of the year! Halloween is just around the corner, and what better way to celebrate than with a dessert that’s both fun and delicious? Today, we’re diving into the enchanting world of halloween cheesecake cups. These delightful little treats are perfect for parties, trick-or-treaters, or just a cozy night in. They offer all the creamy, dreamy goodness of a classic cheesecake but in a convenient, individual-sized package that’s begging for some festive decoration. Get ready to impress your guests with these easy-to-make, show-stopping creations that are sure to be a hit. For more inspiration on festive bakes, check out these Halloween desserts.
Why Halloween Cheesecake Cups Are a Must-Make
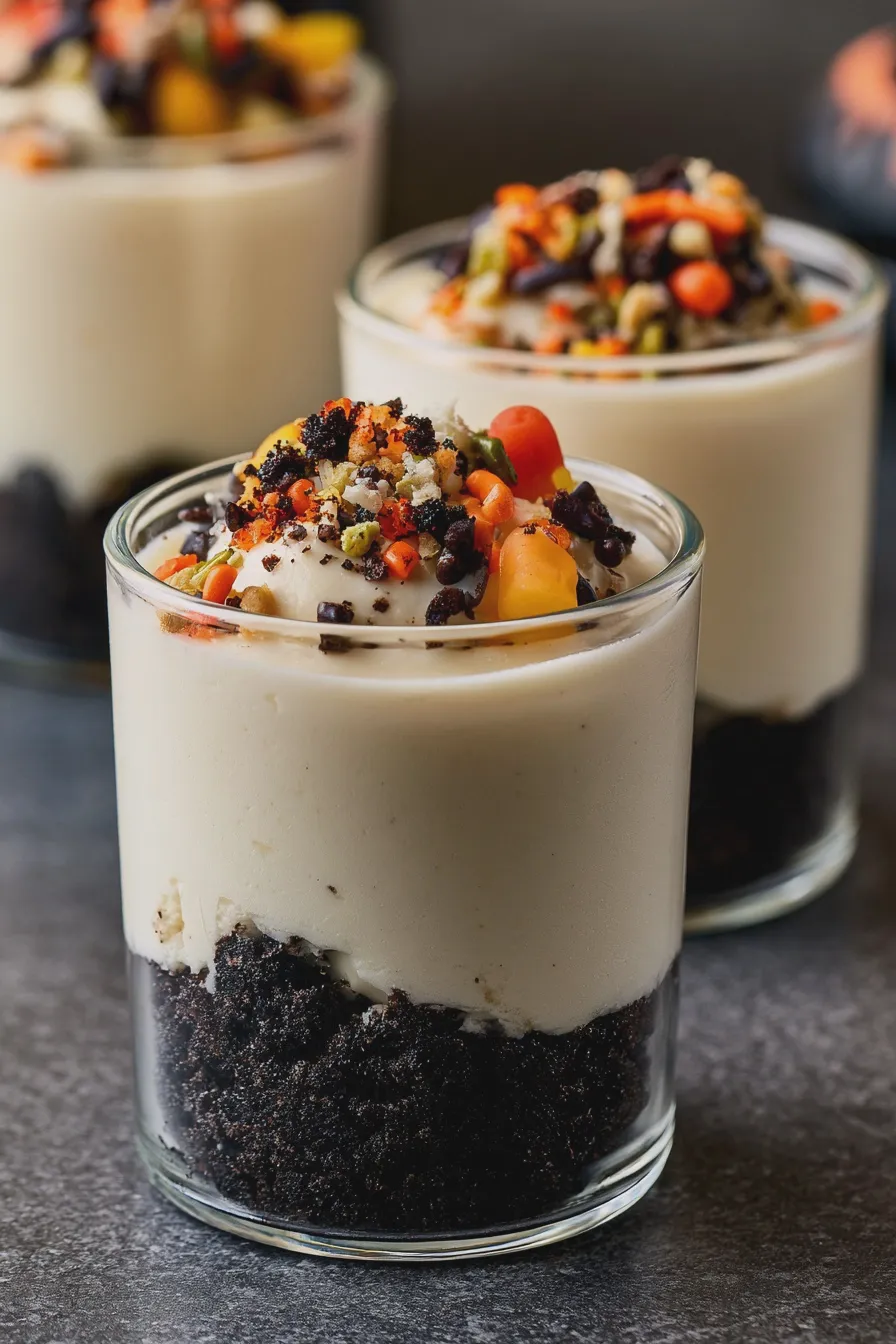
There’s something incredibly charming about mini desserts, and halloween cheesecake cups take that charm to a whole new level. They are incredibly versatile, allowing for endless creativity in both flavor and decoration. Whether you’re a seasoned baker or just starting out, these cups are remarkably forgiving and always deliver a wow factor. Plus, the individual portions make them perfect for serving at parties – no slicing required!
One of the biggest advantages of making halloween cheesecake cups is their adaptability. You can easily tailor the flavors to fit the spooky theme. Think pumpkin spice for a classic fall vibe, or chocolate for a richer, more decadent treat. The “no-bake” aspect is also a huge plus, especially when you’re juggling multiple Halloween preparations. It means less time in the hot oven and more time for other festive activities. These no bake halloween cheesecake cups are a lifesaver when you need a quick yet impressive dessert.
These individual desserts are also fantastic for portion control, making them a guilt-free indulgence for many. They are perfect for packed lunches for kids (or adults!) as a special Halloween surprise, or as part of a larger dessert buffet. The possibilities for decorating are truly endless, allowing you to transform simple cheesecake cups into spooky ghosts, creepy mummies, or even little pumpkin patches. They are truly one of the most versatile halloween dessert ideas cheesecake cups can offer.
Getting Started: Essential Ingredients and Tools
Before we dive into specific recipes, let’s talk about what you’ll need to create your perfect halloween cheesecake cups. The beauty of these treats lies in their simplicity, and the core ingredients are pantry staples for most bakers.
For the Crust:
- Graham crackers, Oreos, or gingersnap cookies: These form the delicious base. For a classic flavor, graham crackers are wonderful. For a chocolatey twist, crushed Oreos are a fantastic choice. Gingersnaps add a warm spice note perfect for fall.
- Butter: Melted butter is essential to bind the crumbs together and create a firm crust.
- Sugar: A touch of sugar enhances the sweetness of the crust.
For the Filling:
- Cream cheese: This is the star of any cheesecake! Make sure it’s softened to room temperature for a smooth, lump-free filling. This is crucial for achieving that signature creamy texture.
- Sweetened condensed milk or powdered sugar: This adds sweetness and helps create the creamy, rich texture. Sweetened condensed milk provides a particularly smooth and velvety consistency.
- Vanilla extract: A classic flavor enhancer that complements the creaminess of the cheesecake.
- Lemon juice (optional): A small amount of lemon juice can brighten the flavor and cut through the richness.
- Heavy cream or Cool Whip (for no-bake versions): Whipped cream or Cool Whip adds lightness and airiness to the filling, making it incredibly smooth and easy to work with, especially for no-bake recipes. If you’re aiming for a lighter texture, you might consider learning how to fold ingredients without deflating if using whipped cream.
Essential Tools:
Don’t miss out on our guide to No Bake Cheesecake Cool Whip.
- Muffin tin or cupcake liners: This is what gives your cheesecake cups their shape.
- Measuring cups and spoons
- Mixing bowls
- Electric mixer (handheld or stand mixer) for achieving a smooth filling
- Spatula or spoon for mixing and scraping
- Optional: Piping bags and tips for decorative frosting
Having these items on hand will make the process of creating your easy halloween cheesecake cups much smoother. Remember, using room temperature cream cheese is key to avoiding lumps. For more on achieving perfect creaminess, understanding how to cream butter and sugar can offer insights into proper mixing techniques, though it’s not directly applicable to a no-bake cheesecake filling itself, the principle of proper mixing is universal.
Spooky Flavor Combinations for Your Halloween Cheesecake Cups
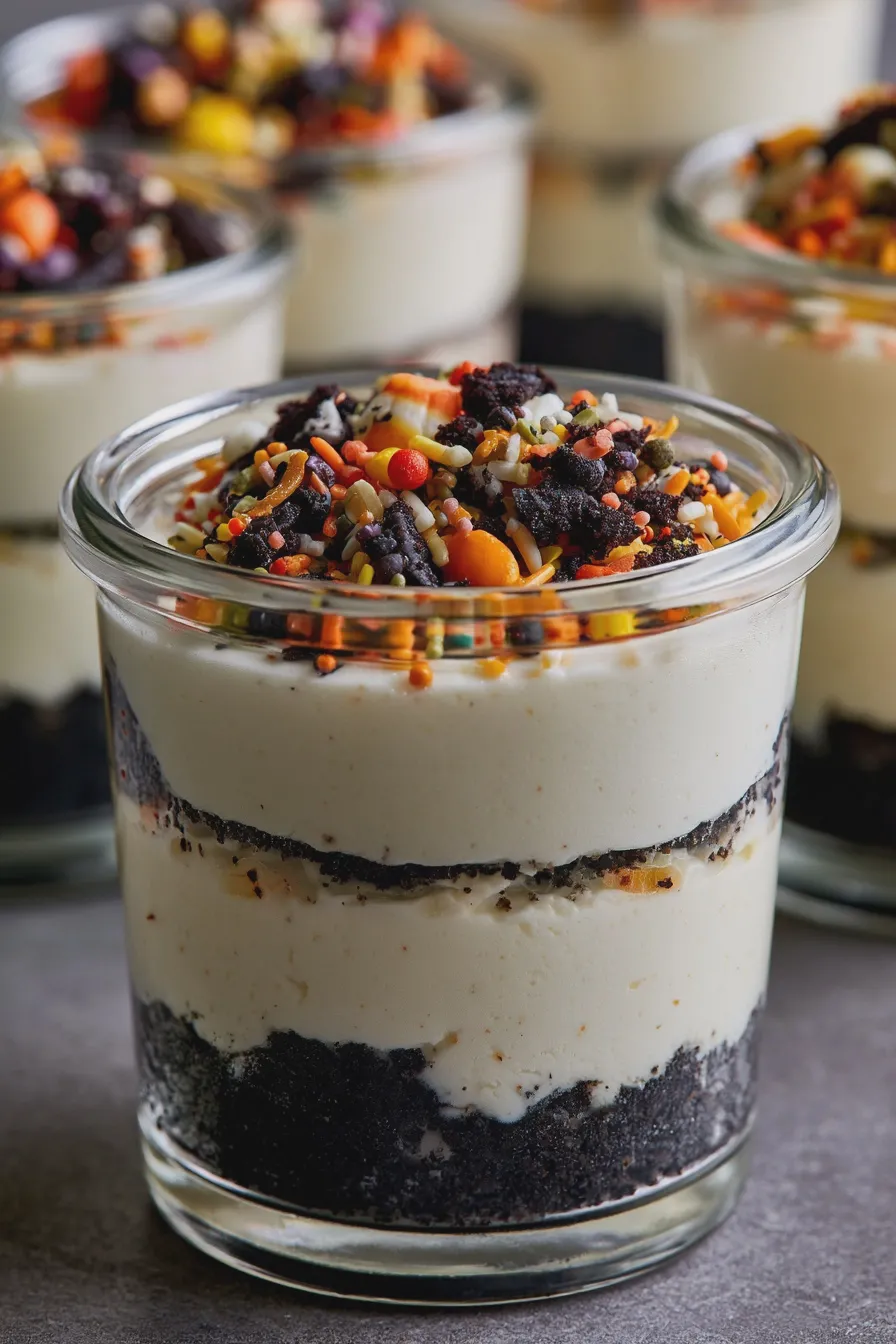
While plain vanilla is always a winner, Halloween is the perfect time to experiment with more adventurous flavors. These mini halloween cheesecakes can be infused with seasonal spices and colors to truly capture the spirit of the holiday.
Pumpkin Spice Delight: This is a quintessential fall flavor that pairs beautifully with cheesecake. Add about 1/2 cup of pumpkin puree and 1-2 teaspoons of pumpkin pie spice to your cream cheese mixture. For a vibrant orange hue, you can add a drop of orange food coloring if desired. These are perfect for those wanting pumpkin cheesecake cups halloween.
Chocolate Orange Swirl: For a richer, more decadent option, incorporate chocolate. Melted dark chocolate or cocoa powder can be added to the filling. Swirling in some orange marmalade or a hint of orange extract adds a festive citrus note. These are a great example of chocolate halloween cheesecake cups.
Oreo Overload: Crushed Oreo cookies are not just for the crust! Fold some into the filling for a cookies-and-cream experience. You can also use the black Oreo creme as a spooky topping or decoration. These are fantastic oreo halloween cheesecake cups.
Caramel Apple Crunch: A drizzle of caramel sauce and some finely diced, cooked apples (tossed with cinnamon) can transform your cheesecake cups into a delightful fall treat. This brings in elements reminiscent of caramel apples, a classic Halloween candy.
Ghostly White Chocolate: White chocolate chips melted and folded into the filling create a creamy, sweet base. These can then be decorated with ghost-like toppings. These are excellent for creating ghost halloween cheesecake cups.
Don’t miss out on our guide to No Bake Mango Cheesecake.
When experimenting with flavors, remember to taste as you go and adjust seasonings. The goal is to create a balanced flavor profile that is both delicious and festive. These flavor ideas are perfect for creating unique halloween dessert cups.
Decorating Your Spooky Cheesecake Cups
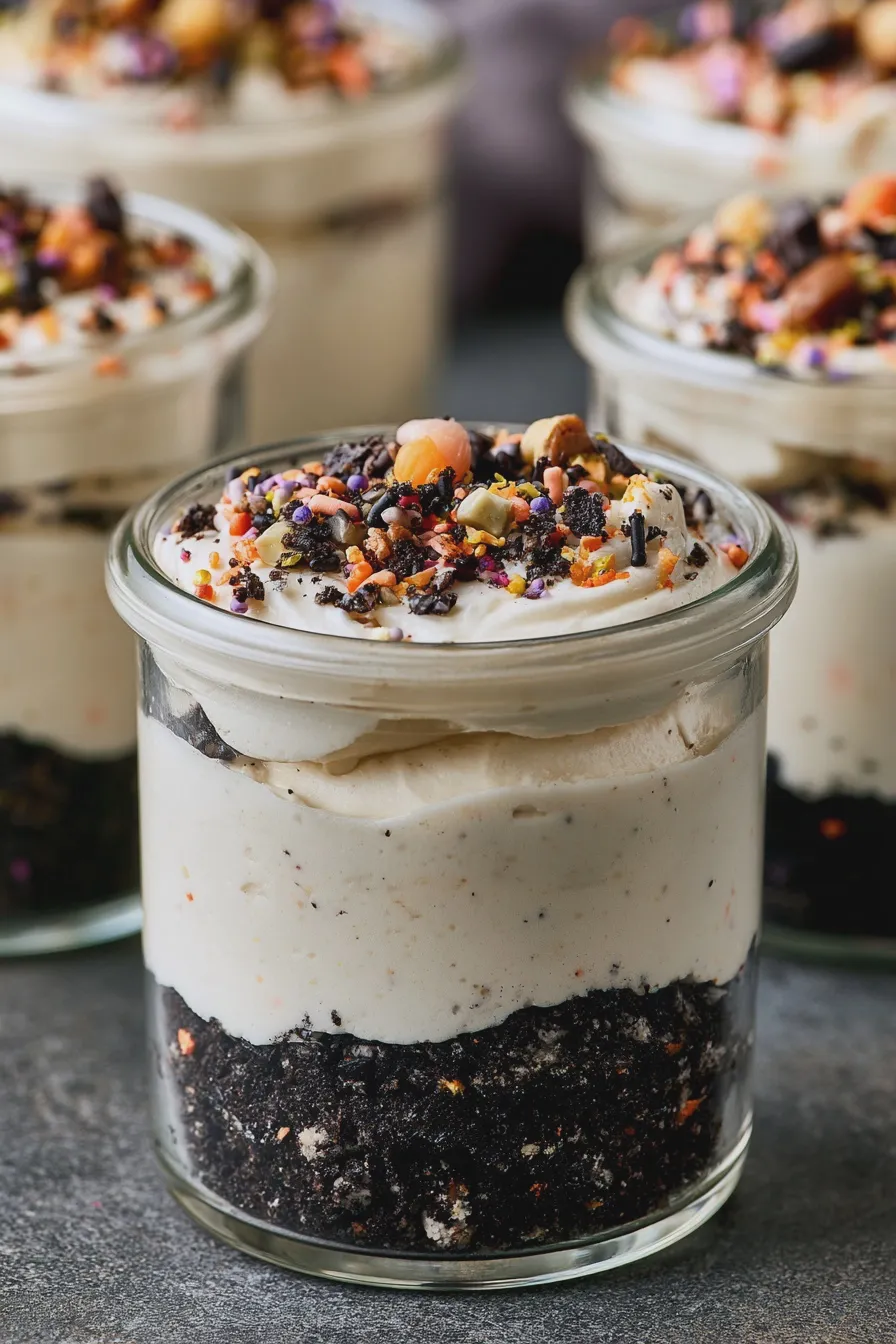
This is where the real fun begins! Decorating your halloween cheesecake cups allows you to unleash your inner artist and create truly memorable treats. The possibilities are endless, from simple to elaborate.
Ghostly Figures: Top your cheesecake cups with whipped cream or meringue and use black edible marker or mini chocolate chips to create ghost faces. You can also use white frosting piped into a ghost shape. These are perfect for ghost halloween cheesecake cups.
Mummy Wraps: Use white frosting or melted white chocolate piped in thin strips over the top of the cheesecake to resemble mummy bandages. Add two small dots of black frosting or edible eyes for the mummy’s eyes. These are a classic for mummy halloween cheesecake cups.
Monster Mash: Get creative with different colored frostings, candy eyes, and sprinkles to create a variety of silly or spooky monsters. Use green, purple, or orange frosting as a base and let your imagination run wild. These are great for monster halloween cheesecake cups.
Spiderwebs: Drizzle melted chocolate or dark frosting in a spiral pattern on top of the cheesecake. Then, use a toothpick to drag lines from the center outwards, creating a spiderweb effect. Add a plastic spider for an extra spooky touch. These are fantastic spooky cheesecake cups.
Candy Accents: Utilize Halloween-themed candies like candy corn, gummy worms, or chocolate eyeballs to adorn your cheesecake cups. Crushed candy or sprinkles can also add color and texture.
If you enjoyed this, you might also love our No Bake Peach Cheesecake recipe.
Pumpkin Faces: For your pumpkin cheesecake cups halloween, you can use orange frosting and pipe on simple jack-o’-lantern faces using black or green frosting. Alternatively, use small candies or edible markers.
When decorating, consider using a piping bag with different tips for more control and professional-looking results. If you don’t have piping bags, a sturdy zip-top bag with a corner snipped off can work in a pinch. For inspiration on edible decorations, exploring Halloween decorations can offer many ideas that can be adapted for desserts.
Tips for Perfect Halloween Cheesecake Cups Every Time
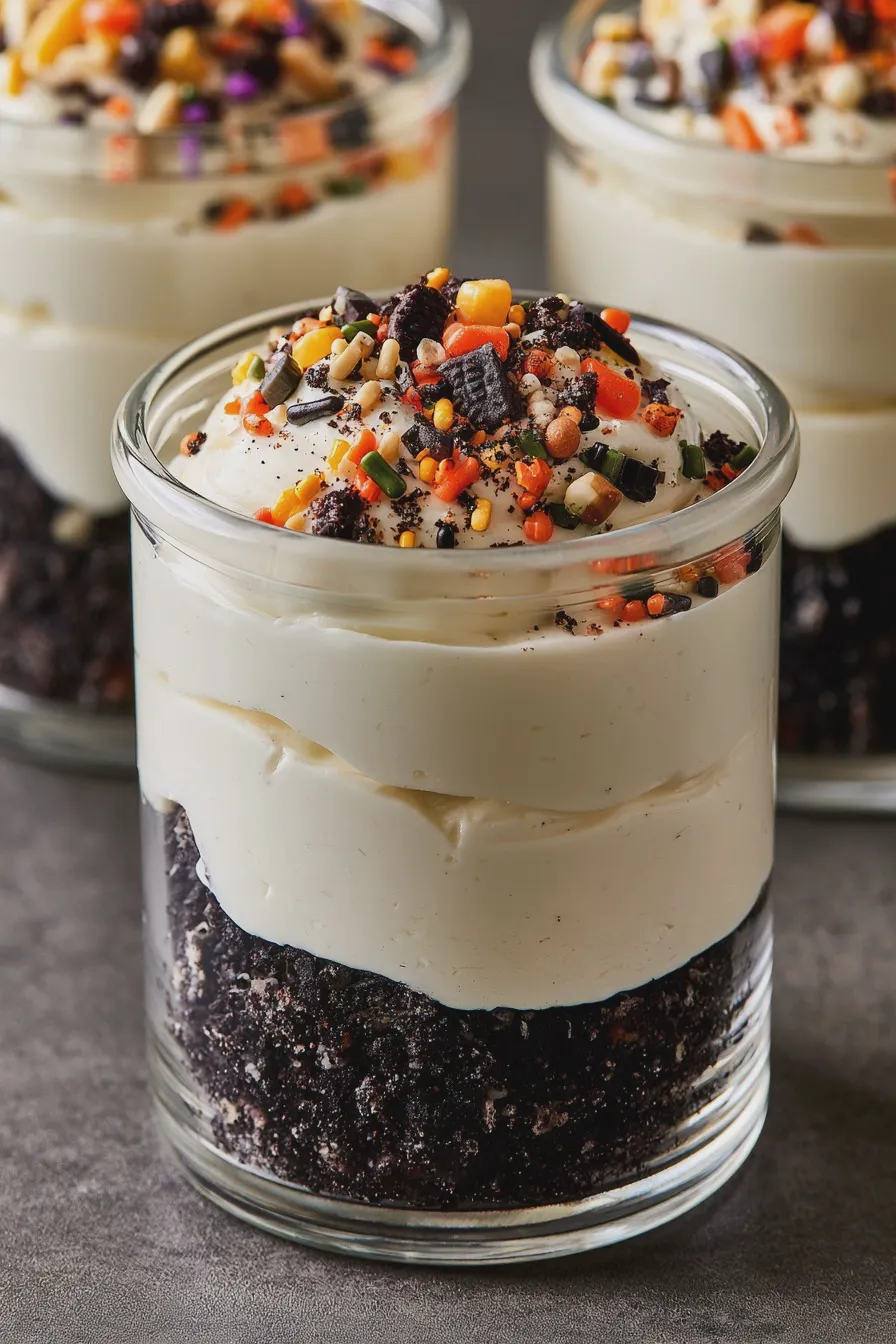
Achieving that perfect, creamy cheesecake texture and a beautiful presentation is easier than you think with a few key tips. These pointers will help ensure your cheesecake cups for halloween party are a resounding success.
- Room Temperature Ingredients: This cannot be stressed enough! Softened cream cheese is crucial for a smooth, lump-free filling. Take it out of the refrigerator at least an hour before you plan to start mixing.
- Don’t Overmix: While you want a smooth filling, overmixing, especially after adding liquid ingredients, can incorporate too much air, leading to cracking or a less dense texture. Mix just until combined and smooth.
- Chill Thoroughly: For no-bake cheesecakes, chilling is essential for the filling to set properly. Ensure they are in the refrigerator for at least 4-6 hours, or preferably overnight, before decorating and serving.
- Crumb Coating: For a cleaner look, press the crust mixture firmly into the bottom of your cupcake liners. You can even press some up the sides slightly for a more substantial base.
- Cool Whip vs. Heavy Cream: If using Cool Whip for a no-bake filling, it’s already whipped and stable, making it very easy. If using heavy cream, whip it to stiff peaks separately before gently folding it into the cream cheese mixture to maintain lightness.
- Flavor Infusion: When adding flavors like pumpkin puree or melted chocolate, ensure they are at room temperature or slightly cooled to avoid melting the cream cheese and creating lumps.
- Decoration Timing: Decorate your cheesecake cups just before serving, especially if using whipped cream or frosting that can melt or become sticky in warmer temperatures.
By following these practical baking advice points, you’ll be well on your way to creating stunning halloween cream cheese cups that taste as good as they look.
Common Mistakes to Avoid with Halloween Cheesecake Cups
Even with simple recipes, a few common pitfalls can sometimes occur. Being aware of these mistakes can help you avoid them and ensure a flawless finish for your individual halloween cheesecakes.
- Using Cold Cream Cheese: As mentioned, this is the number one culprit for lumpy cheesecake filling. Always ensure your cream cheese is fully softened.
- Not Pressing the Crust Firmly: A loose crust will crumble when you try to eat the cheesecake. Take the time to press it down evenly and firmly into the liners.
- Over-Sweetening: While cheesecake is a dessert, it shouldn’t be cloyingly sweet. Taste your filling before chilling and adjust sweetness as needed. Remember, toppings can add extra sweetness too.
- Skipping the Chill Time: For no-bake versions, patience is key. Rushing the chilling process will result in a soft, unset filling that won’t hold its shape.
- Watery Filling: If using ingredients like pumpkin puree or fruit, ensure they are well-drained. Excess moisture can make the filling too soft.
- Overcrowding the Muffin Tin: Don’t overfill your liners. Leave a little room at the top for potential expansion or for adding decorative frosting.
Avoiding these common errors will help you consistently produce delicious and beautifully presented halloween cheesecake bites.
Print
Halloween Cheesecake Cups Quick and Easy Recipe
- Total Time: PT2H20M
- Yield: 6–8 servings 1x
- Diet: Vegetarian
Description
These adorable Halloween Cheesecake Cups are a festive and delicious no-bake treat perfect for your spooky celebrations. Easy to make and customizable with your favorite Halloween toppings!
Ingredients
- 16 oz cream cheese, softened
- 1 cup powdered sugar
- 1 tsp vanilla extract
- 1/2 cup heavy cream, whipped to stiff peaks
- 12 Oreo cookies, finely crushed
- 2 tbsp melted butter
- Halloween-themed sprinkles, candy, or cookie crumbles for topping
Instructions
- In a large bowl, beat the softened cream cheese until smooth.
- Gradually beat in the powdered sugar and vanilla extract until well combined.
- Gently fold in the whipped heavy cream until no streaks remain.
- In a separate small bowl, combine the crushed Oreo cookies and melted butter. Mix until the crumbs are moistened.
- Spoon about 1 tablespoon of the Oreo crumb mixture into the bottom of 6-8 small glasses or jars. Press down gently to form a crust.
- Evenly distribute the cream cheese mixture over the Oreo crusts in each glass.
- Chill the cheesecake cups in the refrigerator for at least 2 hours, or until firm.
- Before serving, decorate the tops with Halloween sprinkles, candy, or cookie crumbles as desired.
Notes
- For an extra spooky touch, you can add a drop of black or orange food coloring to the cream cheese mixture.
- Feel free to use other cookie crumbs for the crust, such as graham crackers or shortbread.
- These can be made a day in advance and kept refrigerated.
- Prep Time: PT20M
- Cook Time: PT0M
- Category: Dessert
- Method: No-bake
- Cuisine: American
Nutrition
- Serving Size: 1 cup
- Calories: 350
- Sugar: 25g
- Sodium: 150mg
- Fat: 25g
- Saturated Fat: 15g
- Carbohydrates: 30g
- Fiber: 1g
- Protein: 5g
- Cholesterol: 70mg