Halloween is the perfect time to unleash your inner baker and create some deliciously spooky treats! Nothing says “happy haunting” quite like a batch of homemade halloween chocolate cookies. Whether you’re looking for something fun for the kids to help with or a show-stopping dessert for your Halloween party, these recipes are sure to be a hit. Get ready to dive into a world of rich chocolate flavors and festive designs that will make your Halloween celebrations truly memorable. For a great starting point on classic cookie techniques, check out this guide on the creaming method for cakes and cookies.
Why Halloween Chocolate Cookies Are a Must-Have
There’s something undeniably magical about chocolate during the holidays, and Halloween is no exception. Chocolate’s rich, decadent flavor pairs perfectly with the playful, slightly eerie theme of Halloween. From deep, dark chocolate that mimics the night sky to fun, colorful additions, chocolate offers endless possibilities for creating festive halloween cookie recipes. They are versatile, crowd-pleasing, and can be as simple or as elaborate as you like. These are the kinds of treats that create lasting memories, filling your home with wonderful aromas and your guests with delight.
Classic Chocolate Cookie Base for All Your Spooky Creations
Before we get into specific spooky designs, let’s talk about the foundation: a fantastic chocolate cookie base. A good chocolate cookie should be rich, moist, and have a deep chocolate flavor. Many recipes start with the creaming method, which involves beating butter and sugar together until light and fluffy. This incorporates air, which helps create a tender cookie. You’ll then add eggs and vanilla, followed by your dry ingredients, which typically include flour, cocoa powder, baking soda or powder, and salt. For truly intense chocolate flavor, consider using Dutch-processed cocoa powder, which has a smoother, less acidic taste. If you’re looking for inspiration on variations, you might enjoy these double chocolate chip cookies, which offer an extra layer of chocolatey goodness.
Tips for the Perfect Chocolate Cookie Dough
- Don’t overmix: Once you add the flour, mix only until just combined. Overmixing develops gluten, leading to tough cookies.
- Chill the dough: Chilling chocolate cookie dough for at least 30 minutes (or even overnight) is crucial. It solidifies the fat, preventing cookies from spreading too much and intensifying the chocolate flavor.
- Use good quality cocoa: The better your cocoa powder, the better your chocolate flavor will be.
- Room temperature ingredients: Ensure your butter and eggs are at room temperature for proper emulsification.
Common Mistakes to Avoid
- Overbaking: Chocolate cookies can be tricky to judge doneness as they don’t show browning like vanilla cookies. Bake until the edges are set but the center still looks slightly soft. They will continue to cook on the baking sheet.
- Incorrect ingredient measurements: Especially with flour and cocoa powder, accurate measuring is key. Spoon flour into your measuring cup and level it off, don’t scoop directly from the bag.
- Not chilling the dough: This is a frequent culprit for flat, spread-out cookies.
Spooky Halloween Chocolate Cookie Ideas
Now for the fun part – transforming your chocolate cookies into festive halloween treats! The possibilities are endless, and you can tailor them to your skill level and desired spookiness factor. Here are some popular and creative ideas for halloween cookie decorating ideas.
Chocolate Ghost Cookies
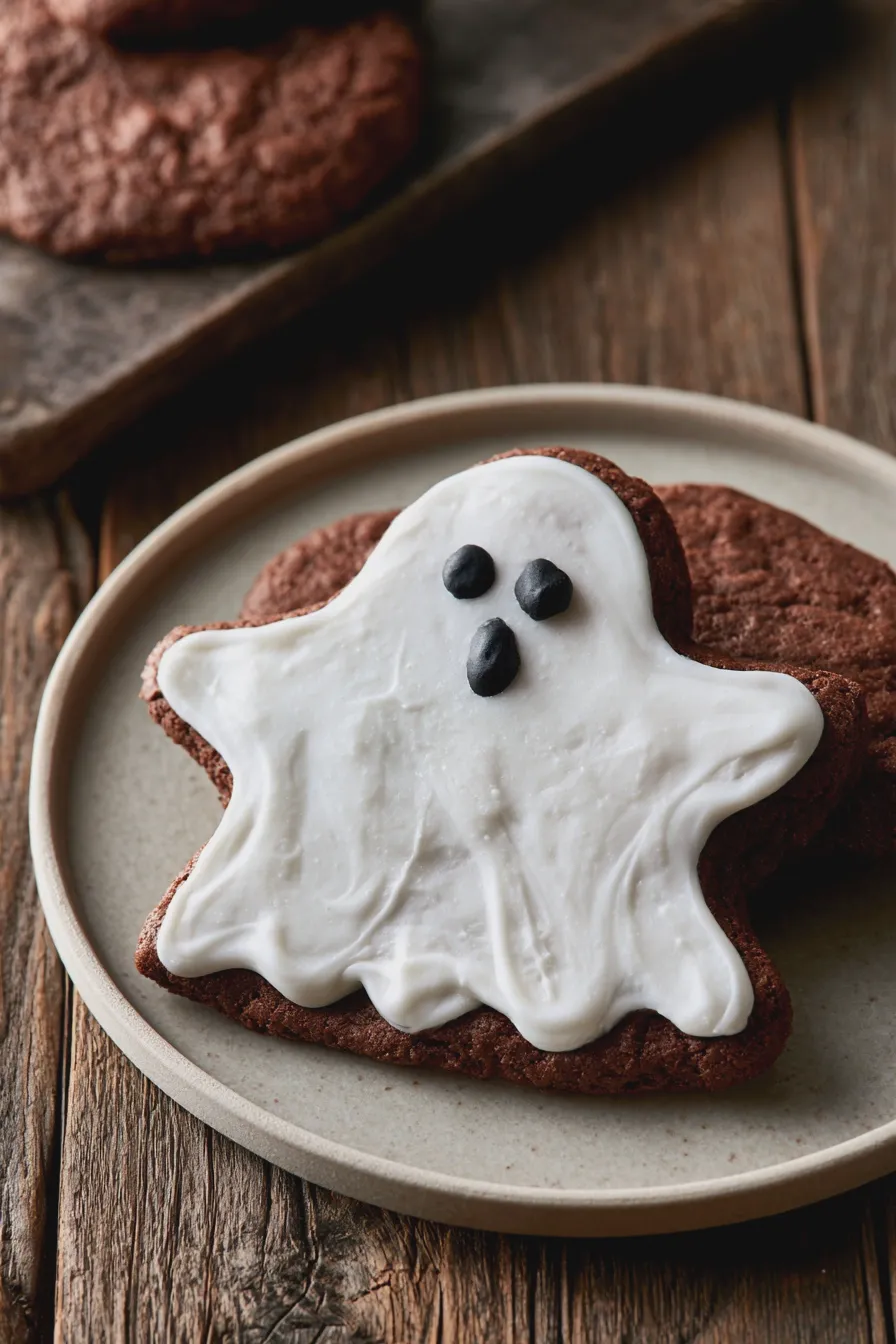
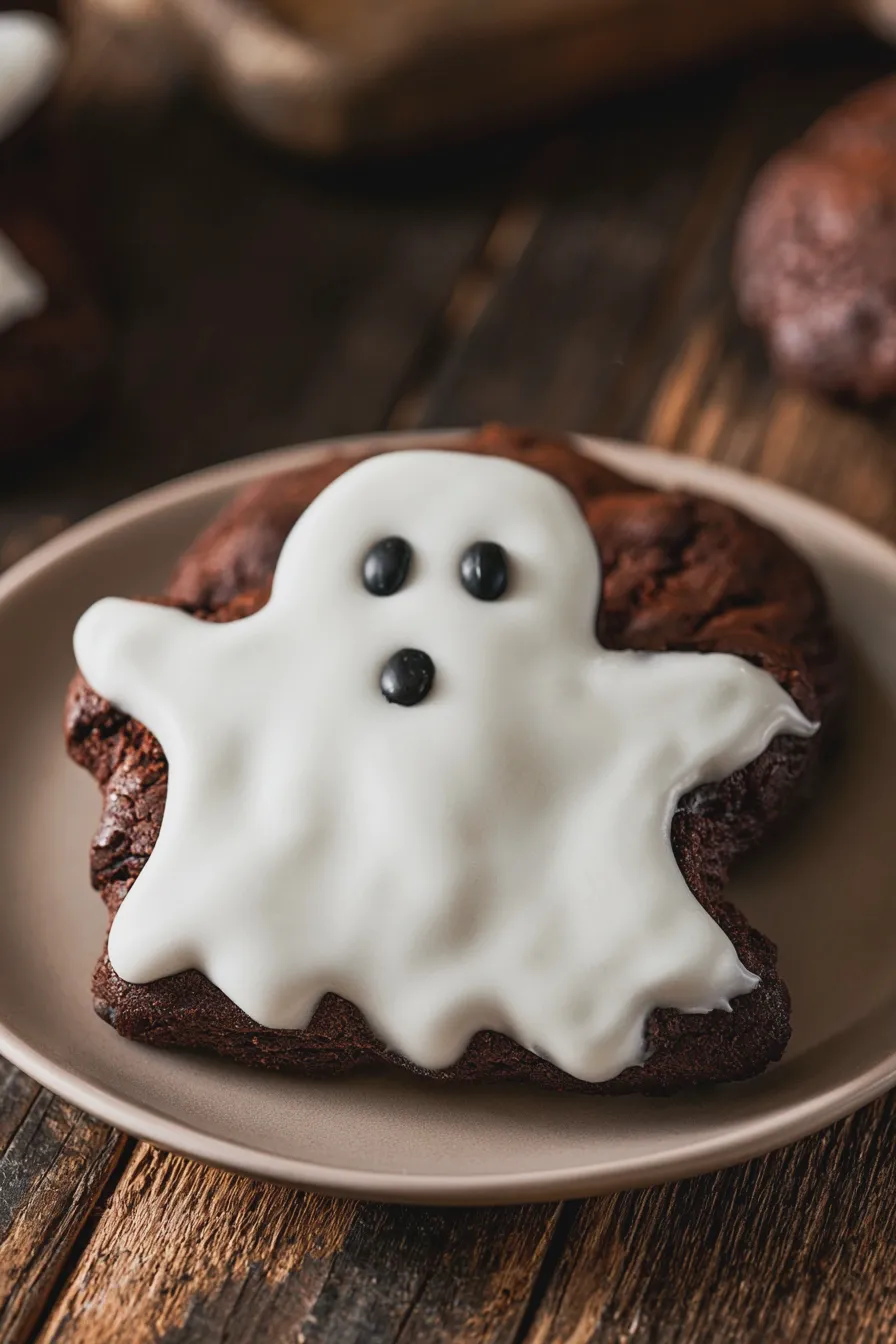
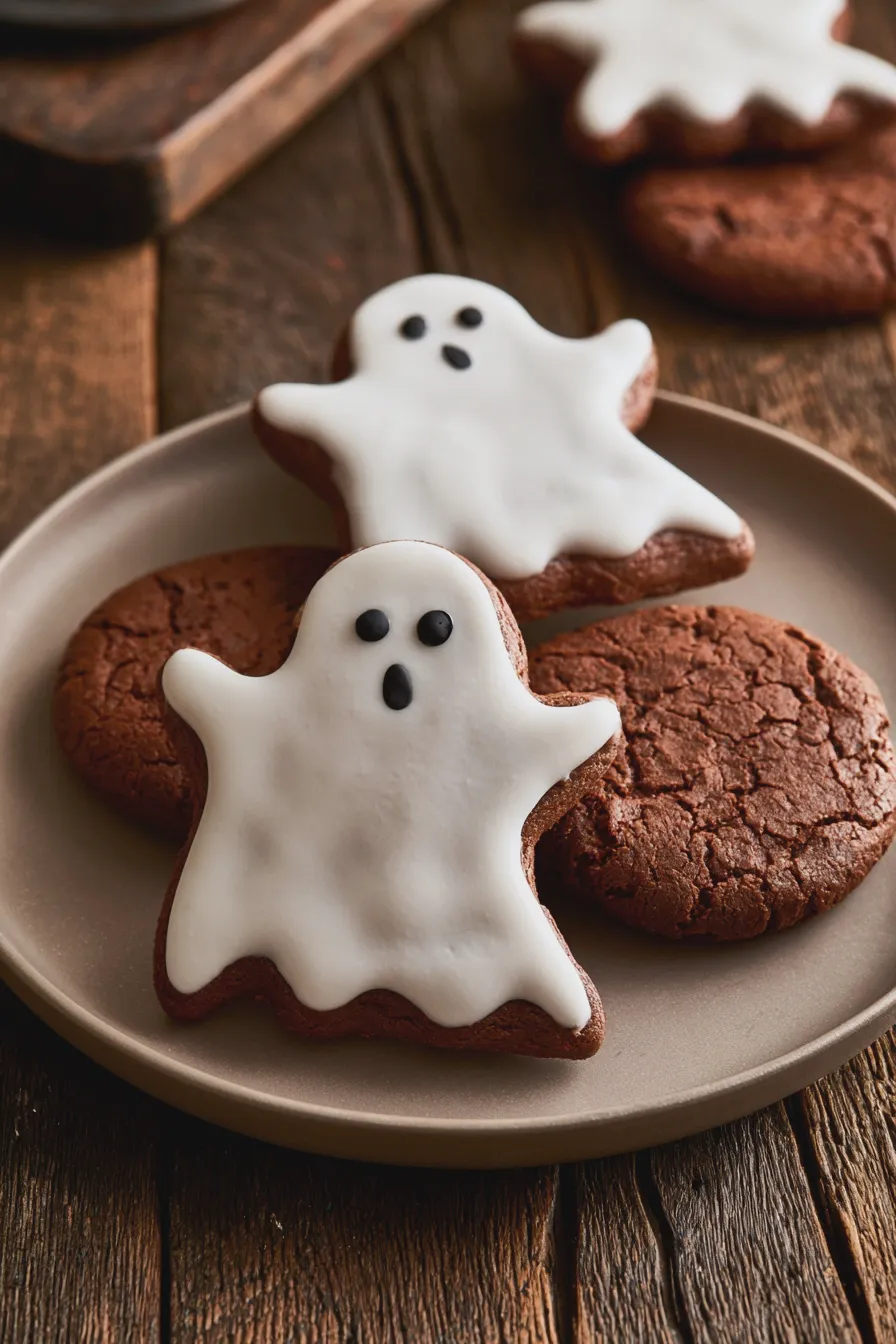
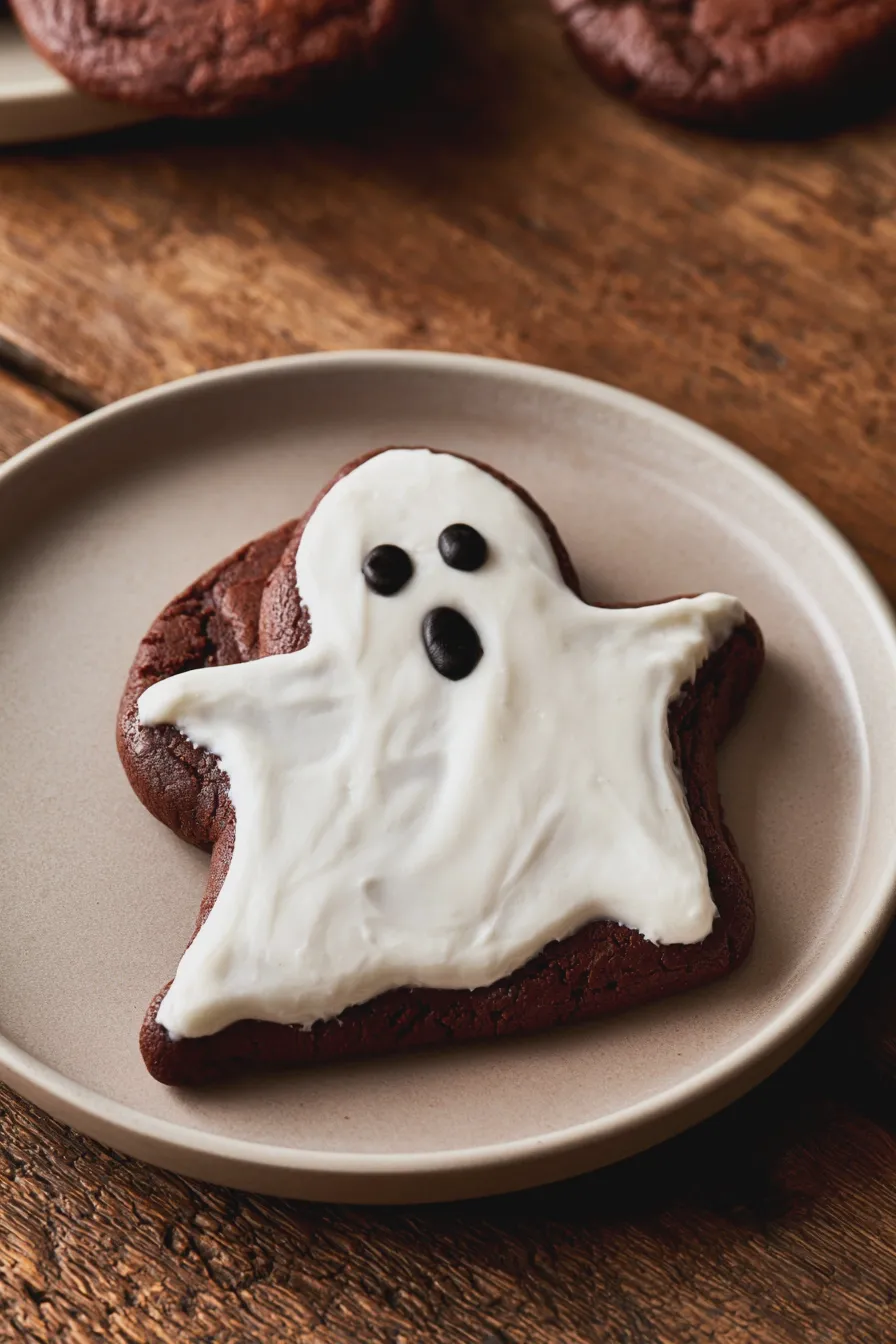
These are a classic for a reason! Start with your baked chocolate cookies. You can shape them into ghosts before baking if you use a cookie cutter, or simply frost them after. For ghost cookies, a simple white royal icing or buttercream is perfect. Pipe a rounded top and then let it drip down the sides to create a flowing ghost shape. Use small black edible marker dots or tiny black icing dots for the eyes. For an extra spooky touch, you could make some ghosts with slightly crooked eyes or a surprised expression. This is one of the easiest halloween no bake cookies chocolate versions you can make if you frost them.
Monster Chocolate Cookies
Monsters offer so much creative freedom! Bake round or irregular-shaped chocolate cookies. Frost them with various colors like green, purple, or even a mottled brown. Then, go wild with decorations: candy eyes (lots of them!), sprinkles, edible glitter, and even small candy pieces for teeth or horns. You can create fuzzy monsters with shredded coconut dyed green or purple, or slimy monsters with a drizzle of contrasting colored icing. These are fantastic examples of monster chocolate cookies that kids will adore.
Chocolate Spiderweb Cookies
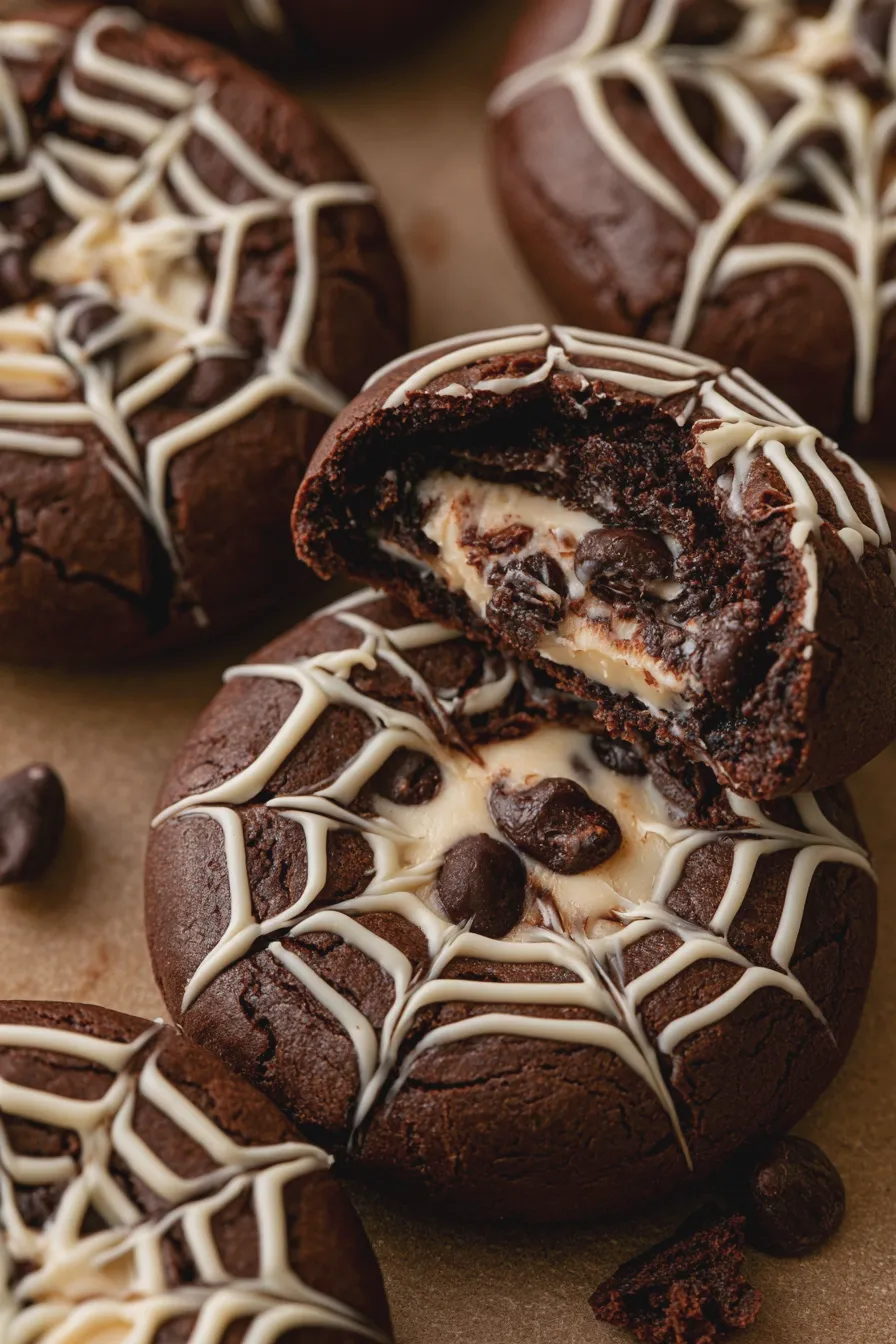
These look impressive but are surprisingly simple to execute. Bake your chocolate cookies. Once cooled, frost them with a smooth layer of white or light-colored frosting. Then, using black or dark grey icing in a piping bag with a fine tip, draw concentric circles on top of the white frosting, starting from the center and working your way out. Drag a toothpick or skewer from the center outwards through the dark icing to create the spiderweb effect. For an extra touch, add a small candy spider or a few edible silver dragées. These are a stunning example of chocolate spiderweb cookies.
Witch Finger Cookies Chocolate
These creepy-crawly cookies are always a hit. You can make these by shaping your cookie dough into finger-like logs before baking. Press a knuckle indentation with the back of a spoon and then use a knife to score lines for the finger joints. For a truly realistic touch, press an almond slice or a slivered almond into the tip of each “finger” to resemble a fingernail. Bake until golden. Once cooled, you can add a bit of green food coloring to a portion of the dough or use green frosting around the “nail” for a grimy effect. These witch finger cookies chocolate are both fun to make and eat.
Black and Orange Halloween Cookies
This color combination is synonymous with Halloween. You can achieve this in a few ways:
Don’t miss out on our guide to Zucchini Chocolate Chip Cookies.
- Dye the dough: Divide your chocolate cookie dough and dye one portion black and the other orange. Swirl them together before baking for a marbled effect, or use them separately to create black and orange cookies.
- Frosting: Frost your baked chocolate cookies with black and orange icing, either in stripes, polka dots, or abstract designs.
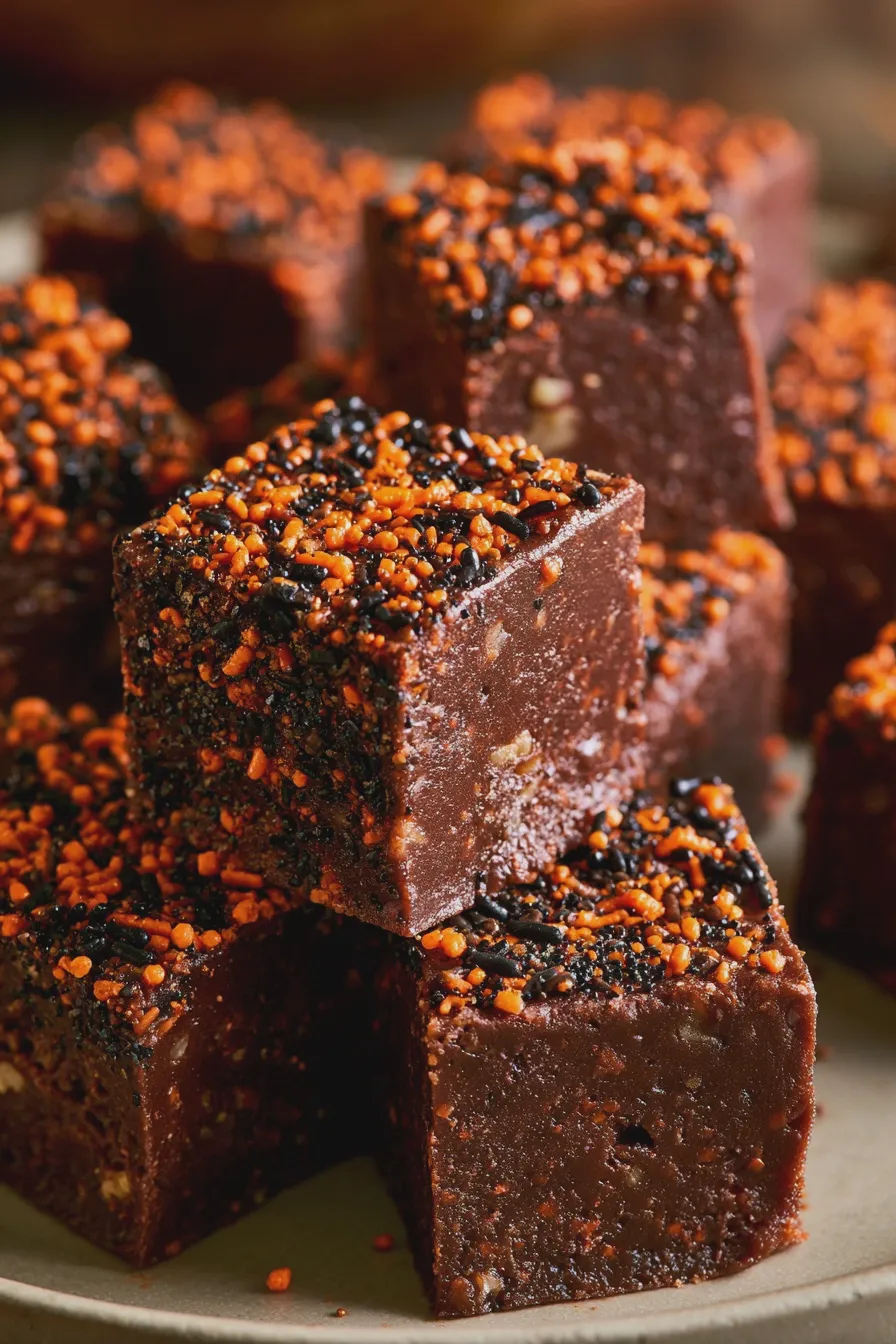
- Sprinkles and Decorations: Use black and orange sprinkles, sanding sugar, or candies to decorate plain chocolate cookies.
Halloween Bark Recipe (Chocolate Base)
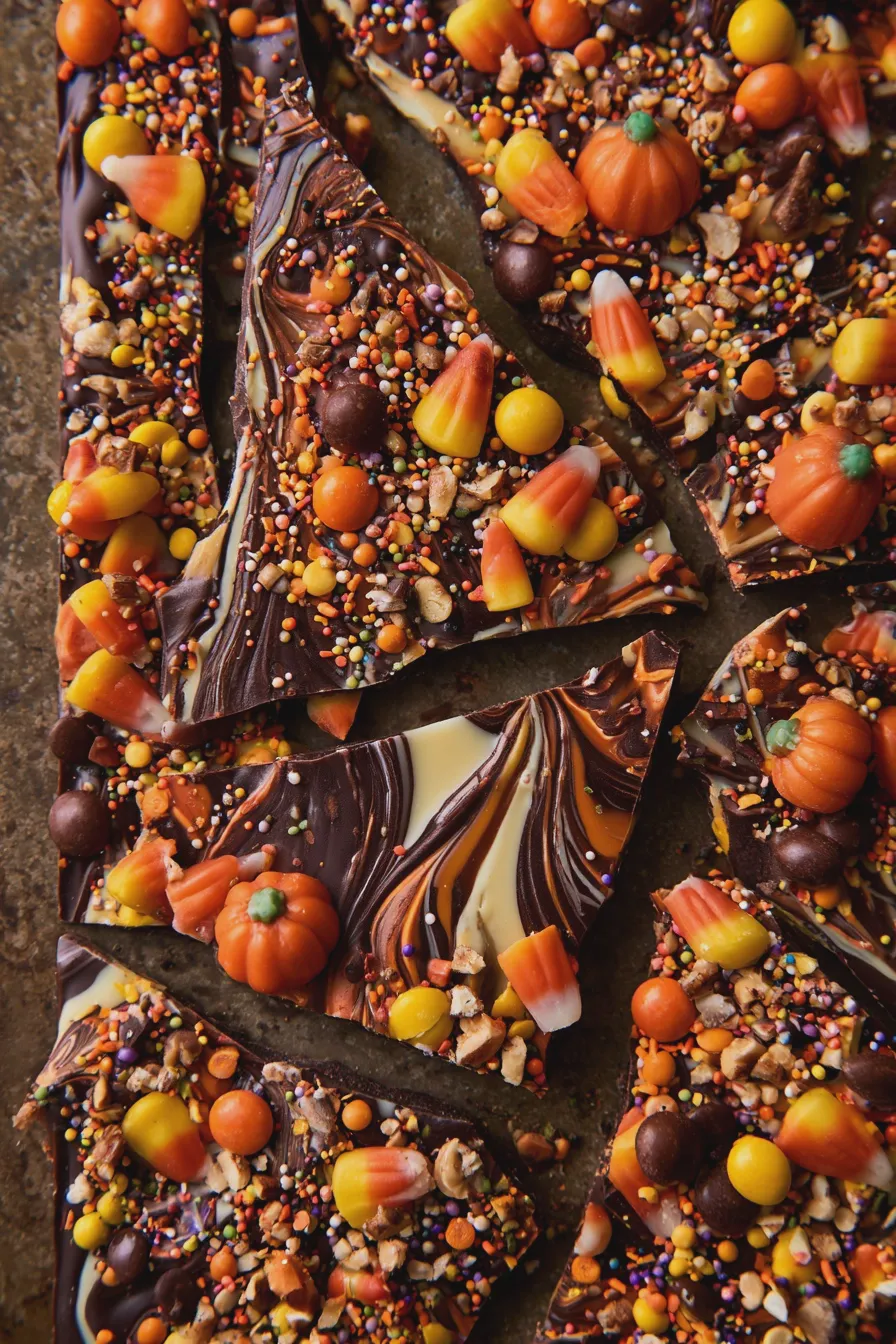
While not strictly a cookie, a Halloween bark is a fantastic chocolate-based treat that’s incredibly easy to make and perfect for parties. Melt your favorite chocolate (dark, milk, or white) and spread it thinly onto a parchment-lined baking sheet. While the chocolate is still wet, sprinkle generously with Halloween-themed toppings like candy corn, chopped Halloween candies, sprinkles, crushed cookies, and pretzels. Let it set completely, then break it into rustic pieces. This halloween bark recipe is a wonderful addition to any halloween treat recipes spread.
Chocolate Cauldron Cookies
These are a fun and whimsical idea. You can use a cauldron-shaped cookie cutter or simply frost round cookies to resemble cauldrons. Use black frosting for the cauldron itself. For the “bubbling brew,” you can use green or purple icing, or even melted green candy melts drizzled over the top. Add some edible glitter or star sprinkles for a magical effect. These chocolate cauldron cookies are sure to cast a spell on your guests.
Decorating Techniques for Festive Halloween Cookies
The real magic of halloween chocolate cookies often lies in their decoration. Here are some essential techniques to elevate your spooky creations:
Royal Icing
This stiff, sugary icing is perfect for intricate designs, outlines, and flooding. It dries hard, making it ideal for layering and creating smooth surfaces. You can easily color royal icing to match any Halloween theme. It’s the go-to for detailed halloween cookie decorating ideas.
Buttercream Frosting
Creamier and softer than royal icing, buttercream is great for a softer look, piping swirls, and quick frosting. It’s generally sweeter and easier for beginners to handle for simpler designs.
Fondant
While not as common for cookies as icing, fondant can be used to cover cookies for a very smooth finish or cut into shapes. It’s best for very detailed, sculpted elements.
Edible Markers and Paints
These are fantastic for adding fine details like eyes, mouths, or patterns directly onto iced cookies. They offer precision and are easy to use.
If you enjoyed this, you might also love our How To Make Ice Cream At Home recipe.
Sprinkles, Candies, and Edible Glitter
Don’t underestimate the power of embellishments! Halloween-themed sprinkles, candy corn, chocolate chips, and edible glitter can instantly transform a plain cookie into a festive masterpiece. For examples of fun additions, consider these maraschino cherry chocolate chip cookies, which show how a simple addition can change the flavor and appearance.
Making Halloween Chocolate Cookies: A Step-by-Step Example (Chocolate Ghost Cookies)
Let’s walk through making simple Chocolate Ghost Cookies:
- Bake your chocolate cookies: Prepare your favorite chocolate cookie dough and bake according to recipe instructions. Let them cool completely on a wire rack.
- Prepare the icing: Make a batch of white royal icing or use store-bought vanilla frosting. If using royal icing, you’ll want a medium consistency for outlining and a slightly thinner “flood” consistency for filling.
- Outline the ghosts: Fit a piping bag with a small round tip and fill it with white icing. Pipe an outline around the edge of each cookie, creating a rounded top for the ghost’s head.
- Flood the cookies: Fill a separate piping bag (or clean out the first one) with your flood consistency icing. Carefully fill in the outlined area, letting the icing spread to the edges. Gently tap the cookie on the counter to release any air bubbles.
- Add the faces: Once the flood icing is partially set (but not completely dry), use a black edible marker or a piping bag with black icing and a very fine tip to draw two small dots for eyes.
- Let them dry: Allow the cookies to dry completely. Royal icing will dry hard, while buttercream will remain soft.
These simple halloween chocolate cookies are perfect for beginner decorators and a guaranteed hit with children.
Beyond Chocolate: Adding Other Flavors
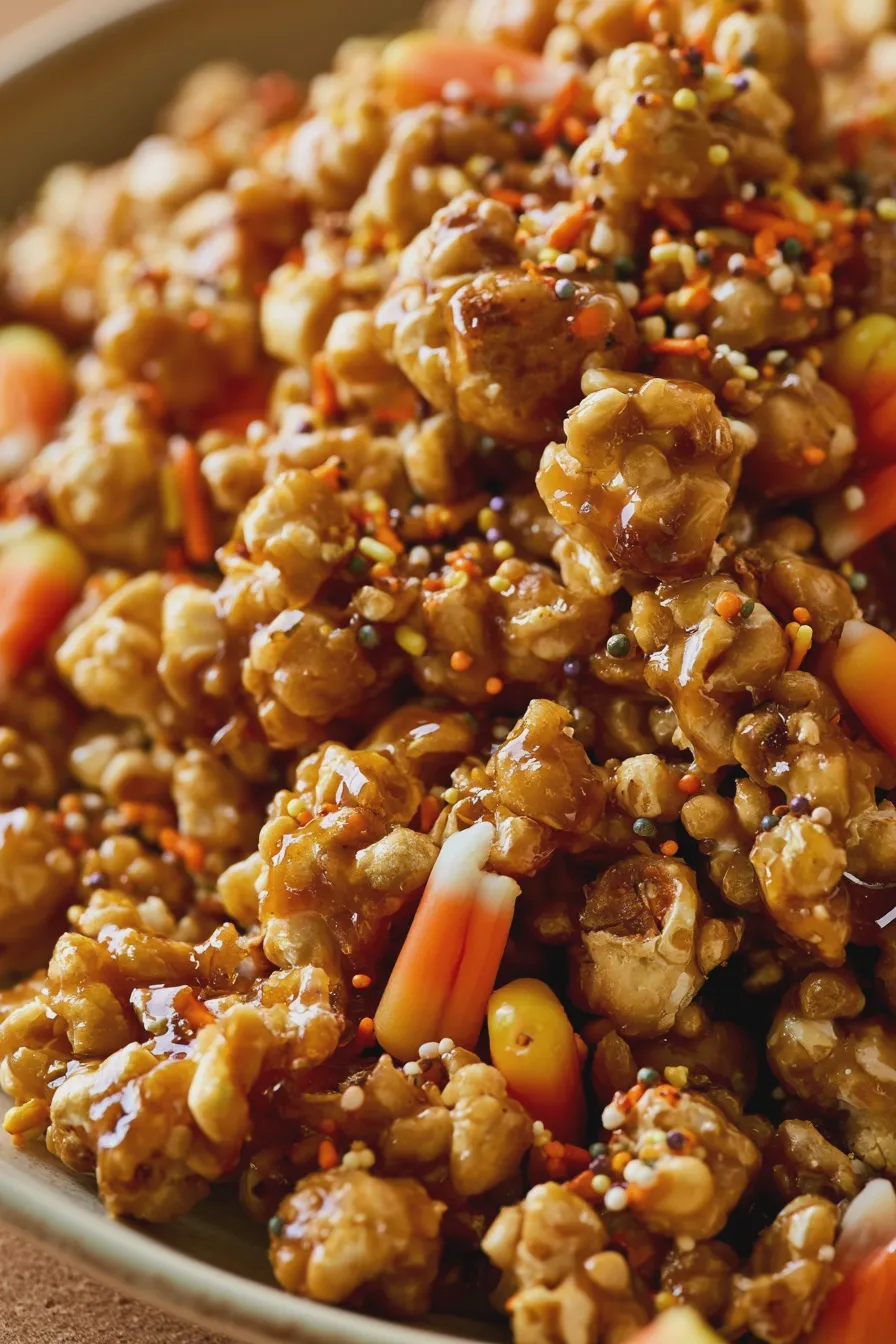
While the focus is on chocolate, don’t be afraid to incorporate other flavors that complement Halloween themes. Pumpkin spice is a natural fit, as seen in pumpkin chocolate chip cookies. You could also add a hint of cinnamon or orange zest to your chocolate dough for a more complex flavor profile. Candy corn chocolate cookies are another popular choice, where the distinct candy corn flavor is either incorporated into the cookie or used as a topping.
Print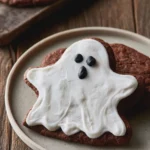
Halloween Chocolate Cookies Recipe for Spooky Fun
- Total Time: PT30M
- Yield: 24 cookies 1x
- Diet: Vegetarian
Description
These spooky Halloween chocolate cookies are rich, fudgy, and perfect for your Halloween party! Decorated with festive sprinkles and candy eyeballs, they’re sure to be a hit.
Ingredients
- 1 cup (2 sticks) unsalted butter, softened
- 1 1/2 cups granulated sugar
- 1 large egg
- 1 teaspoon vanilla extract
- 2 cups all-purpose flour
- 3/4 cup unsweetened cocoa powder
- 1 teaspoon baking soda
- 1/2 teaspoon salt
- 1 cup chocolate chips
- For Decoration: White royal icing, candy eyeballs, Halloween sprinkles
Instructions
- In a large bowl, cream together the softened butter and granulated sugar until light and fluffy.
- Beat in the egg and vanilla extract until well combined.
- In a separate bowl, whisk together the all-purpose flour, unsweetened cocoa powder, baking soda, and salt.
- Gradually add the dry ingredients to the wet ingredients, mixing until just combined. Do not overmix.
- Stir in the chocolate chips.
- Chill the dough for at least 30 minutes. This will make it easier to handle.
- Preheat your oven to 350°F (175°C). Line baking sheets with parchment paper.
- Roll the chilled dough into 1-inch balls and place them on the prepared baking sheets, about 2 inches apart.
- Bake for 9-11 minutes, or until the edges are set and the centers are still slightly soft.
- Let the cookies cool on the baking sheets for a few minutes before transferring them to a wire rack to cool completely.
- Once cooled, decorate the cookies with white royal icing and candy eyeballs to create a spooky effect. Add festive Halloween sprinkles as desired.
Notes
- For extra fudgy cookies, slightly underbake them.
- Ensure the dough is well chilled before rolling to prevent excessive spreading.
- Get creative with your decorations! You can add orange icing for pumpkins or white icing for ghosts.
- Store cooled cookies in an airtight container at room temperature for up to 3 days.
- Prep Time: PT20M
- Cook Time: PT10M
- Category: Desserts
- Method: Baking
- Cuisine: American
Nutrition
- Serving Size: 1 cookie
- Calories: 200
- Sugar: 20g
- Sodium: 50mg
- Fat: 10g
- Saturated Fat: 6g
- Carbohydrates: 25g
- Fiber: 1g
- Protein: 2g
- Cholesterol: 30mg