Halloween is a time for spooky fun, and what better way to celebrate than with some delightfully festive treats? These halloween sandwich cookies are perfect for parties, bake sales, or just a fun afternoon in the kitchen with loved ones. Imagine biting into a soft, flavorful cookie filled with sweet frosting – it’s a classic treat made even more special with a Halloween twist. We’ll guide you through creating these delightful cookies, from choosing your flavors to decorating them to look like your favorite spooky characters. Get ready to impress with these charming and delicious halloween sandwich cookies recipe. For more inspiration on classic baking techniques, check out this guide on the Creaming Method For Cakes And Cookies.

The Magic of Sandwich Cookies
Sandwich cookies are a baking marvel. They consist of two cookies sandwiched together with a creamy filling. The beauty of this dessert lies in its versatility. You can use almost any cookie recipe as the base, from simple sugar cookies to rich chocolate or spiced varieties. The filling can be buttercream, cream cheese frosting, or even a simple ganache. For our halloween sandwich cookies, we’ll focus on a classic sugar cookie base that’s sturdy enough for decorating and pairs wonderfully with a sweet filling. This foundation makes them perfect for transforming into all sorts of spooky characters. You can find a great starting point for cookie dough variations by exploring sandwich cookie recipes online.
Choosing Your Cookie Base
For the best halloween sandwich cookies, you want a cookie that holds its shape well during baking and is not too crumbly. A classic sugar cookie recipe is ideal. It’s a blank canvas that bakes up firm and flat, perfect for decorating. You can also opt for a chocolate sugar cookie for a richer flavor and a darker base, which is great for creating monster or vampire themes. Another popular choice for sandwich cookies is a peanut butter cookie. A slightly firmer peanut butter cookie can also work beautifully, especially if you’re aiming for peanut butter halloween sandwich cookies. The key is to find a recipe that doesn’t spread too much.
The Perfect Filling
The filling is what brings your sandwich cookies to life! A simple vanilla buttercream is a crowd-pleaser and easy to color for Halloween themes. For a tangier flavor, cream cheese frosting is a fantastic option. If you’re making chocolate halloween sandwich cookies, a chocolate buttercream or a dark chocolate ganache would be divine. Remember, the filling should be thick enough to hold the cookies together but soft enough to bite into easily. You can also experiment with flavors like pumpkin spice, especially if you’re leaning towards pumpkin sandwich cookies. For those who prefer a no-bake option, a simple mixture of cream cheese and powdered sugar can be a quick and delicious filling, making for no-bake halloween sandwich cookies.
Decorating Your Spooky Creations

This is where the real Halloween magic happens! Decorated halloween sandwich cookies are a showstopper. You can keep it simple with just colored frosting and sprinkles, or go all out with intricate designs. Think about the types of spooky sandwich cookies you want to create. We’ll cover a few popular ideas:
Don’t miss out on our guide to Zucchini Sandwich Cookies.
Monster Sandwich Cookies
These are so much fun and incredibly forgiving! Use green, purple, or even orange frosting as the base. Add edible candy eyes (available at most craft or grocery stores) for instant monster faces. You can use small candies or sprinkles for horns or warts. For a more detailed look, you can pipe on a few strands of contrasting frosting for hair or texture.
Ghost Sandwich Cookies
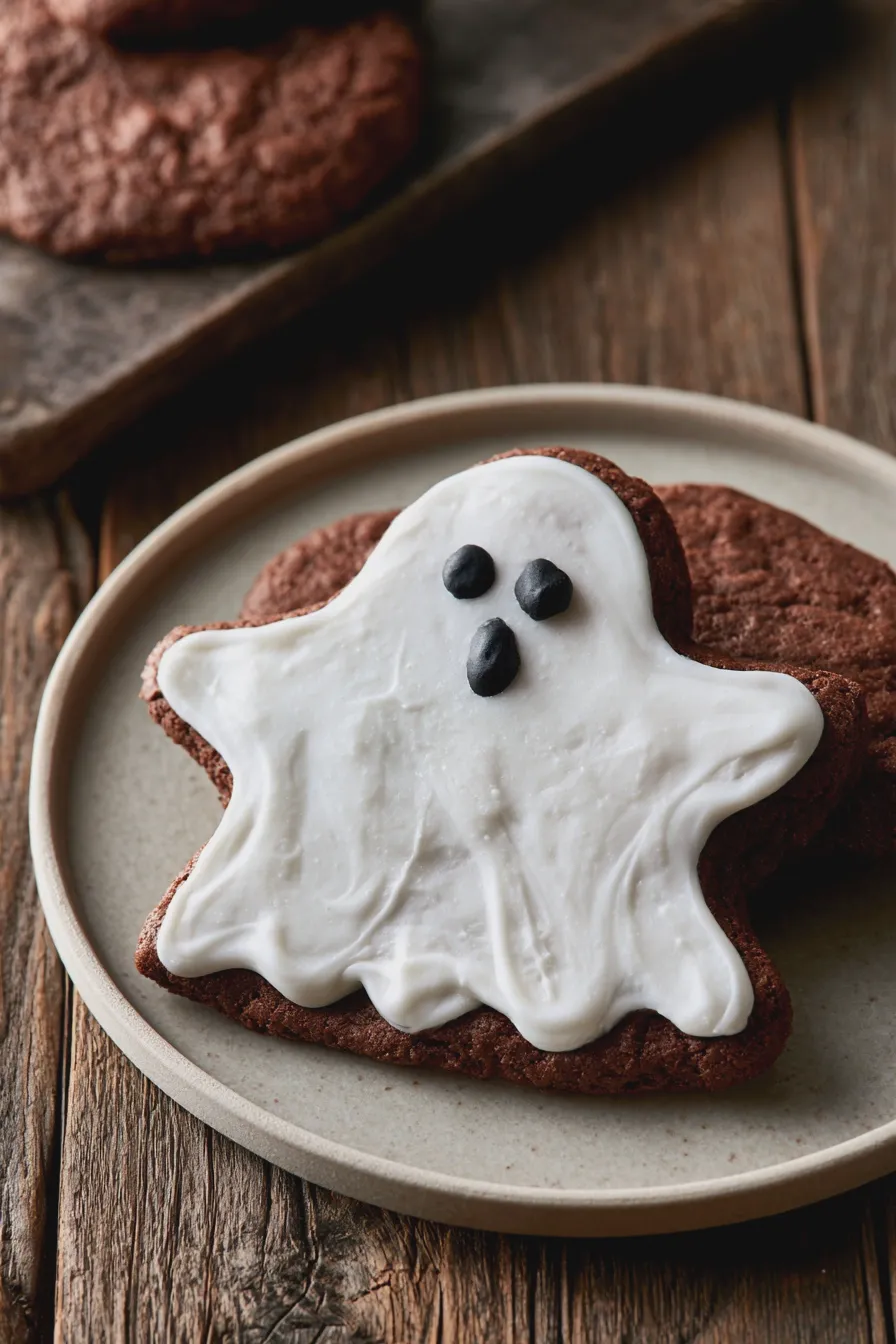
White frosting is your best friend here. Spread it generously over one cookie, then top with another. Once assembled, pipe a simple ghost shape on top using white frosting, letting it drip slightly down the sides for a classic ghostly appearance. Two tiny dots of black frosting or edible marker will create the eyes. These are some of the easiest and most charming ghost sandwich cookies.
Witch Sandwich Cookies
Green frosting is perfect for witch faces. Pipe on some hair using black or dark purple frosting. You can use a small piece of black licorice or a candy witch hat for a signature witch accessory. A little bit of green frosting can be shaped into a crooked nose. These witch sandwich cookies are sure to cast a spell on your guests.
Vampire Sandwich Cookies
Chocolate cookies are a great base for vampire sandwich cookies. Use red frosting for dripping “blood” down the sides or as a tongue sticking out. You can add two small white candy fangs to the top cookie before assembling, or pipe them on. A touch of black frosting can create spooky eyes.
Looking for more? Try this delicious Cookie Dough Ice Cream next.
Mummy Sandwich Cookies
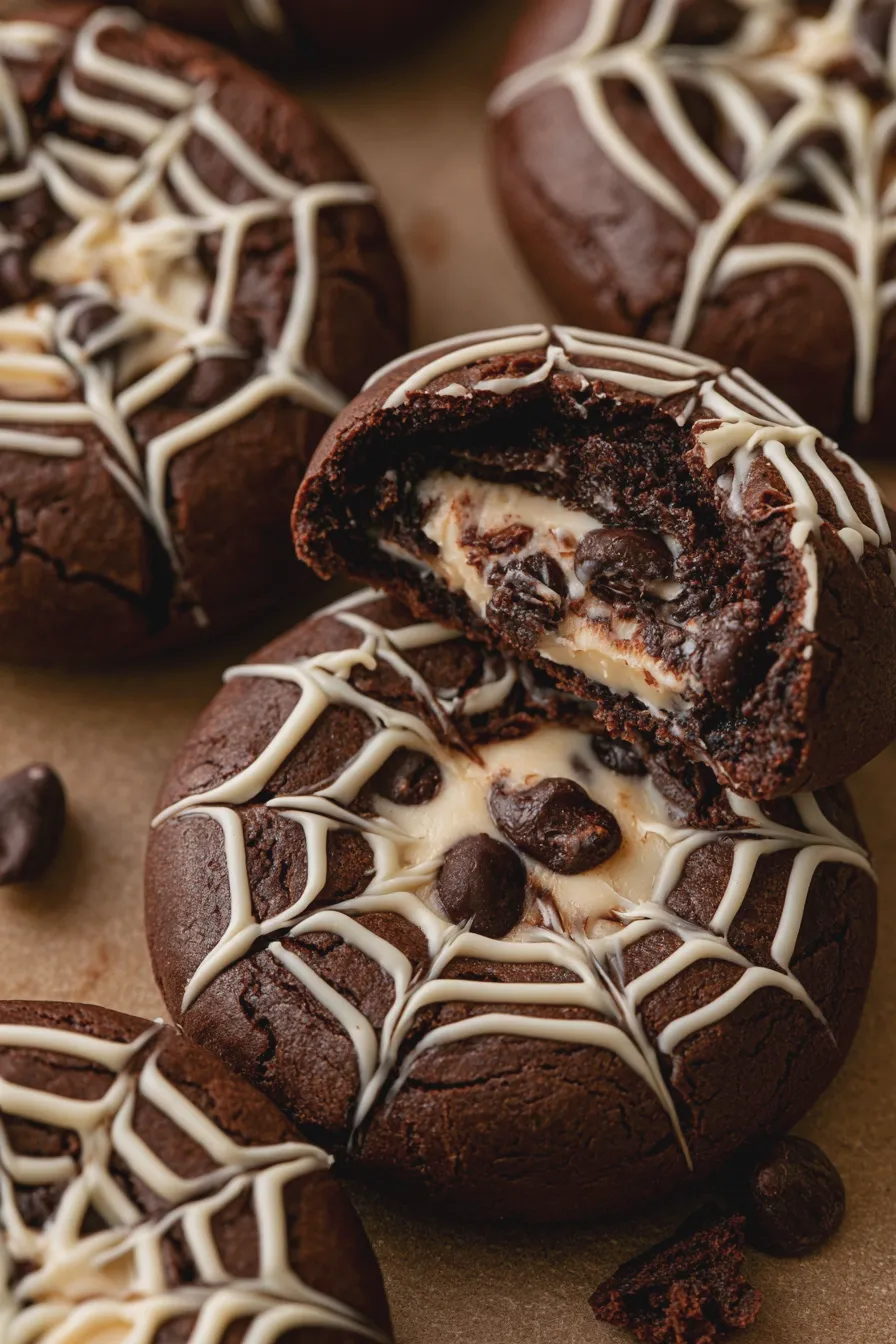
Another easy one! Frost the assembled cookie with white or cream cheese frosting. Then, using a piping bag with a small round tip, pipe thin lines of white frosting back and forth across the cookie to create mummy bandages. Leave a small gap for two little candy eyes peeking through. These mummy sandwich cookies are always a hit.
Pumpkin Sandwich Cookies
Orange frosting is key! Frost your assembled cookies with a vibrant orange. You can then pipe on a green stem and leaves using green frosting. For a simpler approach, use black frosting to draw Jack-o’-lantern faces on orange-frosted cookies. These pumpkin sandwich cookies bring a cheerful harvest feel to your Halloween spread.
Black and Orange Sandwich Cookies
This is a classic Halloween color combination. You can make two batches of cookies, one dyed black and one dyed orange, or simply use black and orange frosting to decorate plain cookies. Swirl black and orange frosting together for a marbled effect, or create stripes. These black and orange sandwich cookies are festive and easy.
Candy Corn Sandwich Cookies
Recreate the iconic candy corn look! Use yellow frosting for the bottom third of the cookie, white for the middle third, and orange for the top. You can achieve this by carefully spreading or piping the colors in sections. These candy corn sandwich cookies are a sweet nod to a Halloween favorite.
If you enjoyed this, you might also love our Easy Homemade Ice Cream Recipe recipe.
Tips for Perfect Halloween Sandwich Cookies

Baking and decorating should be enjoyable! Here are some tips to make your halloween sandwich cookies a success:
- Chill Your Dough: For sugar cookies that hold their shape, chilling the dough for at least 30 minutes before rolling and cutting is crucial. This prevents excessive spreading.
- Even Baking: Rotate your baking sheets halfway through the baking time to ensure even browning. Don’t overbake; slightly underbaked cookies will be softer and chewier.
- Cool Completely: Ensure your cookies are completely cool before frosting and assembling. Warm cookies will melt the frosting, creating a mess.
- Piping Bags and Tips: Invest in a set of piping bags and various tips. They make decorating much easier and give you more control for intricate designs. For simple frosting, a Ziploc bag with a corner snipped off works too.
- Food Coloring: Gel food coloring provides more vibrant colors than liquid food coloring without adding too much moisture to your frosting.
- Edible Decorations: Stock up on edible eyes, sprinkles, sanding sugar, and small candies. They are quick ways to add personality and flair to your spooky sandwich cookies.
- Practice Makes Perfect: Don’t be discouraged if your first few attempts at decorating aren’t perfect. The more you practice, the better you’ll become at creating your halloween cookie decorating ideas.
- Storage: Store your finished halloween sandwich cookies in an airtight container at room temperature for up to 3-4 days. If they have a cream cheese filling, they may need to be refrigerated.
Common Mistakes to Avoid

Even experienced bakers can run into trouble. Here are a few common mistakes to watch out for when making your diy halloween cookies:
- Overmixing Dough: Overmixing cookie dough, especially sugar cookie dough, can develop the gluten too much, resulting in tough cookies. Mix just until the ingredients are combined.
- Rolling Too Thin or Too Thick: Aim for a consistent thickness of about 1/4 inch for your cookies. Too thin and they’ll be fragile; too thick and they might not bake through evenly.
- Frosting Too Soon: As mentioned, frosting warm cookies is a recipe for disaster. Patience is key!
- Using Too Much Liquid: Whether it’s in the dough or the frosting, too much liquid can cause cookies to spread excessively or frosting to be too thin to work with.
- Forgetting to Chill: Skipping the chilling step for sugar cookie dough is a frequent cause of flat, shapeless cookies.
Making Halloween Cookie Ideas for Kids Fun and Easy
When involving children in the kitchen, focus on the fun and less on perfection. These halloween cookie ideas for kids are designed to be simple and engaging:
- Pre-made Cookies: For very young children, start with store-bought cookies. They can then focus solely on the decorating aspect.
- Simple Designs: Stick to designs like ghosts, monsters with candy eyes, or simple sprinkles. These are easier for little hands to manage.
- Coloring Frosting: Let kids help mix the food coloring into the frosting. It’s a sensory and exciting part of the process.
- Unlimited Sprinkles: Kids love sprinkles! Let them go wild decorating their festive halloween cookies.
- Edible Markers: These are great for drawing simple faces or details on frosted cookies without the mess of piping.
These halloween sandwich cookies are more than just a dessert; they are a creative outlet and a way to make lasting memories. Whether you’re crafting creepy sandwich cookies or cute pumpkin sandwich cookies, the joy is in the making and sharing. These easy halloween cookie recipes are sure to become a family favorite tradition. For more festive cookie inspiration, consider trying out Pumpkin Spice Cookies Recipe during the fall season.
Don’t miss out on our guide to How To Make Ice Cream At Home.
Print
Halloween Sandwich Cookies Recipe
Description
Whip up these fun and festive Halloween sandwich cookies for a delightful spooky treat! These cookies are perfect for parties, lunchboxes, or just a fun baking project with kids.
Ingredients
- 2 ¼ cups all-purpose flour
- ½ teaspoon baking soda
- ¼ teaspoon salt
- 1 cup (2 sticks) unsalted butter, softened
- ¾ cup granulated sugar
- ½ cup packed light brown sugar
- 1 large egg
- 1 teaspoon vanilla extract
- 1 cup chocolate chips (for filling)
- Optional: Orange and black food coloring for dough
Instructions
- Preheat oven to 375°F (190°C). Line baking sheets with parchment paper.
- In a medium bowl, whisk together flour, baking soda, and salt.
- In a large bowl, cream together softened butter, granulated sugar, and brown sugar until light and fluffy.
- Beat in the egg and vanilla extract until well combined.
- Gradually add the dry ingredients to the wet ingredients, mixing until just combined.
- If desired, divide the dough in half and tint one half orange and the other half black.
- Drop rounded tablespoons of dough onto the prepared baking sheets, about 2 inches apart. Flatten slightly with the bottom of a glass.
- Bake for 10-12 minutes, or until the edges are lightly golden. Let cool on the baking sheets for a few minutes before transferring to a wire rack to cool completely.
- Once cookies are completely cool, spread a thin layer of chocolate chips on the flat side of one cookie and top with another cookie to form a sandwich.
- Repeat with remaining cookies.
Notes
- For an extra spooky touch, you can add edible googly eyes or Halloween-themed sprinkles after frosting.
- The dough can be chilled for 30 minutes before baking if it seems too soft.
- Store cookies in an airtight container at room temperature for up to 3 days.
Nutrition
- Calories: 200
- Sugar: 15g
- Sodium: 50mg
- Fat: 12g
- Carbohydrates: 22g
- Protein: 2g