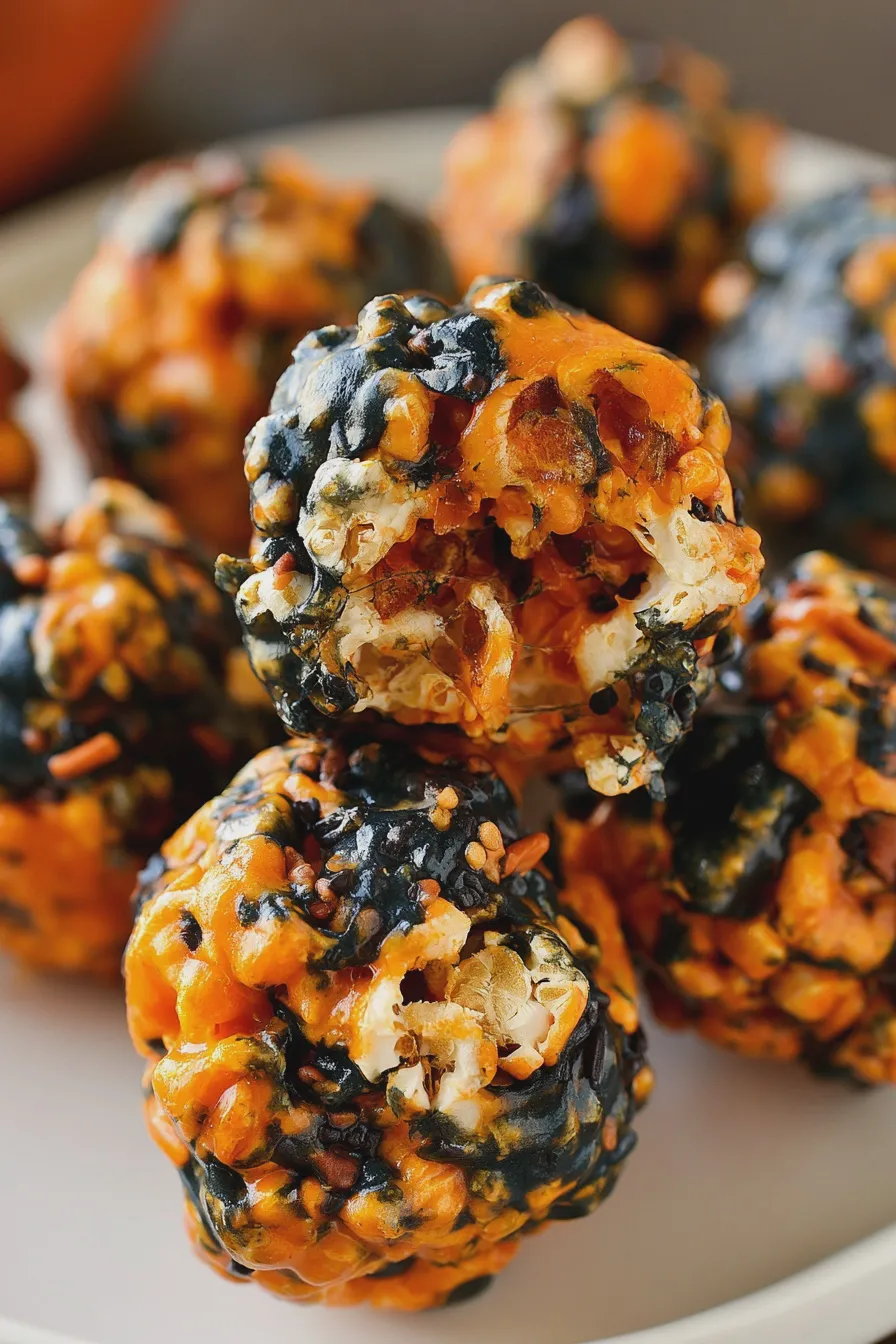
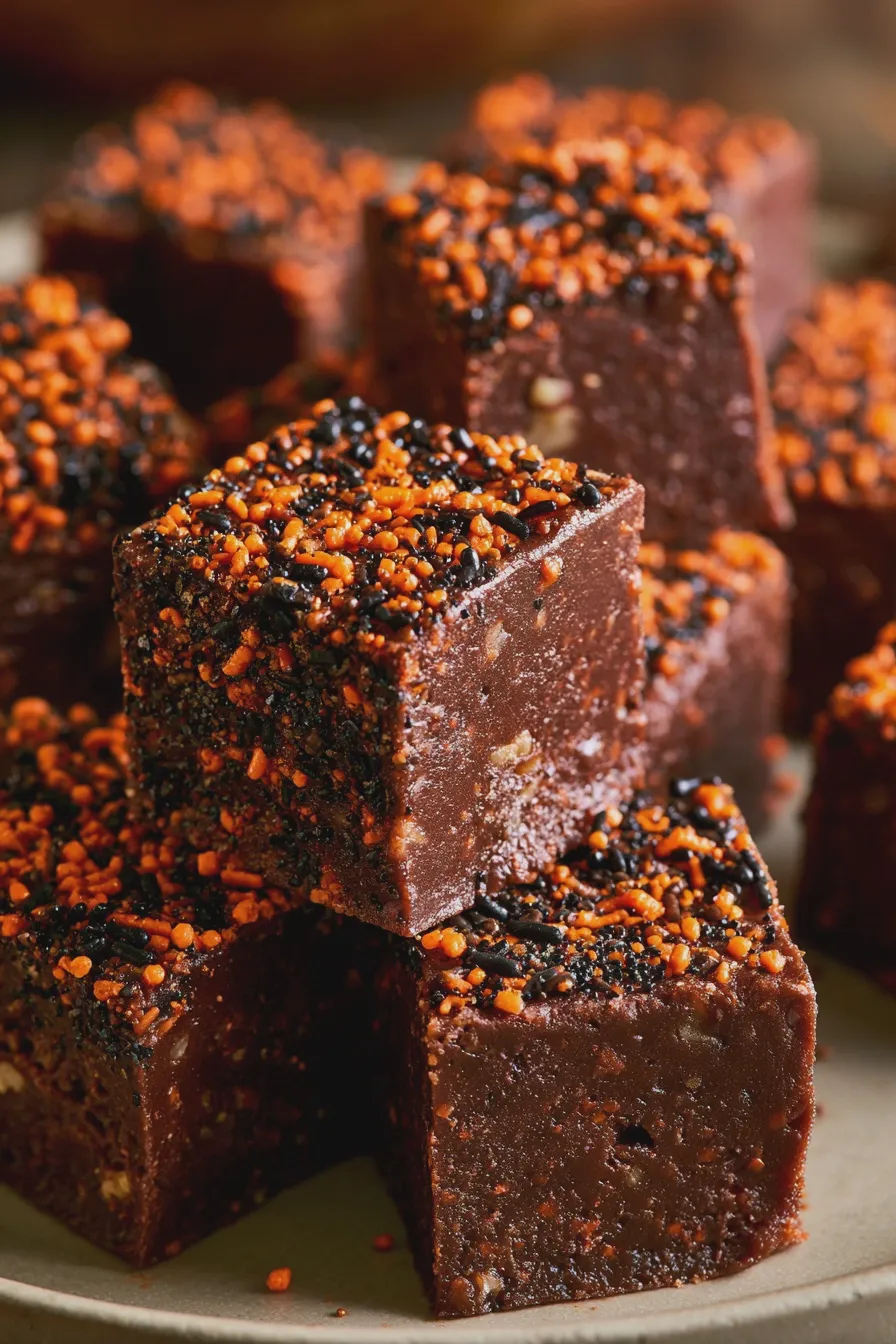
Get ready to spookify your kitchen with the most delightful halloween brownie cups! These little bites of chocolatey goodness are perfect for adding a festive touch to any Halloween gathering. Whether you’re baking with kids or looking for some quick Halloween brownies to impress your guests, this recipe is sure to be a hit. They are incredibly versatile, allowing for endless creative decorating possibilities that transform them into truly spooky brownie bites. Let’s dive into creating some fun Halloween treats that are as delicious as they are visually exciting. For more inspiration on festive baking, check out these easy Halloween desserts.
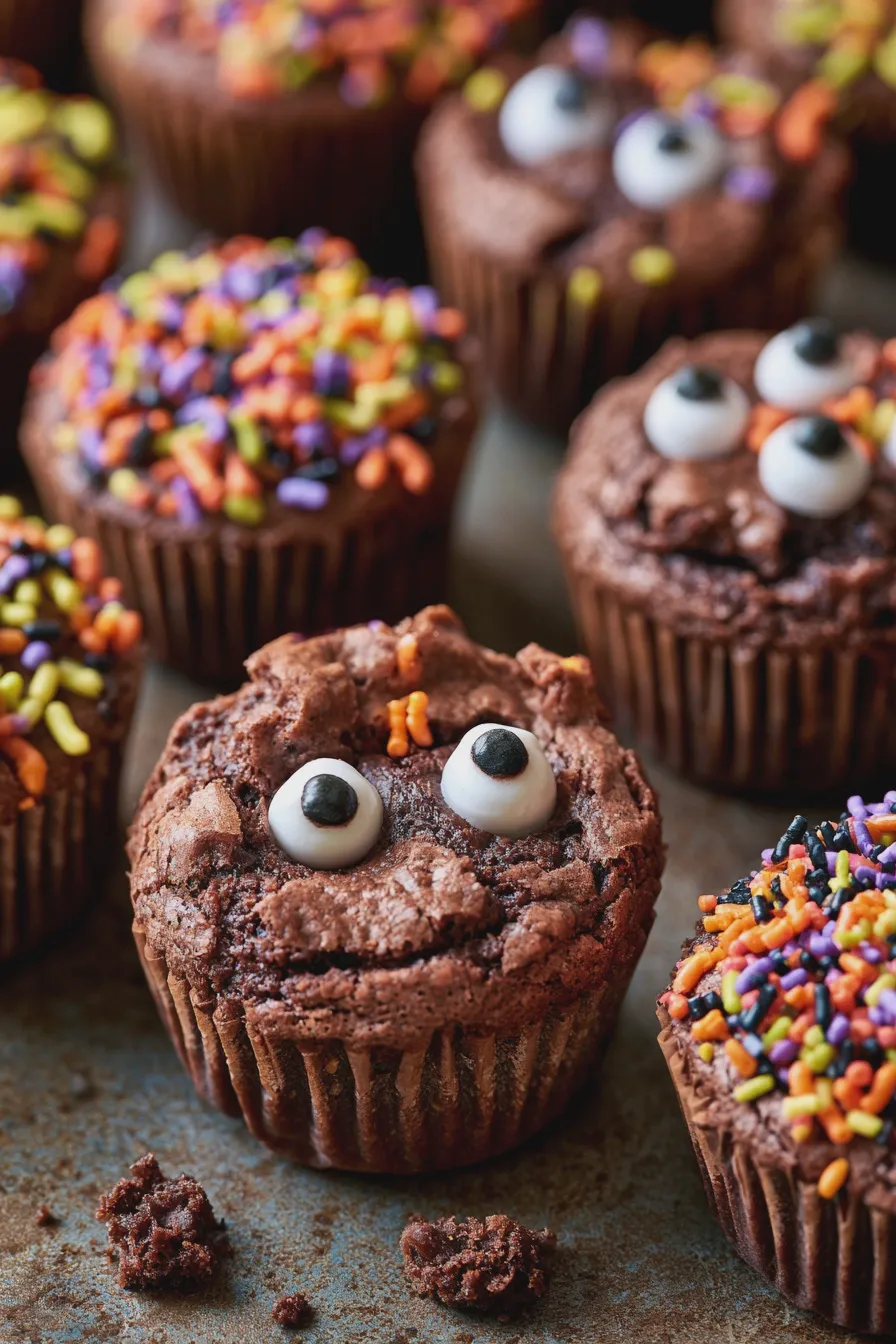
The Ultimate Halloween Brownie Cups Recipe
This recipe focuses on creating a rich, fudgy brownie base that bakes perfectly in muffin tins, forming adorable brownie cookie cups halloween style. The key to perfect brownie cups is a dense batter that doesn’t puff up too much, ensuring those signature brownie edges and a chewy center. We’ll start with a simple, yet decadent, brownie batter that’s easy to whip up, even for beginner bakers.
Ingredients You’ll Need
Gathering your ingredients is the first step to baking success. For our base halloween brownie cups recipe, you’ll need:
Looking for more? Try this delicious Brownie With Ice Cream next.
- 1/2 cup (1 stick) unsalted butter
- 4 ounces unsweetened chocolate, chopped
- 1 cup granulated sugar
- 2 large eggs
- 1 teaspoon vanilla extract
- 1/2 cup all-purpose flour
- 1/4 teaspoon salt
- Optional: Chocolate chips, nuts, or your favorite brownie additions
Step-by-Step Brownie Base Instructions
Follow these straightforward steps to create the perfect base for your spooky dessert cups halloween.
- Preheat and Prep: Preheat your oven to 350°F (175°C). Grease and flour a 24-cup mini muffin tin or line with mini muffin liners. This step is crucial to prevent sticking and ensure easy removal of your festive brownie recipes. For best results, consider using a baking spray with flour.
- Melt Chocolate and Butter: In a medium saucepan over low heat, melt the butter and unsweetened chocolate together, stirring constantly until smooth. Remove from heat and let it cool slightly. This gentle melting process ensures the chocolate doesn’t scorch.
- Combine Wet Ingredients: In a large bowl, whisk together the granulated sugar and eggs until well combined. Stir in the vanilla extract.
- Incorporate Chocolate Mixture: Gradually whisk the slightly cooled chocolate mixture into the egg and sugar mixture until smooth and glossy.
- Add Dry Ingredients: In a separate small bowl, whisk together the flour and salt. Gently fold the dry ingredients into the wet ingredients until just combined. Be careful not to overmix, as this can lead to tough brownies. Overmixing is a common mistake that affects the texture of your chocolate halloween treats.
- Add Optional Mix-ins: If using, gently fold in chocolate chips or nuts at this stage.
- Fill Muffin Cups: Spoon about 1-2 tablespoons of batter into each prepared mini muffin cup. They should be about two-thirds full.
- Bake: Bake for 18-22 minutes, or until a toothpick inserted into the center comes out with moist crumbs attached. Avoid overbaking, which will result in dry brownie cookie cups halloween.
- Cool: Let the brownie cups cool in the muffin tin for about 10 minutes before transferring them to a wire rack to cool completely. This allows them to set properly, making them easier to handle for decorating.
Decorating Your Spooky Brownie Bites
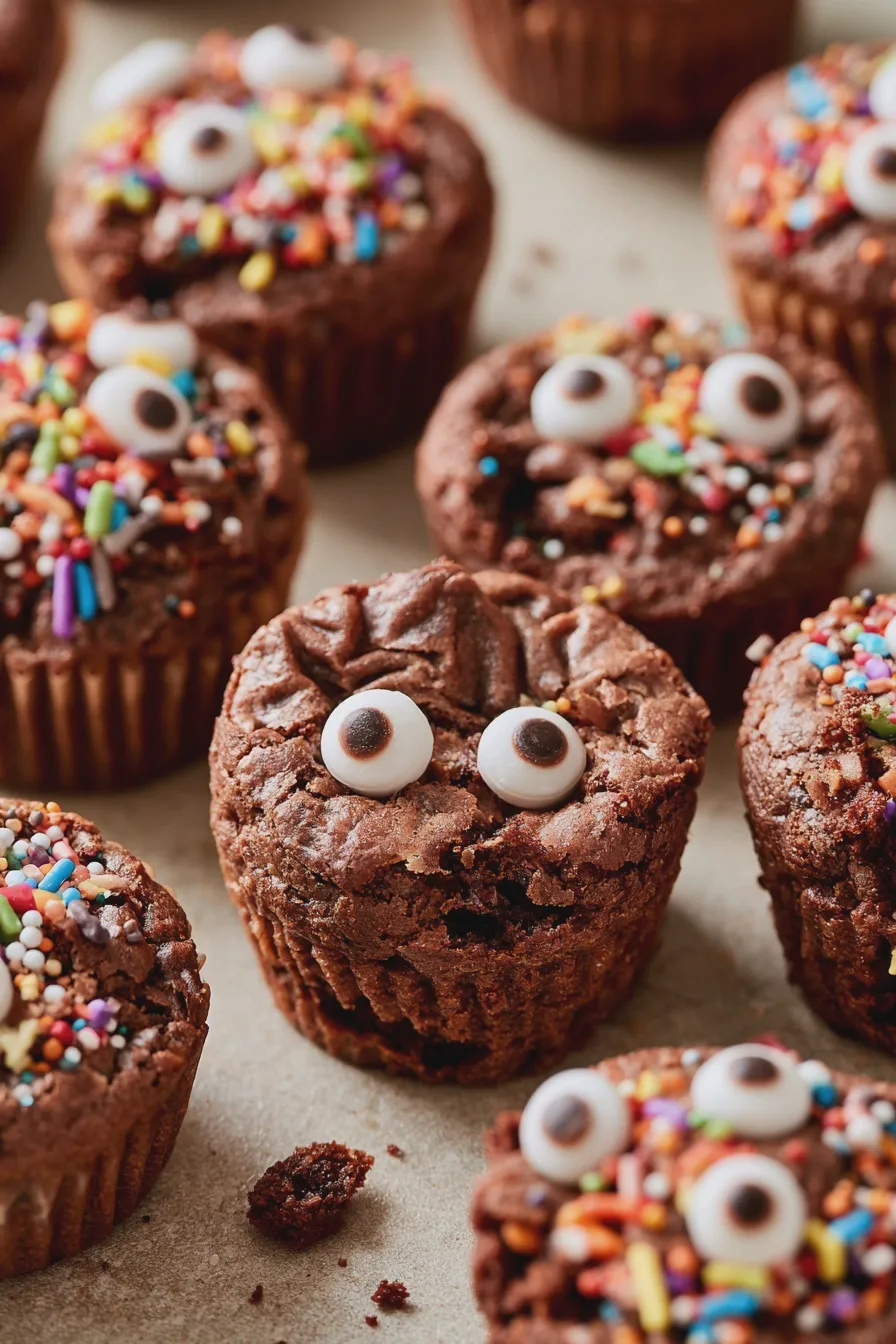
Now for the fun part – transforming these delicious brownie cups into Halloween masterpieces! This is where your creativity can shine, making them perfect for kids Halloween baking and fun Halloween treats. We’ll explore a few popular decorating ideas for your halloween brownie cups recipe.
Looking for more? Try this delicious How To Make Ice Cream At Home next.
Ghost Brownies
These are incredibly cute halloween brownies and a favorite for many. They’re simple to make and always a crowd-pleaser, fitting perfectly into the spooky dessert ideas category.
- Base: Use the cooled brownie cups.
- Frosting: Prepare a simple vanilla buttercream or cream cheese frosting. Tint it white.
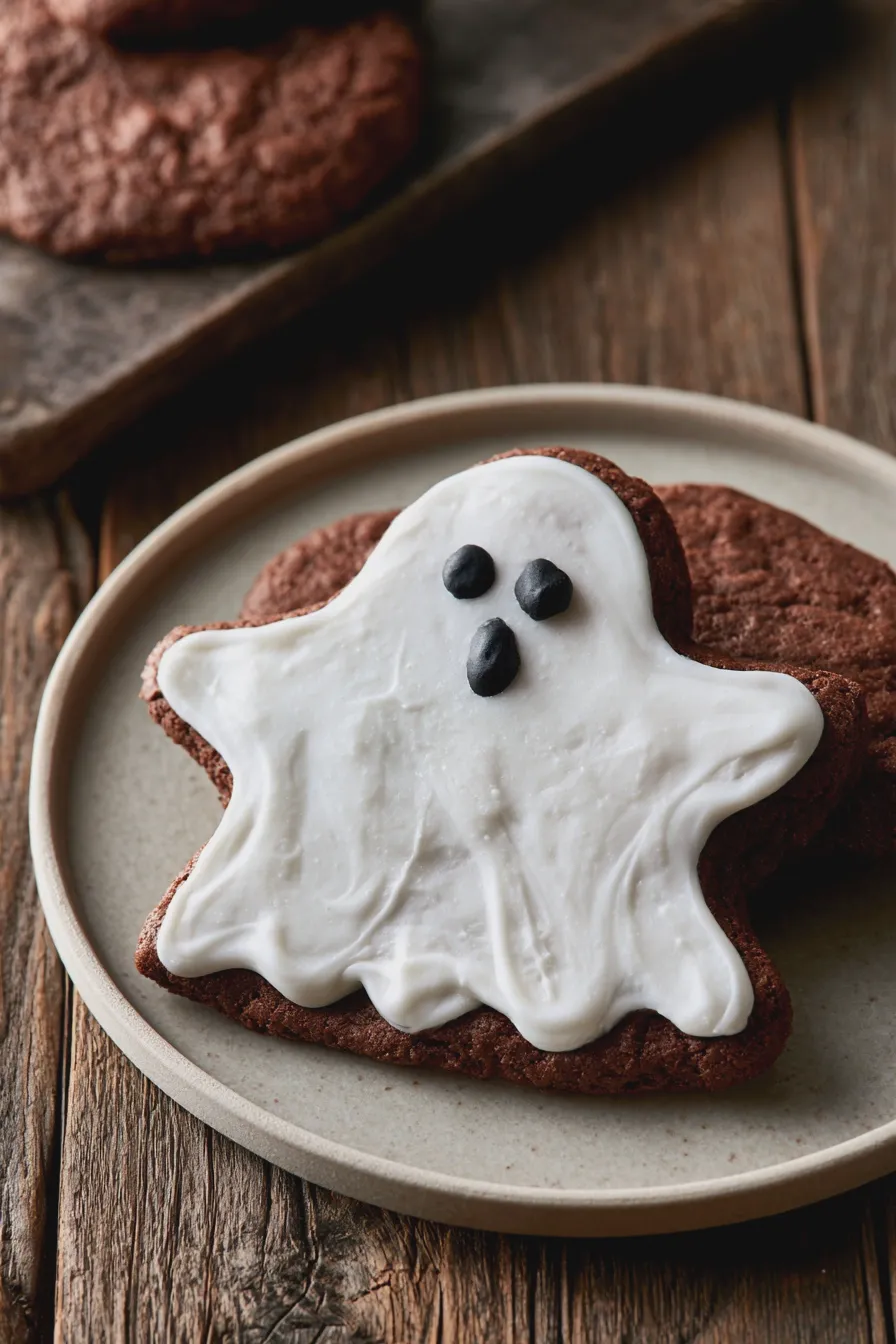
- Decorating: Pipe a swirl of white frosting onto each brownie cup, creating a ghost shape. Use mini chocolate chips or edible black marker to add eyes and a mouth. For a more ethereal look, you can leave the frosting slightly swirled. These are wonderfully cute halloween brownies.
Spiderweb Brownies
These spiderweb brownies offer a touch of spooky sophistication. They are a classic for a reason and look fantastic on any Halloween party dessert table.
Another favorite of ours is the How To Fold Ingredients Without Deflating.
- Base: Cooled brownie cups.
- Frosting: Tint a batch of buttercream frosting black or dark purple. You could also use a chocolate ganache for a richer flavor.
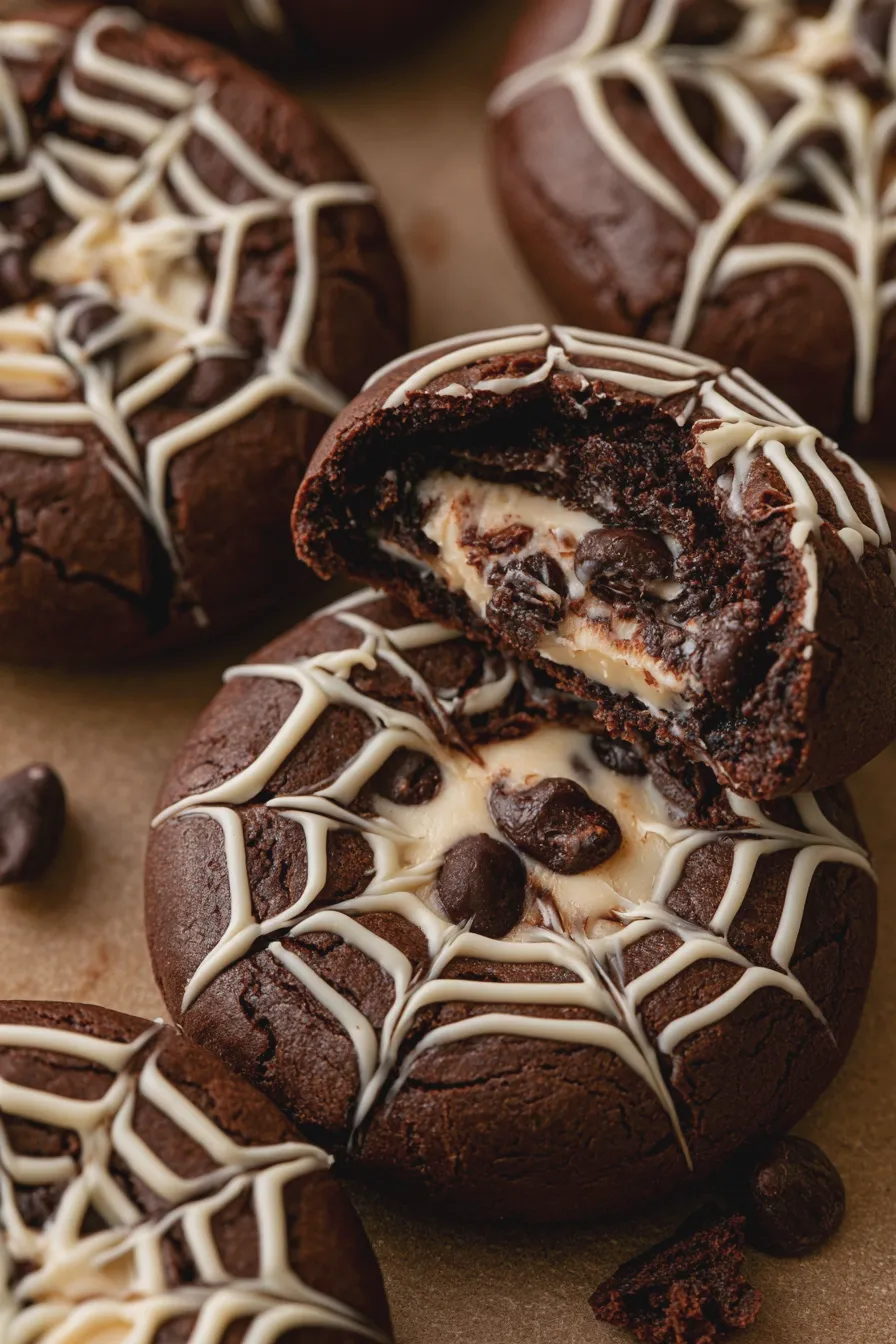
- Decorating: Spread a thin, even layer of the dark frosting over each brownie cup. Then, using white royal icing or melted white chocolate in a piping bag with a fine tip, draw concentric circles on top of the dark frosting. Drag a toothpick from the center outwards through the white lines to create the spiderweb effect. This is a great technique for creating intricate designs on your halloween dessert cups.
Mummy Brownies
Mummy brownies are a playful and easy option, especially for children to help with. They are a fantastic example of chocolate halloween treats that are both fun and tasty.
- Base: Cooled brownie cups.
- Frosting: Use white frosting or melted white chocolate.
- Decorating: Pipe thin, wavy strips of white frosting or drizzle melted white chocolate across the top of each brownie cup to resemble mummy bandages. Leave a small gap for the eyes. Add two small dots of black edible marker or mini chocolate chips for the mummy’s eyes. These are some of the easiest and most recognizable ghost brownies and mummy brownies.
Witch Finger Brownies
For a slightly more detailed, yet still achievable, decoration, try witch finger brownies. These require a bit more shaping but are incredibly impactful.
If you enjoyed this, you might also love our How To Cream Butter And Sugar recipe.
- Base: Cooled brownie cups.
- Frosting: Green buttercream frosting.
- Decorating: Spread a layer of green frosting onto the brownie cups. Use a piping bag to create a finger shape, elongating the brownie slightly. For the fingernail, press a slivered almond into the tip of the “finger” before the frosting sets. You can also use a knife to gently score lines on the frosting to mimic knuckle wrinkles. These are a more advanced, but very rewarding, addition to your spooky brownie bites collection.
Tips for Perfect Halloween Brownie Cups
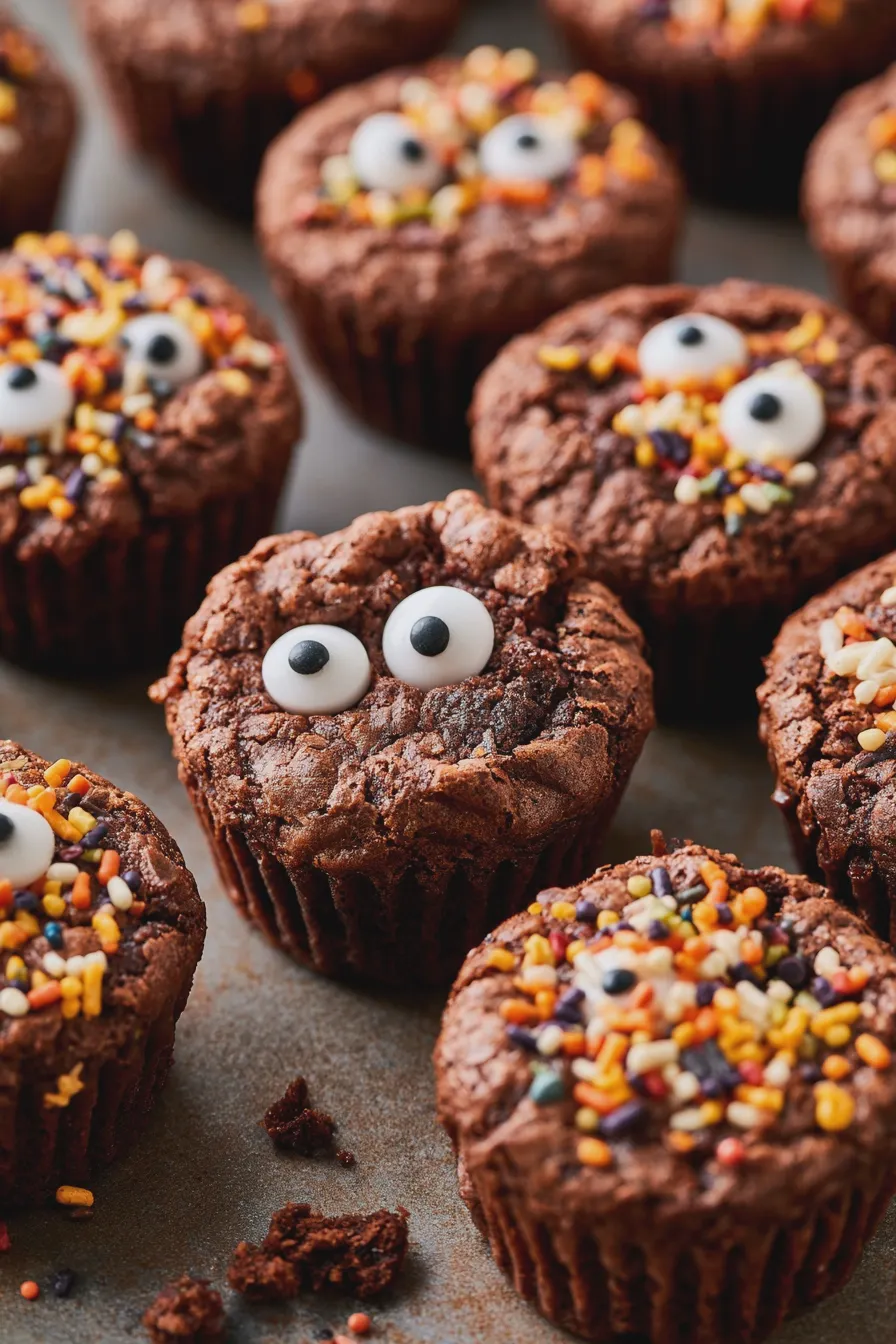
Baking is all about the details! Here are some expert tips to ensure your halloween brownie cups turn out wonderfully:
- Don’t Overmix the Batter: Overmixing develops the gluten in the flour, leading to tough brownies. Mix until just combined.
- Accurate Measuring: Especially for flour, use the spoon-and-level method to avoid adding too much, which can make brownies dry.
- Baking Time is Key: Ovens vary. Start checking for doneness a few minutes before the suggested time. A toothpick with moist crumbs is the goal, not completely clean.
- Cool Completely Before Decorating: Warm brownies will melt frosting. Patience is a virtue here!
- Use Quality Chocolate: The flavor of your brownies heavily relies on the chocolate used. Opt for good quality unsweetened chocolate for the best taste. For more on chocolate, explore chocolate baking techniques.
- Lining vs. Greasing: Mini muffin liners can sometimes stick to brownies. Greasing and flouring the pan directly often yields cleaner results, especially for fudgy recipes.
Common Mistakes to Avoid
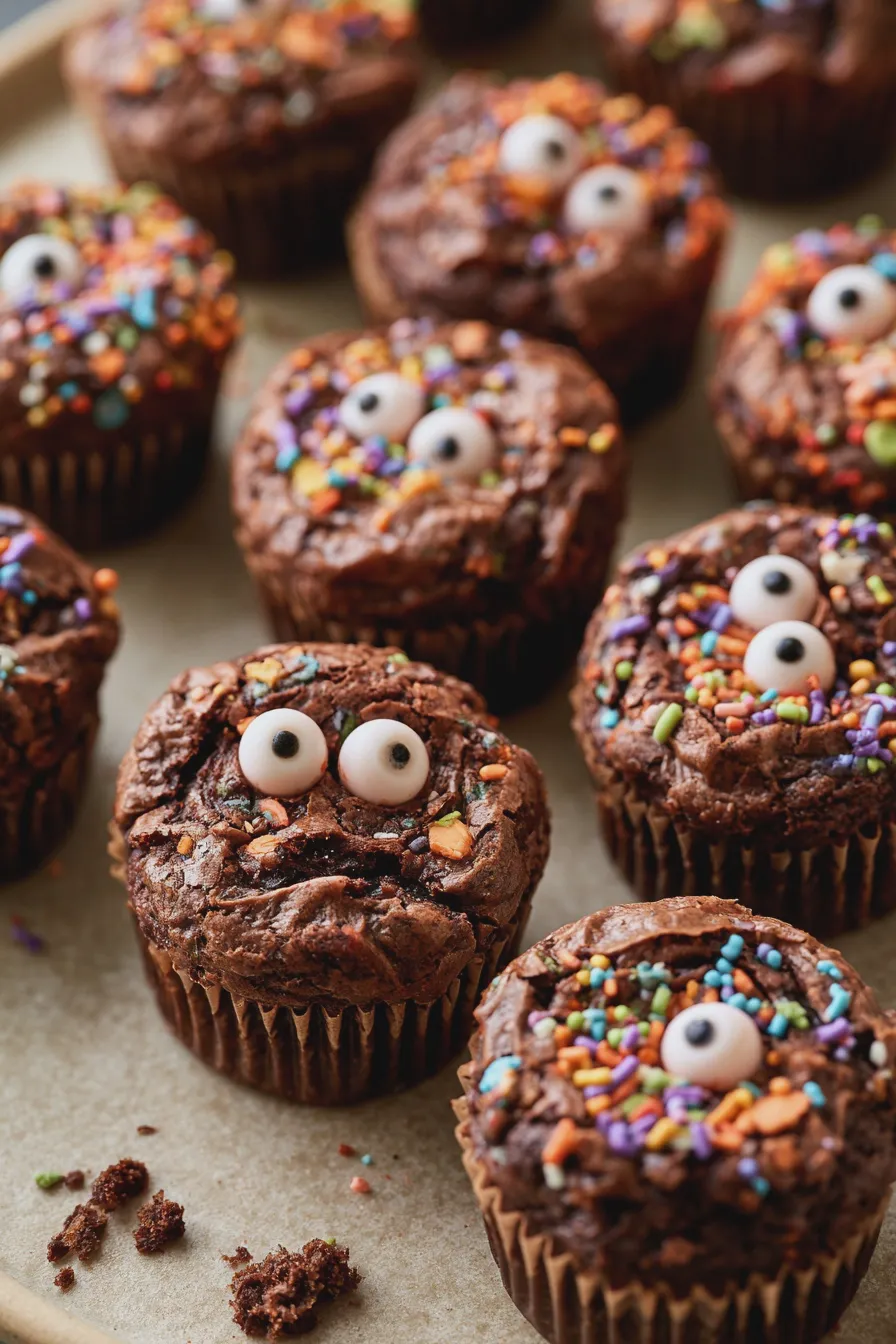
Even experienced bakers can make a few missteps. Here are some common mistakes to watch out for with your halloween brownie cups:
Don’t miss out on our guide to How To Prepare A Cake Pan To Prevent Sticking.
- Overbaking: This is the most frequent culprit for dry brownies. Keep a close eye on them in the oven.
- Not Letting Them Cool Enough: As mentioned, decorating warm brownies is a recipe for a melty mess.
- Using Low-Quality Ingredients: Cheap chocolate or stale baking powder can significantly impact the final taste and texture.
- Incorrect Oven Temperature: An oven thermometer can help ensure your oven is calibrated correctly. Too hot and they burn; too cool and they won’t bake properly.
- Forgetting the Salt: Salt enhances the chocolate flavor and balances the sweetness. Don’t skip it!
Variations and Additions
Once you’ve mastered the basic halloween brownie cups recipe, feel free to experiment! Consider these fun additions:
- Peanut Butter Swirl: Swirl some peanut butter into the batter before baking for a peanut butter chocolate combination.
- Candy Eyes: Use various sizes of candy eyes for instant spooky characters on your ghost brownies or mummy brownies.
- Edible Glitter: A sprinkle of edible glitter can add a magical shimmer to any of your halloween chocolate recipes.
- Different Frosting Flavors: Try a chocolate buttercream or a caramel frosting for a different flavor profile.
- Mini M&Ms or Sprinkles: Add Halloween-colored M&Ms or spooky-themed sprinkles to the batter or as decoration.
These brownie cups are incredibly adaptable, making them perfect for a variety of festive brownie recipes and quick Halloween brownies. They are a fantastic base for creating all sorts of cute halloween brownies and spooky dessert ideas.
Looking for more? Try this delicious Creaming Method For Cakes And Cookies next.
Print
Halloween Brownie Cups Quick and Easy Recipe
- Total Time: PT40M
- Yield: 24 brownie cups 1x
- Diet: Vegetarian
Description
These rich and fudgy brownie cups are the perfect spooky treat for Halloween! Easy to make and fun to decorate with your favorite Halloween candies.
Ingredients
- 1 cup (2 sticks) unsalted butter, melted
- 2 cups granulated sugar
- 1 cup all-purpose flour
- 1 cup unsweetened cocoa powder
- 1 teaspoon baking powder
- 1/2 teaspoon salt
- 4 large eggs
- 1 teaspoon vanilla extract
- 1 cup chocolate chips (optional)
- Halloween-themed sprinkles, candies, or frosting for decoration
Instructions
- Preheat oven to 350°F (175°C). Grease and flour a 24-cup mini muffin tin or line with mini muffin liners.
- In a large bowl, whisk together melted butter and granulated sugar until well combined.
- In a separate medium bowl, whisk together flour, cocoa powder, baking powder, and salt.
- Add eggs one at a time to the butter-sugar mixture, beating well after each addition. Stir in the vanilla extract.
- Gradually add the dry ingredients to the wet ingredients, mixing until just combined. Do not overmix.
- If using, fold in the chocolate chips.
- Spoon the batter evenly into the prepared mini muffin cups, filling each about two-thirds full.
- Bake for 18-22 minutes, or until a toothpick inserted into the center comes out with moist crumbs attached.
- Let the brownie cups cool in the tin for a few minutes before transferring them to a wire rack to cool completely.
- Once cooled, decorate with Halloween sprinkles, candies, or frosting as desired.
Notes
- For extra fudgy brownies, use good quality cocoa powder.
- You can also bake these in a regular muffin tin, but baking time will increase.
- Store cooled brownie cups in an airtight container at room temperature for up to 3 days.
- Prep Time: PT20M
- Cook Time: PT20M
- Category: Dessert
- Method: Baking
- Cuisine: American
Nutrition
- Serving Size: 1 brownie cup
- Calories: 200
- Sugar: 25g
- Sodium: 80mg
- Fat: 10g
- Saturated Fat: 6g
- Carbohydrates: 28g
- Fiber: 2g
- Protein: 3g
- Cholesterol: 50mg