")
Table of Contents
Are you ready to dive into the delightful world of creaming butter and sugar? It’s a fundamental technique in many of our favorite dessert recipes, from fluffy cakes to melt-in-your-mouth cookies.
Mastering this step is key to achieving the perfect texture and rise in your baked goods. Let’s get started on the path to baking bliss! If you’re new to baking, you might want to explore some basic recipes first. Here’s a great place to start.
What is Creaming?
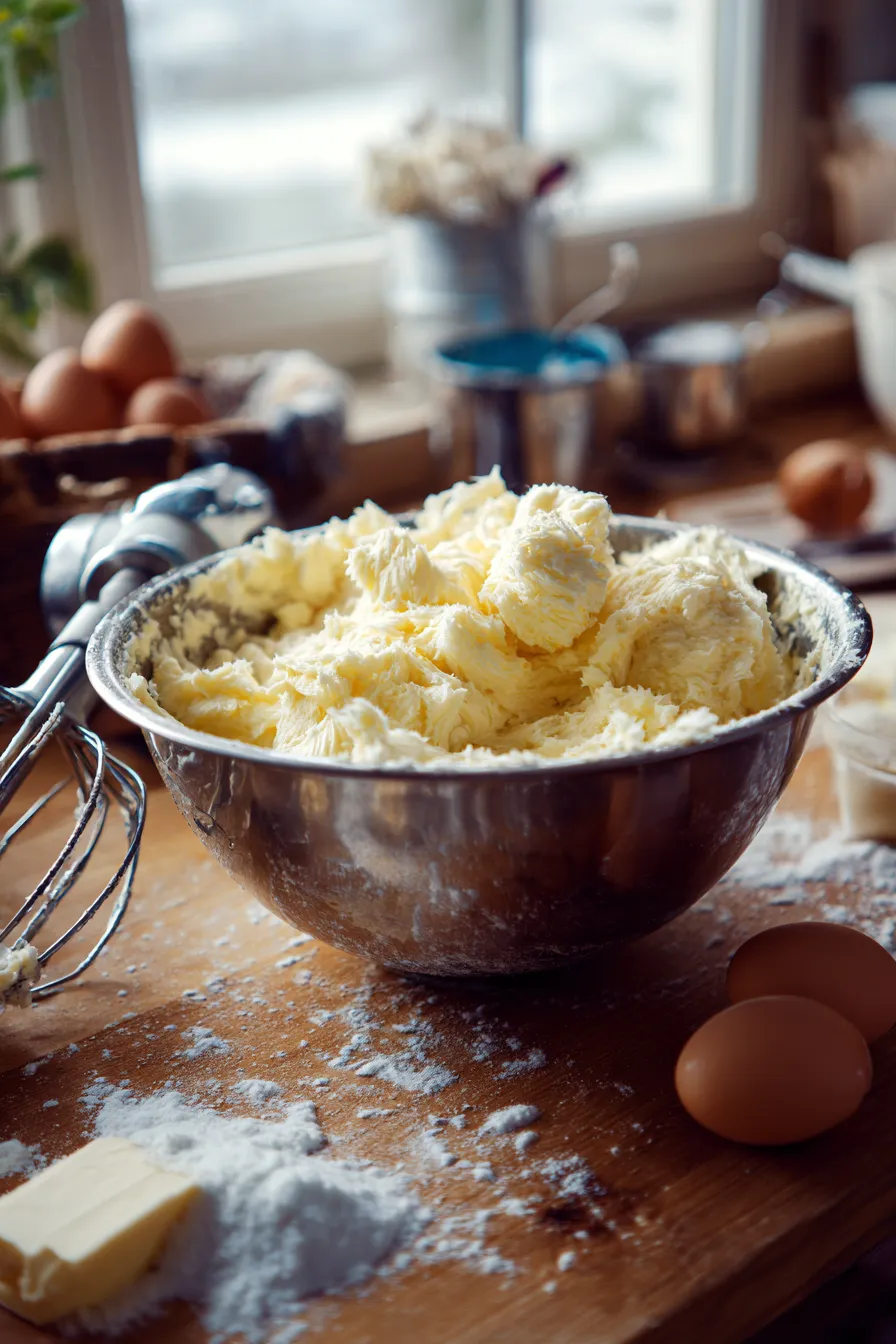
How to cream butter and sugar: Creaming is the process of beating together softened butter and sugar until the mixture becomes light, fluffy, and pale in color. This process incorporates air into the butter, which is crucial for leavening. That air creates the airy texture we love in cakes and cookies. It’s not just about mixing; it’s about transforming ingredients into something magical!
The science behind creaming is fascinating. As you beat the butter and sugar, the sharp sugar crystals cut into the butter. This creates tiny pockets that trap air. As the mixture is baked, the trapped air expands, leading to a light and tender crumb.
Different types of sugar can affect the outcome. For example, powdered sugar incorporates easily, while granulated sugar provides structure. For more information, try searching. Here’s a good resource.
The Right Ingredients and Equipment
Before you even think about turning on your mixer, gather your ingredients and equipment. Using the right tools and having your ingredients ready will make the process much smoother.
The Butter
The butter should be the star of the show! Make sure it’s softened but not melted. Softened butter should give slightly when pressed but still hold its shape. If it’s too soft, it won’t be able to trap air effectively. If it’s too cold, it won’t cream properly.
Remove the butter from the refrigerator about 30–60 minutes before you plan to bake, depending on the temperature of your kitchen. Cut it into cubes to help it soften evenly.
Unsalted butter is generally preferred, as it gives you more control over the salt content of your recipe. However, if you only have salted butter, you can still use it. Just be sure to reduce the amount of salt in the recipe accordingly. The butter’s fat content also matters. Butter with a higher fat content (around 82%) will cream better, resulting in a lighter texture.
The Sugar
Granulated sugar is the most common type used for creaming. Its crystalline structure is perfect for aerating the butter.
You can also experiment with other types of sugar, such as brown sugar, which adds moisture and a deeper flavor. Make sure your sugar is fresh and hasn’t clumped together. Clumpy sugar won’t cream evenly.
Equipment Essentials
Here’s what you’ll need to get started:
- A Stand Mixer or Hand Mixer: A stand mixer is ideal, as it frees up your hands. But a hand mixer works just fine, too!
- A Mixing Bowl: Choose a bowl that’s large enough to accommodate the butter and sugar and provides enough space for mixing.
- A Rubber Spatula: This is essential for scraping down the sides and bottom of the bowl, ensuring everything is evenly incorporated.
- Measuring Cups and Spoons: Accurate measurements are crucial in baking.
Step-by-Step Guide to How to cream butter and sugar
Now, let’s get down to the nitty-gritty of creaming butter and sugar. Follow these steps for perfect results every time:
- Get Ready: Ensure your butter is softened to the correct consistency. Cut it into cubes for easier mixing. Measure out your sugar and have it ready.
- The Initial Creaming: Place the softened butter in your mixing bowl. If using a stand mixer, use the paddle attachment. If using a hand mixer, make sure the beaters are attached. Start mixing the butter on medium speed until it’s smooth and creamy.
- Adding the Sugar: Gradually add the sugar to the butter, about 1/4 cup at a time. This prevents the sugar from flying out of the bowl and ensures it incorporates evenly.
- The Creaming Process: Once all the sugar is added, increase the mixer speed to medium-high. Beat the mixture for 3–5 minutes, or until it becomes light, fluffy, and pale in color. The mixture should increase in volume and look noticeably different from when you started.
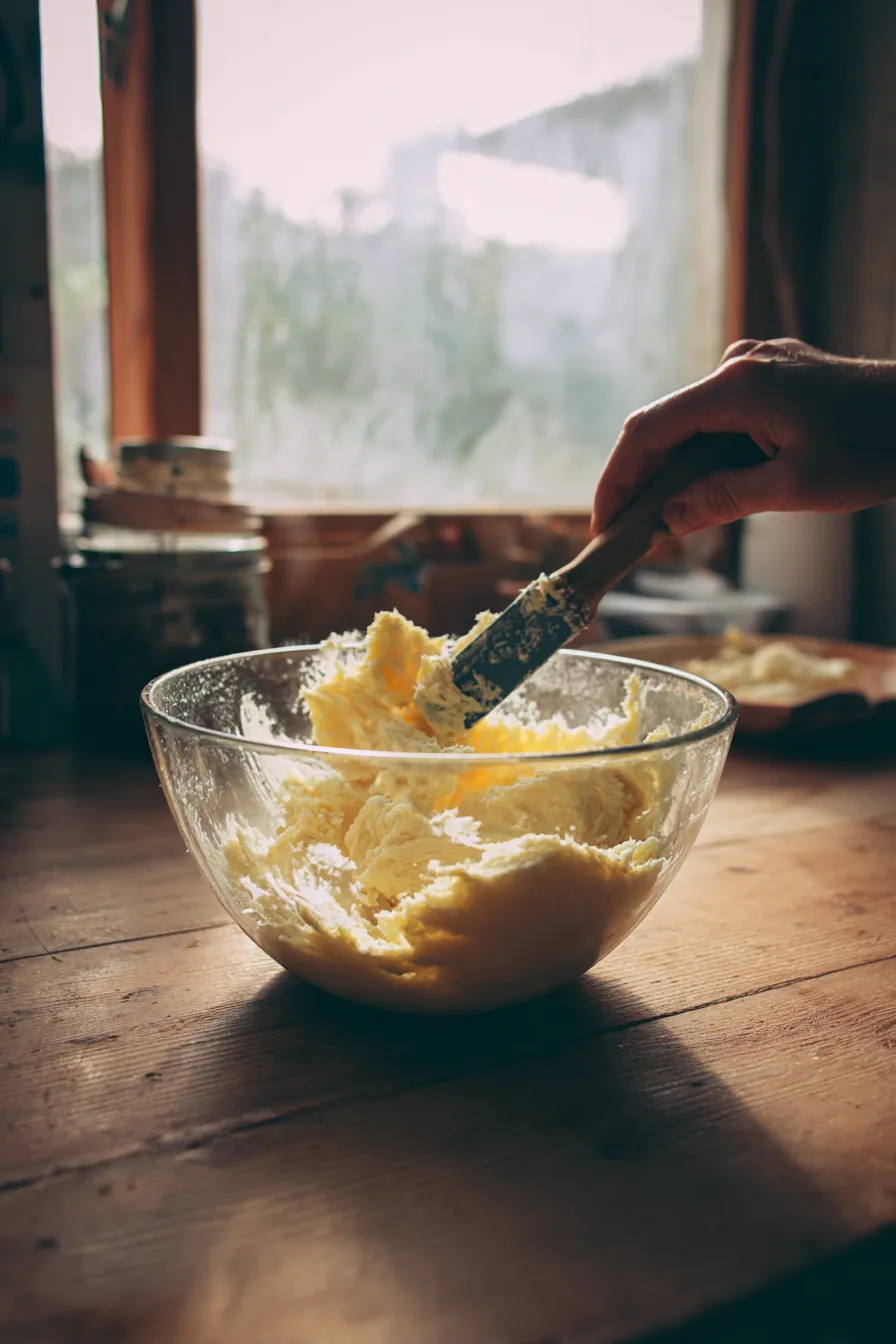
- Scraping Down the Bowl: Stop the mixer and scrape down the sides and bottom of the bowl with your rubber spatula several times during the creaming process. This ensures that all the butter and sugar are evenly combined.
- The Final Check: The mixture is ready when it’s light and airy. Run your spatula through the mixture – it should leave a trail. If it looks dense or grainy, continue mixing for another minute or two.
Tips for Success of How to cream butter and sugar
Here are some helpful tips to ensure your creaming process goes smoothly and yields the best results:
- Temperature is Key: Make sure your butter is softened, not melted, and the ingredients are at room temperature. This is essential for proper air incorporation.
- Don’t Rush: Take your time. Creaming can take several minutes. Be patient, and don’t stop mixing too early.
- Scrape, Scrape, Scrape: Don’t underestimate the importance of scraping down the bowl. This ensures that all the ingredients are evenly mixed.
- Use the Right Speed: Start on medium speed to incorporate the ingredients, then increase the speed to medium-high to whip in air.
- Consider the Recipe: Some recipes may call for slightly different creaming times or techniques. Always follow the specific instructions in your recipe.
Common Mistakes and How to Avoid Them
Even the most experienced bakers make mistakes sometimes. Here are a few common pitfalls to avoid when creaming butter and sugar:
- Butter Too Cold: If your butter is too cold, it won’t cream properly, and you’ll end up with lumps of butter in your mixture. Always ensure your butter is softened.
- Butter Too Soft: If your butter is too soft or melted, it won’t be able to trap air, and your baked goods will be dense.
- Adding Sugar Too Quickly: Adding the sugar too quickly can cause it to fly out of the bowl and prevent it from incorporating evenly. Add the sugar gradually.
- Not Creaming Long Enough: Rushing the creaming process can result in a dense texture. Be patient and cream until the mixture is light and fluffy.
- Over-Mixing: Over-mixing can also lead to problems. Once the mixture is light and fluffy, stop mixing to avoid deflating the air you’ve worked so hard to incorporate.
Variations for Different Recipes
The creaming process can be adapted slightly depending on the recipe you’re making. Here are a few examples:
- Cakes: For cakes, you’ll typically cream the butter and sugar until very light and fluffy. This is crucial for a tender crumb and a good rise.
- Cookies: For cookies, you might cream the butter and sugar a bit less, especially if you want a chewier texture.
- Adding Flavorings: You can add flavorings like vanilla extract or citrus zest after you’ve creamed the butter and sugar.
- Brown Sugar: When using brown sugar, which contains molasses, the creaming process may take a little longer.
Troubleshooting Creaming Problems
Sometimes, things don’t go as planned. Here’s how to troubleshoot common creaming problems:
- Mixture is Greasy: If the mixture looks greasy, your butter was likely too soft. Try chilling the mixture in the refrigerator for 15–20 minutes before continuing.
- Mixture is Grainy: If the mixture is grainy, you may need to cream for a longer time. Ensure the butter is at the correct temperature.
- Mixture Won’t Cream: If the butter and sugar won’t cream together, the butter may be too cold. Let it warm up a bit more and try again.
Beyond the Basics: Enhancing Your Baking Skills
Once you’ve mastered creaming butter and sugar, you’re well on your way to becoming a baking pro. But there’s always more to learn! Experiment with different recipes, techniques, and ingredients. Don’t be afraid to try new things and make mistakes. Baking is a journey, and every experience is a learning opportunity.
Consider taking a baking class or watching online tutorials to expand your knowledge. Read cookbooks and explore different baking traditions. The more you learn, the more confident and creative you’ll become in the kitchen. Enjoy the process and the delicious results!
FAQ: How to cream butter and sugar Questions Answered
Here are some frequently asked questions about creaming butter and sugar:
- Why is creaming butter and sugar important? Creaming incorporates air into the butter, which helps leaven baked goods, resulting in a lighter, fluffier texture. It also helps to create a tender crumb and a more even rise.
- What happens if I don’t cream the butter and sugar long enough? If you don’t cream the mixture long enough, your baked goods may be dense and heavy. The lack of air incorporation will prevent the necessary rise and create a less desirable texture.
- Can I use a different type of sugar? Yes, you can experiment with different types of sugar, such as brown sugar, which adds moisture and flavor. However, granulated sugar is the most commonly used for its ability to incorporate air effectively.
- What should I do if my butter is too cold? If your butter is too cold, it won’t cream properly. Let the butter soften at room temperature for a bit longer, or you can cut it into smaller pieces to help it soften more quickly.
- Can I over-cream the butter and sugar? While it’s less common to over-cream, it’s possible to over-mix. Once the mixture is light and fluffy, stop mixing to avoid deflating the air you’ve worked so hard to incorporate.
Happy baking, and enjoy the sweet rewards of your efforts!


16 thoughts on “How to cream butter and sugar”