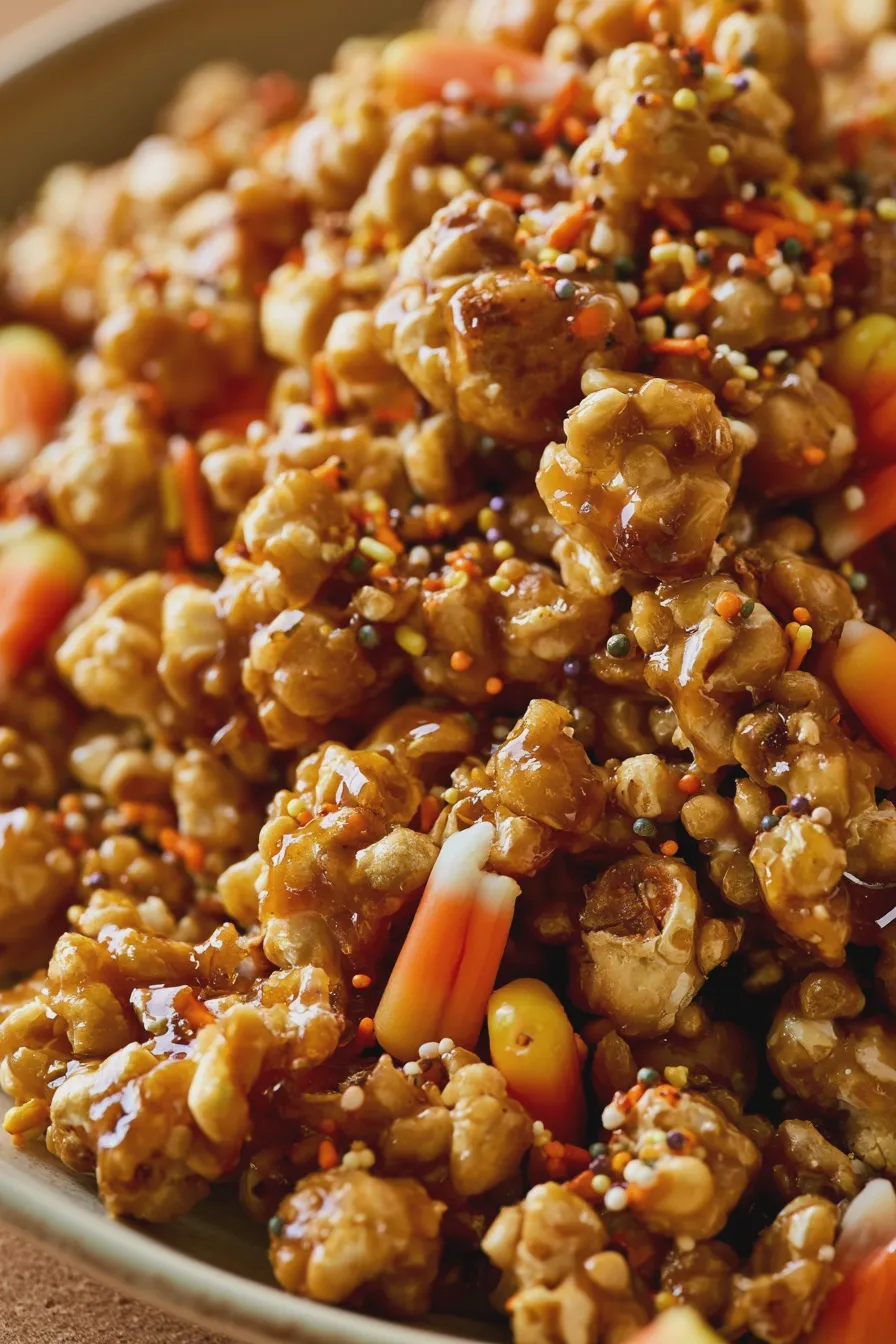
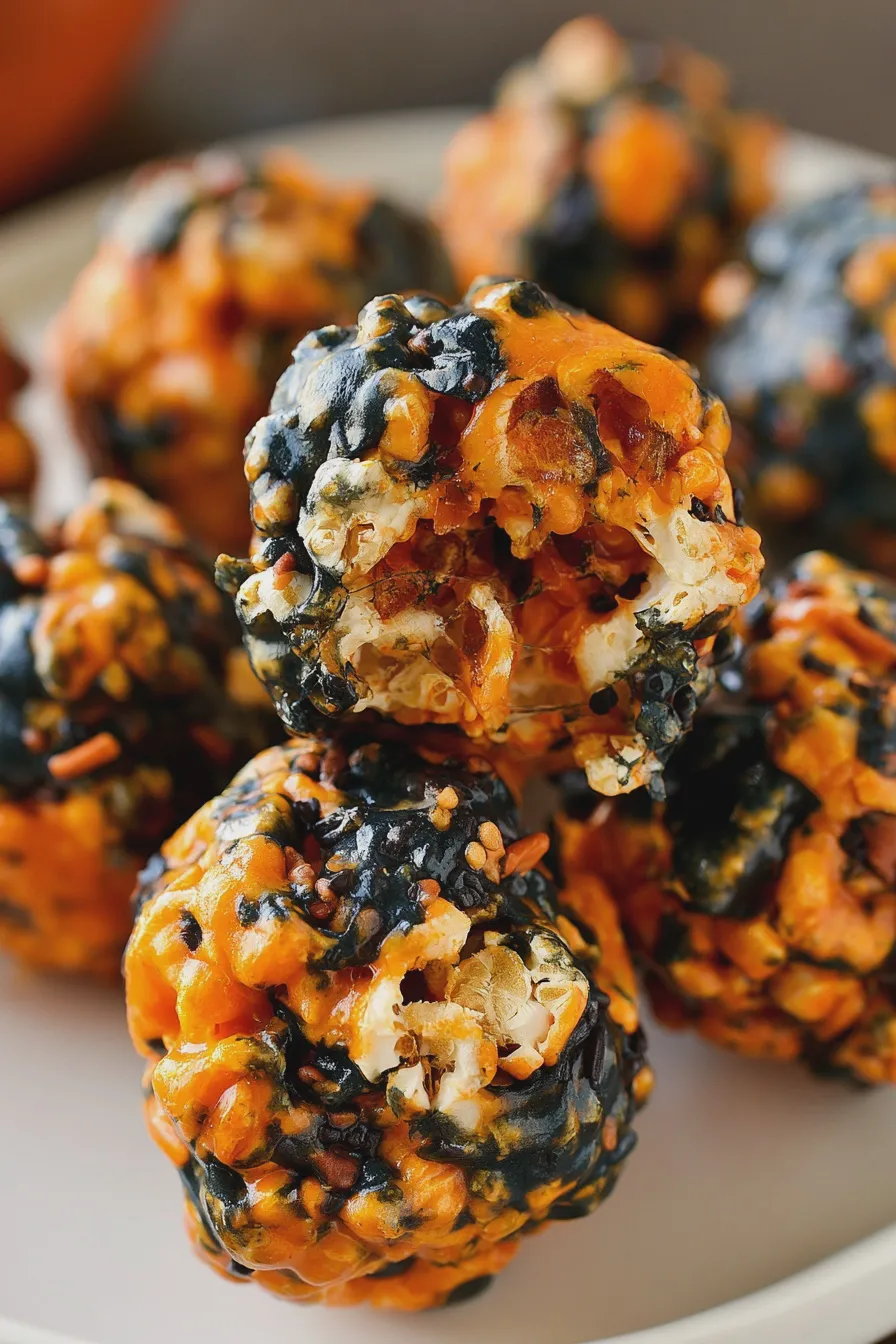
Halloween is a magical time for baking, and what’s more fun than delightful little treats that scream spooky season? Halloween pudding cups are the perfect answer! They’re incredibly versatile, endlessly customizable, and always a hit with both kids and adults. Whether you’re looking for quick, no-bake halloween desserts or a creative project to share with your grandkids, these pudding cups are sure to be a showstopper. We’ll explore how to make them, decorate them, and even offer some fun variations that will make your halloween party desserts unforgettable. Get ready to whip up some deliciousness that’s as fun to make as it is to eat!
The Magic of Halloween Pudding Cups
Halloween pudding cups are more than just a dessert; they’re a canvas for your creativity! These individual servings of creamy goodness can be transformed into all sorts of spooky characters and scenes, making them ideal for halloween party desserts. The beauty of pudding cups lies in their simplicity. You can start with a store-bought pudding mix or make your own from scratch for an extra special touch. This flexibility makes them a fantastic option for bakers of all skill levels. They are especially wonderful as kid-friendly halloween treats, allowing children to participate in the decorating process and feel a sense of accomplishment.
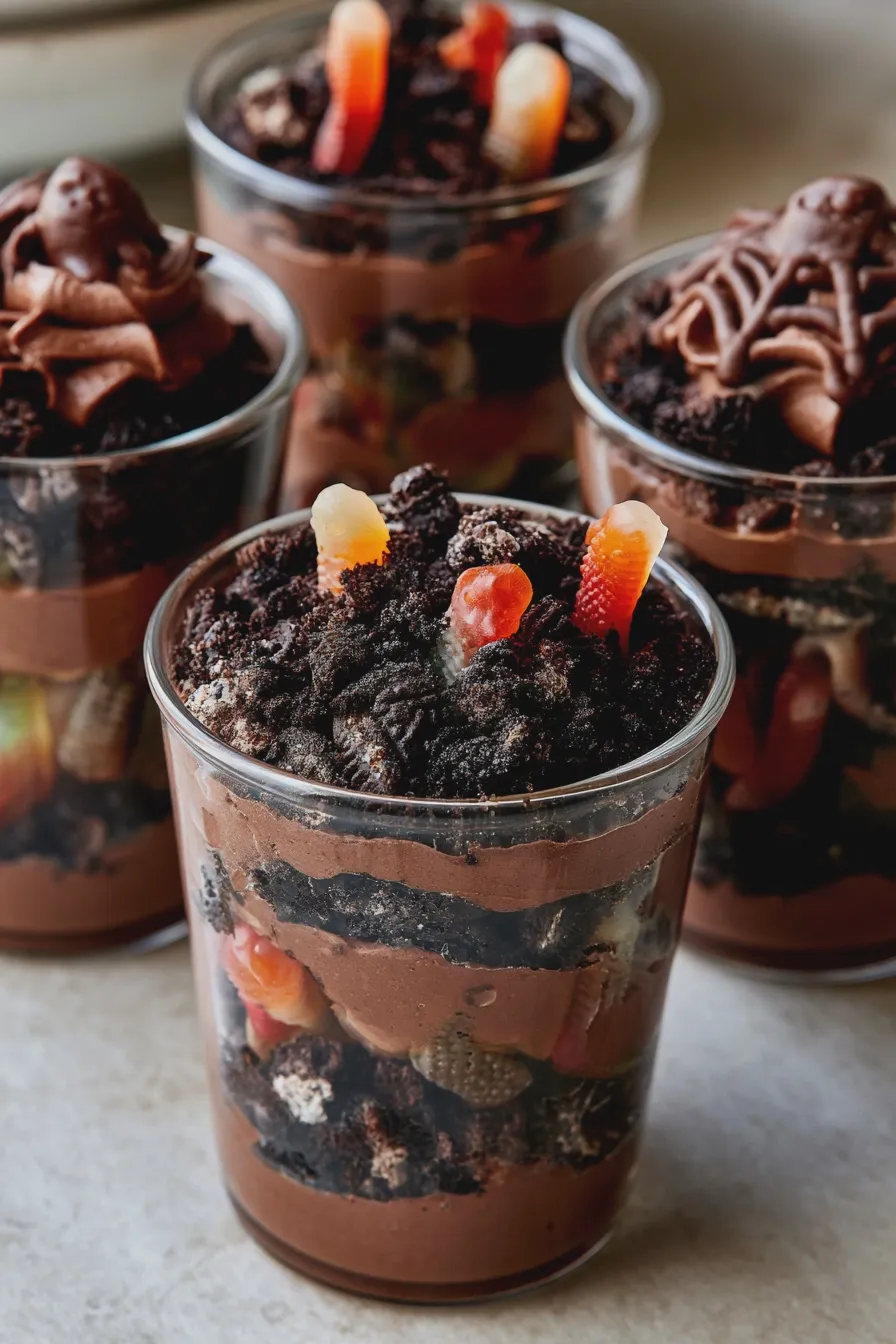
When it comes to the base, chocolate and vanilla are classic choices, offering a smooth, creamy foundation for your spooky creations. Chocolate pudding cups halloween can be turned into dirt cups for graveyard scenes, while vanilla pudding cups halloween provide a lighter base for ghostly figures or mummy wraps. The key to making them truly special is in the decoration. Think crushed cookies for dirt, candy eyes for creepy critters, and whipped cream for fluffy clouds or ghostly apparitions.
These treats are also a fantastic way to incorporate fun themes into your celebrations. From ghost pudding cups to witch pudding cups, the possibilities are endless. They’re perfect for school parties, neighborhood gatherings, or just a fun afternoon activity at home. The fact that they are individual servings also makes them incredibly convenient for serving and portion control.
Getting Started: Your Pudding Base
The foundation of any great halloween pudding cup is, of course, the pudding itself. You have two main routes: instant pudding or homemade pudding. Both have their advantages, and the best choice often depends on your time and desired flavor intensity.
If you enjoyed this, you might also love our Easy Homemade Ice Cream Recipe recipe.
Instant Pudding: The Quick and Easy Route
For those last-minute celebrations or when you need a speedy solution, instant pudding is your best friend. Most brands offer chocolate and vanilla flavors that are incredibly simple to prepare. You typically just whisk the pudding mix with cold milk according to the package directions.
- Pros: Extremely fast, requires minimal ingredients (just pudding mix and milk), consistent results.
- Cons: May have a slightly less rich flavor and a different texture compared to homemade.
- Tips: For a richer flavor, use half-and-half or even a bit of heavy cream in place of some of the milk. Chill thoroughly to ensure it sets up properly.
Homemade Pudding: The Rich and Rewarding Choice
If you have a bit more time and want a truly decadent pudding, making it from scratch is incredibly rewarding. A basic homemade pudding involves tempering egg yolks with hot milk, cooking the mixture until thickened, and then chilling it. This method yields a richer, creamier texture and a more intense flavor.
- Ingredients: Milk, sugar, cornstarch (for thickening), egg yolks, butter, vanilla extract.
- Process: Whisk together sugar, cornstarch, and a pinch of salt in a saucepan. Gradually whisk in milk. Cook over medium heat, stirring constantly, until the mixture thickens and bubbles. Temper the egg yolks by whisking a small amount of the hot milk mixture into them, then pour the tempered yolks back into the saucepan. Cook for another minute or two, stirring constantly. Remove from heat, stir in butter and vanilla extract. Pour into a bowl, press plastic wrap directly onto the surface to prevent a skin from forming, and chill completely.
- Tips: Ensure you temper the egg yolks properly to avoid scrambling them. Use good quality vanilla extract for the best flavor. For chocolate pudding, whisk in unsweetened cocoa powder with the dry ingredients or melt good quality chocolate and stir it in at the end. Understanding how eggs affect desserts is key to achieving the perfect texture.
Regardless of which method you choose, ensure your pudding is completely chilled and set before you begin decorating your easy halloween pudding cups.
Decorating Your Spooky Pudding Cups
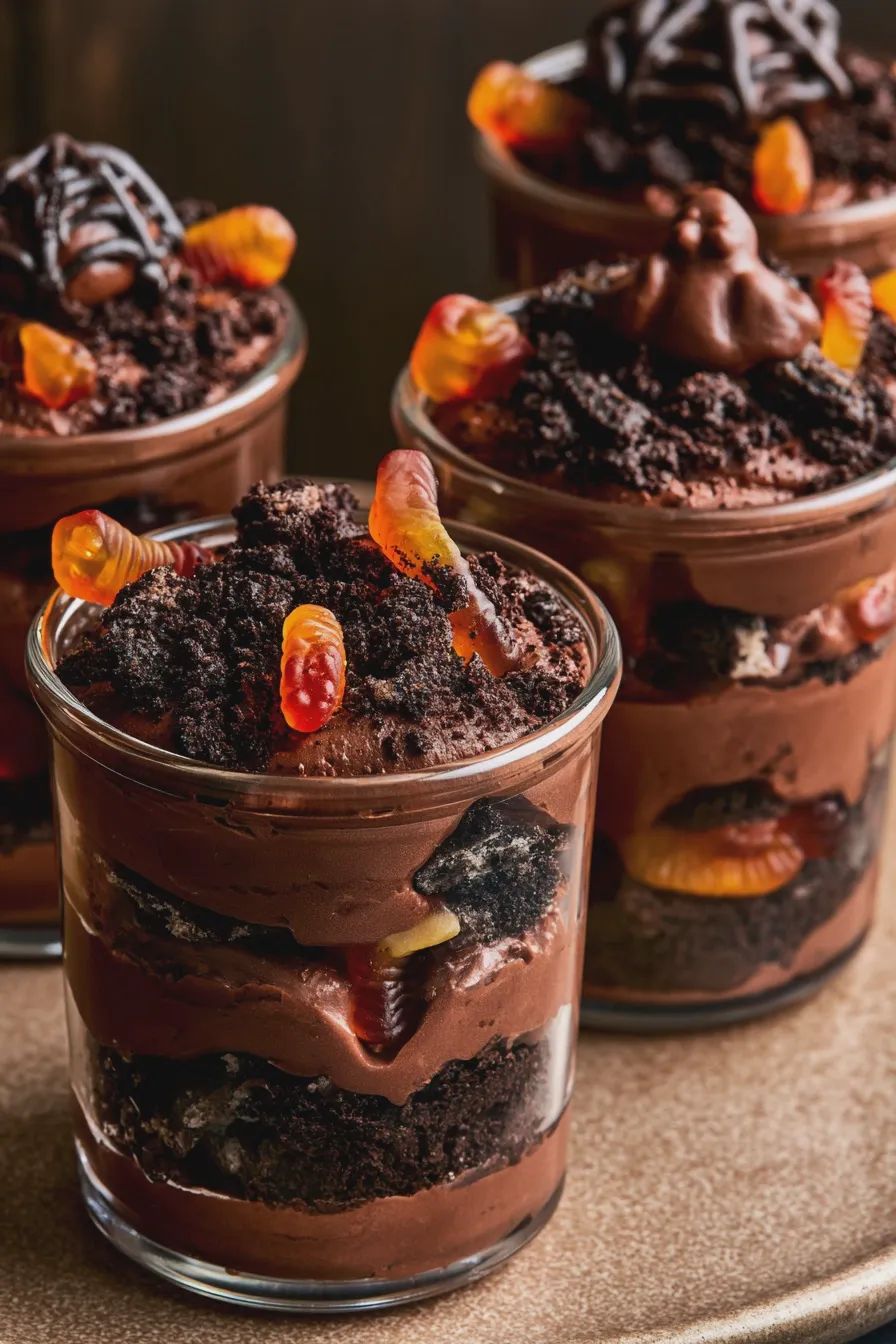
This is where the real fun begins! Transforming plain pudding into spooky pudding cups is all about imagination and a few key decorating elements. Here are some popular and creative ideas:
Looking for more? Try this delicious How To Make Ice Cream At Home next.
Graveyard Pudding Cups
These are a classic for a reason! They’re simple, effective, and always a hit.
- Base: Chocolate pudding works best as it resembles dirt.
- Decorations:
- Crushed chocolate cookies (like Oreos, filling removed if you prefer a less sweet topping) to create a dirt effect.
- Candy pumpkins, candy ghosts, or gummy worms peeking out of the “dirt.”
- Small Milano cookies or graham crackers broken in half can serve as “tombstones.” Write RIP with edible marker or black icing.
- Optional: A sprig of mint or rosemary can resemble a small tree or bush.
- Mistakes to Avoid: Don’t over-crush your cookies; some larger chunks add texture. Ensure your tombstones are firmly planted so they don’t fall over.
Ghost Pudding Cups
These are adorable and surprisingly easy to make.
- Base: Vanilla or white chocolate pudding.
- Decorations:
- Top each cup with a generous dollop of whipped cream or marshmallow fluff.
- Use mini chocolate chips or black edible marker to create two eyes for each ghost.
- For a trailing ghost effect, pipe whipped cream in a wavy pattern.
- Tips: For extra stability, you can place a small cookie or piece of cake at the bottom of the cup before adding the pudding, then top with the whipped cream ghost. This is a great example of creative halloween pudding.
Mummy Pudding Cups
These are always a crowd-pleaser and offer a slightly more involved but still easy decorating process.
- Base: Chocolate or vanilla pudding.
- Decorations:
- Pipe thin strips of white frosting or melted white chocolate over the pudding to resemble mummy bandages. Leave a small gap for the eyes.
- Use two candy eyes or small dots of black icing for the mummy’s eyes.
- Tips: You can also use strips of fruit roll-ups or even thinly sliced mozzarella cheese (for a savory twist, though less common for pudding cups!) if you’re feeling adventurous. For a cleaner look, use a piping bag with a small round tip.
Monster Pudding Cups
Unleash your inner monster maker!
Another favorite of ours is the Baseball Themed Rice Krispie Treat Pops Recipe.
- Base: Any flavor pudding works well. Green or purple pudding can add to the monster theme.
- Decorations:
- Candy eyes are essential! Use various sizes and quantities for a quirky look.
- Use green or purple frosting to create spikes or horns.
- Small candies, sprinkles, or edible glitter can add texture and color.
- For monster pudding cups, think asymmetry and fun, wacky designs.
- Tips: You can make your own “monster slime” by coloring whipped cream or frosting. Consider adding gummy eyeballs or sour candy worms for extra creepiness.
More Halloween Pudding Cup Ideas
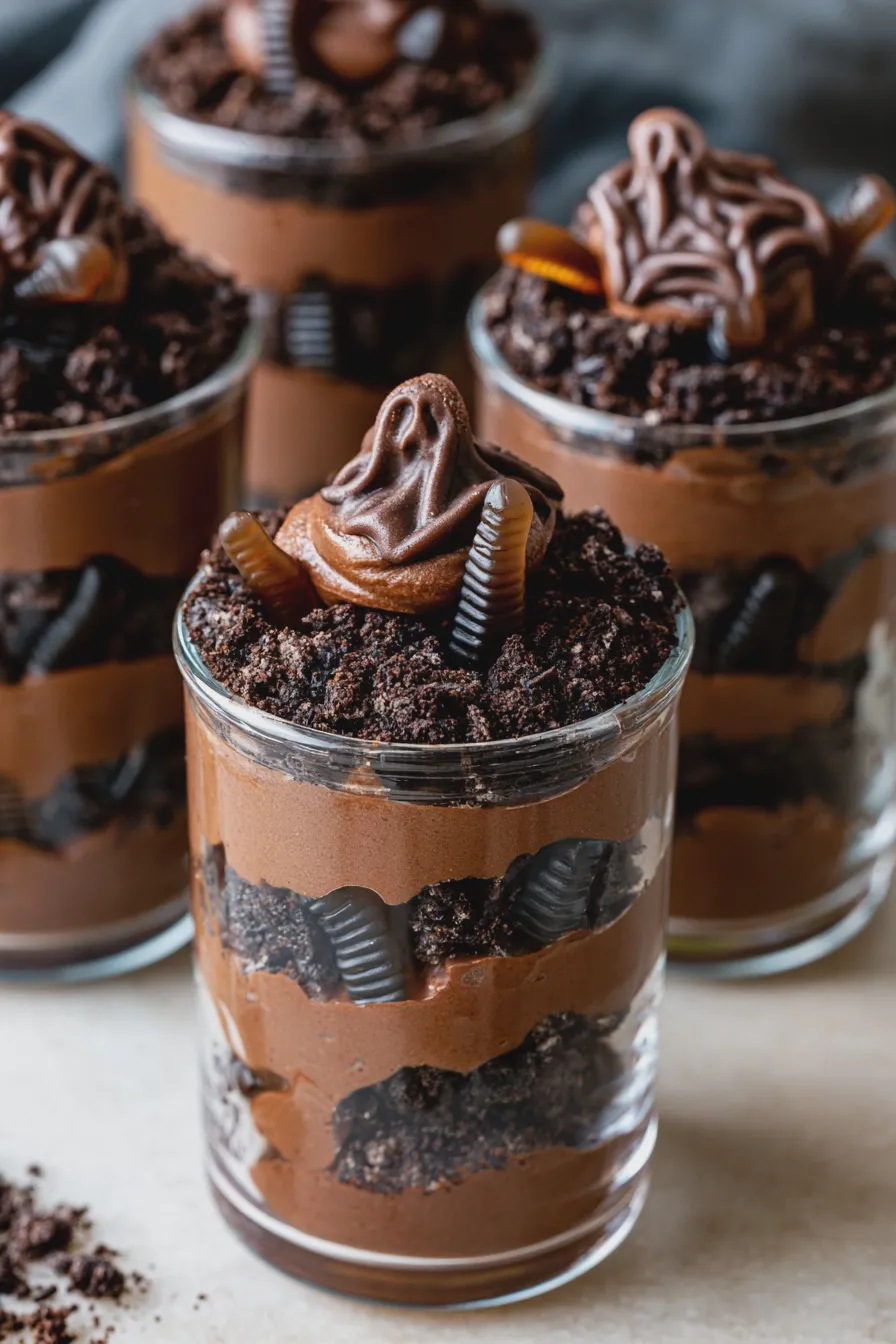
Beyond the classic themes, let your imagination run wild with these additional diy halloween pudding cups:
- Pumpkin Pudding Cups: Use orange-tinted vanilla pudding (or a pumpkin spice pudding) and top with whipped cream tinted orange. Add a small green candy or piece of gummy for a stem. You can also use chocolate pudding and pipe a pumpkin face using orange frosting. These are perfect for pumpkin pudding cups halloween.
- Witch Hat Pudding Cups: Top chocolate pudding with a dollop of black frosting. Place a chocolate cookie (like a Hershey’s Kiss or a round wafer cookie) on top to create a witch’s hat. You can add green sprinkles around the base for a magical touch.
- Spiderweb Pudding Cups: For chocolate pudding, pipe concentric circles of white frosting or melted white chocolate on top. Then, use a toothpick to drag lines from the center outwards, creating a spiderweb effect. Add a plastic spider for extra flair.
- Cauldron Pudding Cups: Use black pudding (or dye chocolate pudding black) and serve in small black bowls or cups. Garnish with green sprinkles or gummy worms to look like bubbling potion.
Remember, the key to successful halloween pudding cups is to have fun with it! Don’t stress about perfection; the slightly imperfect, handmade look is often part of their charm, especially for no-bake halloween desserts.
Tips for Success
Here are some expert tips to ensure your halloween pudding cups are a smashing success:
- Chill, Chill, Chill: Make sure your pudding is thoroughly chilled and set before you start decorating. This prevents your toppings from sinking or melting.
- Work in Batches: If you’re making a large quantity, prepare your pudding base first and then decorate them as needed, especially if using delicate toppings that might wilt.
- Use Clear Cups: Clear plastic or glass cups allow your guests to see the fun decorations inside and out.
- Edible Googly Eyes: These are a baker’s best friend for Halloween. They instantly add personality to any creature.
- Piping Bags are Handy: For clean frosting lines (like mummy bandages or spiderwebs), a piping bag with a small round tip is invaluable. Even a Ziploc bag with a corner snipped off can work in a pinch.
- Get the Kids Involved: Decorating pudding cups is a fantastic activity for children. Let them choose their decorations and create their own spooky masterpieces.
- Consider Texture: Combine creamy pudding with crunchy elements like crushed cookies or sprinkles for a more interesting mouthfeel.
- Flavor Pairings: Think about how your decorations complement the pudding flavor. Chocolate pudding is great for dirt cups, while vanilla is a good canvas for ghosts.
- Storage: Store decorated pudding cups covered in the refrigerator. They are best enjoyed within 1-2 days.
halloween pudding cups quick and easy recipe
- Total Time: PT15M
- Yield: 4–6 servings 1x
- Diet: Vegetarian
Description
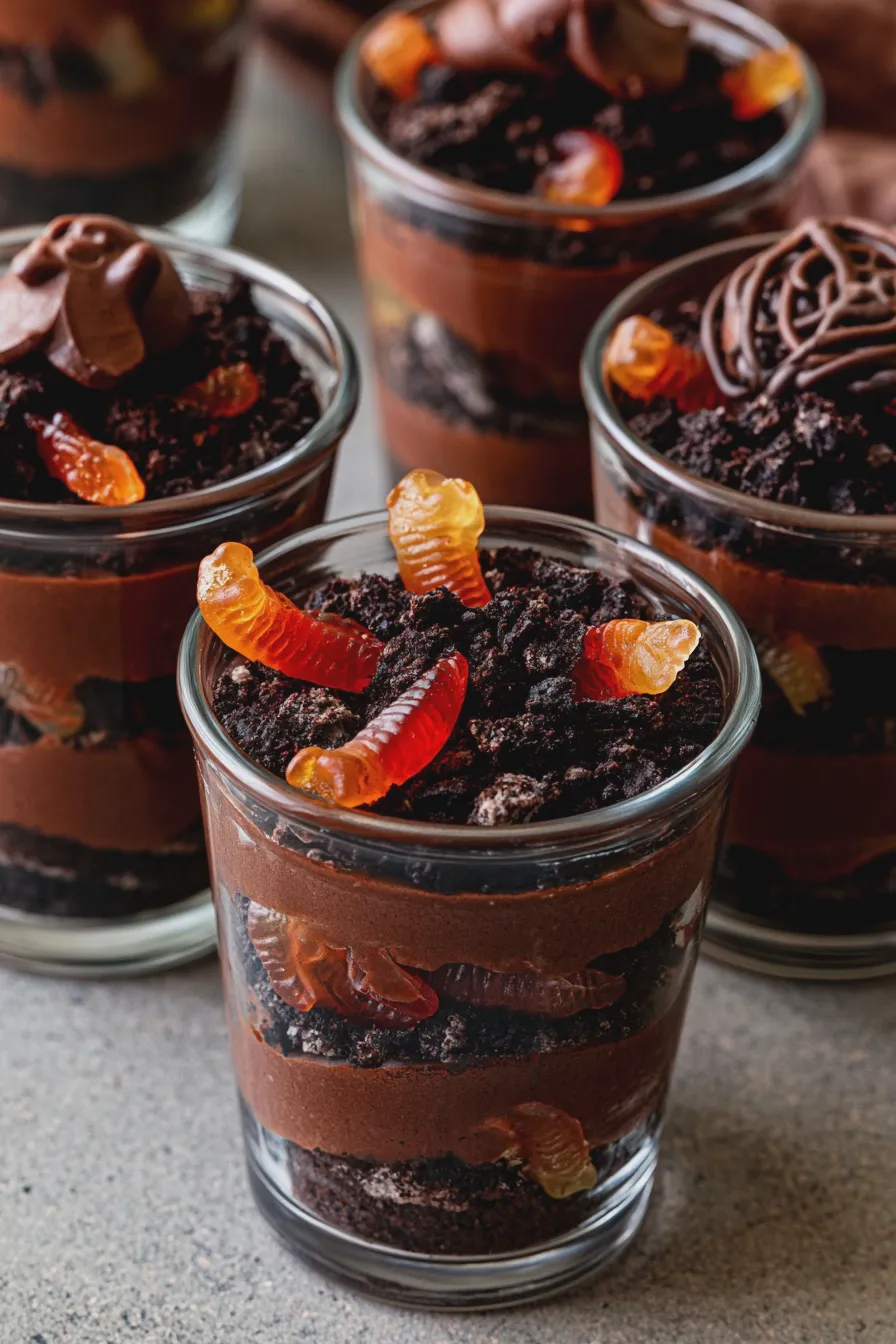
Spooky and delicious Halloween Pudding Cups are a fun, no-bake treat perfect for parties or a festive dessert. Layer chocolate pudding with crushed Oreos and gummy worms for a graveyard effect!
Ingredients
- 1 (3.9 ounce) package instant chocolate pudding mix
- 2 cups milk
- 1 (8 ounce) container whipped topping, thawed
- 1 cup crushed Oreo cookies (about 12 cookies)
- 1/4 cup gummy worms, cut in half
- Optional: Chocolate frosting for decorating
Instructions
- In a medium bowl, whisk together the instant chocolate pudding mix and milk according to package directions until thickened.
- Gently fold in the thawed whipped topping until well combined.
- In 4-6 small clear cups or jars, layer the ingredients: start with a layer of crushed Oreo cookies, followed by a layer of chocolate pudding, then a few gummy worm halves.
- Repeat the layers until the cups are filled, ending with a layer of pudding.
- Top each cup with a few more crushed Oreo cookies to resemble dirt, and stick a gummy worm or two into the pudding to look like they are crawling out.
- For an extra spooky touch, pipe small ghosts or spiderwebs on top using chocolate frosting.
- Chill for at least 30 minutes before serving.
Notes
- For an even more decadent dessert, use chocolate milk instead of regular milk when preparing the pudding.
- You can also use chocolate pudding made from scratch if you prefer.
- Feel free to add other Halloween-themed candies or sprinkles for extra decoration.
- These can be made a day in advance and stored in the refrigerator.
- Prep Time: PT15M
- Cook Time: PT0M
- Category: Desserts
- Method: No-Bake
- Cuisine: American
Nutrition
- Serving Size: 1 cup
- Calories: 350
- Sugar: 45g
- Sodium: 300mg
- Fat: 18g
- Saturated Fat: 10g
- Carbohydrates: 48g
- Fiber: 2g
- Protein: 3g
- Cholesterol: 30mg