Get ready to add a touch of spooky sweetness to your autumn celebrations! Halloween is the perfect time to indulge in rich, decadent treats, and nothing says Halloween quite like a batch of delicious halloween chocolate fudge. This classic confection is surprisingly easy to make at home, and with a few creative touches, you can transform it into festive halloween candy fudge that will delight ghouls and goblins of all ages. Whether you’re looking for a simple, crowd-pleasing dessert or a fun baking project to share with loved ones, this guide will walk you through creating the best halloween fudge that’s both impressively spooky and incredibly tasty. For more festive baking inspiration, check out these Halloween desserts.
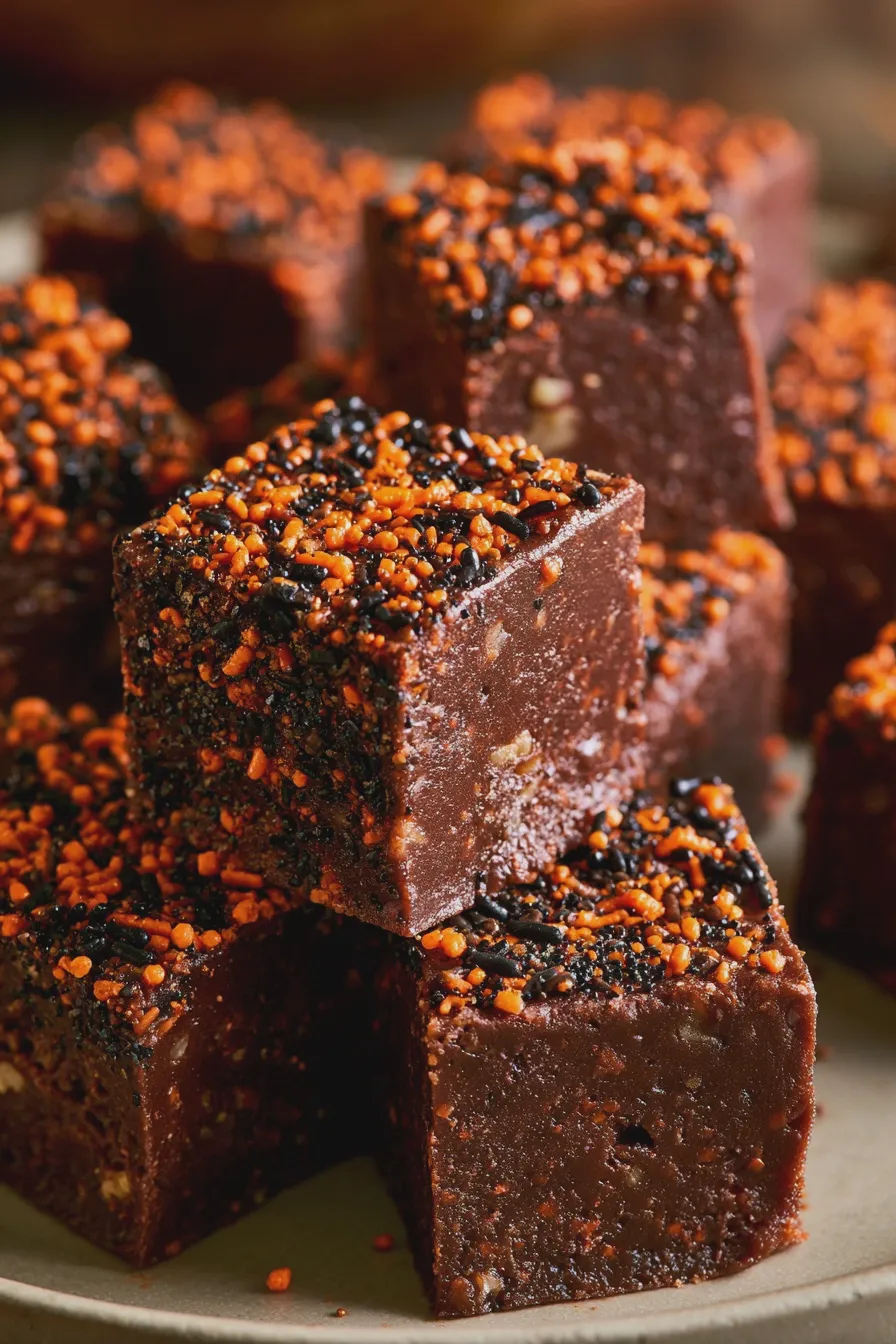
The Magic of Halloween Chocolate Fudge
Fudge is a beloved candy known for its creamy, melt-in-your-mouth texture and intense flavor. At its core, fudge is made by boiling sugar, butter, and milk, then cooling it rapidly to prevent large sugar crystals from forming, resulting in that signature smooth consistency. For a halloween fudge recipe, we often start with a classic chocolate fudge base, which is then embellished with Halloween-themed colors, decorations, and sometimes even flavors. This allows for endless creativity, turning a simple sweet into a centerpiece for your Halloween party. The versatility of fudge makes it a fantastic canvas for all sorts of halloween fudge ideas.
Creating a truly memorable homemade halloween fudge involves understanding a few basic principles. The key to perfect fudge lies in controlling the sugar crystallization. Boiling the sugar syrup to the correct temperature is crucial; too low and it won’t set properly, too high and it can become grainy. Using quality ingredients also makes a significant difference. For a rich chocolate flavor, opt for good-quality cocoa powder or chocolate. This recipe focuses on a straightforward method that yields consistently delicious results, perfect for even beginner bakers. For those new to candy making, understanding the science behind sugar can be helpful, and resources like sugar types and how to use them can offer valuable insights.
Classic Chocolate Fudge Base: The Foundation for Spooky Treats
Before we get to the spooky decorations, let’s master the perfect chocolate fudge base. This is where the rich flavor and creamy texture originate. A good chocolate fudge recipe typically involves sugar, butter, milk or cream, and cocoa powder or melted chocolate. The process usually involves heating these ingredients to a specific temperature, then cooling and beating them to achieve the desired consistency.
Ingredients for Classic Chocolate Fudge
- 2 cups granulated sugar
- 1/2 cup unsalted butter
- 1/2 cup evaporated milk
- 1 teaspoon vanilla extract
- 1/3 cup unsweetened cocoa powder
- Pinch of salt
Instructions for Classic Chocolate Fudge
- Prepare an 8×8 inch baking pan by lining it with parchment paper, leaving an overhang on the sides for easy removal. Lightly grease the parchment paper. This is a crucial step to ensure your fudge doesn’t stick, similar to how you would prepare a cake pan to prevent sticking.
- In a medium saucepan, combine the sugar, butter, evaporated milk, cocoa powder, and salt.
- Place the saucepan over medium heat and stir constantly until the butter is melted and the sugar is dissolved.
- Bring the mixture to a rolling boil, stirring occasionally.
- Continue to boil, stirring constantly, until the mixture reaches 238°F (114°C) on a candy thermometer. This is the soft-ball stage, essential for achieving the right fudge texture.
- Remove the saucepan from the heat immediately.
- Stir in the vanilla extract.
- Let the mixture cool undisturbed for about 10-15 minutes, or until it has cooled to around 110°F (43°C). It should feel lukewarm to the touch.
- Beat the fudge vigorously with a wooden spoon or an electric mixer on low speed. Continue beating until the fudge starts to lose its gloss and thickens considerably. This process is what creates the creamy texture by forming small sugar crystals.
- Quickly pour the thickened fudge into the prepared baking pan, spreading it evenly with a spatula.
- Let the fudge cool completely at room temperature for at least 2-3 hours, or until firm.
- Once firm, lift the fudge out of the pan using the parchment paper overhang. Cut into 1-inch squares.
This classic base is the perfect starting point for all sorts of halloween fudge ideas. The rich chocolate flavor is universally loved and pairs wonderfully with festive additions.
Looking for more? Try this delicious Chocolate Fudge Cake next.
Spooky Halloween Chocolate Fudge Variations
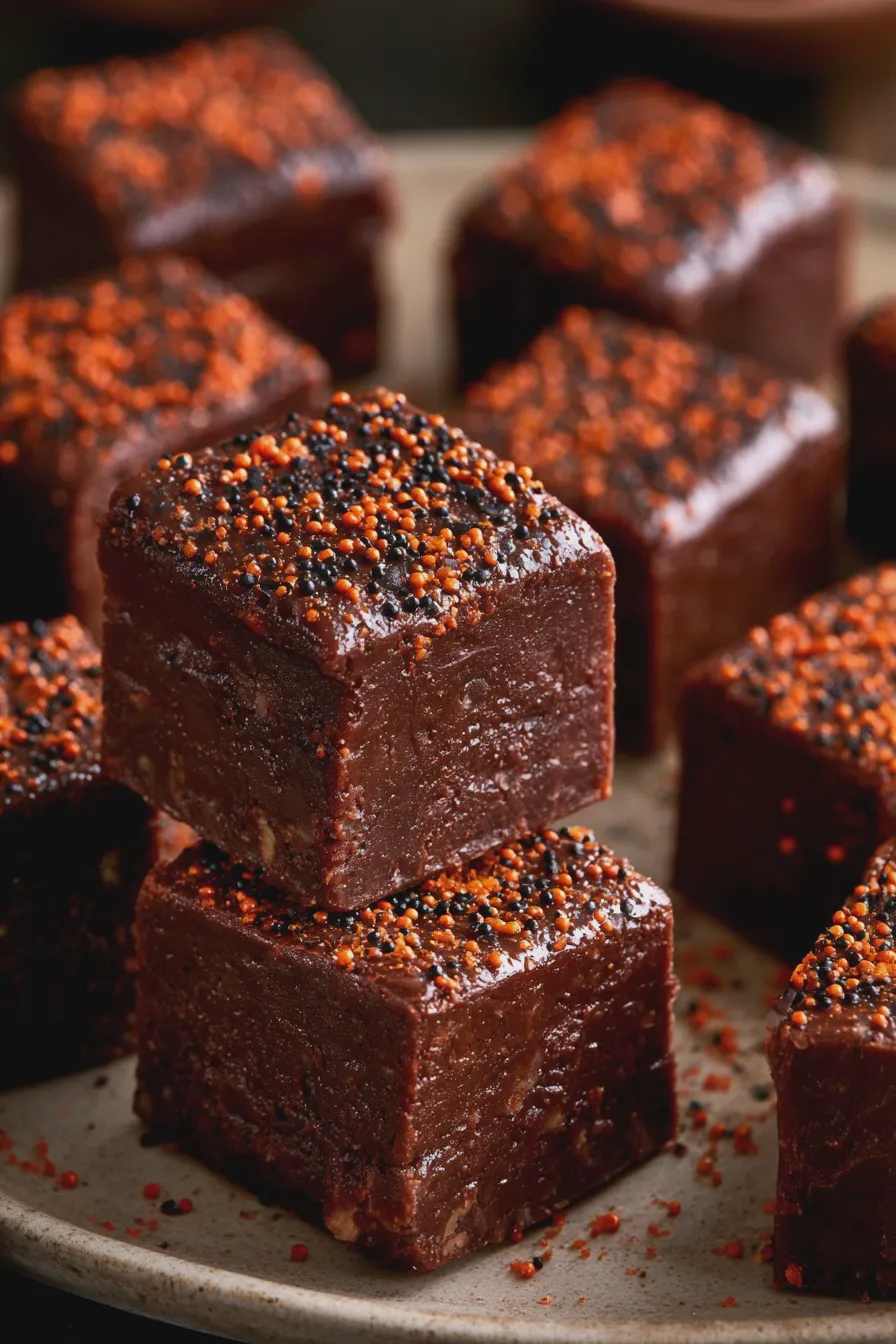
Now for the fun part – transforming your classic chocolate fudge into spooky chocolate fudge! This is where you can let your creativity run wild and tailor your treats to fit your Halloween party theme. Whether you want something subtly spooky or delightfully creepy, there are many ways to personalize your fudge.
1. Ghost Chocolate Fudge
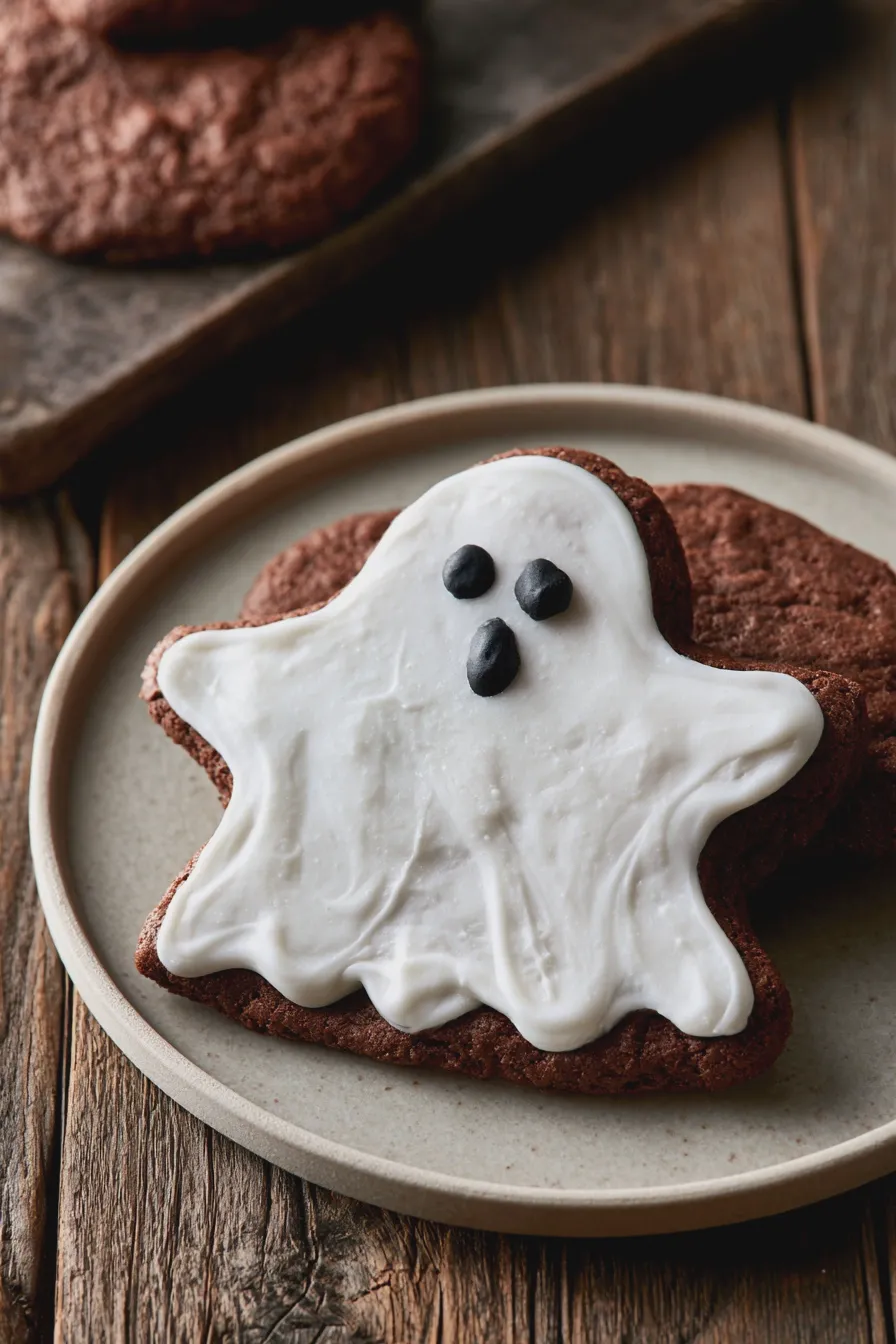
To create adorable ghost chocolate fudge, you can use a white chocolate fudge base or color a portion of your classic chocolate fudge with white food coloring. After cutting the fudge into squares, pipe small ghost shapes onto each piece using melted white chocolate or royal icing. You can also use tiny edible candy eyes for a quick and charming effect.
Tips for Ghost Fudge:
- Ensure the fudge base is completely cool and firm before decorating.
- Use a piping bag with a fine tip for clean ghost outlines.
- Alternatively, use a small spoon to create dollops of white chocolate for the ghost shape.
- For a simpler ghost, cut the fudge into rectangles and pipe a wavy top with white chocolate.
2. Pumpkin Chocolate Fudge
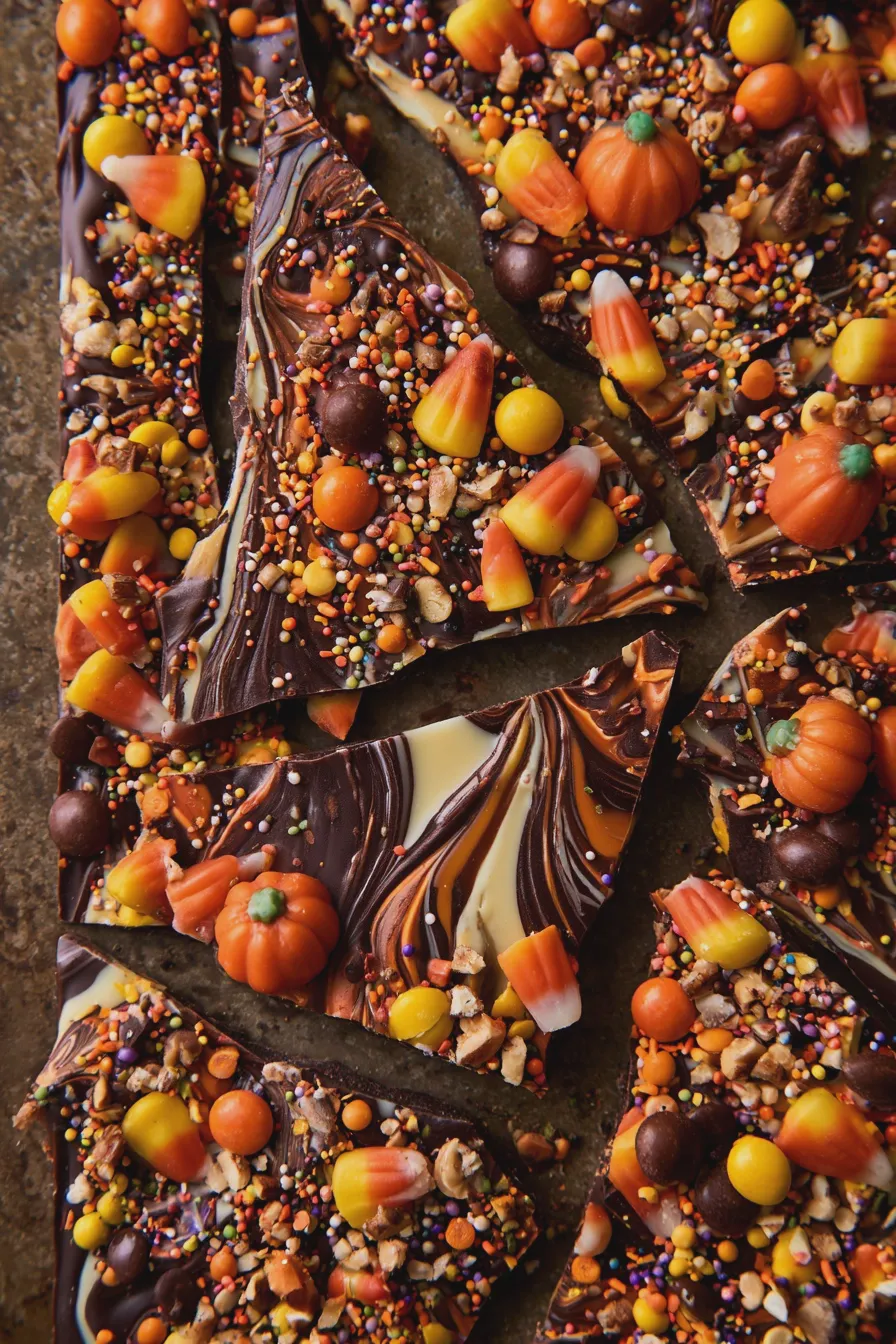
For cheerful pumpkin chocolate fudge, start with your classic chocolate fudge base. Tint a portion of the fudge mixture orange using gel food coloring before pouring it into the pan. Once set, you can pipe on green stems with green frosting or melted white chocolate. Another option is to swirl orange-tinted fudge into the chocolate fudge batter before it sets for a marbled effect.
Tips for Pumpkin Fudge:
- Gel food coloring provides vibrant colors without thinning the fudge.
- For a marbled effect, warm the orange fudge slightly and gently swirl it into the chocolate fudge.
- Pipe simple jack-o’-lantern faces using black icing or melted dark chocolate.
3. Witch Hat Fudge
Create fun witch hat fudge by cutting your chocolate fudge into triangles or squares. Top each piece with a chocolate kiss or a small round cookie for the hat’s base. Then, pipe a hat brim and cone shape using melted dark chocolate or black frosting. You can also use black sprinkles for added texture.
If you enjoyed this, you might also love our Chocolate Peanut Butter Bars recipe.
Tips for Witch Hat Fudge:
- Use a dab of melted chocolate or frosting to adhere the chocolate kiss to the fudge.
- For a more detailed hat, use a toothpick to create swirl patterns in the piped chocolate.
- Consider adding a tiny edible buckle made from a sliver of white chocolate or candy.
4. Monster Fudge
Unleash your inner monster with playful monster fudge! Cut your fudge into irregular shapes or use cookie cutters. Decorate with candy eyes, sprinkles, and colorful frosting to create unique monster faces. You can also mix in chopped candies or cookie pieces for a “monster mash” texture.
Tips for Monster Fudge:
- Embrace imperfection! Monster fudge is all about fun, quirky designs.
- Use a variety of candy eyes for different expressions.
- Press small candies or sprinkles into the fudge while it’s still slightly soft to create textured monster skin.
5. Creepy Chocolate Fudge
For those who love a scarier vibe, create creepy chocolate fudge. Tint your fudge a deep, dark color like black or deep purple. Use edible food markers or black icing to draw spiderwebs, spooky eyes, or jagged lines. You can also embed plastic spiders (ensure they are food-safe or removable) or gummy worms into the fudge before it sets.
Tips for Creepy Fudge:
- Use black cocoa powder for an intensely dark color.
- Drizzle melted white or red chocolate over the dark fudge to simulate blood splatters or ghostly apparitions.
- Consider adding edible glitter for a haunting shimmer.
Tips for Perfect Halloween Fudge
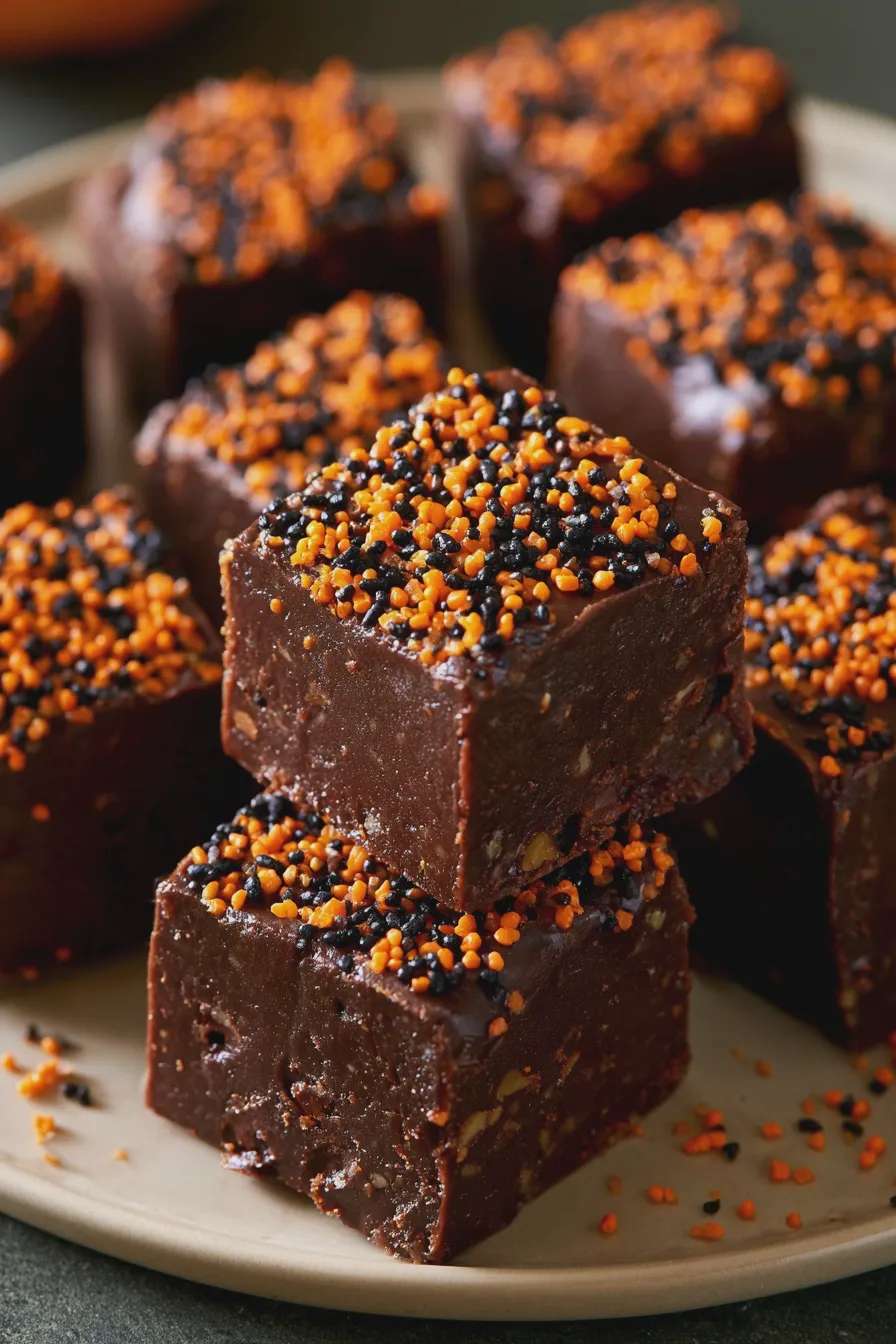
Making fudge can sometimes be tricky, but with a few expert tips, you can ensure your chocolate fudge for halloween party is a resounding success.
- Use a Candy Thermometer: This is non-negotiable for consistent results. Ensure it’s calibrated correctly.
- Don’t Rush Cooling: Allowing the fudge to cool properly before beating is crucial for texture.
- Beat Until Glossy Then Matte: Watch for the change in appearance as you beat the fudge. It will go from shiny to dull, indicating it’s ready.
- Work Quickly: Once the fudge is beaten, pour and spread it into the pan immediately, as it sets fast.
- Storage: Store fudge in an airtight container at cool room temperature for up to a week. Avoid refrigerating, as it can make the fudge hard and grainy.
- Ingredient Quality: Use good quality butter, cocoa, and vanilla for the best flavor.
Common Fudge Mistakes and How to Avoid Them
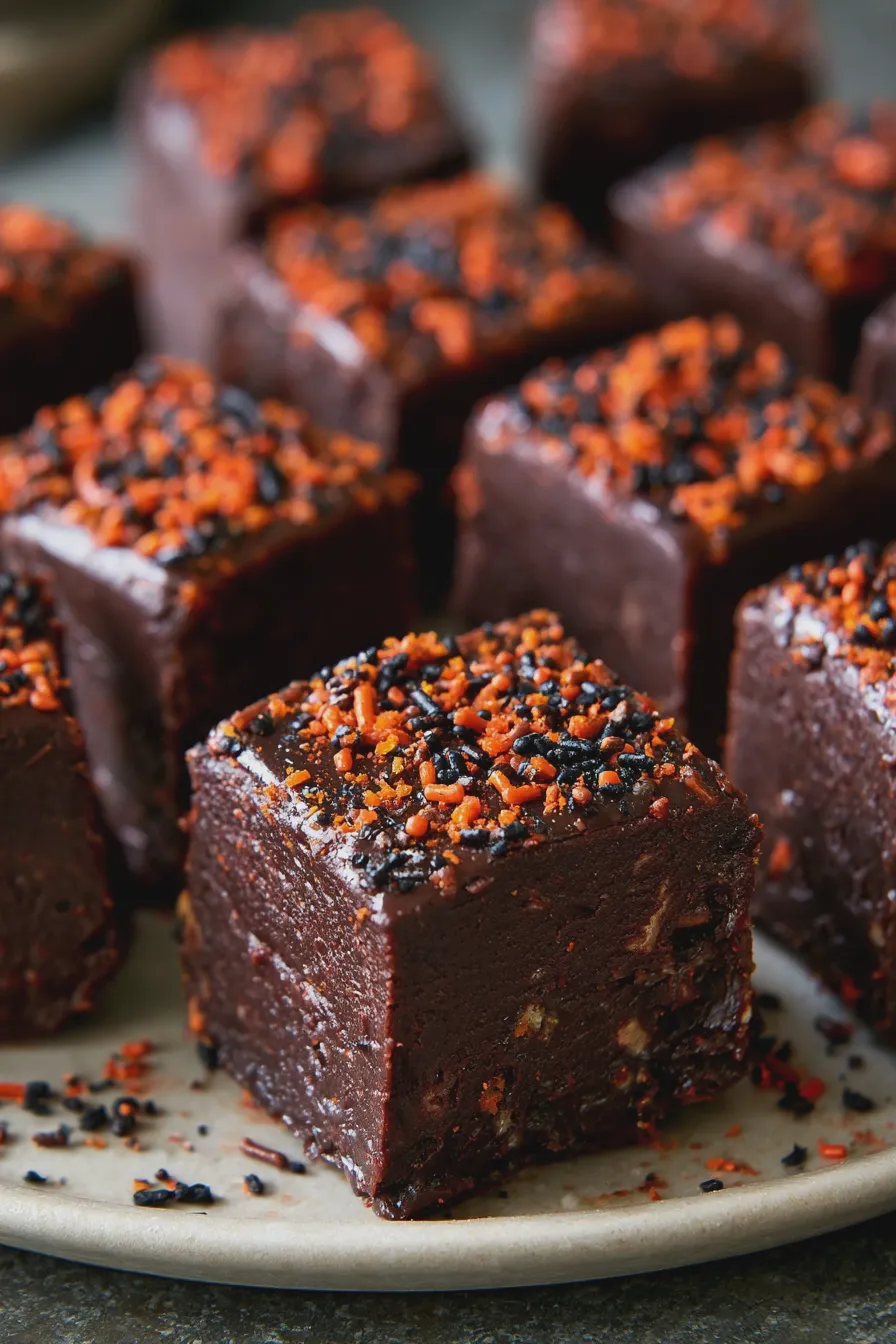
Even experienced bakers can encounter fudge pitfalls. Here are some common mistakes and how to sidestep them to achieve that perfect easy halloween fudge.
Looking for more? Try this delicious How To Cream Butter And Sugar next.
- Grainy Fudge: This usually happens if the sugar doesn’t dissolve completely before boiling, or if the fudge is agitated too much during cooling. Ensure sugar is dissolved and let it cool undisturbed.
- Soft Fudge: This often means the fudge wasn’t boiled to a high enough temperature. Use a reliable candy thermometer and aim for 238°F (114°C).
- Hard Fudge: Conversely, boiling to too high a temperature will result in hard, brittle fudge. Be precise with your thermometer readings.
- Not Setting: Similar to soft fudge, this can be due to an incorrect temperature or sometimes humidity. Fudge making is sensitive to ambient moisture.
- Uneven Texture: This can occur if the fudge isn’t beaten enough, or if it’s beaten too much. Beat until it thickens and loses its gloss.
No-Bake Halloween Fudge Options
If you’re short on time or prefer not to use a candy thermometer, there are fantastic no bake halloween fudge recipes available. These often rely on condensed milk or marshmallow as a base, making them incredibly simple and quick to prepare. These are perfect for last-minute treats or for baking with younger children. A popular no-bake method involves melting chocolate chips with condensed milk and butter, then adding flavorings and decorations.
For a simple quick halloween fudge, try melting 2 cups of white chocolate chips with 1/4 cup of butter and 1/4 cup of sweetened condensed milk. Stir until smooth, then divide the mixture. Tint one portion orange and another green. Layer the colors in your prepared pan or swirl them together. Add Halloween sprinkles or candy eyes once slightly set. This is a great way to get delicious halloween dessert fudge without the fuss.
Serving Your Halloween Fudge
Once your halloween fudge is ready, presentation is key! Arrange the different spooky fudge creations on a platter for a festive display. Mix and match designs for a visually exciting treat. Small bowls of candy eyes, sprinkles, and edible glitter can be set out for guests to add their own personal spooky touch. This chocolate fudge for halloween party will undoubtedly be a hit, providing a delicious and memorable end to your Halloween festivities.
Print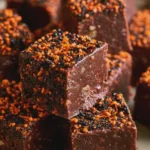
Halloween Chocolate Fudge Easy No-Bake Recipe
- Total Time: PT2H25M
- Yield: 64 squares 1x
- Diet: Vegetarian
Description
Whip up these spooky and decadent Halloween Chocolate Fudge squares for a frightfully delicious treat that’s perfect for parties or trick-or-treaters!
Ingredients
- 1 (14 ounce) can sweetened condensed milk
- 2 cups (12 ounces) semisweet chocolate chips
- 1 teaspoon vanilla extract
- 1/4 cup chopped pecans or walnuts (optional)
- Orange and black sprinkles for decorating
Instructions
- Line an 8×8 inch baking pan with parchment paper, leaving an overhang on the sides.
- In a medium saucepan over low heat, combine the sweetened condensed milk and chocolate chips.
- Stir constantly until the chocolate chips are completely melted and the mixture is smooth and well combined.
- Remove from heat and stir in the vanilla extract. If using, stir in the chopped nuts.
- Pour the fudge mixture into the prepared baking pan and spread evenly.
- Immediately sprinkle the top with orange and black sprinkles while the fudge is still wet.
- Refrigerate for at least 2 hours, or until firm.
- Once firm, use the parchment paper overhang to lift the fudge out of the pan.
- Cut into 1-inch squares. Store in an airtight container at room temperature or in the refrigerator.
Notes
- For a richer fudge, use dark chocolate chips.
- You can add a drop of black food coloring to a portion of the fudge mixture before pouring it into the pan for a marbled effect.
- Experiment with different Halloween-themed sprinkles like candy corn or edible googly eyes.
- Fudge can be stored at room temperature for up to a week, or in the refrigerator for up to two weeks.
- Prep Time: PT15M
- Cook Time: PT10M
- Category: Desserts
- Method: Stovetop
- Cuisine: American
Nutrition
- Serving Size: 1 square
- Calories: 100
- Sugar: 15g
- Sodium: 15mg
- Fat: 6g
- Saturated Fat: 4g
- Carbohydrates: 12g
- Protein: 1g