
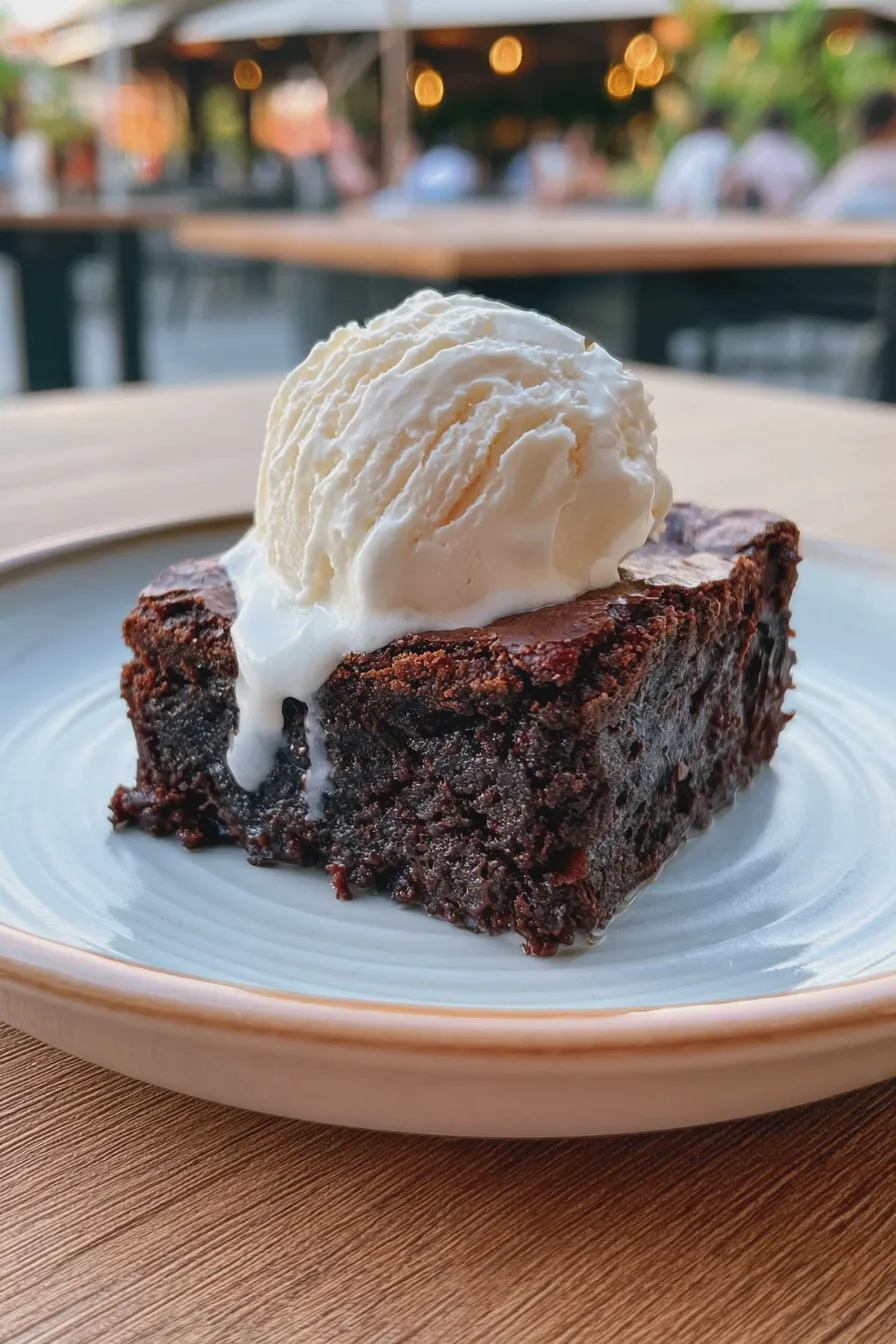
This classic dessert combines a rich, intensely chocolatey baked square with a scoop of cold, creamy vanilla ice cream, often drizzled with warm fudge for the ultimate comforting experience. Serving a brownie with ice cream creates a delightful temperature and texture contrast that makes it a favorite for family gatherings or a simple weeknight treat.
There is truly nothing more satisfying than biting into a warm, dense brownie that yields slightly to the pressure of a cold spoon meeting its surface, marrying perfectly with the melting ice cream. We are diving deep into mastering that perfect, slightly crackled top and chewy interior needed for the best brownie sundae recipe, ensuring your final presentation is restaurant-worthy.
Essential Components for the Ultimate Brownie Dessert Combinations
Creating an exceptional experience featuring a brownie with ice cream relies on having high-quality components that complement each other beautifully. While the combination seems simple, focusing on the quality of the chocolate and the temperature of the serving ensures success every time you make this rich chocolate dessert.
Choosing the Right Brownie Base
For this pairing, we are aiming for a truly gooey brownie recipe rather than a cakey one; the dense texture holds up better against the melting ice cream. A good base should have that signature thin, papery crust on top, indicating a proper balance of sugar and egg proteins during the baking process.
If you prefer an even deeper flavor, consider using a dark chocolate brownie recipe, perhaps incorporating melted bittersweet chocolate alongside the cocoa powder for maximum intensity. For those avoiding gluten, a fantastic gluten-free brownie and ice cream version can be achieved by substituting all-purpose flour with a quality gluten-free blend or relying on almond flour.
Selecting the Perfect Ice Cream
Vanilla bean ice cream remains the undisputed champion for serving alongside chocolate brownies because its creamy sweetness cuts through the richness of the chocolate perfectly. However, feel free to experiment with coffee, salted caramel, or even mint chip if you are looking to elevate your brownie dessert combinations.
Ensure your ice cream is slightly softened—not soupy, but workable—before serving, as this allows it to nestle nicely against the warm baked good. This slight softening is crucial for achieving that beautiful melt that pools around the edges when serving a blondie with ice cream topping or a traditional square.
Essential Toppings and Sauces
The secret to a truly memorable experience, particularly when making a skillet brownie with ice cream, often lies in the sauce you choose to drizzle over the top. A classic warm fudge sauce is non-negotiable for a traditional experience, providing temperature contrast and extra moisture.
If you need a quick alternative for easy ice cream dessert ideas, a simple dusting of powdered sugar or a scattering of toasted pecans works wonders. Learn how to make brownie topping ahead of time so you can serve this decadent treat instantly when the brownies come out of the oven.
The Ultimate Chewy Brownie Recipe
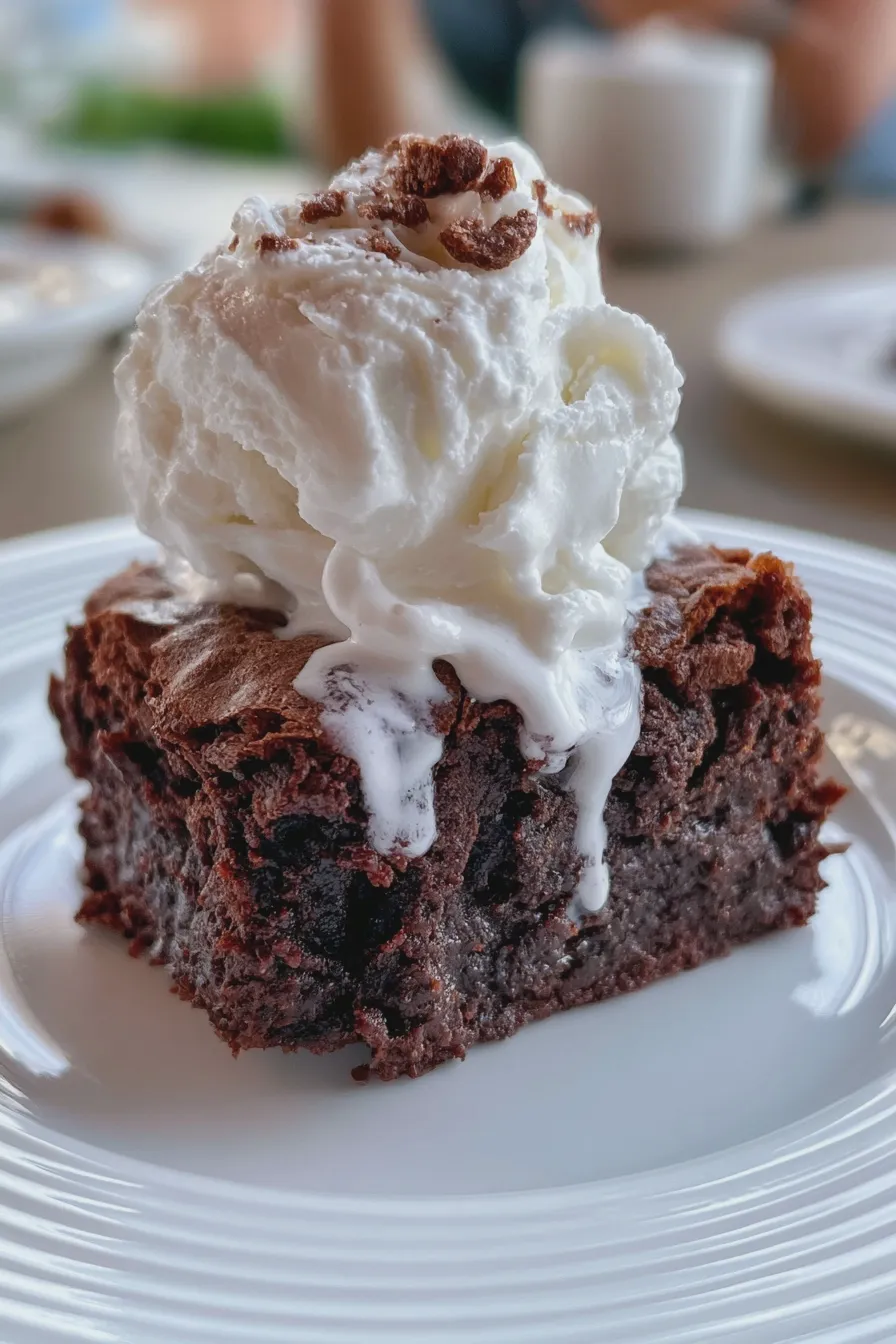
This recipe focuses on achieving that desirable, slightly chewy edge and dense, fudgy center that pairs so well with cold dairy products. Remember that over-mixing the batter after the flour is added is the quickest way to develop too much gluten, resulting in a cakey texture instead of the desired perfect brownie texture.
Ingredients for the Brownies
Gathering your mise en place first will make the process smooth, especially since you want these ready to serve warm.
- 1 cup (2 sticks) unsalted butter, plus extra for greasing
- 1 1/4 cups granulated sugar
- 1 cup packed light brown sugar
- 4 large eggs, room temperature
- 1 tablespoon vanilla extract
- 3/4 cup unsweetened cocoa powder (high quality recommended)
- 1/2 cup all-purpose flour
- 1 teaspoon salt
- 1/2 teaspoon baking powder
- 1 cup semi-sweet chocolate chips (optional, for extra gooeyness)
If you prefer a richer, slightly less sweet flavor profile akin to a chocolate truffle cake, substitute 1/4 cup of the cocoa powder with an equal amount of Dutch-processed cocoa powder.
Preparing the Chocolate Base
Begin by melting the butter gently in a saucepan over low heat, ensuring it doesn’t brown or scorch at the bottom of the pan. Once melted, remove the butter from the heat and whisk in both the granulated and brown sugars until they are fully incorporated into the fat.
Allow this sugary butter mixture to cool for about five minutes; adding eggs to overly hot butter will cause them to scramble slightly, which we definitely want to avoid. For those who enjoy a citrusy counterpoint to heavy chocolate, consider adding a teaspoon of lemon zest to the batter when preparing a lemon raspberry layer cake, though we skip that here for classic flavor.
Incorporating Eggs and Dry Ingredients
Whisk the eggs into the cooled sugar mixture one at a time, ensuring each egg is fully emulsified before adding the next, followed by the vanilla extract. This slow incorporation helps build the structure that leads to that desirable shiny, crackled top layer on your baked squares.
In a separate bowl, whisk together the cocoa powder, flour, salt, and baking powder to ensure all the leavening and flavor agents are evenly distributed throughout the dry mix. Gently fold the dry mixture into the wet ingredients using a rubber spatula until just combined; stop mixing the moment you see no more streaks of flour remaining.
Baking for the Right Texture
Pour the batter into a parchment-lined 8×8 inch baking pan that has been lightly greased, spreading it evenly with the spatula. If using, sprinkle the chocolate chips evenly over the top of the batter right before it goes into the oven.
Bake at 350°F (175°C) for approximately 30 to 35 minutes, watching carefully as time is crucial for achieving the correct fudgy center. A toothpick inserted near the center should come out with moist, sticky crumbs attached, but not wet, raw batter, which signals it is done and ready for cooling.
Serving the Warm Brownie A La Mode
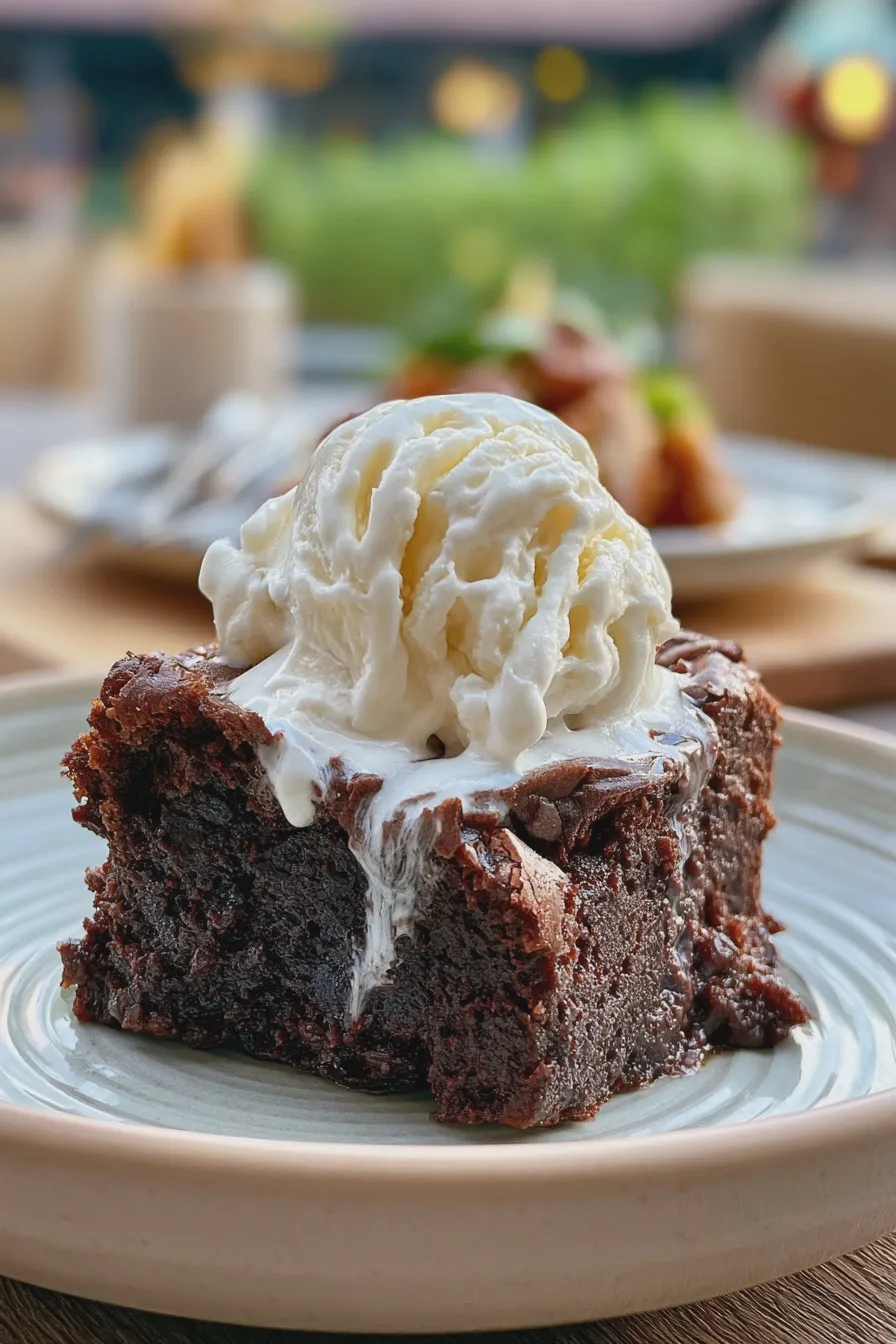
Serving this dessert correctly is what elevates it from a simple baked good to the spectacular warm brownie a la mode experience everyone craves. The key here is timing—you want the brownie warm enough to melt the ice cream slightly, but not so hot that the ice cream disappears instantly.
The Art of the Warm Serve
Once the brownies have cooled for at least 20 minutes after coming out of the oven, cut them into squares and place one square on each serving plate. If you baked them in a large pan, consider cutting them into slightly smaller portions, as they are quite rich.
To achieve that perfect warmth, place the individual square back into a toaster oven set to 300°F for about 3 to 5 minutes, or microwave a single serving for 10 to 15 seconds maximum. This brief reheating ensures the interior is soft and decadent, ready to contrast with the cold topping.
Assembling the Ultimate Brownie Sundae
Immediately after warming the brownie, place one generous scoop of vanilla ice cream directly on top or nestled right beside it on the plate. The contrast between the frozen dessert recipes component and the warm base is what makes this dessert so popular.
Drizzle generously with warm fudge sauce, perhaps adding a dollop of whipped cream and a cherry, transforming it into the ultimate brownie sundae. This method of assembly is the quickest way to how to serve brownies when you want maximum visual impact.
Tips for Success and Storage
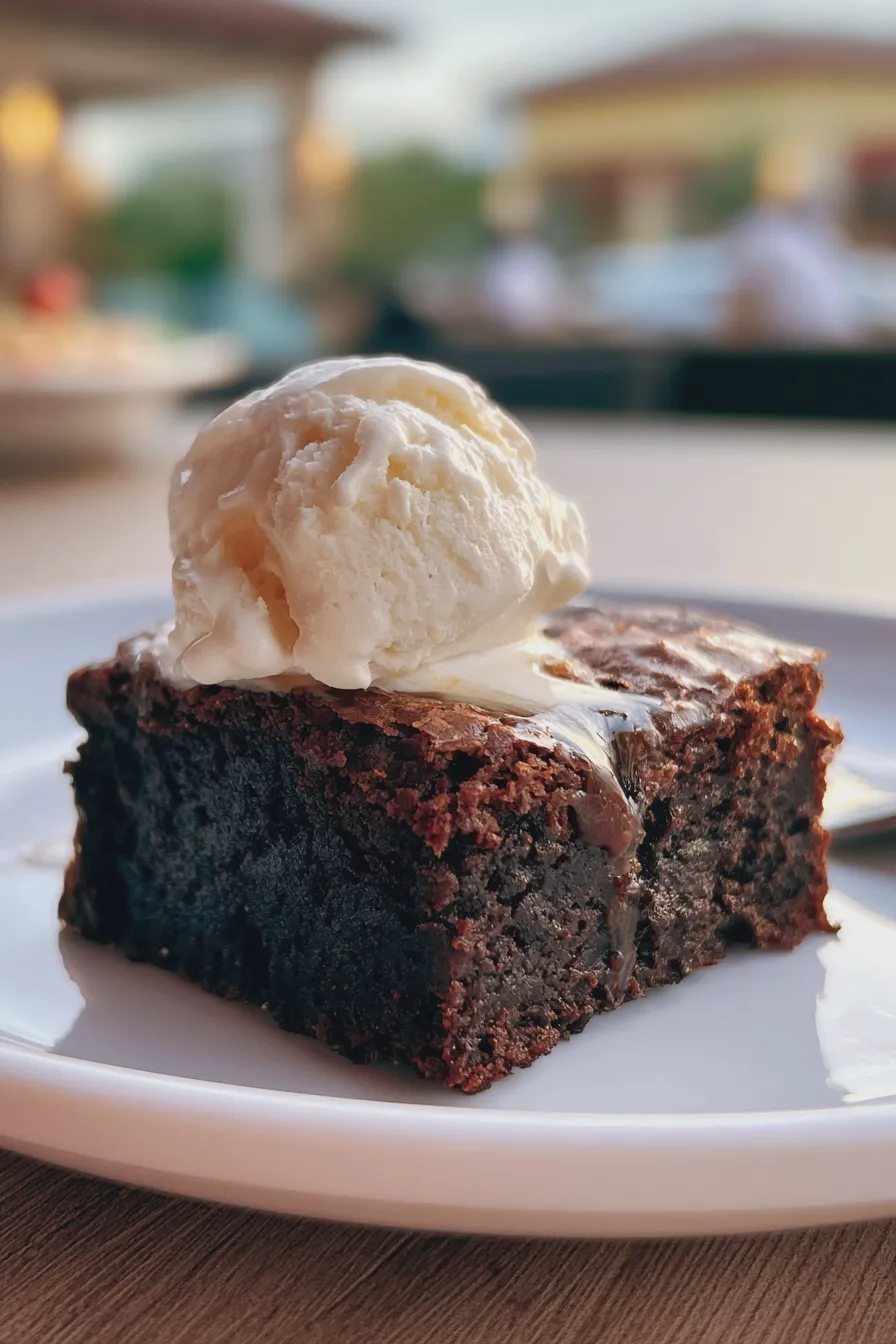
Even the best recipes can sometimes yield unexpected results, so having a few troubleshooting tips on hand is always helpful for home bakers. Proper storage ensures you can enjoy these decadent treats later, perhaps even using them as a base for strawberry hand pies filling next time.
Troubleshooting Texture Issues
If your brownies ended up too cakey, it often means you added too much flour or overmixed the batter, so be diligent about measuring flour accurately using the spoon-and-level method. If they are too soft and collapsing in the middle, they likely needed another five minutes in the oven, as an underbaked center can sometimes look underdone rather than perfectly gooey.
For a chewier edge without sacrificing the center, try baking the brownies in a metal pan rather than glass, as metal conducts heat more efficiently and encourages that desirable crust development. This same principle applies when making a blondie with ice cream topping for a lighter flavor profile.
Storage and Make-Ahead Advice
Brownies are excellent candidates for making ahead, as their flavor often deepens overnight once they have fully cooled and set. Store uncut brownies tightly wrapped at room temperature for up to four days, provided your kitchen isn’t overly warm or humid.
If you need to keep them longer, these squares freeze beautifully; wrap individual portions tightly in plastic wrap followed by a layer of foil to prevent freezer burn. When you are ready to serve, simply thaw on the counter and reheat briefly before topping with ice cream.
Print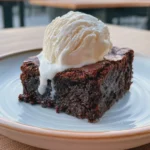
brownie with ice cream Recipe Easy Homemade
- Total Time: PT2H45M
- Yield: 16 large brownies 1x
- Diet: Vegetarian
Description
There is nothing quite like a warm, intensely chocolatey, fudgy brownie paired with cold, sweet vanilla bean ice cream. This recipe delivers that ultimate dessert experience every time. The brownies are dense, rich, and crackly on top, providing the perfect contrast to the melting ice cream.
Ingredients
- 1 cup (2 sticks/226g) unsalted butter, melted
- 2 cups (400g) granulated sugar
- 4 large eggs, room temperature
- 1 tablespoon vanilla extract
- ¾ cup (75g) unsweetened cocoa powder (high quality recommended)
- 1 cup (120g) all-purpose flour
- ½ teaspoon salt
- 1 cup (170g) semi-sweet chocolate chips (plus extra for sprinkling)
- 1 quart (approx. 4 servings) high-quality Vanilla Bean Ice Cream
Instructions
- Preheat your oven to 350°F (175°C). Grease and line a 9×13 inch baking pan with parchment paper, leaving an overhang on the long sides for easy removal.
- In a large bowl, whisk the melted butter and sugar together until well combined.
- Whisk in the eggs one at a time until the mixture is smooth and slightly lighter in color. Stir in the vanilla extract.
- Sift the cocoa powder and salt over the wet ingredients. Whisk until just combined and no streaks of cocoa remain. Be careful not to overmix.
- Gently fold in the flour until just incorporated. Finally, fold in the chocolate chips.
- Pour the batter evenly into the prepared pan and sprinkle the extra chocolate chips over the top.
- Bake for 25–30 minutes. For fudgy brownies, the edges should look set, and a toothpick inserted near the center should come out with moist, fudgy crumbs attached (not wet batter).
- Let the brownies cool completely in the pan on a wire rack (at least 2 hours, or chill for easier cutting).
- Once cooled, lift the brownies out using the parchment overhang, cut into squares.
- To serve, place one warm or room temperature brownie square on a plate and top immediately with one large scoop of vanilla bean ice cream. Serve immediately.
Notes
- For an extra fudgy texture, slightly underbake the brownies (check at 25 minutes).
- If you prefer cake-like brownies, increase flour to 1 1/4 cups and bake until a toothpick comes out mostly clean.
- Make sure your eggs are room temperature for better incorporation into the batter.
- Substitute the vanilla ice cream with salted caramel or coffee flavor for a twist!
- Prep Time: PT15M
- Cook Time: PT30M
- Category: Chocolate Desserts
- Method: Baking
- Cuisine: American
Nutrition
- Serving Size: 1 Brownie + 1 scoop Ice Cream (Estimate)
- Calories: 450
- Sugar: 45g
- Sodium: 150mg
- Fat: 28g
- Saturated Fat: 17g
- Carbohydrates: 50g
- Fiber: 3g
- Protein: 5g
- Cholesterol: 110mg







