
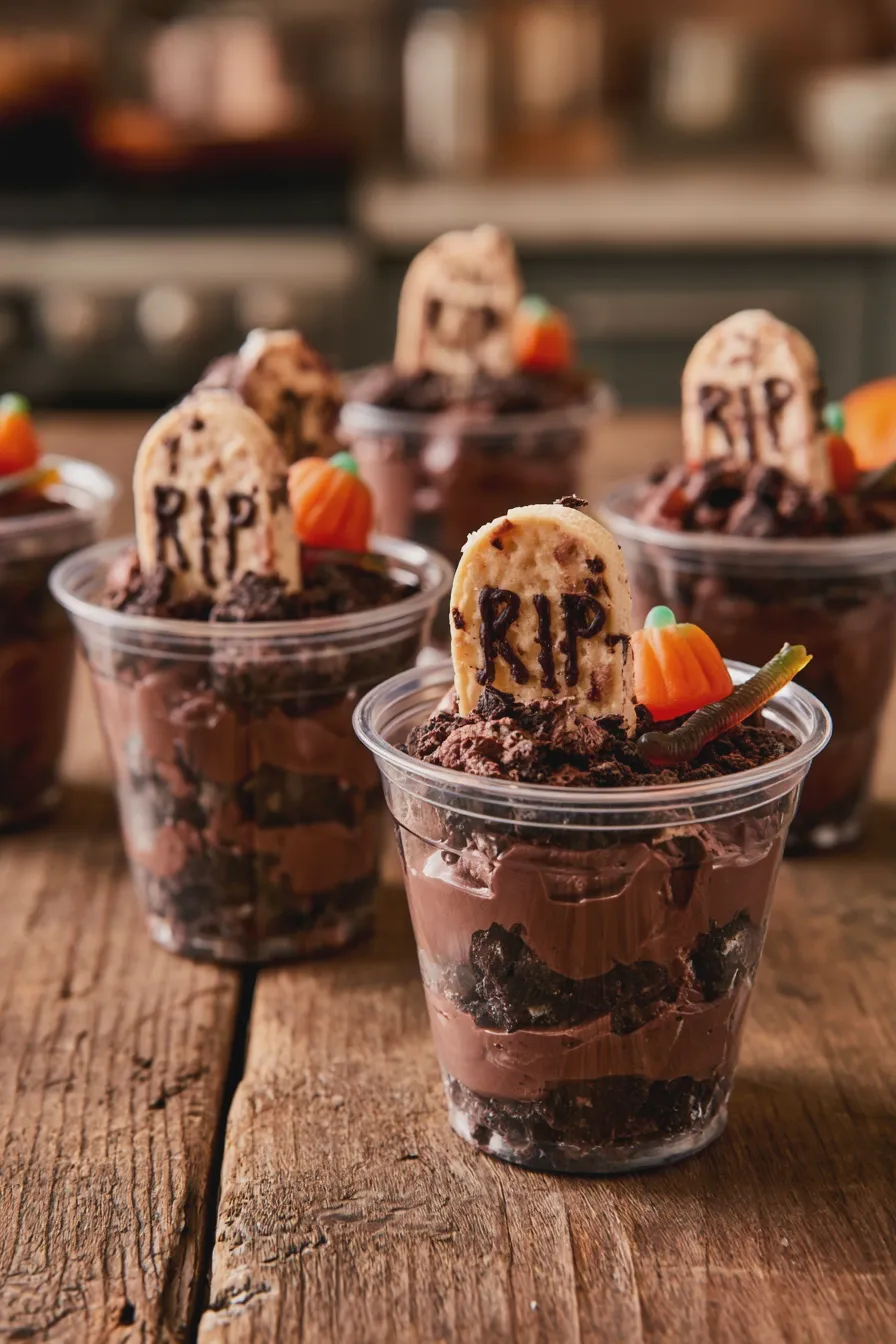
Halloween is a time for ghoulish delights and spooky treats, and what could be more iconic than edible graveyard cups? These fun and festive desserts are a guaranteed hit at any Halloween party, bringing smiles to both little goblins and grown-up ghouls. They’re incredibly simple to assemble, making them perfect for a fun baking project with the kids or a quick yet impressive addition to your Halloween dessert spread. We’ll guide you through creating these charming, edible graveyards that are as delicious as they are delightful. Get ready to dig into this fun and easy graveyard pudding cups recipe!
What are Graveyard Pudding Cups?
Graveyard pudding cups are a playful and thematic dessert that mimics a miniature graveyard scene, typically served in individual cups or small containers. The base is usually a creamy chocolate pudding, layered with crushed chocolate cookies to resemble dark, disturbed earth. Tombstone-shaped cookies or candies, often decorated with edible markers, stand sentinel over the “dirt,” while gummy worms peek out from the soil, adding a fun, wiggly element. They are a quintessential part of many Halloween party desserts, embodying the spirit of the holiday with their creepy-cute aesthetic. This no-bake graveyard pudding cups recipe is a fan favorite for its simplicity and visual appeal.
Ingredients You’ll Need
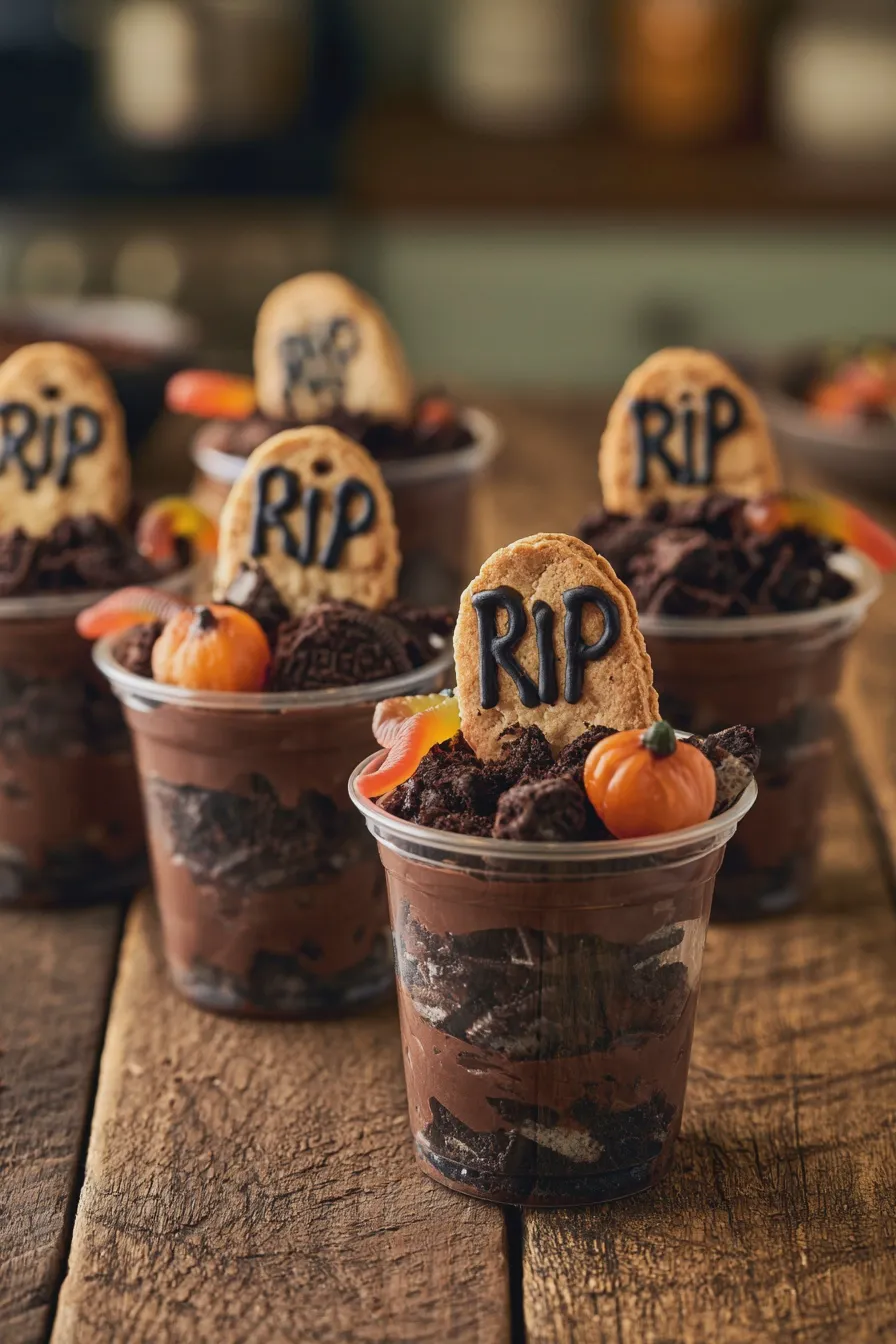
Gathering your ingredients is the first step to creating these spooky delights. The beauty of graveyard pudding cups is their flexibility; you can easily adapt them based on what you have on hand or your personal preferences. Here’s a rundown of what you’ll typically need:
Looking for more? Try this delicious Easy Homemade Ice Cream Recipe next.
- Chocolate Pudding: You can use instant chocolate pudding mix, cook-and-serve pudding, or even homemade chocolate pudding. The key is a rich, chocolatey flavor.
- Milk: To prepare the pudding. The amount will depend on the type of pudding mix you use.
- Chocolate Sandwich Cookies: Such as Oreos, these are crucial for creating the “dirt” effect. You’ll need enough to crush into crumbs.
- Wafers or Milano Cookies: These are perfect for making edible tombstones. Rectangular or oval shapes work best.
- Edible Markers or Frosting: For writing epitaphs or drawing designs on the tombstones.
- Gummy Worms: These add a fun, creepy-crawly element.
- Optional Decorations: Candy pumpkins, candy ghosts, sprinkles, or even edible moss can add extra flair.
- Serving Cups: Clear plastic cups, small mason jars, or even black paper cups work well to showcase the layers.
Step-by-Step Guide to Making Graveyard Pudding Cups
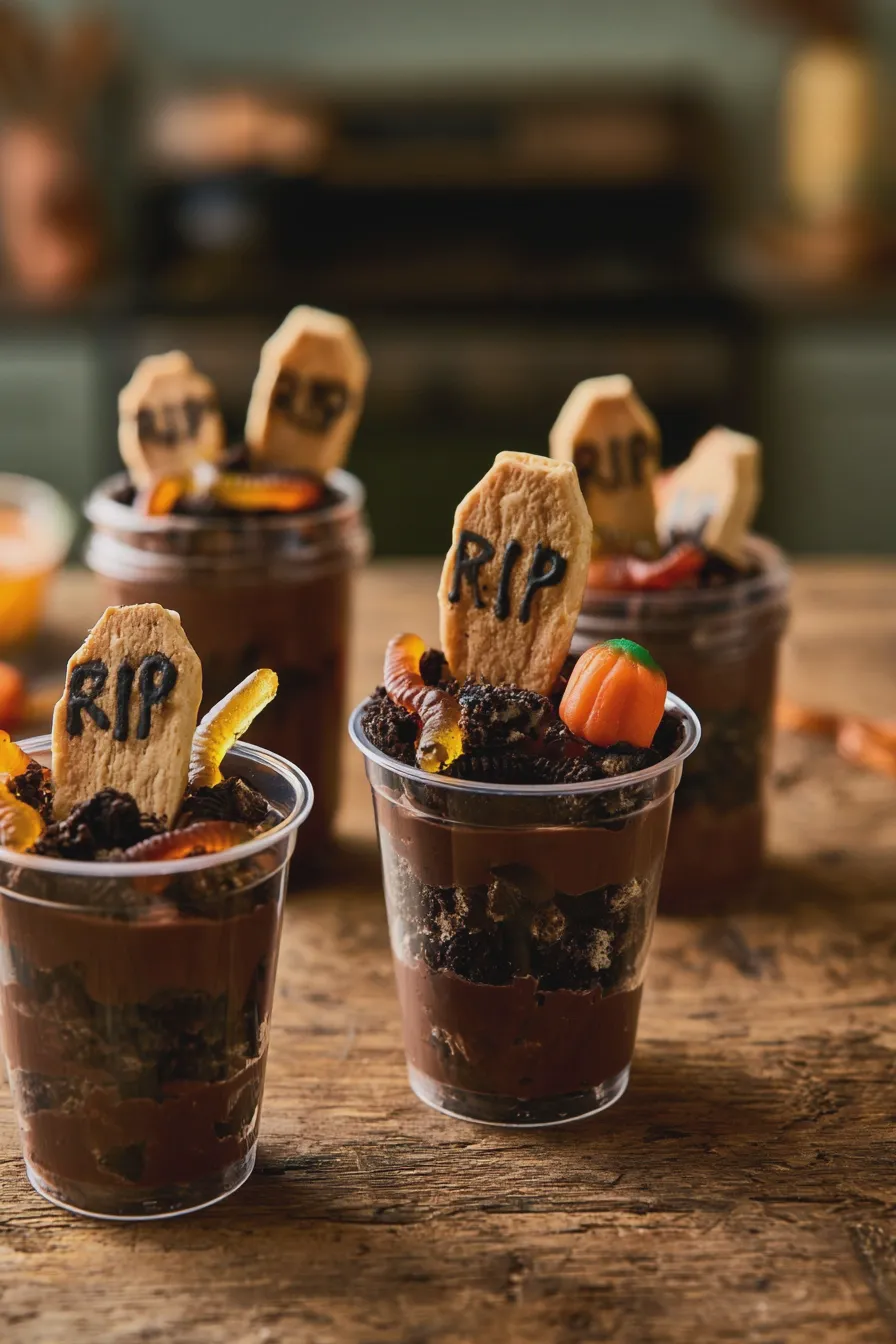
Creating these edible graveyard cups is an enjoyable process, perfect for a family activity. Follow these simple steps for a spooktacular result.
Step 1: Prepare the Chocolate Pudding
Begin by preparing your chocolate pudding according to the package directions or your favorite homemade recipe. If using instant pudding, whisk the pudding mix with the specified amount of milk until smooth and thickened. For cook-and-serve, follow the stovetop instructions. Once prepared, cover the pudding with plastic wrap, pressing the wrap directly onto the surface to prevent a skin from forming. Chill the pudding in the refrigerator until it’s firm, usually at least 30 minutes to an hour. A well-chilled pudding is essential for creating distinct layers.
Looking for more? Try this delicious How To Make Ice Cream At Home next.
Step 2: Crush the Chocolate Cookies
While the pudding chills, prepare your “dirt.” Place the chocolate sandwich cookies (filling and all) into a food processor and pulse until they resemble coarse crumbs. Alternatively, you can place the cookies in a sturdy zip-top bag, seal it tightly, and then crush them using a rolling pin or the bottom of a heavy pan. Aim for a texture that looks like soil, not fine powder. You’ll want about 2-3 cups of cookie crumbs, depending on how many cups you’re making. This crushed cookie graveyard is the foundation of our spooky scene.
Step 3: Assemble the Graveyard Cups
Now for the fun part – assembly! Take your serving cups and start layering. Begin with a layer of chocolate pudding at the bottom. Spoon about 2-3 tablespoons of pudding into each cup. Next, add a generous layer of your crushed chocolate cookie “dirt.” You can alternate layers of pudding and cookie crumbs for a more defined look, or simply create a pudding base topped with a thick layer of dirt. For the classic look of dirt pudding Halloween style, ensure the top layer is the cookie crumbs.
If you enjoyed this, you might also love our How Eggs Affect Desserts recipe.
Step 4: Create the Tombstones
Take your wafer or Milano cookies and use edible markers or a fine-tipped tube of black frosting to draw spooky epitaphs like “RIP,” “R.I.P.,” or funny names. You can also draw simple crosses or tombstone shapes. Get creative! Once decorated, gently insert one or two tombstones into the cookie “dirt” of each cup, leaning them slightly to give the appearance of being freshly placed. Be careful not to push them too deep, or they might break.
Step 5: Add the Finishing Touches
This is where your graveyard truly comes to life! Gently push a few gummy worms into the cookie crumbs, allowing some to dangle over the edge of the cup. This gives the impression that they are wriggling out from beneath the dirt. If you have any other decorative elements like candy pumpkins or ghosts, strategically place them around the tombstones and dirt for an extra festive touch. These graveyard dirt cups are a delightful canvas for your Halloween creativity.
Looking for more? Try this delicious The Role Of Butter In Desserts next.
Tips for Perfect Graveyard Pudding Cups
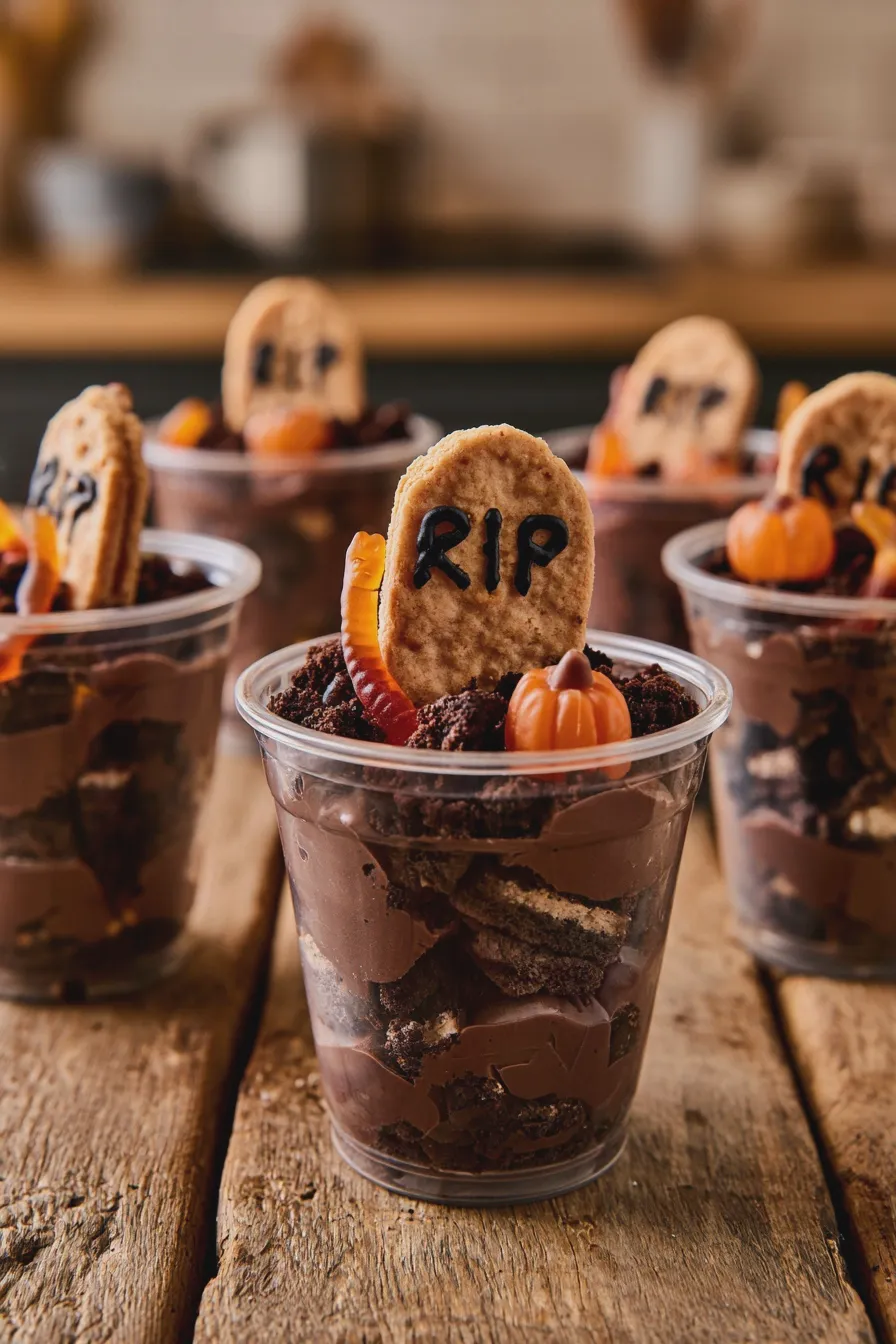
Elevate your graveyard pudding cups from good to ghoulishly great with these expert tips:
- Pudding Consistency: Ensure your pudding is well-chilled and firm. If it’s too runny, the layers will blend together, and the tombstones might not stand up.
- Cookie Crumb Texture: Don’t over-process the cookies into a fine powder. A slightly coarser crumb looks more realistic as dirt.
- Tombstone Stability: If your cookies are very thin and brittle, you might want to use a dab of melted chocolate or frosting to “glue” them into the pudding layer beneath the crumbs for extra stability.
- Presentation Matters: Use clear cups to show off the pudding and cookie layers. This adds visual appeal and makes the dessert look more intricate.
- Make Ahead: You can prepare the pudding and crush the cookies a day in advance. Assemble the cups a few hours before serving to keep the cookie crumbs from getting too soggy.
- Kid-Friendly Fun: Let the children help with crushing cookies, decorating tombstones, and placing gummy worms. It’s a fantastic kids Halloween treats activity.
Common Mistakes to Avoid
Even with simple recipes, a few common pitfalls can be avoided to ensure your graveyard pudding cups turn out perfectly:
If you enjoyed this, you might also love our How To Fold Ingredients Without Deflating recipe.
- Soggy Cookie Crumbs: Assembling the cups too far in advance can lead to the cookie crumbs becoming soft and losing their texture. Aim to assemble within a few hours of serving.
- Runny Pudding: Not chilling the pudding long enough or using too much liquid can result in a pudding that won’t hold its shape or support the tombstones.
- Over-Decorating: While it’s fun to add details, too many heavy decorations can make the cups unstable or overpower the chocolate flavor. Keep it simple and effective.
- Tombstone Breakage: Trying to push tombstones too forcefully into very firm pudding can cause them to snap. A gentle touch is key.
- Using the Wrong Cookies: While any chocolate cookie can work, sandwich cookies with cream filling are ideal as they provide a richer flavor and better texture when crushed.
Variations on the Graveyard Pudding Cups Theme
These spooky dessert recipes are wonderfully versatile. Here are a few ideas to switch things up:
- White Chocolate Pudding Ghosts: Instead of chocolate pudding, use white chocolate or vanilla pudding. Decorate the tombstones with ghost faces and add white chocolate chips or meringue cookies as ghosts.
- Red Velvet Graveyard: Use red velvet cake crumbles mixed with pudding for a “bloody” effect, or a red velvet pudding for a bolder color.
- Pumpkin Patch Graveyard: Incorporate pumpkin-flavored pudding or add mini candy pumpkins.
- Spicy Chocolate Graveyard: Add a pinch of cayenne pepper to your chocolate pudding for a surprising kick.
- Gluten-Free Graveyard: Use gluten-free chocolate sandwich cookies and a gluten-free pudding mix or recipe.

Graveyard Pudding Cups Recipe for Spooky Halloween Fun
- Total Time: PT20M
- Yield: 6–8 servings 1x
- Diet: Vegetarian
Description
These adorable Graveyard Pudding Cups are the perfect easy Halloween dessert! With layers of chocolate pudding, crushed cookies, and candy tombstones, they’re a fun and festive treat for all ages.
Ingredients
- 1 (3.4 ounce) package instant chocolate pudding mix
- 2 cups milk
- 1 (15.25 ounce) package chocolate sandwich cookies (like Oreos)
- 12–16 Milano cookies or shortbread cookies (for tombstones)
- Edible marker or black icing (optional, for tombstone messages)
- Gummy worms or candy pumpkins (optional, for decoration)
Instructions
- Prepare the chocolate pudding according to package directions. Let it chill until set.
- In a small bowl, crush the chocolate sandwich cookies until they resemble dirt.
- Spoon a layer of crushed cookies into the bottom of each clear plastic cup or jar.
- Top the cookie layer with a generous amount of chocolate pudding.
- Arrange one or two Milano cookies or shortbread cookies upright in the pudding to resemble tombstones.
- Use edible marker or a small dab of icing to write ‘RIP’ or other spooky messages on the tombstones.
- Add a few gummy worms or candy pumpkins around the tombstones for extra decoration.
- Chill the pudding cups for at least 30 minutes before serving to allow the flavors to meld.
Notes
- For a richer flavor, you can use a homemade chocolate pudding recipe.
- If you don’t have clear cups, any small serving bowls will work.
- Get creative with your tombstone messages and decorations!
- These can be made a day in advance and kept refrigerated.
- Prep Time: PT20M
- Cook Time: PT0M
- Category: Desserts
- Method: No-Bake
- Cuisine: American
Nutrition
- Serving Size: 1 pudding cup
- Calories: 350
- Sugar: 40g
- Sodium: 250mg
- Fat: 15g
- Saturated Fat: 5g
- Carbohydrates: 50g
- Fiber: 2g
- Protein: 4g







