
Halloween is a time for spooky delights and festive treats, and what could be more iconic than a batch of graveyard cupcakes? These delightful confections are not only a feast for the eyes but also a joy to make, perfect for parties, school events, or just a fun family baking project. Imagine miniature edible cemeteries, complete with crumbly “dirt” and ghostly tombstones – it’s a scene straight out of a Halloween dream! Making your own graveyard cupcakes recipe is easier than you might think, and the results are always a showstopper. This guide will walk you through everything you need to know to create the best graveyard cupcakes, from choosing the perfect cake base to crafting those eerie edible decorations. Get ready to dig into the fun and create some truly spooktacular treats that everyone will love. For more inspiration on festive baking, check out these Halloween desserts.
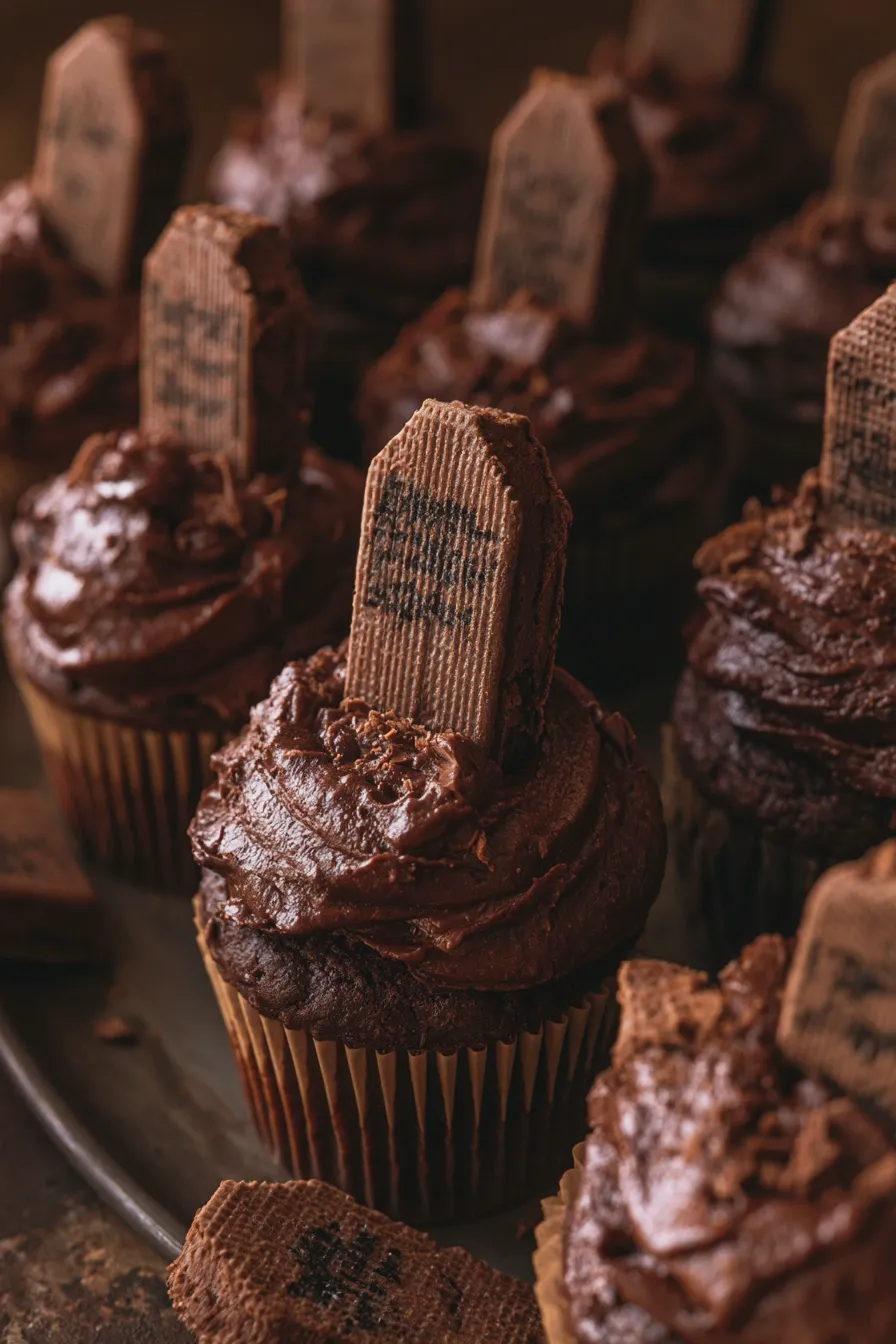
This recipe is designed to be approachable, even for beginner bakers. We’ll focus on simple techniques and readily available ingredients to ensure your Halloween graveyard cupcakes turn out perfectly every time. So, preheat your ovens, gather your little ghouls and goblins, and let’s get baking!
The Foundation: Choosing Your Graveyard Cupcake Base
The base of your graveyard cupcakes recipe is crucial. While any chocolate cake will work wonderfully, a rich, moist chocolate flavor is particularly fitting for the “dirt” theme. You have a few excellent options:
- Classic Chocolate Cake: A reliable choice that’s always a crowd-pleaser. You can use your favorite family recipe or a good quality boxed mix for ease.
- Devil’s Food Cake: This offers a deeper, darker chocolate flavor and a tender crumb, making it an ideal canvas for your graveyard scene.
- Chocolate Sour Cream Cake: The sour cream adds incredible moisture and a slight tang that complements the sweetness of the frosting and decorations.
For these easy graveyard cupcakes, we’ll assume you’re using a standard chocolate cake recipe or mix. Ensure you follow the package or recipe instructions carefully for best results. Properly creaming your butter and sugar, not overmixing the batter, and using ingredients at room temperature are key steps for a tender cake. Overmixing can lead to tough cupcakes, a mistake many bakers make. For a deeper dive into cake baking, exploring resources like cake baking techniques can be very helpful.
Baking Tip: To ensure your cupcakes bake evenly, don’t overfill the cupcake liners – about two-thirds full is perfect. This allows them to rise without overflowing.
If you enjoyed this, you might also love our Pumpkin Cupcakes Recipe recipe.
Crafting the Eerie Edible Dirt
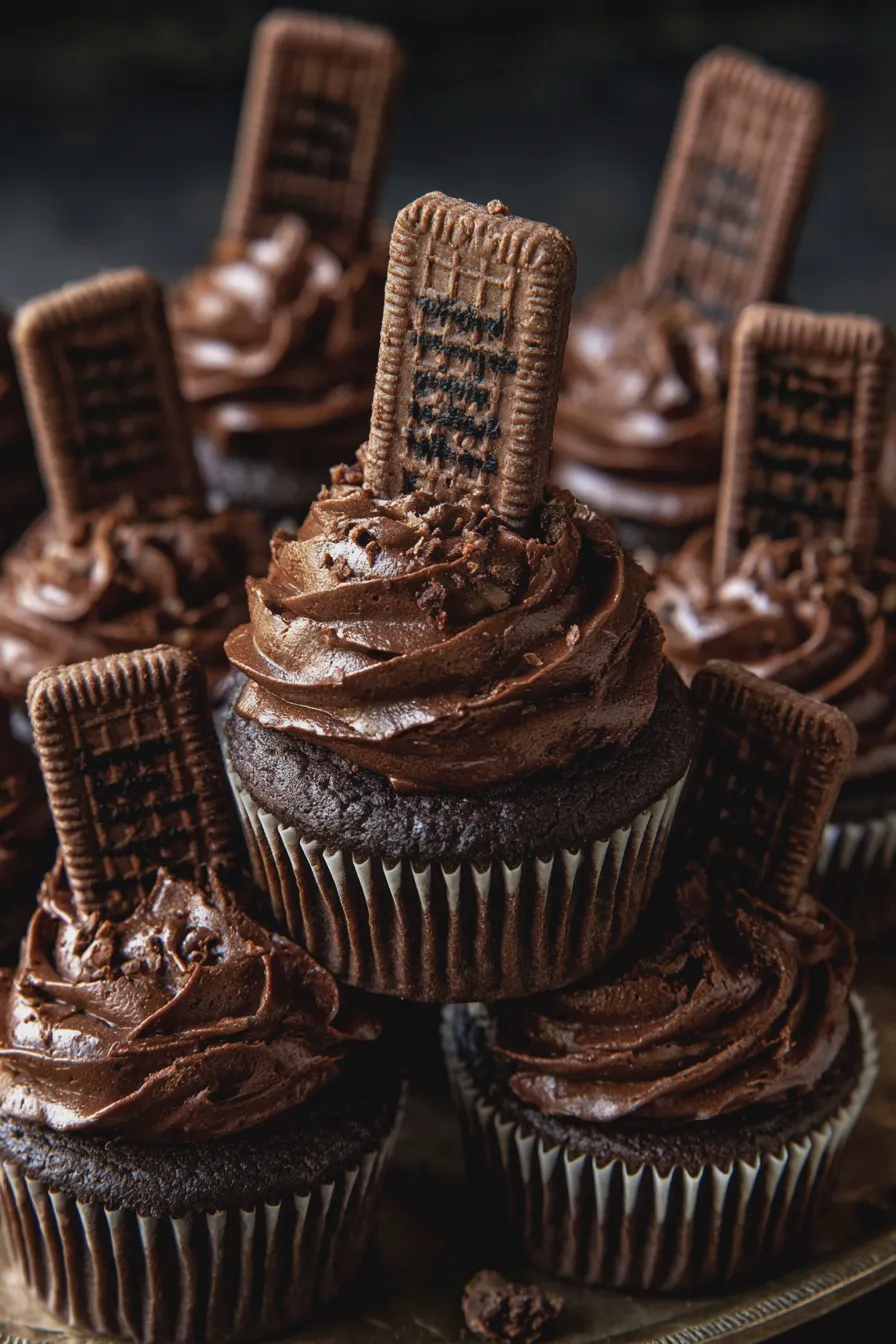
The “dirt” is what truly brings your graveyard cupcakes to life! There are several delicious ways to achieve this:
- Crushed Chocolate Cookies: This is the most popular and easiest method. Chocolate sandwich cookies (like Oreos) are perfect. Simply pulse them in a food processor until they resemble coarse dirt. You can leave the cream filling in for a slightly sweeter, fudgier texture, or scrape it out if you prefer a less sweet dirt.
- Chocolate Cake Crumbs: If you bake extra chocolate cupcakes or a graveyard cake, you can crumble them up once cooled. This creates a more authentic cake-like crumb texture.
- Chocolate Graham Crackers: For a slightly different flavor and texture, crushed chocolate graham crackers can also work as graveyard dirt.
Mistake to Avoid: Don’t crush your cookies or cake too finely. You want a texture that resembles actual soil, not powder.
Example: For a batch of 12 cupcakes, you’ll likely need about 1 to 1.5 cups of crushed cookie crumbs. This will be enough to generously cover the tops.
This edible dirt is also the base for other fun graveyard dessert ideas, like individual graveyard pudding cups.
Another favorite of ours is the Zucchini Cake With Cream Cheese Frosting.
The Spooky Frosting: A Bed for the Dirt
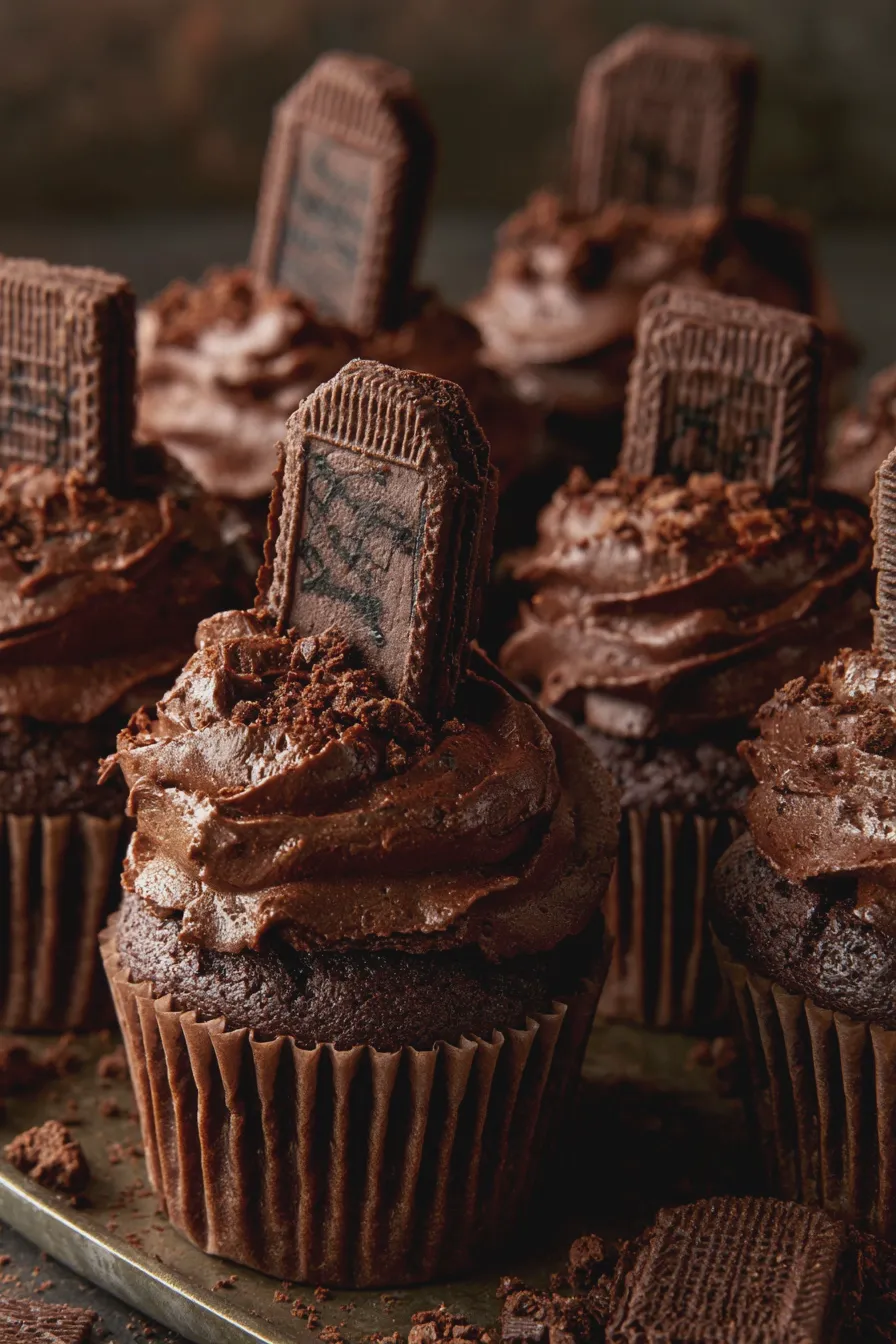
You need a frosting to act as the “glue” that holds your edible dirt onto the cupcakes. A simple chocolate frosting is the most thematic choice, but vanilla or even a cream cheese frosting can work.
- Chocolate Buttercream: A classic for a reason. It’s easy to make and pipes beautifully. You’ll want a sturdy buttercream that can hold its shape.
- Chocolate Ganache: For a richer, more decadent option, a chocolate ganache can be used. It provides a smooth, glossy surface.
- Vanilla Buttercream: If you want a slight contrast to the chocolate dirt, vanilla is a good choice. You can even tint it a light gray or purple for a spooky effect.
Baking Explanation: Buttercream frosting is made by creaming butter until it’s light and fluffy, then gradually adding powdered sugar and a liquid (like milk or cream) along with flavorings. Ensuring your butter is at room temperature is key for smooth, lump-free frosting.
How to Frost: Once your cupcakes are completely cool (this is crucial – warm cupcakes will melt the frosting!), spread a generous layer of frosting over the top. You can use an offset spatula for a smooth finish or a piping bag with a star tip for a more decorative look. Don’t worry about making it perfect; a slightly rustic look fits the graveyard theme.
Tip: If you’re making a large batch of Halloween graveyard cupcakes, consider making the frosting ahead of time and storing it in the refrigerator. Let it come to room temperature and re-whip it before frosting.
If you enjoyed this, you might also love our Zucchini Brownies With Frosting recipe.
Creating the Tombstones and Other Decorations
This is where the real fun begins! The tombstone is the star of your spooky graveyard cupcakes, but there are other elements that add to the haunted scene.
Tombstones:
You can buy pre-made edible tombstones, or make your own:
- Cookie Tombstones: Rectangular or oval cookies (like Milano cookies, shortbread, or even graham crackers) are perfect. You can “write” epitaphs on them using edible marker pens or royal icing.
- Candy Melts: Melted candy melts in a light color (white, beige, or light gray) can be poured into tombstone-shaped molds or piped freehand onto parchment paper.
- Fondant: Roll out fondant and cut out tombstone shapes using a cookie cutter or knife.
- Chocolate: Melted white or dark chocolate can be piped into tombstone shapes on parchment paper.
Baking Explanation: Royal icing is made from egg whites (or meringue powder) and powdered sugar. It dries hard, making it ideal for decorating and writing messages. Edible markers offer a simple way to add details without extra baking.
Mistake to Avoid: Don’t make your tombstones too large, or they’ll overwhelm the cupcake. They should be proportionate to the size of your treat.
Another favorite of ours is the Easy Homemade Ice Cream Recipe.
Epitaph Ideas: Keep them short and spooky! “RIP,” “Boo,” “Gone,” “R.I.P. [Your Name],” or funny ones like “I Scream.”
Other Decorations:
- Gummy Worms: These are essential for graveyard cupcakes! Stick them out of the “dirt” like creepy crawlies emerging from the ground.
- Candy Bones: Small candy bones add a nice touch to the graveyard scene.
- Candy Pumpkins: For a Halloween touch, a few small candy pumpkins can be nestled in the dirt.
- Sprinkles: Black, orange, and purple sprinkles can add a festive flair.
- Chocolate Spiders or Webs: These add an extra layer of spookiness.
Example: For skeleton graveyard cupcakes, you might add small plastic skeleton figures or use candy bones strategically.
Assembling Your Haunted Graveyard Cupcakes
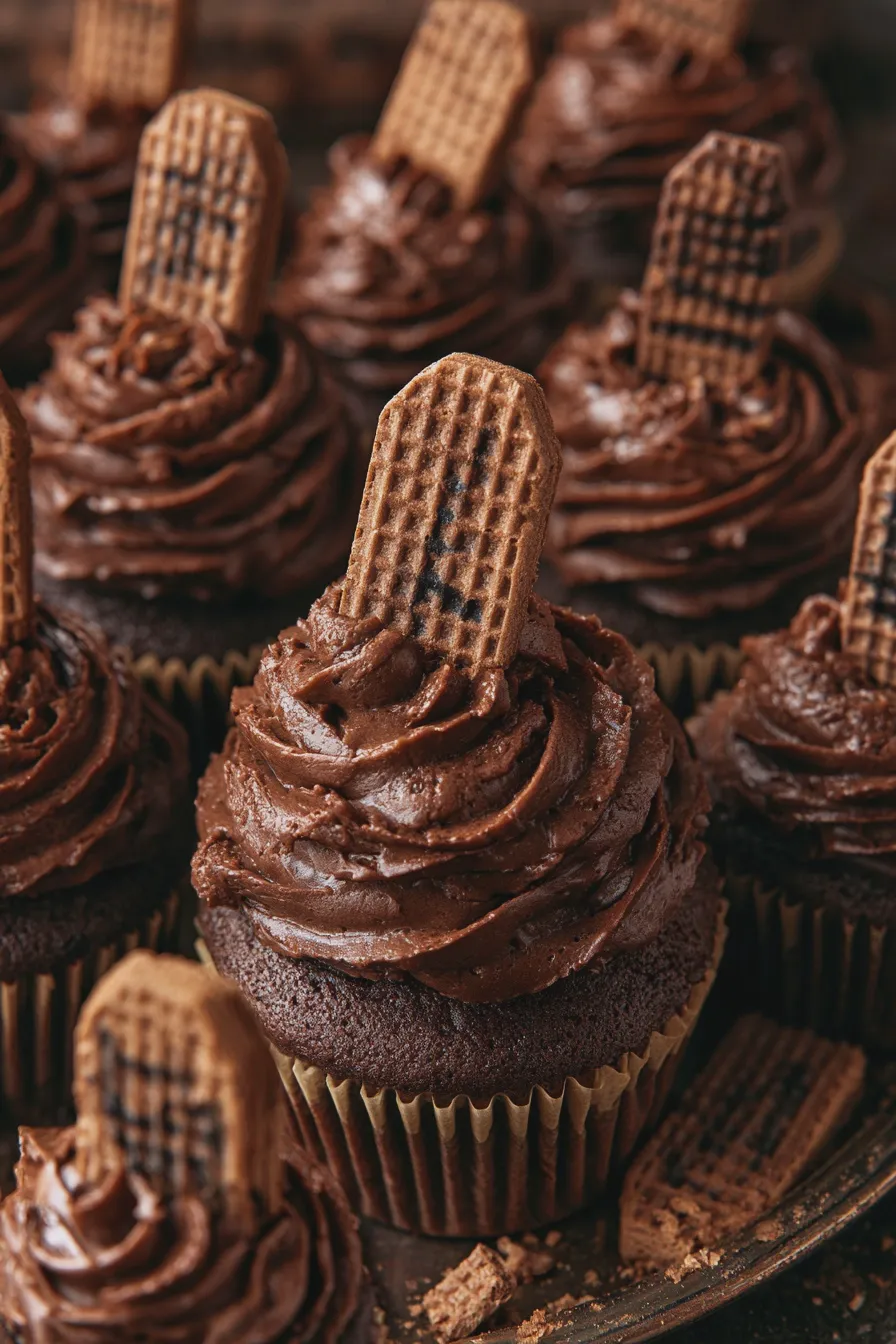
Now it’s time to put it all together! This is where your creativity shines.
- Frost the Cupcakes: Ensure your cupcakes are completely cool. Frost them generously with your chosen frosting.
- Add the Dirt: Immediately after frosting, sprinkle your crushed cookie crumbs (or cake crumbs) over the frosting, pressing gently to adhere. Cover the entire surface to create the “graveyard ground.”
- Place the Tombstones: Gently insert your prepared tombstones into the dirt. Angle them slightly for a more realistic look.
- Add the Critters: Arrange gummy worms so they look like they’re burrowing, and place any candy bones, spiders, or pumpkins around the tombstones.
- Finishing Touches: Add any extra sprinkles or edible decorations as desired.
Tip: For a more dramatic effect, you can frost some cupcakes with dark chocolate frosting and others with a lighter color, or even a spooky green or purple.
If you enjoyed this, you might also love our Chocolate Ice Cream Recipe recipe.
These easy graveyard cupcakes are perfect for a Halloween party. If you’re looking for more themed treats, consider pumpkin cupcakes or even a spooky graveyard cake.
Tips for Perfect Graveyard Cupcakes
- Cool Completely: Always let your cupcakes cool completely before frosting. This prevents the frosting from melting and sliding off.
- Room Temperature Ingredients: For both cake and frosting, ensure your butter, eggs, and milk are at room temperature for the best texture.
- Don’t Overmix: Overmixing cake batter can lead to tough cupcakes. Mix just until combined.
- Storage: Store your finished cupcakes in an airtight container at room temperature for up to 2-3 days. If your frosting is very perishable (e.g., contains cream cheese), refrigerate them, but bring them back to room temperature before serving for best flavor and texture.
- Make Ahead: You can bake the cupcakes and make the frosting a day in advance. Store cupcakes in an airtight container and frosting in the fridge (re-whip before using). Decorate on the day of serving for the freshest look.
Common Mistakes and How to Avoid Them
- Soggy Cupcakes: This happens when cupcakes are stored in a container that traps moisture, or if they are frosted while still warm. Ensure they are fully cooled and stored properly.
- Cracked or Sunken Tops: This can be due to overmixing the batter, the oven temperature being too high, or opening the oven door too early.
- Frosting Sliding Off: As mentioned, this is almost always due to frosting a warm cupcake. Patience is key!
- Tombstones Falling Over: Ensure your tombstones are inserted firmly enough into the cupcake. If using cookies, a dab of frosting on the bottom can help them stick.
Making these Halloween graveyard cupcakes is a rewarding experience. The process is forgiving, and the results are always impressive. Whether you’re aiming for cute graveyard cupcakes for kids or more sophisticated spooky graveyard cupcakes, this guide provides a solid foundation.
Print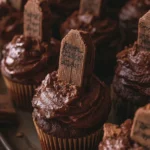
Graveyard Cupcakes Recipe for Spooky Halloween Fun
Description
These spooky graveyard cupcakes are the perfect treat for Halloween parties or any occasion that calls for a touch of the macabre. Rich chocolate cupcakes topped with creamy chocolate frosting and edible tombstones make for a delightfully eerie dessert.
Ingredients
- 1 ½ cups all-purpose flour
- ¾ cup unsweetened cocoa powder
- 1 ½ teaspoons baking soda
- ¾ teaspoon baking powder
- ¾ teaspoon salt
- 1 ½ cups granulated sugar
- 2 large eggs
- ¾ cup milk
- ⅓ cup vegetable oil
- 1 teaspoon vanilla extract
- ¾ cup boiling water
- For the Frosting:
- 1 cup (2 sticks) unsalted butter, softened
- 3 ½ cups powdered sugar
- ½ cup unsweetened cocoa powder
- ½ cup milk
- 1 teaspoon vanilla extract
- For the Tombstones:
- 12 chocolate wafer cookies
- Black edible marker
Instructions
- Preheat oven to 350°F (175°C). Line a 12-cup muffin tin with paper liners.
- In a large bowl, whisk together flour, cocoa powder, baking soda, baking powder, salt, and sugar.
- In a separate bowl, whisk together eggs, milk, vegetable oil, and vanilla extract.
- Add the wet ingredients to the dry ingredients and mix until just combined.
- Carefully stir in the boiling water until the batter is smooth. The batter will be thin.
- Divide the batter evenly among the prepared muffin cups, filling each about two-thirds full.
- Bake for 20-25 minutes, or until a wooden skewer inserted into the center of a cupcake comes out clean.
- Let the cupcakes cool in the muffin tin for 10 minutes before transferring them to a wire rack to cool completely.
- While the cupcakes cool, prepare the frosting. In a large bowl, beat the softened butter until creamy.
- Gradually add the powdered sugar and cocoa powder, alternating with the milk, beating until smooth and creamy. Stir in the vanilla extract.
- Once the cupcakes are completely cool, frost them generously with the chocolate frosting.
- Using the black edible marker, write epitaphs or spooky messages on the chocolate wafer cookies to create tombstones.
- Insert one tombstone cookie into the frosting of each cupcake.
Notes
- For a more realistic tombstone effect, you can lightly dust the edges with cocoa powder after they’ve set.
- Feel free to use your favorite chocolate cupcake recipe if you have one.
- Candy worms or gummy spiders can be added for extra spooky fun.
Nutrition
- Calories: 450
- Sugar: 55g
- Fat: 25g
- Saturated Fat: 12g
- Carbohydrates: 55g
- Protein: 4g







