
Get ready for some spooky fun with the ultimate treat: graveyard dirt cups! These delightful concoctions are a Halloween party staple, and for good reason. They’re incredibly easy to make, customizable, and perfectly capture the spirit of the season. Whether you’re a seasoned baker or just starting out, these graveyard pudding cups are sure to be a hit with both kids and adults. We’ll walk you through everything you need to know to create these iconic graveyard dirt cups, from selecting the best ingredients to decorating them for maximum spooktacular impact.
What Are Graveyard Dirt Cups?
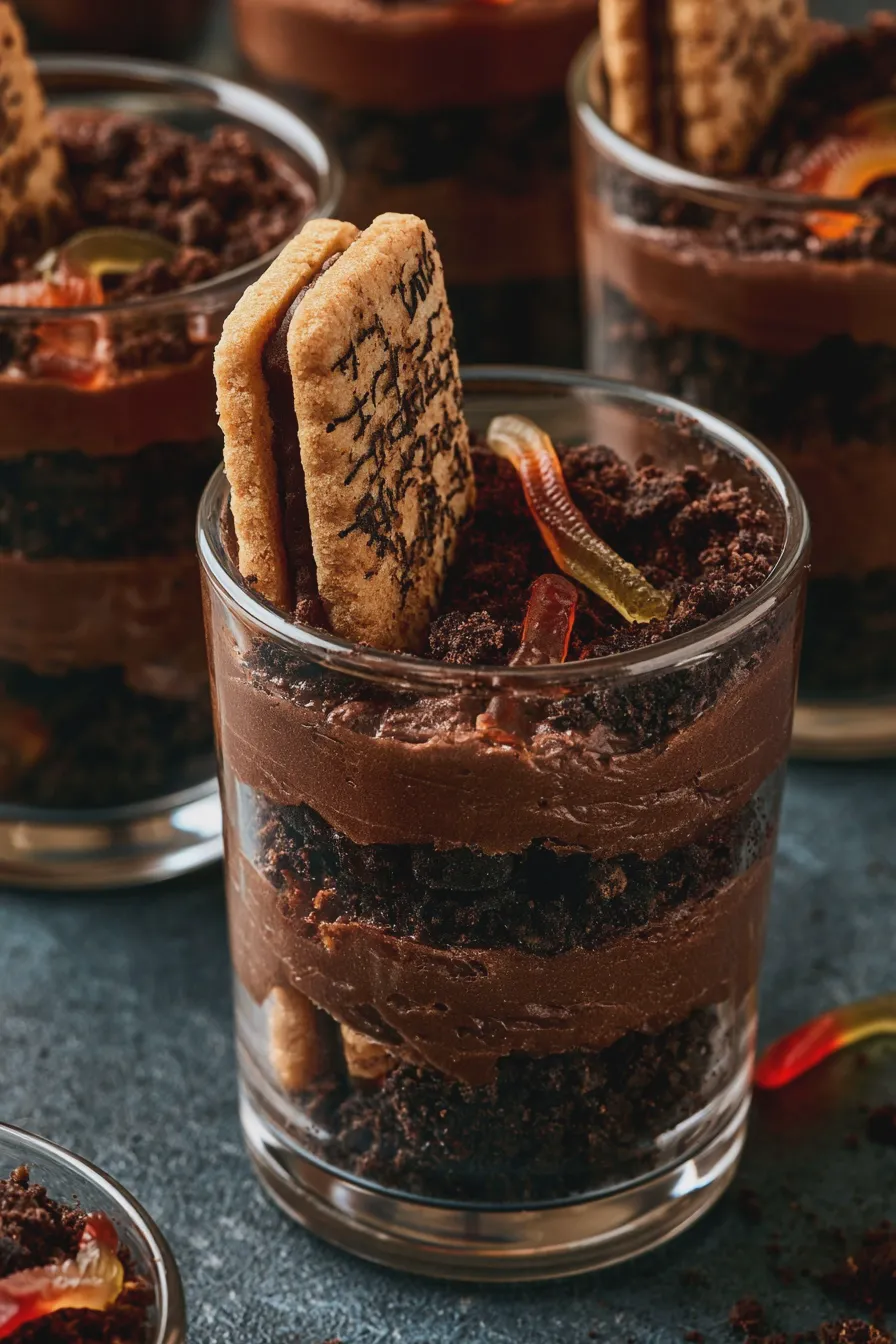
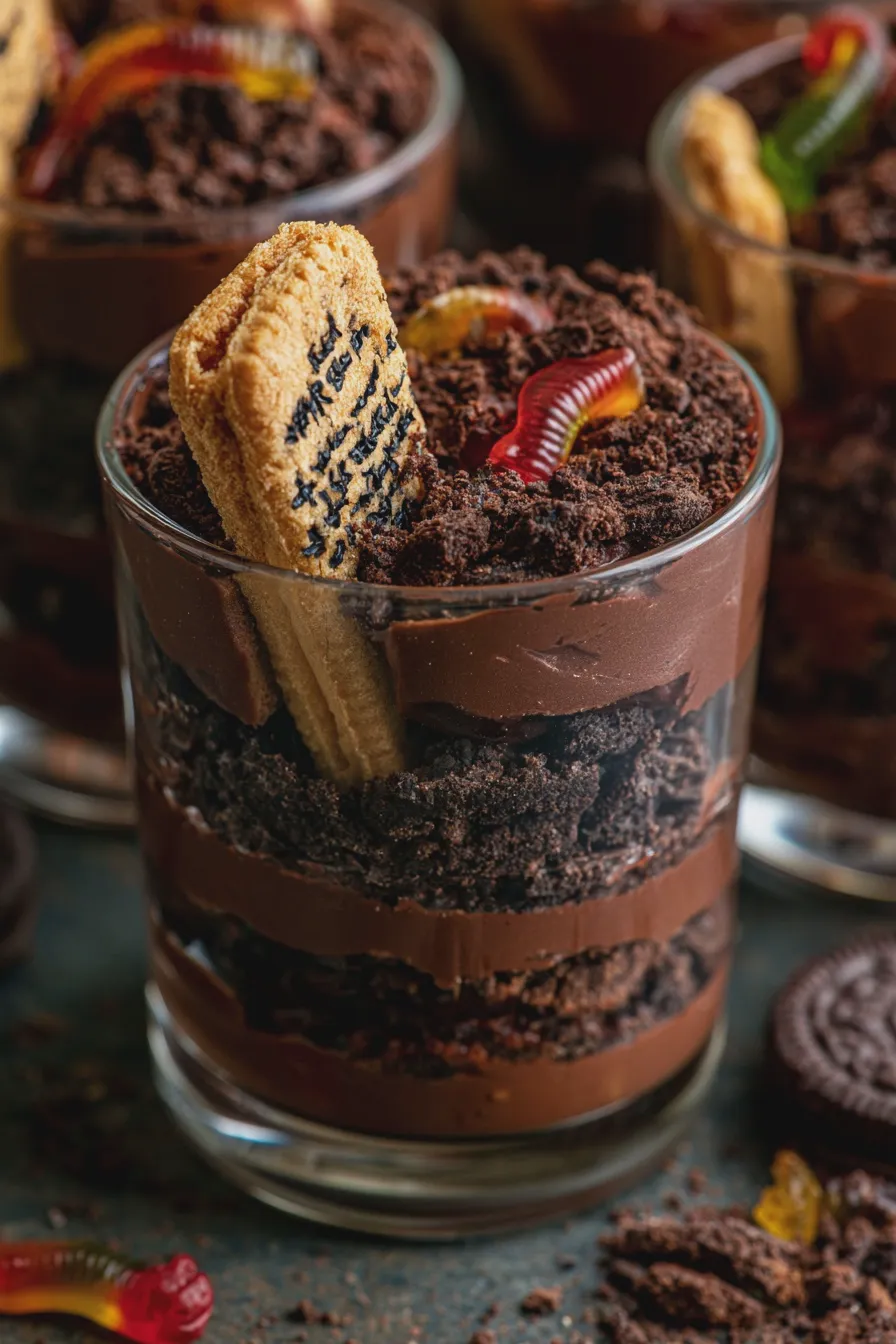
At their core, graveyard dirt cups are a playful and delicious dessert that mimics a miniature graveyard scene. They typically consist of layers of chocolate pudding, crushed chocolate cookies (often Oreos, giving them the popular name “oreo dirt cups”), and are topped with gummy worms and a “tombstone” cookie or candy. It’s a classic no-bake dessert that’s perfect for Halloween parties or just a fun afternoon activity with the kids. The beauty of this dirt cup recipe lies in its simplicity and the endless possibilities for personalization. They are a fantastic addition to any list of halloween dessert ideas.
These are often referred to as graveyard pudding cups because the chocolate cookie crumbs strongly resemble dirt, and the gummy worms emerging from them add a fun, creepy touch. They are a type of no bake dessert, making them ideal for busy hosts or when you want to involve children in the kitchen without the need for oven time.
Don’t miss out on our guide to How To Make Ice Cream At Home.
Ingredients You’ll Need
The beauty of graveyard dirt cups is their flexibility. You can use store-bought ingredients or make some components from scratch. Here’s a breakdown of the essentials:
For the “Dirt”:
- Chocolate sandwich cookies (like Oreos): These are key for that authentic “dirt” look and taste. You’ll need enough to crush into fine crumbs.
- Optional: A few extra cookies for breaking into tombstone shapes.
For the Pudding Filling:
- Instant chocolate pudding mix: This is the easiest and quickest option. Follow the package directions, usually involving milk.
- Milk: The amount will depend on the pudding mix you choose.
- Optional: Homemade chocolate pudding. If you prefer to make your pudding from scratch, you’ll need ingredients like milk, sugar, cocoa powder, cornstarch, and eggs. This offers a richer flavor but requires more time and effort.
For Decoration:
- Gummy worms: These are essential for that classic graveyard effect.
- Optional: Candy pumpkins, candy ghosts, Milano cookies or graham crackers for tombstones, chocolate frosting or melted chocolate for writing on tombstones, edible flowers, or green sprinkles for “grass.”
Step-by-Step Guide to Making Graveyard Dirt Cups
Let’s get down to the fun part – assembling these spooky treats!
If you enjoyed this, you might also love our How To Fold Ingredients Without Deflating recipe.
Step 1: Prepare the “Dirt”
Start by crushing your chocolate sandwich cookies. You can do this in a food processor for a quick and fine crumb, or place them in a resealable plastic bag and crush them with a rolling pin or a heavy object. Aim for a consistency that resembles soil. Reserve a few cookies if you plan to use them for tombstones later.
Step 2: Make the Chocolate Pudding
If using instant pudding, whisk together the pudding mix and milk in a bowl according to the package instructions. Let it sit for the recommended time to thicken. If making homemade pudding, prepare it according to your recipe, ensuring it’s smooth and lump-free. For a richer flavor, you can even fold in some whipped cream once cooled, creating a mousse-like texture. This is a great way to elevate your chocolate pudding cups.
If you enjoyed this, you might also love our How To Cream Butter And Sugar recipe.
Step 3: Assemble the Cups
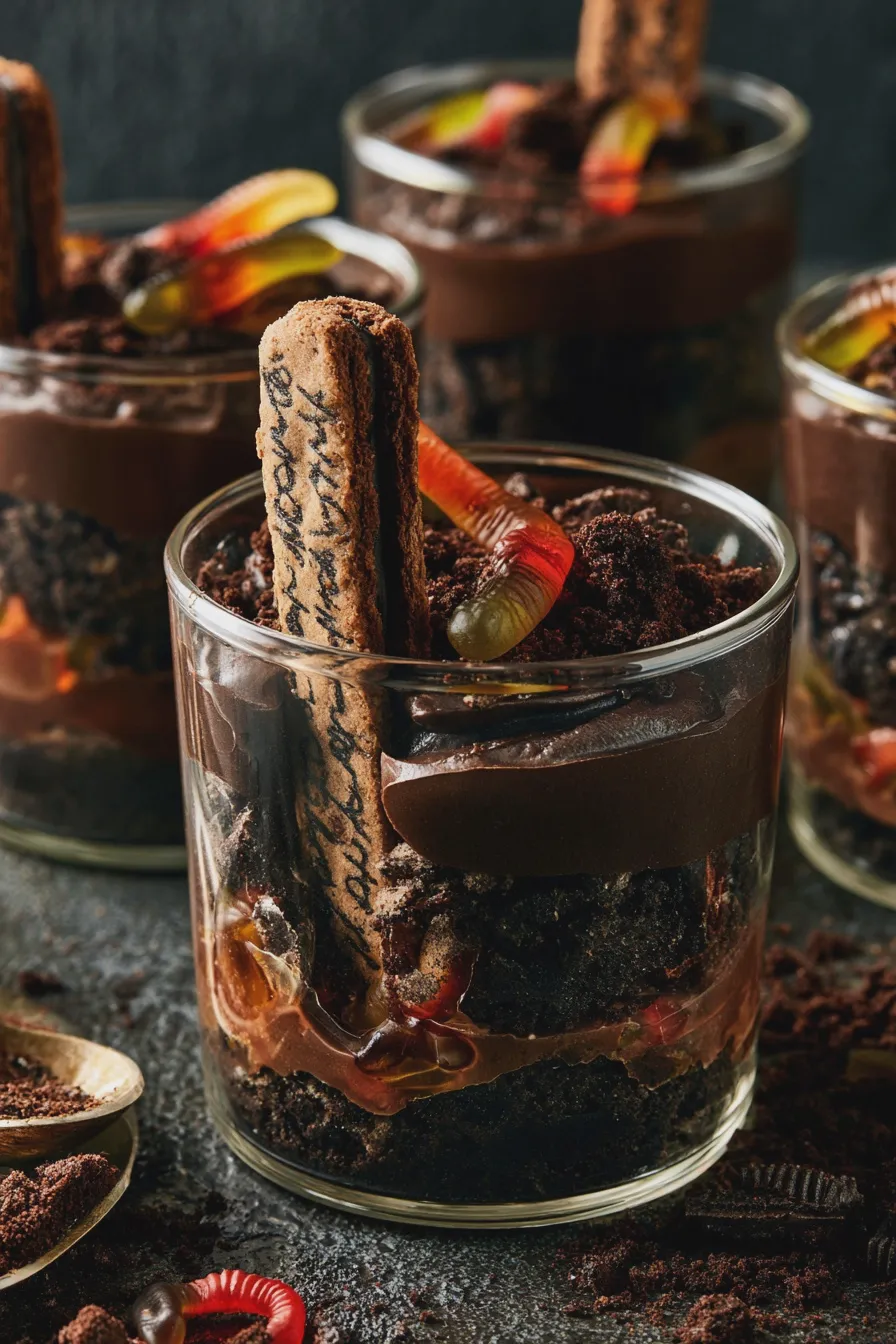
This is where the magic happens! You can use clear plastic cups, small mason jars, or even small black cauldrons for a more festive look. The goal is to create layers that mimic a grave.
- Start with a layer of chocolate pudding at the bottom of each cup.
- Next, add a generous layer of your crushed chocolate cookie “dirt.”
- Continue layering pudding and dirt until the cup is nearly full, ending with a layer of “dirt” on top. This top layer is where your decorations will go.
You can also create a dirt pudding parfait by using alternating layers of pudding, cookie crumbs, and perhaps some whipped cream or even a layer of chocolate cake crumbs. This adds visual interest and texture.
Looking for more? Try this delicious How To Prepare A Cake Pan To Prevent Sticking next.
Step 4: Decorate Your Graveyard
Now for the most creative part – bringing your edible graveyard to life!
- Tombstones: Gently press a cookie (or a piece of a cookie) into the top layer of “dirt” to represent a tombstone. You can write epitaphs on them using edible markers or melted chocolate. Milano cookies or graham crackers also work wonderfully.
- Gummy Worms: Drape gummy worms over the edges of the cups or have them “emerging” from the dirt.
- Extra Touches: Add candy pumpkins, candy ghosts, or sprinkle green-tinted coconut flakes or edible green glitter to simulate grass.
These kids halloween treats are so fun to decorate, and children will love designing their own little graveyards. They are a perfect example of simple halloween treats that pack a punch.
Looking for more? Try this delicious Creaming Method For Cakes And Cookies next.
Step 5: Chill and Serve
Once decorated, cover the cups and refrigerate them for at least 30 minutes to allow the pudding to set and the flavors to meld. This also ensures they are nice and cold for serving, making them a refreshing halloween party food.
Tips for Perfect Graveyard Dirt Cups
Here are some expert tips to elevate your graveyard dirt cups from good to spooktacular:
Looking for more? Try this delicious Why Did My Cake Sink In The Middle next.
- Cookie Crumb Consistency: For the best “dirt” effect, aim for a mix of fine crumbs and slightly larger pieces. This adds texture and realism.
- Pudding Thickness: Ensure your pudding is fully thickened before assembling. If it’s too runny, it can make the layers messy. Instant pudding usually sets up quickly, but homemade pudding might need more time to cool and thicken.
- Chilling is Key: Don’t skip the chilling step! It allows the dessert to set properly and makes it easier to handle and eat.
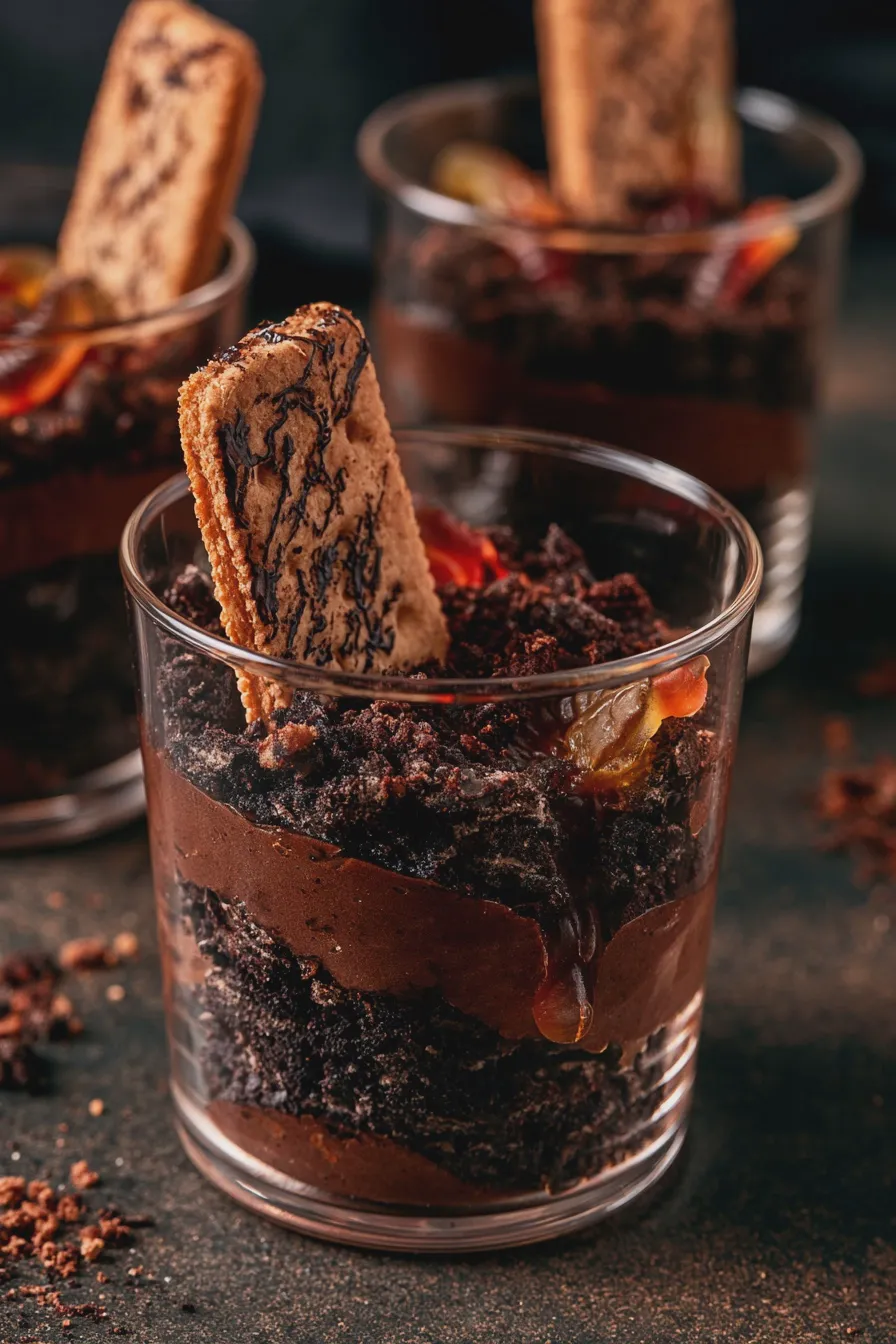
- Get Creative with Tombstones: Beyond cookies, consider using small rectangular candies, chocolate bars, or even printed edible images of tombstones for a truly unique look.
- Flavor Variations: While chocolate is classic, you can experiment with different pudding flavors like vanilla or butterscotch, or even add a layer of chocolate mousse for extra decadence.
- Make it a Parfait: Layer the ingredients in taller glasses for a more elegant graveyard dessert, incorporating whipped cream or even a crumbled brownie layer.
Common Mistakes to Avoid
Even with simple recipes, a few common pitfalls can occur. Here’s how to avoid them:
- Over-mixing Pudding: For instant pudding, over-mixing can sometimes make it gummy. Follow the package directions carefully.
- Crushing Cookies Too Finely: If you crush the cookies into a powder, they might not look as much like “dirt.” A little texture is good!
- Assembling Too Early: If you assemble the cups too far in advance, especially with homemade pudding, the cookie crumbs might become soggy and lose their distinct layer. It’s best to assemble them a few hours before serving.
- Messy Decorations: While Halloween is about spooky fun, try to make your tombstone inscriptions legible and your gummy worms strategically placed for the best visual impact.
- Not Enough “Dirt”: The “dirt” element is crucial to the theme. Be generous with the crushed cookies to truly capture the graveyard feel.
Variations and Creative Twists
Once you’ve mastered the basic oreo dirt cups, feel free to get creative!
- Ghostly Graveyard Cups: Top your dirt cups with meringue cookies shaped like ghosts or use white chocolate chips to create simple ghost figures. You can also add a dollop of whipped cream and draw ghost faces with edible marker. These are wonderful ghostly graveyard cups.
- Chocolate Lover’s Dream: Add a layer of chocolate cake crumbs, chocolate whipped cream, or even chocolate ganache for an intensely chocolatey experience.
- Fruity Graveyard: Incorporate some fresh berries like raspberries or blueberries amongst the “dirt” for a burst of color and a hint of tartness.
- Individual vs. Large Dish: While individual cups are popular, you can also assemble a large edible graveyard in a rectangular dish. This allows for more elaborate decorations and is great for larger gatherings.
- Spooky Pudding Flavors: Experiment with green pistachio pudding or purple grape pudding for a more unusual color palette, though chocolate remains the classic choice for the “dirt” theme.
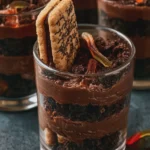
Graveyard Dirt Cups Recipe Quick and Easy for Halloween
- Total Time: PT45M
- Yield: 6 servings 1x
- Diet: Vegetarian
Description
These Graveyard Dirt Cups are a playful and delicious Halloween treat that’s incredibly easy to make. Featuring layers of rich chocolate pudding and crushed chocolate cookies, topped with cookie ‘tombstones’ and gummy worms, they’re sure to be a hit at any spooky celebration.
Ingredients
- 1 (3.4 ounce) package instant chocolate pudding mix
- 2 cups milk
- 1 (15.25 ounce) package chocolate sandwich cookies (like Oreos)
- 1/4 cup chocolate frosting (optional, for decorating tombstones)
- Edible black marker or black decorating gel (optional)
- Gummy worms
- Milano cookies or rectangular cookies (for tombstones)
Instructions
- Prepare the chocolate pudding according to package directions. Let it chill in the refrigerator for at least 30 minutes, or until set.
- While the pudding chills, crush the Oreo cookies in a zip-top bag using a rolling pin or in a food processor until they resemble dirt.
- Once the pudding is set, spoon a layer of chocolate pudding into the bottom of individual serving cups or small glasses.
- Top the pudding with a layer of crushed Oreo cookies.
- Repeat the layers of pudding and cookie crumbs until the cups are nearly full, ending with a layer of cookie crumbs.
- Insert a Milano cookie or a rectangular cookie into the side of each cup to serve as a tombstone.
- Decorate the tombstone with edible black marker or frosting to write epitaphs if desired.
- Add a few gummy worms peeking out from the ‘dirt’ for a creepy touch.
- Chill the dirt cups for at least another 15 minutes before serving.
Notes
- For an extra spooky effect, you can add candy pumpkins or candy ghosts to the dirt cups.
- If you don’t have Milano cookies, graham crackers or wafer cookies can also work as tombstones.
- Feel free to use different flavors of pudding, such as vanilla or butterscotch, for a different look and taste.
- These can be assembled a few hours in advance and kept chilled. Add the tombstones and gummy worms just before serving to prevent them from getting soggy.
- Prep Time: PT15M
- Cook Time: PT0M
- Category: Desserts
- Method: No-Bake
- Cuisine: American
Nutrition
- Serving Size: 1 cup
- Calories: 350
- Sugar: 35g
- Sodium: 250mg
- Fat: 15g
- Saturated Fat: 5g
- Carbohydrates: 50g
- Fiber: 2g
- Protein: 3g
- Cholesterol: 10mg







