Get ready to delight your taste buds and impress your guests with the ultimate Halloween treat: Halloween Oreo Balls! These little bites of spooky deliciousness are incredibly easy to make, making them perfect for a fun afternoon in the kitchen with the kids or for whipping up a last-minute addition to your Halloween party treats. Combining the classic, irresistible flavor of Oreos with creamy goodness and a festive coating, these no-bake wonders are sure to be a hit. Let’s dive into creating some truly spooktacular Halloween Oreo balls that everyone will be begging for more of!
What Are Halloween Oreo Balls?
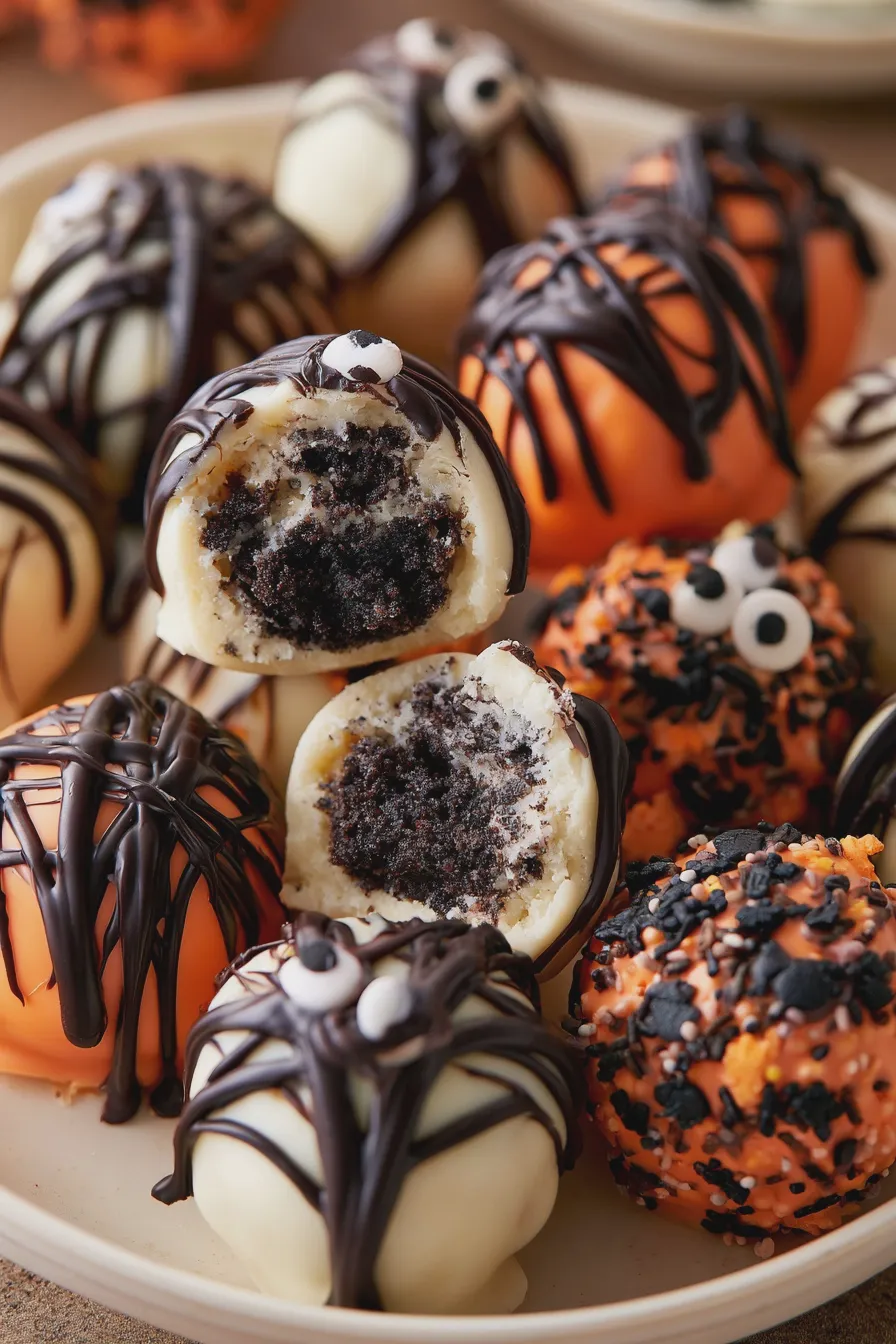
At their core, Halloween Oreo balls are a simple, no-bake confection made from crushed Oreo cookies, cream cheese, and a coating of melted chocolate. They’re essentially a no-bake cookie ball that uses the iconic Oreo cookie as its base. The magic happens when you transform these humble ingredients into bite-sized spheres of pure joy. For Halloween, we take this classic recipe and give it a festive makeover with themed decorations and colors.
These treats are incredibly versatile, allowing for endless creativity. Whether you’re aiming for cute ghost oreo balls, eerie mummy oreo balls, or cheerful pumpkin oreo balls, the possibilities are as vast as your imagination. They are a fantastic way to incorporate some Halloween dessert ideas into your celebration without a lot of fuss. The beauty of this halloween oreo balls recipe lies in its simplicity and the sheer fun factor.
The Magic Ingredients for Your Halloween Oreo Balls
The beauty of these easy halloween oreo balls is that they require just a few pantry staples. Here’s what you’ll need:
If you enjoyed this, you might also love our How To Make Ice Cream At Home recipe.
- Oreo Cookies: The star of the show! You can use classic Oreos, or get creative with Golden Oreos for a different color base. For a truly Halloween vibe, consider using seasonal Oreos if available.
- Cream Cheese: This is the binder that holds everything together and adds a creamy, slightly tangy counterpoint to the sweet cookie. Make sure it’s softened to room temperature for easy mixing.
- Chocolate: This is for dipping and decorating. You can use chocolate chips, melting wafers (like Candy Melts), or even finely chopped good-quality chocolate. White chocolate is excellent for coloring, while milk or dark chocolate offers a richer flavor.
- Optional Decorations: This is where the Halloween fun truly begins! Think sprinkles, edible googly eyes, food coloring (gel-based works best for vibrant colors without altering consistency), black edible marker, candy corn, or even leftover Halloween candy.
The ratio of Oreos to cream cheese is crucial for achieving the perfect texture. Too much cream cheese, and the balls might be too soft; too little, and they’ll be too crumbly. We’ll cover the ideal proportions in the recipe section.
Step-by-Step Guide to Making No-Bake Halloween Oreo Balls
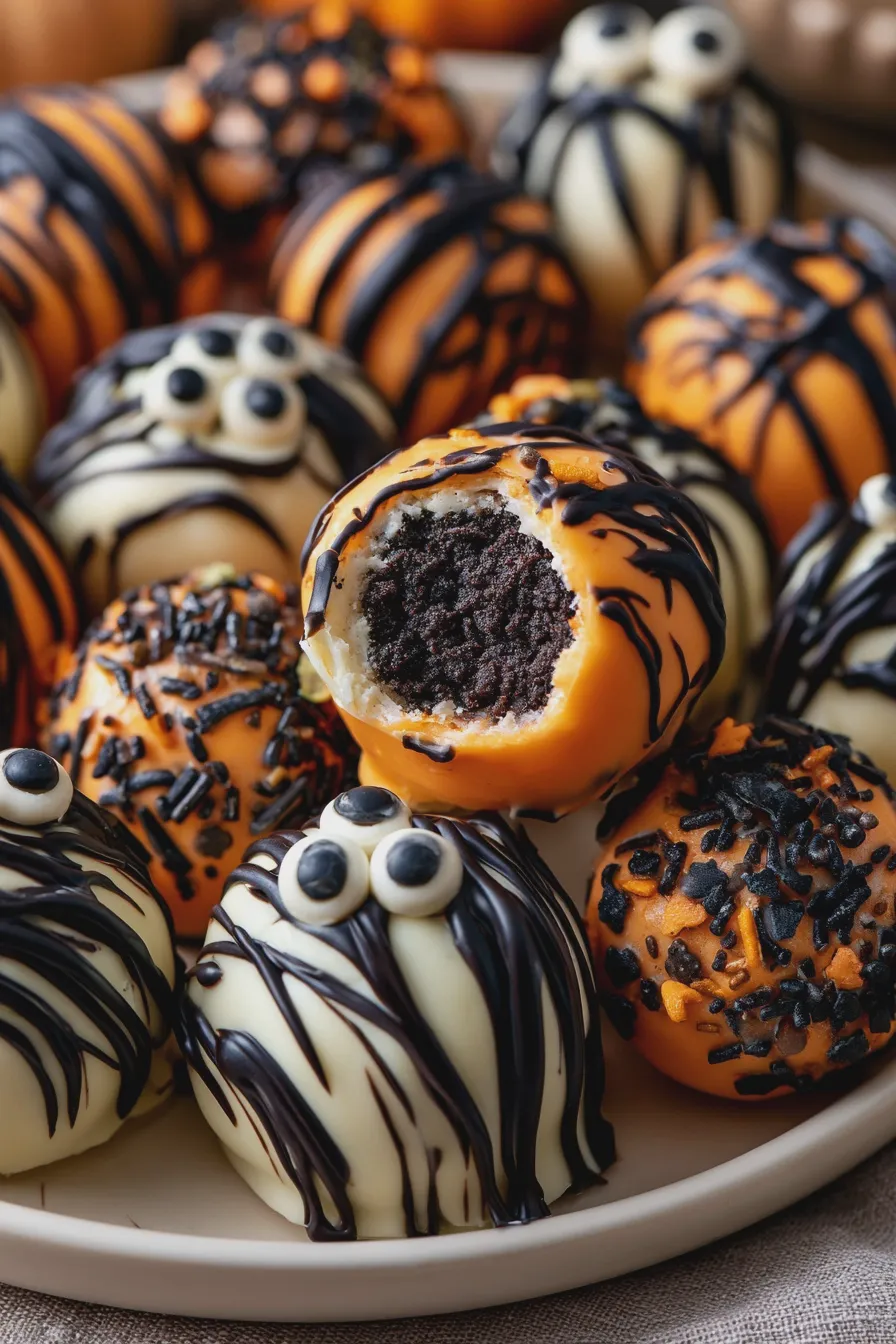
Creating these no bake halloween oreo balls is a straightforward process, perfect for bakers of all skill levels. Here’s how to make them:
1. Crush the Oreos
Start by crushing your Oreo cookies into fine crumbs. You can do this in a food processor for the quickest and most consistent results. If you don’t have a food processor, place the Oreos in a sturdy zip-top bag, seal it tightly, and then use a rolling pin or the bottom of a heavy pan to crush them. The goal is to have fine crumbs, similar to coarse sand, with no large chunks remaining. This ensures a smooth texture for your oreo truffles halloween.
Looking for more? Try this delicious How To Fold Ingredients Without Deflating next.
2. Mix with Cream Cheese
In a medium bowl, combine the Oreo crumbs with softened cream cheese. Use a sturdy spoon or your hands to mix until thoroughly combined and a dough-like consistency forms. It should hold together when pressed. If the mixture seems too dry and crumbly, add a tiny bit more cream cheese (about a teaspoon at a time). If it seems too wet, add a few more Oreo crumbs.
3. Roll into Balls
Roll the mixture into small balls, about 1 inch in diameter. A cookie scoop can help ensure uniform size, but rolling by hand is perfectly fine. Aim for tightly packed balls so they hold their shape during chilling and dipping. Place the rolled balls onto a baking sheet lined with parchment paper.
4. Chill the Balls
This step is essential for the balls to firm up, making them easier to dip in chocolate. Place the baking sheet with the rolled balls into the refrigerator for at least 30 minutes, or into the freezer for about 15 minutes. They should be firm to the touch.
If you enjoyed this, you might also love our How To Cream Butter And Sugar recipe.
5. Melt the Chocolate
While the balls are chilling, prepare your chocolate for dipping. You can melt chocolate chips or melting wafers in a microwave-safe bowl in 30-second intervals, stirring in between, until smooth. Alternatively, you can melt them gently in a double boiler over simmering water. If using white chocolate for coloring, divide it into separate bowls and stir in gel food coloring until you achieve your desired Halloween hues.
6. Dip the Balls
Once the Oreo balls are firm, dip each one into the melted chocolate, using a fork or a dipping tool to ensure it’s fully coated. Tap off any excess chocolate before returning the dipped ball to the parchment-lined baking sheet. Work relatively quickly to prevent the chocolate from setting too soon or the Oreo balls from softening too much.
7. Decorate!
This is the most exciting part! While the chocolate coating is still wet, add your Halloween decorations. This is where you can create your spooky oreo balls.
If you enjoyed this, you might also love our How To Prepare A Cake Pan To Prevent Sticking recipe.
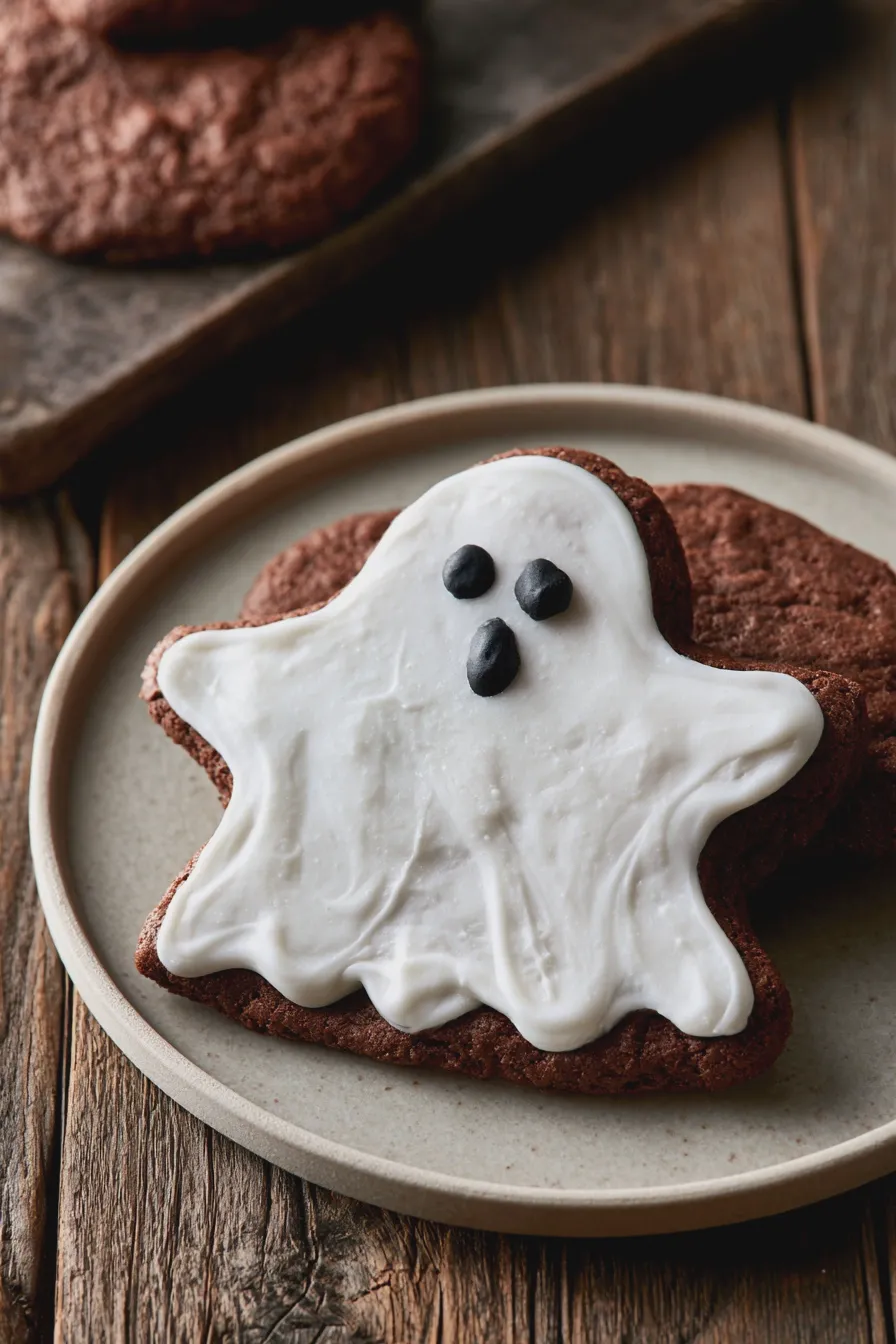
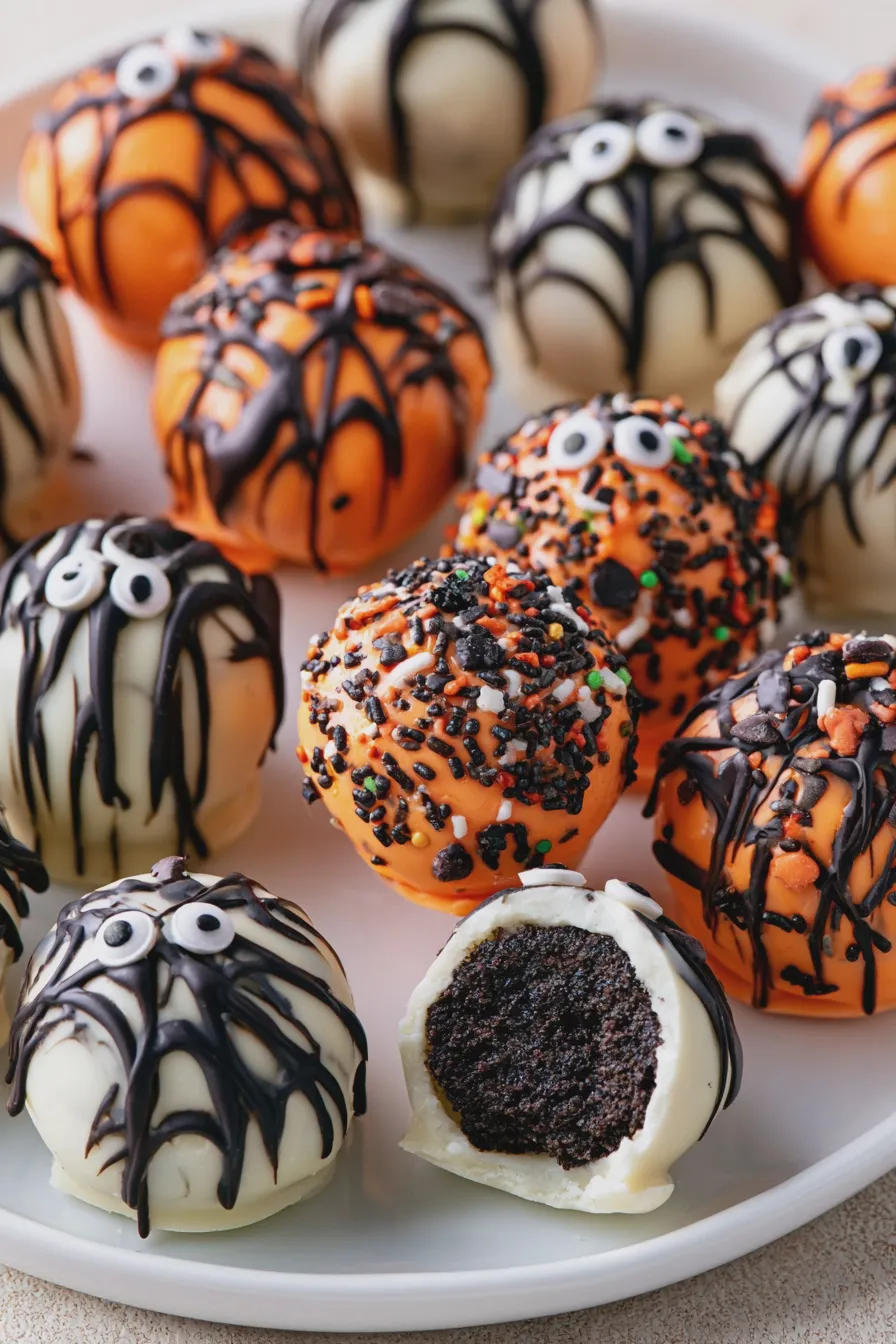
- Ghost Oreo Balls: Dip in white chocolate, add two tiny black dots for eyes with a toothpick dipped in melted dark chocolate or black edible marker.
- Pumpkin Oreo Balls: Dip in orange-colored white chocolate. Use a toothpick dipped in green candy melts or green food coloring to add a stem, or pipe on a stem with green icing. You can also use a toothpick to draw on pumpkin lines while the chocolate is wet.
- Mummy Oreo Balls: Dip in white chocolate. Once set, melt some additional white chocolate or use white icing and pipe thin lines back and forth across the ball to resemble mummy bandages. Add edible googly eyes.
- Witch Oreo Balls: Dip in green candy melts. Add edible googly eyes and use black icing or melted chocolate to create a witch’s hat or details.
8. Let Them Set
Allow the decorated Halloween Oreo balls to set completely at room temperature or in the refrigerator until the chocolate is firm.
Tips for the Best Halloween Oreo Balls
To ensure your best halloween oreo balls turn out perfectly every time, keep these tips in mind:
If you enjoyed this, you might also love our Creaming Method For Cakes And Cookies recipe.
- Room Temperature Cream Cheese: This is non-negotiable. Cold cream cheese will result in a lumpy mixture that’s hard to combine.
- Fine Crumbs: The finer the Oreo crumbs, the smoother the texture of your balls.
- Don’t Overmix: Mix the crumbs and cream cheese until just combined. Overmixing can make the mixture sticky.
- Firm Balls for Dipping: Ensure the balls are well-chilled and firm before dipping. This prevents them from falling apart in the chocolate.
- Tempering Chocolate (Optional but Recommended): For a professional finish and a snap when you bite into them, consider tempering your chocolate. This involves carefully heating and cooling the chocolate to stabilize the cocoa butter crystals. If using candy melts, tempering isn’t necessary as they are designed to set up smoothly.
- Thin Chocolate Coating: Aim for a thin, even coating. Too thick, and it can overpower the Oreo flavor and become brittle. Too thin, and the cookie might show through.
- Work in Batches: If you’re making a large quantity or if your kitchen is warm, work in batches. This prevents the Oreo mixture from softening too much while you’re rolling and dipping.
Common Mistakes to Avoid
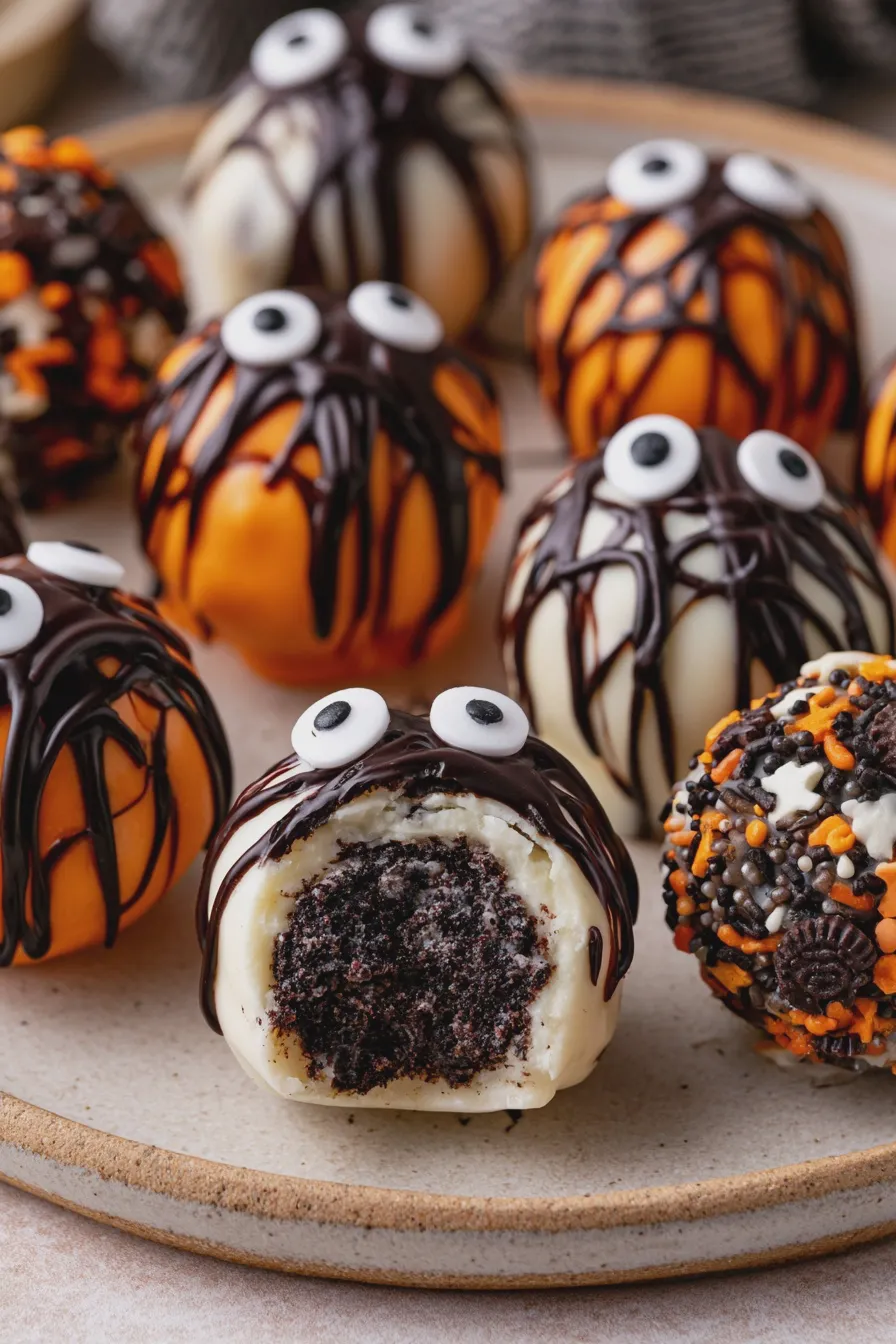
Even with a simple recipe like this, a few common pitfalls can occur. Here’s how to avoid them:
- Using Cold Cream Cheese: As mentioned, this leads to a clumpy, unmanageable mixture.
- Not Chilling Enough: If your balls are too soft, they’ll fall apart when you try to dip them. Patience is key!
- Chocolate Too Hot: If your chocolate is too hot, it can melt the Oreo balls and make dipping messy. Let it cool slightly after melting.
- Overcrowding the Baking Sheet: Leave a little space between the dipped balls to prevent them from sticking together as they set.
- Not Letting Decorations Set: Ensure all edible markers, icing, or extra chocolate used for decoration are fully set before storing or serving.
Creative Halloween Oreo Ball Variations
Beyond the classic chocolate oreo balls halloween, here are some fun variations to spice up your festive oreo balls:
- Monster Oreo Balls: Dip in various colored candy melts (green, purple, blue) and add mismatched edible eyes.
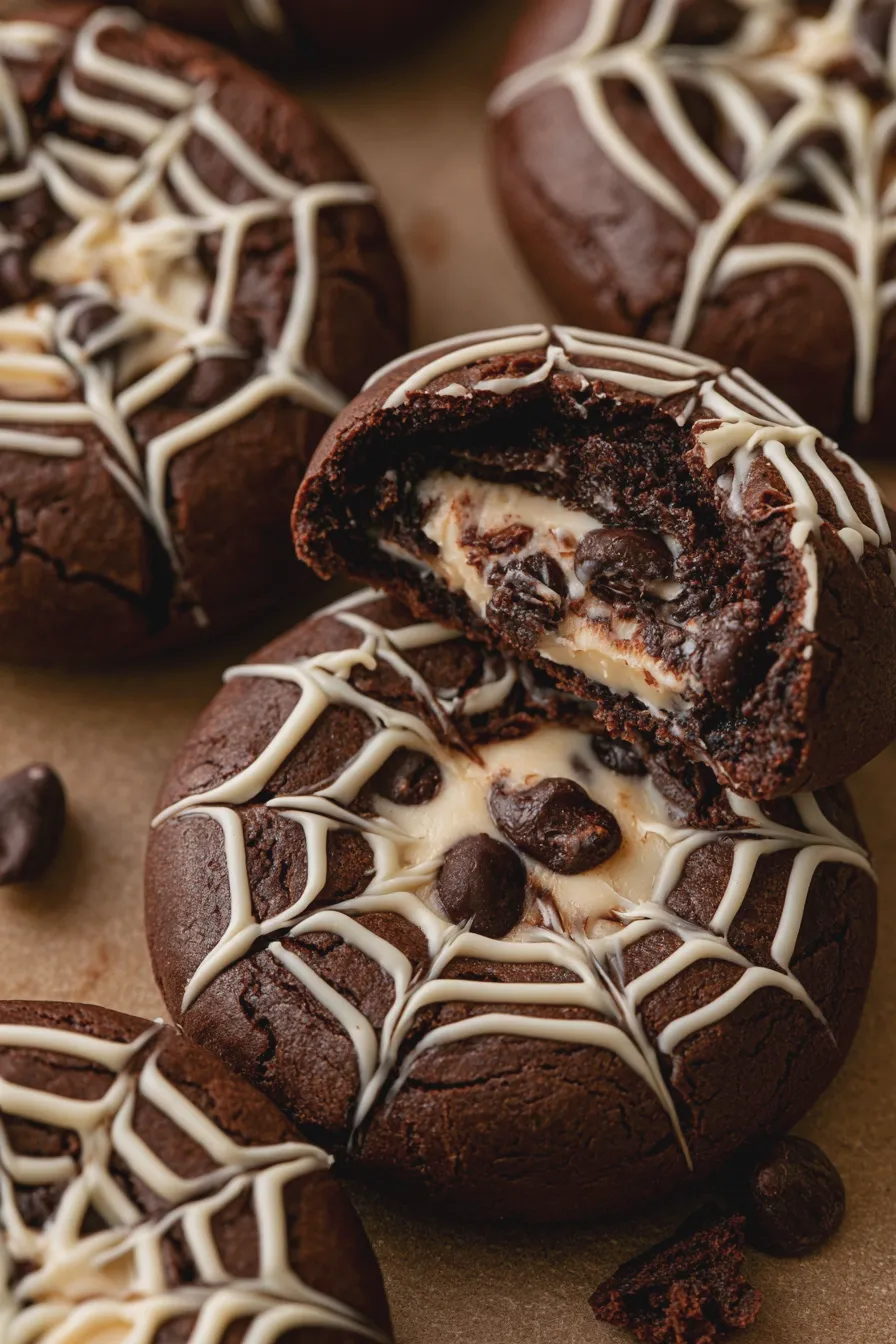
- Spiderweb Oreo Balls: Dip in dark chocolate. Once set, pipe a white chocolate web design on top using a piping bag with a fine tip.
- Candy Corn Oreo Balls: Use yellow and orange candy melts to create candy corn stripes or layers.
- Spiced Oreo Balls: Add a pinch of cinnamon or pumpkin pie spice to the Oreo crumb mixture for a warm, autumnal flavor.
These variations are great for adding a unique touch to your halloween party treats. The easy halloween oreo balls base can be adapted to almost any theme!
Another favorite of ours is the Why Did My Cake Sink In The Middle.
Storing Your Halloween Oreo Balls
Store your finished oreos balls halloween in an airtight container in the refrigerator. They will keep well for up to a week. If you stack them, place parchment paper or wax paper between layers to prevent sticking. For longer storage, you can freeze them in a single layer on a baking sheet until firm, then transfer them to a freezer-safe container or bag. They can be stored in the freezer for up to 2-3 months. Thaw them in the refrigerator before serving.
Print
Halloween Oreo Balls Recipe Easy No Bake
- Total Time: PT30M
- Yield: Approximately 24–30 balls 1x
- Diet: Vegetarian
Description
Whip up these easy and fun Halloween Oreo Balls for a festive and delicious treat! They’re no-bake, perfect for little hands to help with, and always a crowd-pleaser at any Halloween party.
Ingredients
- 1 (14.3 ounce) package regular Oreo cookies
- 1 (8 ounce) package cream cheese, softened
- 1 cup white chocolate chips
- 1/4 cup black candy melts
- Orange food coloring (gel or oil-based recommended)
- Optional: Halloween-themed sprinkles, edible googly eyes
Instructions
- Line a baking sheet with parchment paper.
- Crush the Oreo cookies into fine crumbs. You can do this in a food processor or by placing them in a zip-top bag and crushing them with a rolling pin.
- In a medium bowl, combine the Oreo crumbs and softened cream cheese. Mix until well combined and a dough-like consistency forms.
- Roll the mixture into small balls, about 1 inch in diameter. Place them on the prepared baking sheet.
- Melt the white chocolate chips in a microwave-safe bowl in 30-second intervals, stirring in between, until smooth.
- Dip each Oreo ball into the melted white chocolate, ensuring it’s fully coated. Return them to the baking sheet.
- While the white chocolate is still wet, drizzle with melted black candy melts (melted similarly to the white chocolate) and add Halloween sprinkles or edible googly eyes if desired.
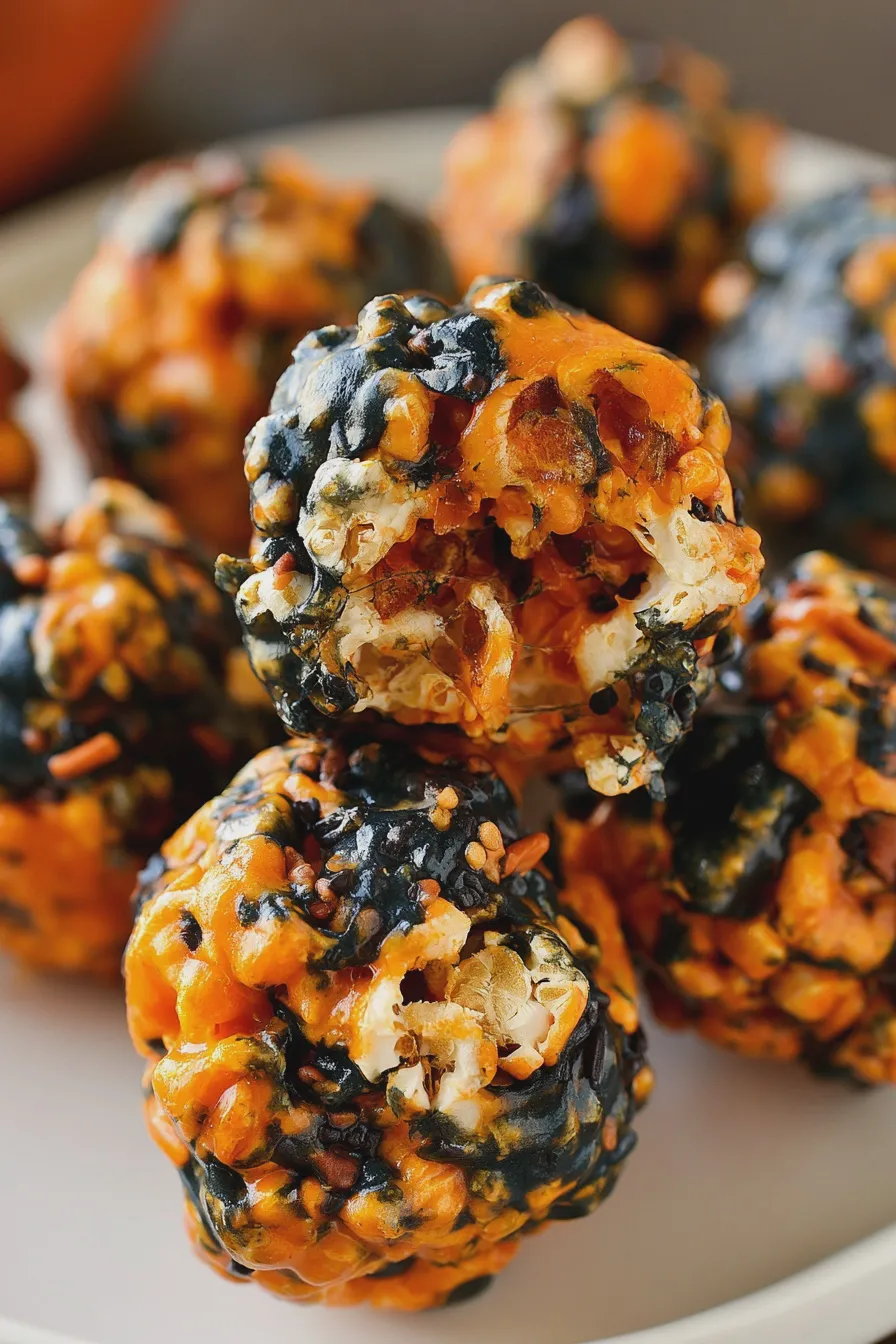
- Alternatively, for orange-dipped balls: Divide the melted white chocolate into two bowls. Tint one bowl with orange food coloring until desired shade is reached. Dip half of the balls in orange and the other half in white chocolate, then drizzle with black candy melts.
- Refrigerate the Oreo balls for at least 30 minutes, or until the chocolate is set.
- Store in an airtight container in the refrigerator.
Notes
- For best results, ensure your cream cheese is fully softened to avoid lumps in the mixture.
- If you don’t have a food processor, place Oreos in a sturdy zip-top bag and crush them with a rolling pin or the bottom of a heavy pan.
- Gel or oil-based food coloring works best for coloring white chocolate as it won’t seize the chocolate.
- Get creative with your decorations! You can use different colored candy melts, edible markers, or even draw spooky designs with melted chocolate.
- These can be made a day or two in advance and stored in the refrigerator.
- Prep Time: PT25M
- Cook Time: PT5M
- Category: Desserts
- Method: No-Bake
- Cuisine: American
Nutrition
- Serving Size: 1 ball
- Calories: 150
- Sugar: 15g
- Sodium: 50mg
- Fat: 9g
- Saturated Fat: 5g
- Carbohydrates: 17g
- Protein: 2g