As the leaves turn golden and a crisp chill fills the air, our thoughts naturally drift to cozy evenings and, of course, the delightful anticipation of Halloween! This beloved holiday isn’t just about costumes and candy; it’s a fantastic excuse to get creative in the kitchen. For many of us, that means whipping up a batch of delicious, crowd-pleasing treats that capture the spirit of the season. And when it comes to irresistible, no-fuss delights, nothing beats a classic peanut butter ball. This year, let’s elevate this timeless favorite with a fun, festive Halloween twist! These halloween peanut butter balls are incredibly simple to make, requiring no baking at all, making them perfect for little helpers or for when you’re short on time. They’re a guaranteed hit at any Halloween party, a wonderful addition to your dessert table, or simply a sweet indulgence for your family. Get ready to discover how easy it is to transform these beloved confections into spooky, spectral, and utterly delicious halloween candy recipes that will disappear faster than a ghost in the night. For more inspiration on delicious homemade treats, you might find exploring some Halloween desserts helpful.
Why You’ll Love These Halloween Peanut Butter Balls
There are so many reasons to adore these no bake halloween peanut butter balls. Firstly, they are incredibly easy to assemble, making them one of the most accessible halloween no bake treats you can find. The base recipe is straightforward, and the decorating options are endless, allowing for a truly personalized touch. These are the best halloween peanut butter balls because they combine the universally loved flavors of peanut butter and chocolate into a bite-sized, delightful package. They’re perfect for making ahead, which is a lifesaver when you’re busy preparing for parties and trick-or-treaters. Plus, the satisfaction of creating something so festive and delicious from scratch is unparalleled. If you’re looking for quick halloween treats that pack a punch in both flavor and fun, these are definitely it!
The Essential Ingredients for Festive Peanut Butter Balls
Crafting the perfect halloween peanut butter balls recipe starts with selecting the right ingredients. The beauty of this treat lies in its simplicity, so using good quality components will make a noticeable difference. Here’s what you’ll need:
- Peanut Butter: Creamy peanut butter is the star here. It provides the rich flavor and the binding quality for the balls. Natural peanut butter can sometimes be too oily, so a standard commercial creamy peanut butter often works best for consistency.
- Butter: Unsalted butter, softened, adds richness and helps create a smooth texture. It plays a crucial role in the overall mouthfeel of the peanut butter balls. For more on the role of butter in desserts, you can check out The Role Of Butter In Desserts.
- Powdered Sugar: Also known as confectioners’ sugar or icing sugar, this is essential for sweetness and for creating that classic, melt-in-your-mouth texture. It also helps to firm up the peanut butter mixture.
- Vanilla Extract: A touch of vanilla enhances the peanut butter flavor and adds a lovely depth.
- Chocolate Chips: For dipping and drizzling, semi-sweet or milk chocolate chips work wonderfully. You can also use a combination!
- Optional: A tablespoon or two of milk or heavy cream can be added if the mixture is too stiff to mix.
Step-by-Step Guide to Making Easy Halloween Peanut Butter Balls
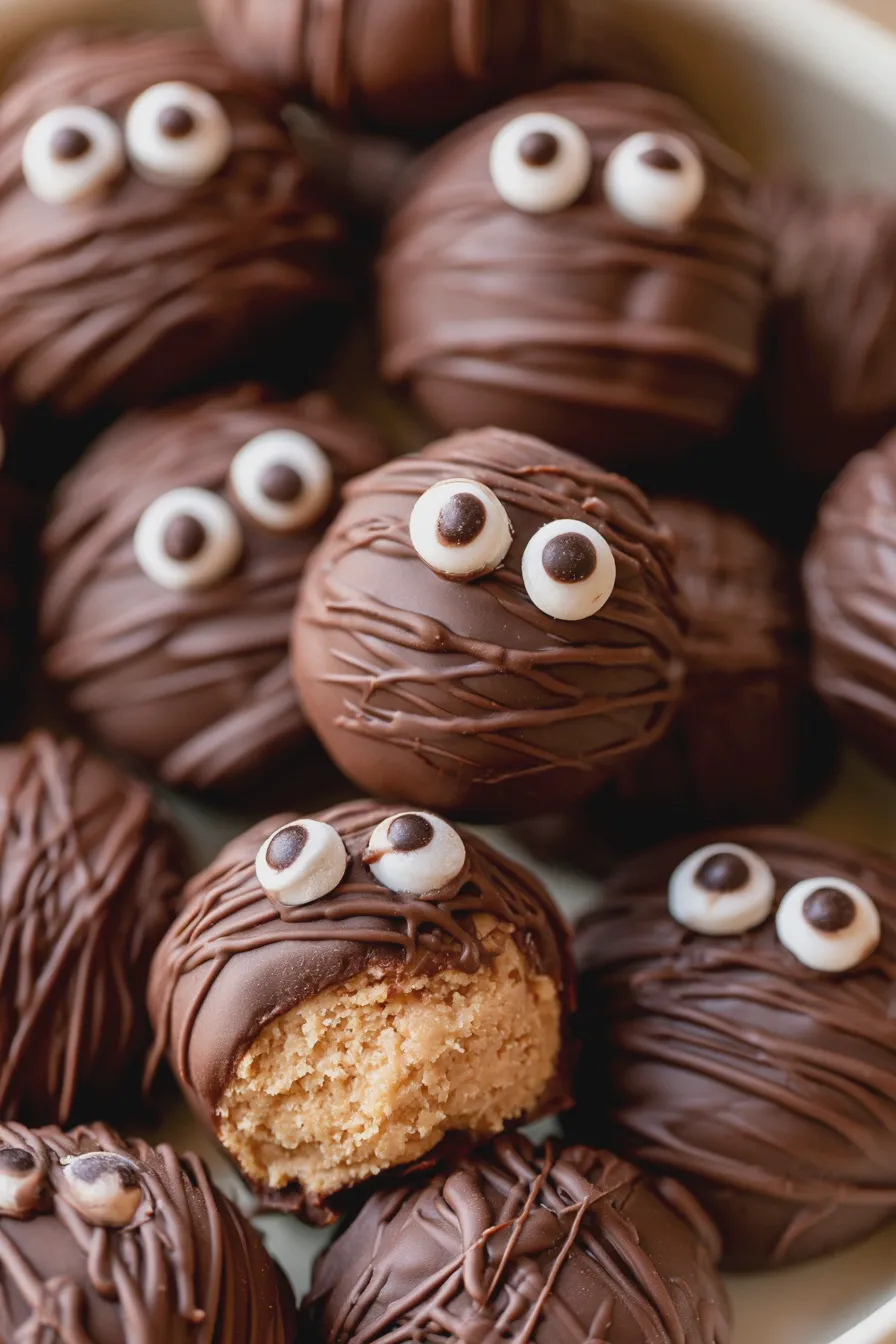
Creating these easy halloween peanut butter balls is a joy from start to finish. Follow these simple steps for perfect results every time:
Another favorite of ours is the How To Cream Butter And Sugar.
Step 1: Prepare the Peanut Butter Mixture
In a medium-sized mixing bowl, combine the softened butter and peanut butter. Cream these together until they are well combined and smooth. This is similar to the initial step in how to cream butter and sugar, ensuring a good base. You can use a hand mixer or a sturdy spoon for this. Next, gradually add the powdered sugar, about a cup at a time, mixing well after each addition. Continue adding powdered sugar until the mixture is thick enough to hold its shape. Stir in the vanilla extract. The consistency should be firm enough to roll into balls without being sticky.
Step 2: Rolling the Balls
Once your peanut butter mixture is ready, it’s time to roll! Take about a tablespoon of the mixture and roll it between your palms to form a smooth ball. Aim for a consistent size so they all bake or set evenly. Place the rolled balls onto a baking sheet lined with parchment paper. This prevents sticking and makes for easier cleanup. If the mixture is too sticky, you can chill it in the refrigerator for about 15-20 minutes before rolling. Conversely, if it seems too dry and crumbly, you can add a teaspoon of milk or melted butter at a time until it comes together.
Step 3: Chilling for Firmness
Before dipping the balls in chocolate, it’s crucial to chill them. Place the baking sheet with the rolled peanut butter balls into the refrigerator for at least 30 minutes, or into the freezer for about 15 minutes. This chilling step is vital for ensuring the balls hold their shape during the dipping process and prevents them from falling apart. A firm ball makes for a clean, professional-looking chocolate coating.
Don’t miss out on our guide to Chocolate Peanut Butter Bars.
Step 4: Melting the Chocolate
While the peanut butter balls are chilling, prepare your chocolate for dipping. You can melt chocolate chips in a microwave-safe bowl in 30-second intervals, stirring in between, until smooth. Alternatively, you can use a double boiler method on the stovetop. Ensure the chocolate is smooth and pourable. Some bakers like to add a teaspoon of vegetable shortening or coconut oil to the chocolate chips when melting; this helps to create a smoother, thinner coating that sets up nicely.
Step 5: Dipping and Decorating
Once the peanut butter balls are firm and the chocolate is melted, it’s time for the fun part! Using a fork or a toothpick, dip each chilled peanut butter ball into the melted chocolate, coating it completely. Lift the ball out and let any excess chocolate drip back into the bowl. You can also use two forks to roll the ball in the chocolate. Place the chocolate-coated balls back onto the parchment-lined baking sheet. For a classic look, you can drizzle extra melted chocolate over the tops. Now, let’s get spooky! This is where the halloween peanut butter balls truly come to life.
Creative Halloween Decorations for Your Peanut Butter Balls
This is where your creativity can really shine! Transforming simple chocolate-dipped peanut butter balls into festive halloween treats is easy and adds so much personality to your dessert spread. Here are some popular ideas for spooky peanut butter balls:
Looking for more? Try this delicious Chocolate Peanut Butter Cake next.
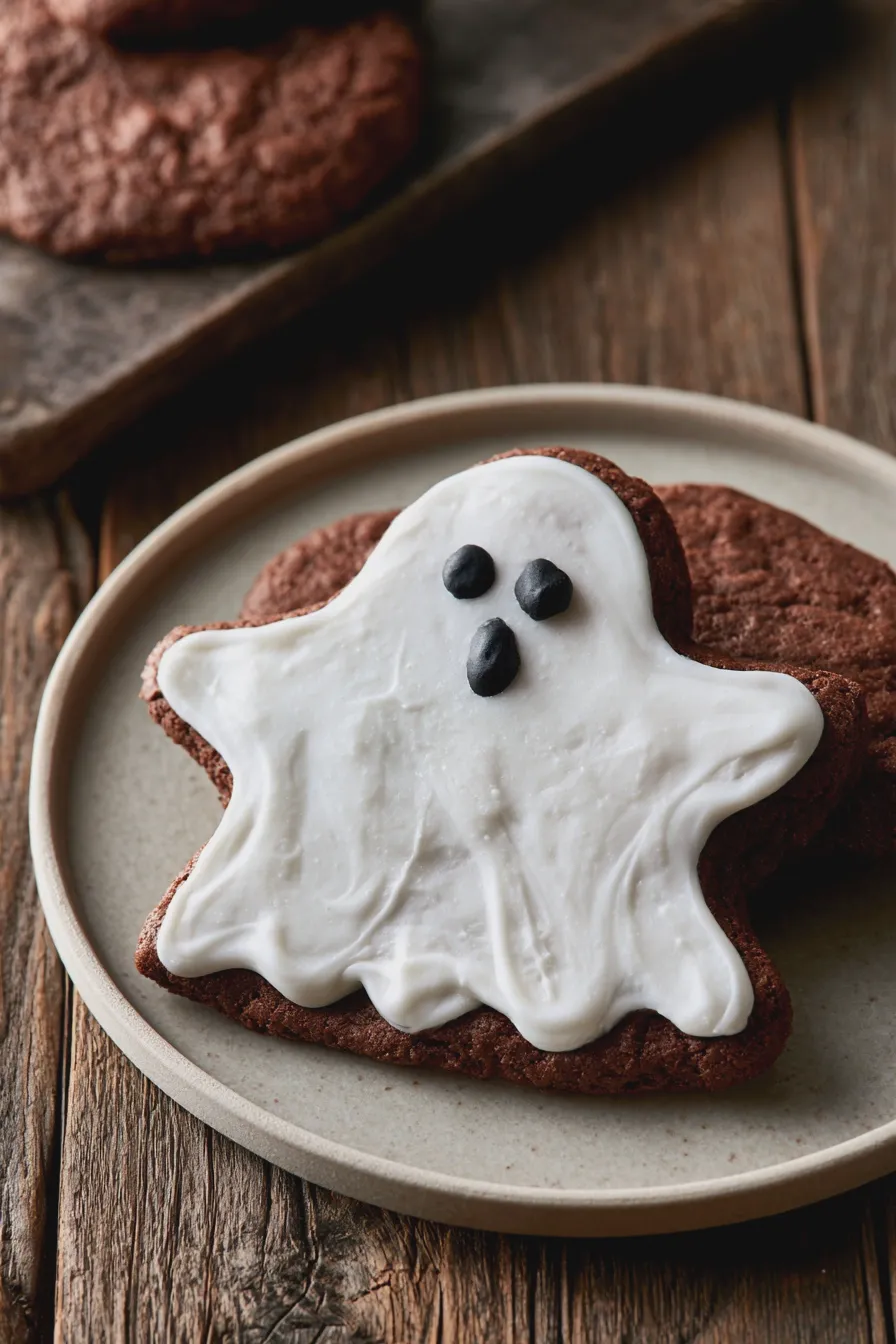
- Ghost Peanut Butter Balls: After dipping the balls in white chocolate (or regular chocolate and then drizzling with white chocolate), use a toothpick dipped in black edible marker or melted dark chocolate to draw on two small eyes. You can also use tiny edible candy eyes. The slightly irregular shape of the dipped ball naturally lends itself to a ghostly appearance.
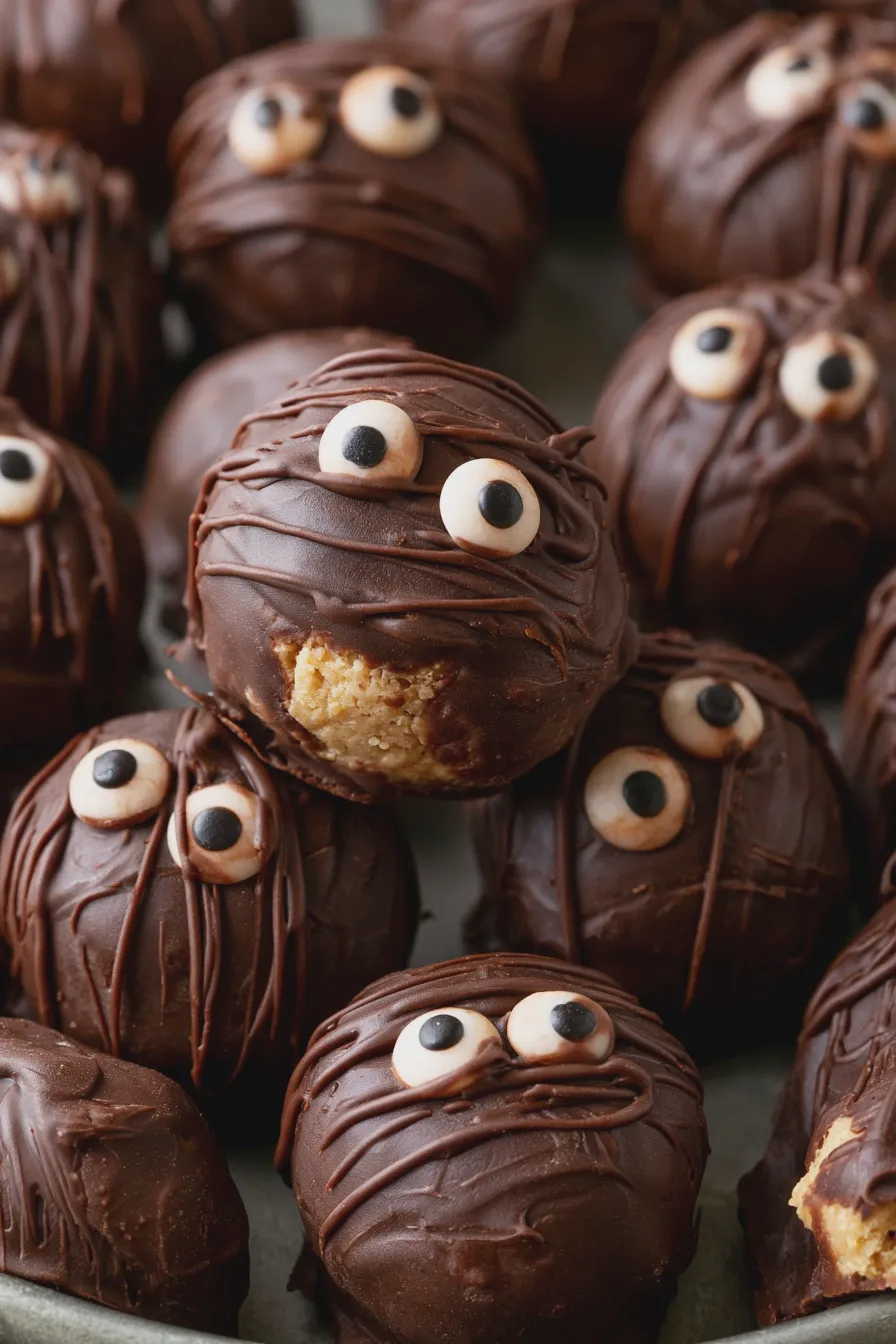
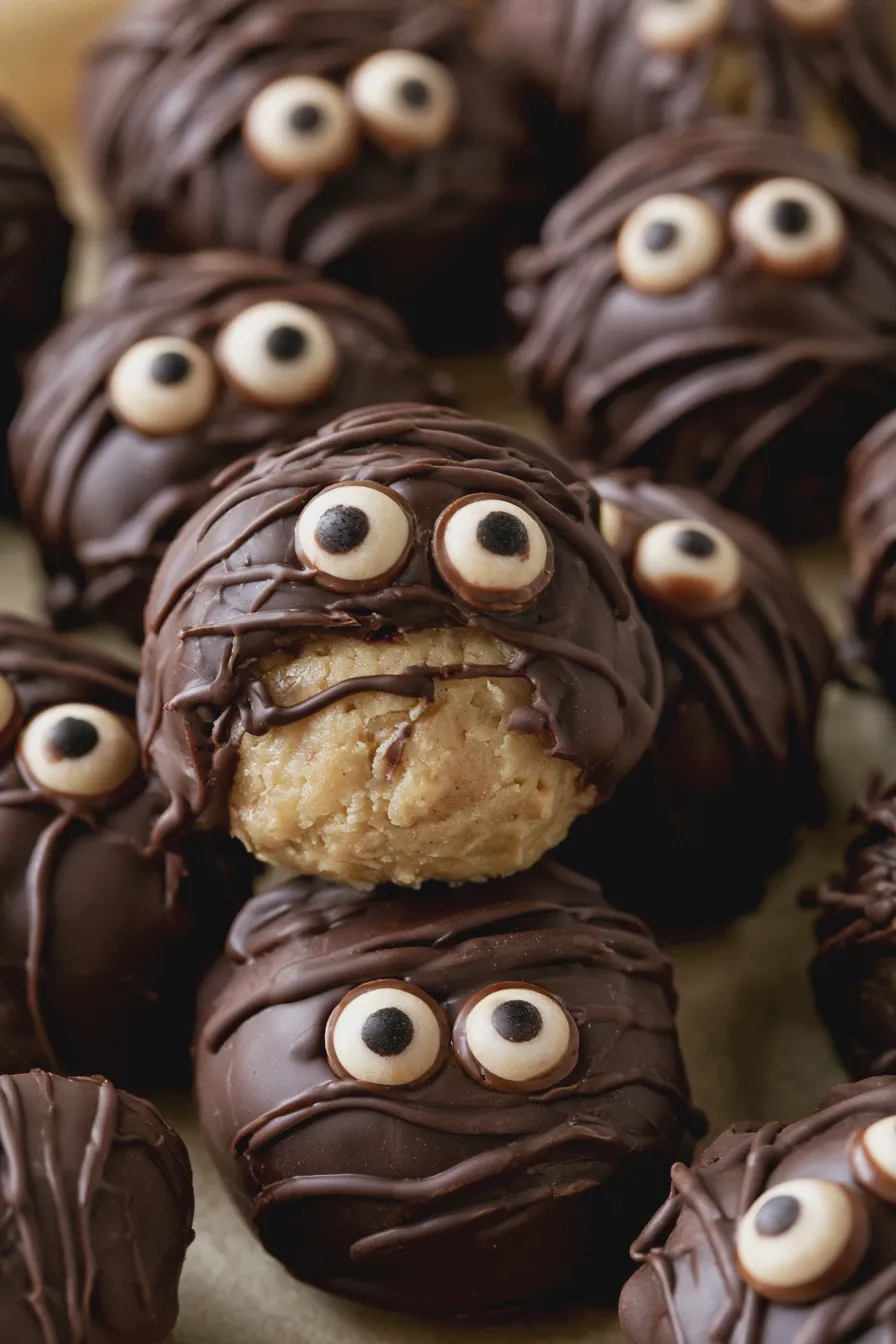
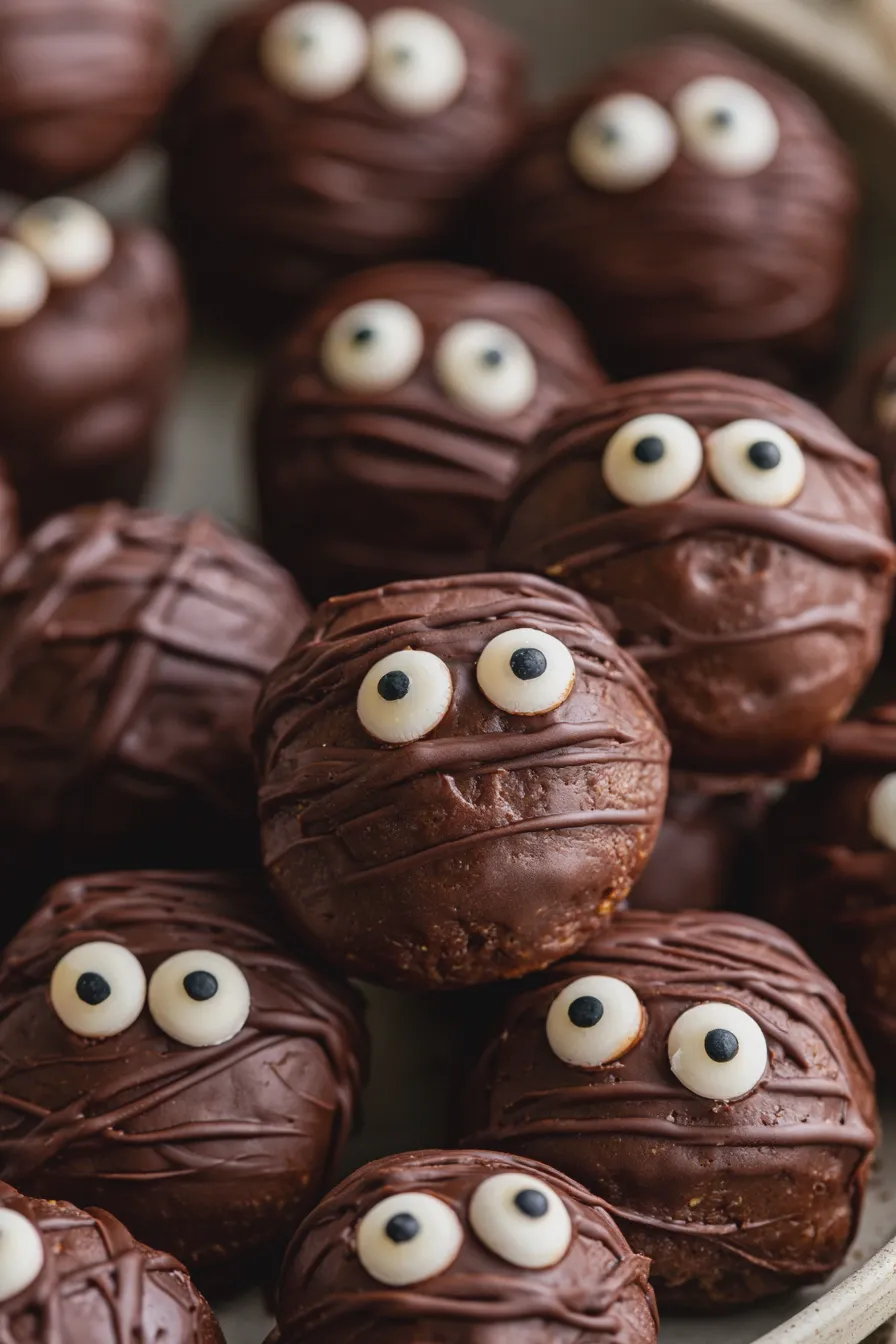
- Mummy Peanut Butter Balls: Dip the balls in white chocolate. Once set, use melted milk chocolate or dark chocolate in a piping bag with a small round tip (or a Ziploc bag with a tiny corner snipped off) to create thin, crisscrossing lines resembling mummy bandages. Leave a small gap for the “eyes” where you can place two mini chocolate chips or edible candy eyes before the chocolate sets.
- Pumpkin Peanut Butter Balls: Dip the balls in melted orange candy melts (available at most craft or baking supply stores). Once set, use green edible marker or a small dab of green frosting to create a stem at the top. Alternatively, you can use a toothpick dipped in black edible marker to draw a simple jack-o’-lantern face onto the orange coating.
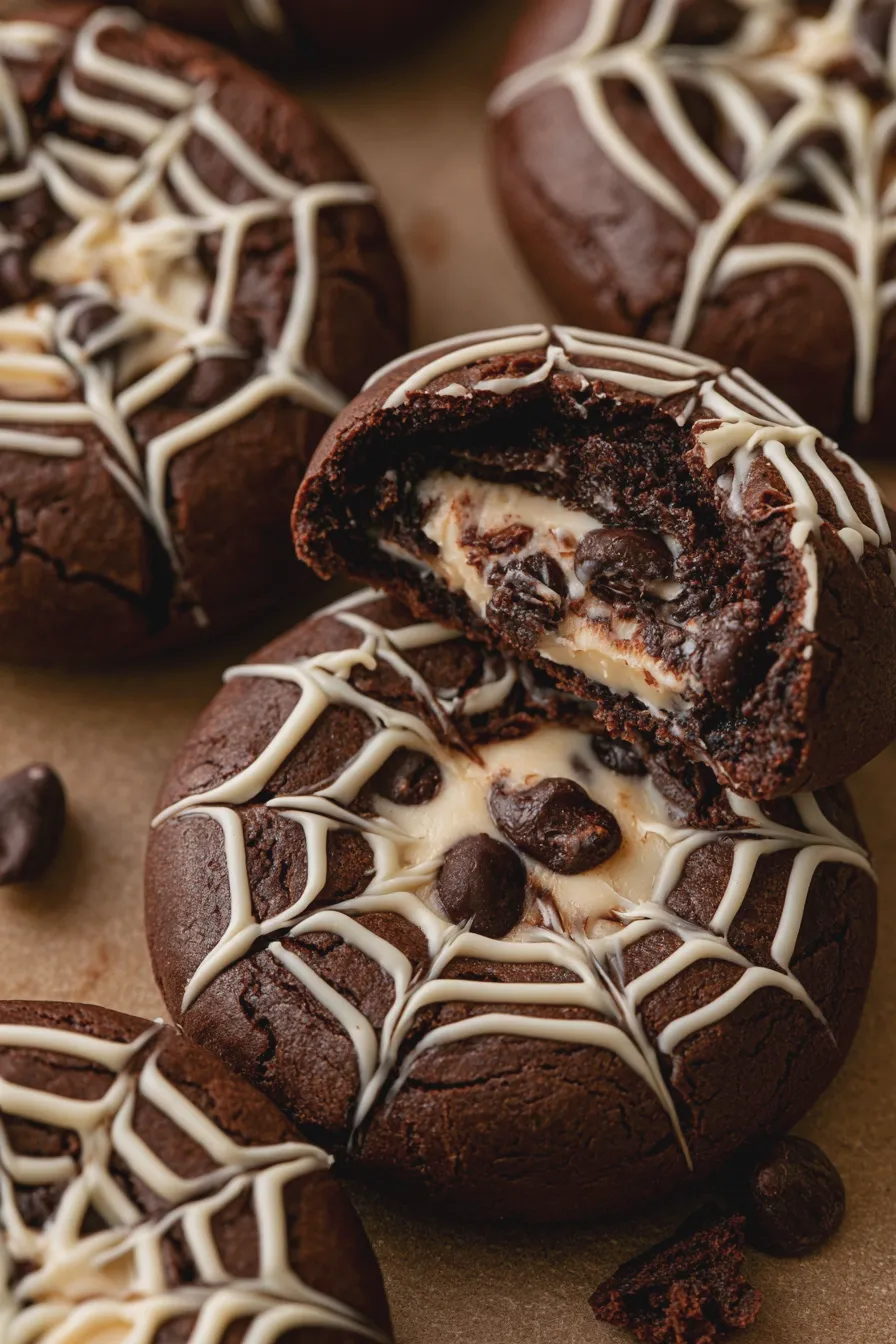
- Spiderweb Peanut Butter Balls: Dip the balls in dark chocolate. While the chocolate is still wet, use a toothpick to draw concentric circles from the center outwards. Then, drag a toothpick from the center to the edge, creating a spiderweb effect. You can also add a small candy spider on top!
- Monster Peanut Butter Balls: Get creative with edible googly eyes, sprinkles, and different colored chocolate drizzles. You can use green or purple candy melts for a monstrous look and add colorful sprinkles for extra flair.
Remember to let the chocolate fully set before serving or storing your halloween peanut butter balls. You can place them back in the refrigerator for about 10-15 minutes to speed this up.
Tips for the Best Halloween Peanut Butter Balls
To ensure your halloween peanut butter balls are a resounding success, keep these expert tips in mind:
- Room Temperature Ingredients: Ensure your butter and peanut butter are at room temperature for easier mixing and a smoother consistency.
- Don’t Overmix: Once you add the powdered sugar, mix just until combined. Overmixing can make the mixture tough.
- Chill Thoroughly: Don’t skip the chilling step! It’s crucial for easy handling and a clean finish.
- Tempering Chocolate (Optional but Recommended): For a professional sheen and a snap when you bite into the chocolate coating, consider tempering your chocolate. This is a more advanced technique but yields beautiful results. For a simpler approach, adding a bit of shortening or coconut oil helps.
- Storage: Store your finished halloween peanut butter balls in an airtight container in the refrigerator for up to a week. They are best enjoyed chilled.
Common Mistakes to Avoid
Even with simple recipes, a few common pitfalls can sometimes occur. Here’s how to avoid them:
Don’t miss out on our guide to Peanut Butter Ice Cream.
- Mixture Too Sticky: This often happens if there isn’t enough powdered sugar or if the butter and peanut butter ratio is off. Add more powdered sugar, a tablespoon at a time, until firm.
- Mixture Too Dry/Crumbly: If the mixture won’t hold together, it might need a little more moisture. Add softened butter or a teaspoon of milk at a time.
- Chocolate Coating Too Thick: If your chocolate is too thick to coat smoothly, it might be too cold or you need to add a little more shortening or oil.
- Chocolate Coating Too Thin: This can happen if the chocolate is too hot. Let it cool slightly before dipping.
- Balls Falling Apart During Dipping: This is almost always a sign that the peanut butter balls weren’t chilled enough before dipping.
Serving Your Spooky Creations
These festive peanut butter balls are perfect for a variety of Halloween occasions. Serve them at a Halloween party as part of a larger dessert spread, pack them in lunchboxes for a fun surprise, or offer them to trick-or-treaters for a special homemade treat. They also make for a wonderful addition to a Halloween bake sale or as a sweet gift for friends and family. They are a fantastic option for halloween party snacks and are sure to be a hit among both children and adults. They are a delightful part of any halloween dessert ideas collection.
Print
Halloween Peanut Butter Balls Quick & Easy No-Bake Treat
- Total Time: PT1H30M
- Yield: Approximately 24 balls 1x
- Diet: Vegetarian
Description
Spooky and delicious Halloween Peanut Butter Balls are the perfect no-bake treat for your Halloween party or a fun afternoon activity with the kids. These cute mummy-shaped delights are sure to be a hit!
Ingredients
- 1 cup creamy peanut butter
- 1/2 cup unsalted butter, softened
- 2 cups powdered sugar
- 1 teaspoon vanilla extract
- 1/2 cup semi-sweet chocolate chips
- 1 tablespoon vegetable shortening
- Candy eyeballs
Instructions
- In a large bowl, beat together the peanut butter and softened butter until smooth.
- Gradually add the powdered sugar and vanilla extract, mixing until well combined and a dough forms.
- Roll the dough into 1-inch balls and place them on a baking sheet lined with parchment paper.
- Chill the balls in the refrigerator for at least 30 minutes to firm up.
- Melt the semi-sweet chocolate chips and vegetable shortening in a microwave-safe bowl in 30-second intervals, stirring until smooth.
- Dip each chilled peanut butter ball into the melted chocolate, ensuring it’s fully coated.
- Place the chocolate-coated balls back on the parchment-lined baking sheet.
- While the chocolate is still wet, carefully place two candy eyeballs on each ball to create the mummy eyes.
- Optional: Drizzle a little extra melted chocolate over the balls to create mummy bandage effects.
- Refrigerate the Halloween Peanut Butter Balls for at least 1 hour, or until the chocolate is set.
- Store in an airtight container in the refrigerator.
Notes
- For a firmer ball, you can add an extra tablespoon or two of powdered sugar.
- If you don’t have candy eyeballs, you can use mini chocolate chips or dots of melted white chocolate to create the eyes.
- These can be made a day or two in advance and stored in the refrigerator.
- Prep Time: PT25M
- Cook Time: PT5M
- Category: Desserts
- Method: No-Bake
- Cuisine: American
Nutrition
- Serving Size: 1 ball
- Calories: 150
- Sugar: 12g
- Sodium: 50mg
- Fat: 10g
- Saturated Fat: 4g
- Carbohydrates: 14g
- Protein: 3g