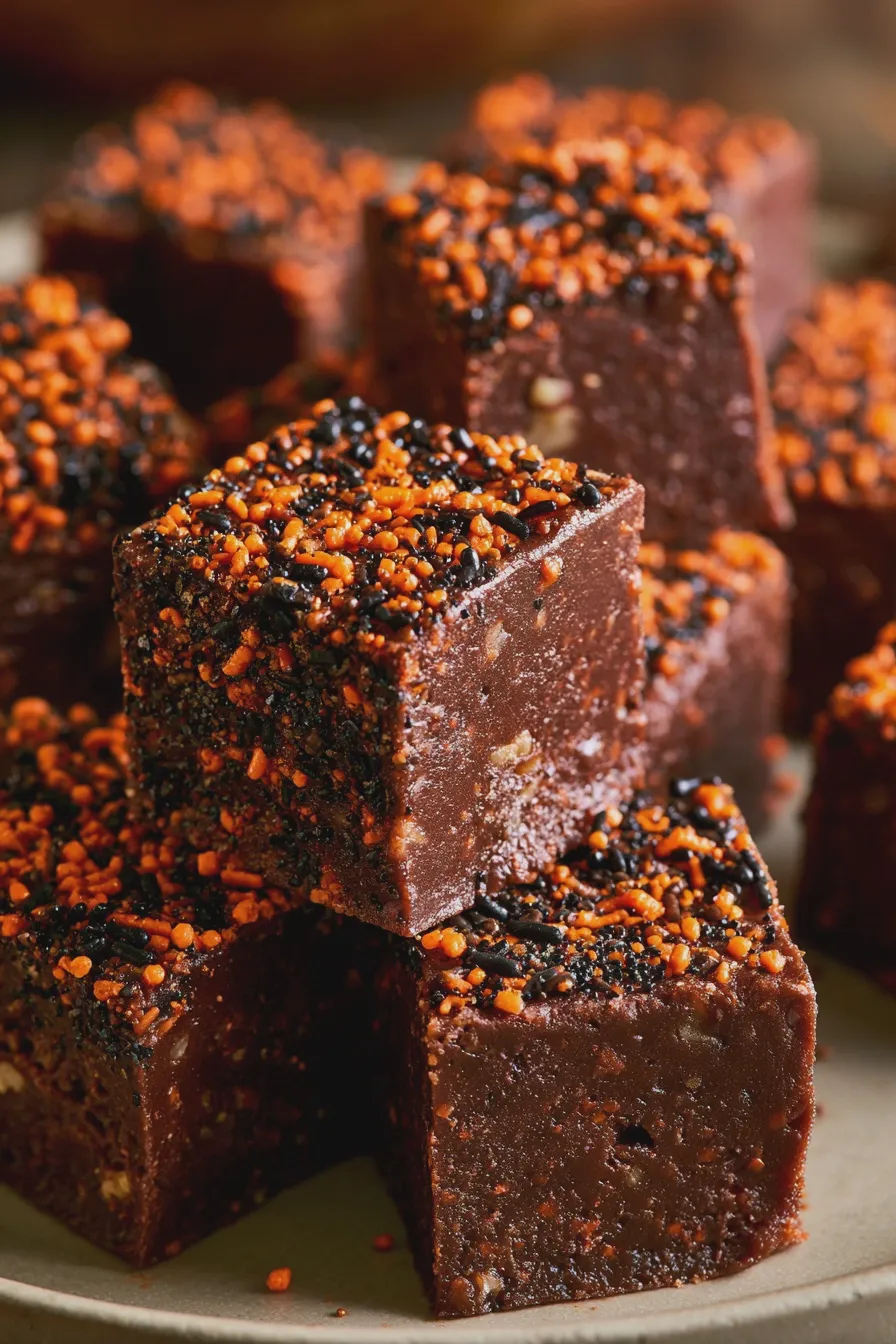
Halloween is a time for spooky fun, delightful treats, and creating magical memories with loved ones. As a baking enthusiast, you know that the kitchen becomes the heart of the celebration, especially when it comes to crafting delicious desserts. This year, let’s dive into one of the easiest and most versatile Halloween treats around: halloween chocolate bark. It’s the perfect canvas for your creativity, allowing you to transform simple melted chocolate into a festive masterpiece. Whether you’re looking for quick halloween treats for a last-minute party or an engaging activity to do with the kids, this recipe is sure to be a hit. Get ready to explore a world of spooky chocolate bark possibilities that will impress your guests and delight everyone’s taste buds. For more inspiration on festive baking, check out these Halloween desserts.
What is Halloween Chocolate Bark?
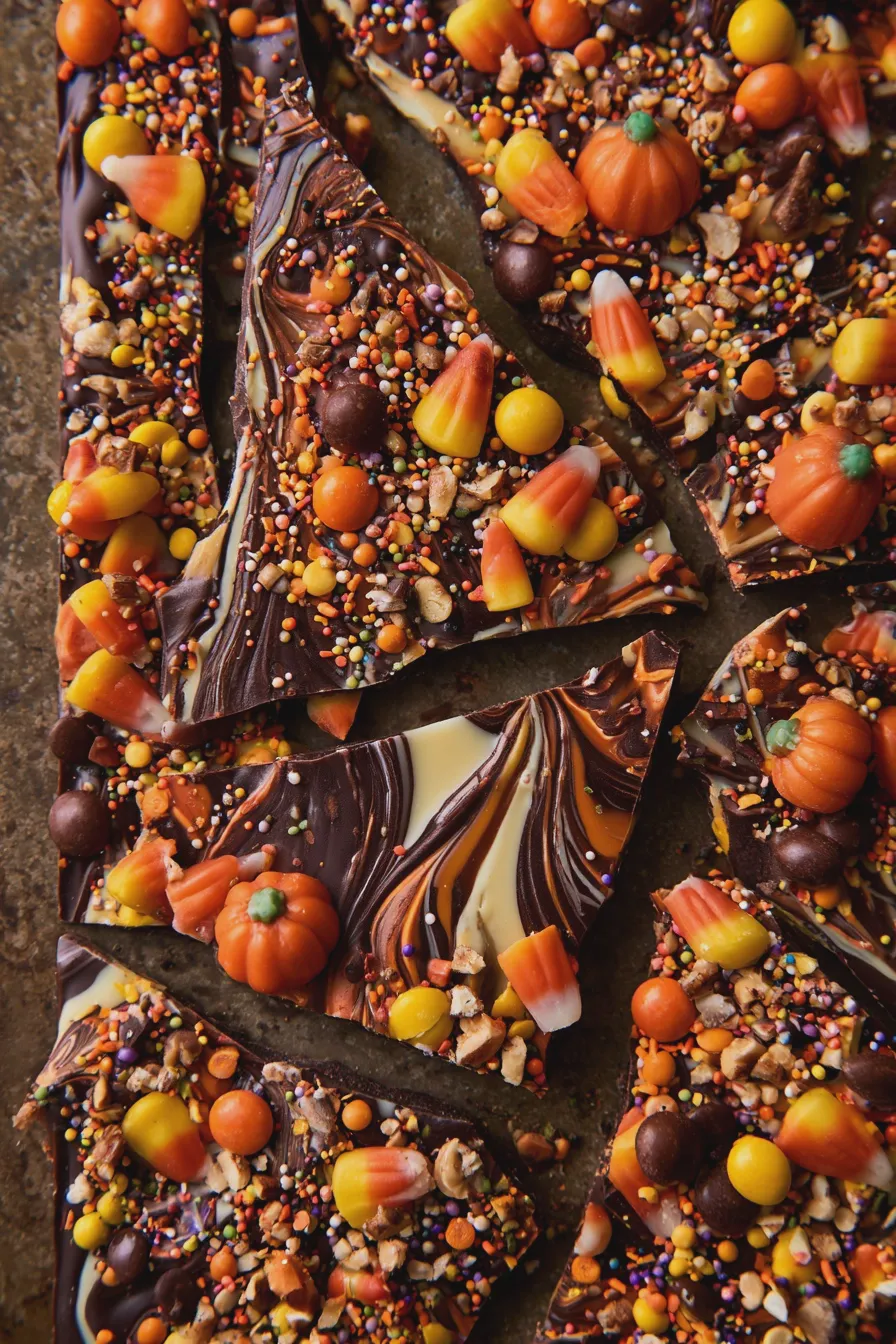
At its core, halloween chocolate bark is incredibly simple: melted chocolate spread thinly and then adorned with various toppings before it sets. The beauty of this dessert lies in its adaptability. You can use milk, dark, or white chocolate as your base, and the topping possibilities are virtually endless. For Halloween, we’re talking about transforming this humble confection into something truly special. Think vibrant colors, spooky shapes, and all your favorite Halloween candies. It’s a fantastic way to use up leftover Halloween candy or to create custom treats that perfectly match your party theme. This is truly one of the best no bake halloween desserts you can whip up!
Choosing Your Chocolate Base
The foundation of your halloween chocolate bark recipe is, of course, the chocolate! Your choice here will significantly impact the final flavor and appearance. Here are some popular options:
- Dark Chocolate: Offers a rich, slightly bitter flavor that pairs beautifully with sweet toppings. It also provides a dramatic dark backdrop for colorful additions.
- Milk Chocolate: A classic crowd-pleaser with a creamy, sweet taste. It’s a bit softer than dark chocolate, so be mindful of setting times.
- White Chocolate: This isn’t technically chocolate but a cocoa butter confection. It’s incredibly sweet and acts like a blank canvas for vibrant food coloring and toppings. It’s perfect for creating ghost chocolate bark or other brightly colored spooky designs.
- Compound Chocolate (Meltable Wafers): These are often found in craft stores and are specifically designed for melting and coating. They set up quickly and have a glossy finish, making them very beginner-friendly for melted chocolate bark halloween projects.
When selecting your chocolate, opt for good quality bars or chips. While chocolate chips are convenient, they often contain stabilizers that can make them harder to melt smoothly. If using chips, you might need to add a teaspoon of vegetable oil or shortening to achieve a silkier consistency. For the smoothest melt, consider using a high-quality bar chocolate and chopping it finely.
Looking for more? Try this delicious How To Make Ice Cream At Home next.
Melting Techniques for Perfect Bark
Successfully melting chocolate is key to achieving smooth, beautiful halloween chocolate bark. Overheating or improper melting can lead to seized or grainy chocolate, which is frustrating. Here are two reliable methods:
1. Double Boiler Method: This is a gentle and controlled way to melt chocolate.
Fill the bottom pot of a double boiler (or a heatproof bowl set over a saucepan) with about an inch of water. Make sure the water level doesn’t touch the bottom of the bowl.
Bring the water to a simmer over medium-low heat.
Place your chopped chocolate or chocolate chips in the top bowl or saucepan.
Stir the chocolate constantly until it is almost completely melted. Remove the bowl from the heat and stir until the residual heat melts the remaining chocolate. This prevents overheating.
2. Microwave Method: This is faster but requires more attention.
Place your chopped chocolate or chips in a microwave-safe bowl.
Microwave on 50% power for 30-second intervals, stirring thoroughly after each interval.
Continue until the chocolate is mostly melted, then stir until smooth. Be patient; it’s better to under-melt and stir than to over-melt and scorch the chocolate.
Looking for more? Try this delicious How To Fold Ingredients Without Deflating next.
Tip: Never let water come into contact with your melting chocolate. Even a tiny drop can cause chocolate to seize, becoming thick and lumpy. This is especially important when working with pure chocolate. Compound chocolates are a bit more forgiving.
Spooky Toppings for Your Halloween Chocolate Bark
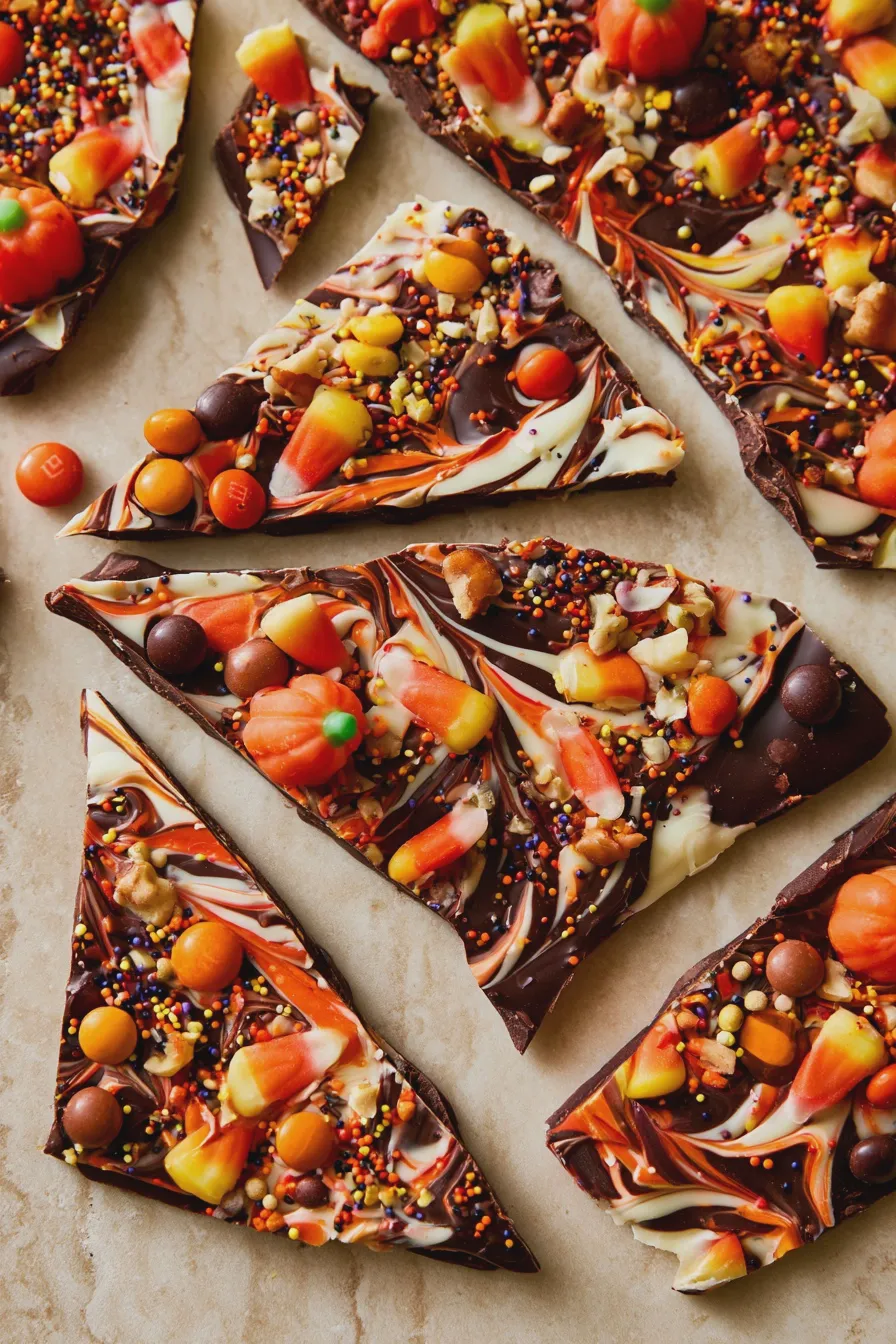
This is where the real fun begins! The toppings transform your melted chocolate into festive halloween bark ideas. Think about color, texture, and theme. Here are some fantastic options for your halloween chocolate bark recipe:
Candy & Confectionery Creations
Halloween candy is practically made for chocolate bark! Consider:
Don’t miss out on our guide to How To Cream Butter And Sugar.
- Candy Corn: A quintessential fall and Halloween candy that adds a pop of color and sweetness. Arrange them in patterns or sprinkle them randomly. This is a classic for candy corn chocolate bark.
- Halloween-themed Sprinkles: Bats, ghosts, pumpkins, skulls, and spooky color mixes (orange, black, purple, green) are readily available.
- M&M’s: Choose Halloween-colored M&M’s for a vibrant addition.
- Gummy Candies: Gummy worms, spiders, or eyeballs can add a chewy texture and a creepy factor.
- Mini Chocolate Candies: Reese’s Pieces, chopped Kit Kats, or chopped Snickers bars add extra chocolatey goodness and crunch.
- Crushed Cookies: Oreos (especially the creme filling!) or other chocolate sandwich cookies add texture and flavor.
Creative Decorations
Beyond candy, get creative with these:
- Edible Glitter or Luster Dust: Adds a magical shimmer, perfect for a more elegant spooky chocolate bark.
- Pretzels: Broken pretzel pieces add a salty crunch that contrasts wonderfully with the sweet chocolate.
- Nuts: Chopped peanuts, almonds, or pecans offer a satisfying crunch.
- Shredded Coconut: Toasted coconut can add a lovely texture and nutty flavor.
- Food Coloring: If using white chocolate, you can tint it with gel food coloring to create vibrant bases for ghost chocolate bark or monster chocolate bark.
- Piping Chocolate: Melted dark or white chocolate in a piping bag can be used to draw spiderwebs (spiderweb chocolate bark!) or other designs.
Example: For a classic chocolate bark with halloween candy, melt your chocolate, spread it on parchment paper, and then artfully arrange candy corn, Halloween M&M’s, and perhaps some spooky sprinkles before the chocolate sets.
Crafting Your Halloween Chocolate Bark
Now let’s put it all together! This process is designed to be straightforward and enjoyable. The goal is to create visually appealing and delicious halloween chocolate bark.
Looking for more? Try this delicious How To Prepare A Cake Pan To Prevent Sticking next.
Step-by-Step Guide
- Prepare Your Baking Sheet: Line a large baking sheet with parchment paper or a silicone baking mat. This prevents the bark from sticking and makes for easy cleanup.
- Melt Your Chocolate: Using your preferred method (double boiler or microwave), melt your chosen chocolate until smooth and glossy. If you’re using multiple types of chocolate, melt them separately.
- Tint Your Chocolate (Optional): If you want colored chocolate, add gel food coloring to white chocolate after it’s melted and stir until evenly combined. Gel colors work best as they don’t add excess moisture.
- Spread the Chocolate: Pour the melted chocolate onto the prepared baking sheet. Use a spatula to spread it into an even layer, about ¼ inch thick. Don’t spread it too thin, or it might break too easily.
- Add Your Toppings: While the chocolate is still wet, sprinkle your chosen toppings evenly over the surface. Work quickly so the toppings adhere well. For specific designs like spiderwebs, you might need to pipe contrasting chocolate on top before adding other elements.
- Chill to Set: Place the baking sheet in the refrigerator for at least 30-60 minutes, or until the chocolate is completely firm. You can also let it set at room temperature if your kitchen isn’t too warm, which can sometimes result in a better snap.
- Break into Pieces: Once fully set, lift the parchment paper off the baking sheet. Break the hardened chocolate bark into irregular pieces. You can use your hands or a sharp knife.
Tips for Success
- Work Quickly: Melted chocolate begins to set as it cools, so have your toppings ready to go before you start spreading.
- Topping Distribution: Don’t overload the bark with toppings, as this can prevent it from setting properly or make it difficult to break. Aim for an even, visually appealing distribution.
- Layering Flavors: Consider contrasting flavors and textures. Salty pretzels with sweet chocolate, or crunchy nuts with smooth chocolate, create a more complex and satisfying bite.
- Clean Breaks: For cleaner breaks, ensure the bark is thoroughly chilled and firm.
Common Mistakes to Avoid
Even with a simple recipe like this, a few common pitfalls can trip up even experienced bakers:
- Overheating Chocolate: This is the most common mistake. It can cause chocolate to burn, seize (become thick and unmanageable), or become dull. Always use low heat and stir constantly.
- Water Contamination: As mentioned, even a drop of water can ruin your melted chocolate. Ensure all utensils and bowls are completely dry.
- Spreading Too Thin: A very thin layer of chocolate will be brittle and prone to breaking into tiny shards rather than nice pieces. Aim for about ¼ inch thickness.
- Toppings Added Too Late: If the chocolate has started to set, your toppings won’t stick well.
- Impatience with Setting: Trying to break the bark before it’s fully set will result in a mess. Give it ample time in the refrigerator or at cool room temperature.
Creative Halloween Chocolate Bark Ideas
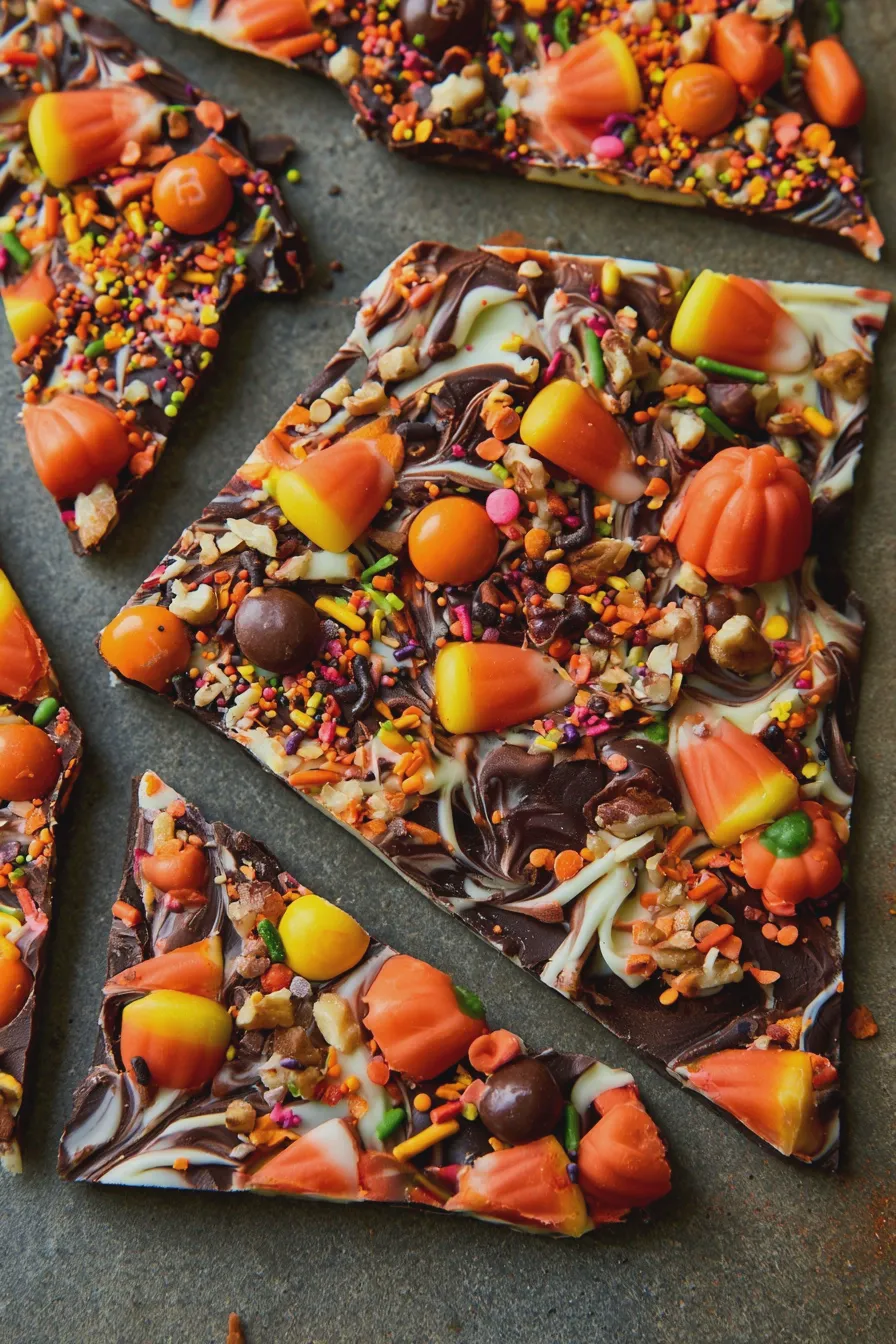
Let your imagination run wild! Here are some specific halloween bark ideas to get you started:
- Ghost Chocolate Bark: Use white chocolate as the base. Once spread and slightly set, pipe ghost shapes using melted dark chocolate or candy melts. Add mini chocolate chips for eyes.
- Monster Chocolate Bark: Melt green candy melts or white chocolate tinted green. Spread and top with candy eyes, sprinkles, and perhaps some chopped gummy worms for a truly monstrous look.
- Spiderweb Chocolate Bark: Melt dark chocolate for the base. Once spread, melt white chocolate and pipe concentric circles onto the dark chocolate. Use a toothpick or skewer to drag lines from the center outwards, creating a web effect. Add a plastic spider for extra creepiness. This is a classic chocolate bark recipe.
- Pumpkin Patch Bark: Use white or milk chocolate. Arrange candy pumpkins, candy corn, and orange/yellow sprinkles in a festive pattern.
- Witch Finger Bark: Melt green candy melts. Spread and press pretzel rods into the chocolate to resemble handles. Use a knife to score lines like knuckles. Add slivered almonds for fingernails before it sets. This makes for a wonderfully creepy chocolate bark.
- Candy Corn Explosion Bark: Melt milk chocolate. Generously sprinkle with candy corn, caramel bits, and chopped peanuts for a sweet and salty explosion.
These are just starting points! Feel free to mix and match elements to create your own unique festive chocolate bark. The key is to have fun and embrace the spirit of Halloween.
If you enjoyed this, you might also love our Creaming Method For Cakes And Cookies recipe.
Serving and Storing Your Halloween Chocolate Bark
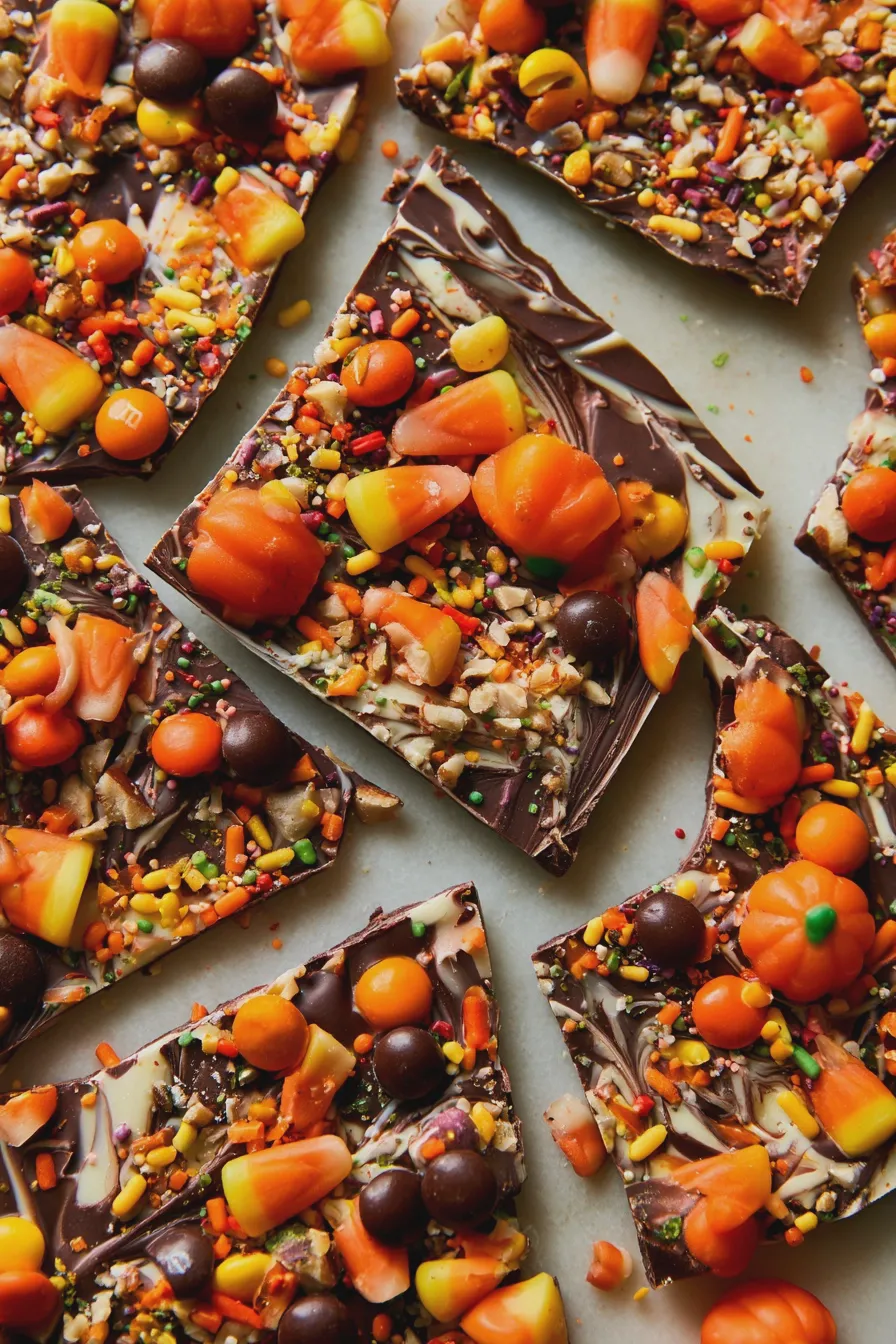
Once your delicious halloween chocolate bark is set and broken into pieces, it’s ready to be enjoyed! It’s perfect for:
- Halloween Parties: Serve it on a platter as a festive dessert option.
- Party Favors: Package small bags of bark for guests to take home.
- Snack Platters: Add it to a dessert board alongside other Halloween treats.
- Kids’ Activities: Let children help decorate their own sections of the bark.
Storage: Store your halloween chocolate bark in an airtight container at cool room temperature or in the refrigerator. If layering pieces, place parchment paper between them to prevent sticking. Properly stored, it should last for about 1-2 weeks. Be mindful that chocolate can absorb odors, so ensure the container is well-sealed. If you live in a warm climate, refrigeration is often best to prevent melting.
Print
Halloween Chocolate Bark Recipe Quick and Easy
- Total Time: PT50M
- Yield: Approximately 1.5 pounds 1x
- Diet: Vegetarian
Description
Spooky and delicious Halloween Chocolate Bark is the perfect easy treat for parties or trick-or-treaters! Customize with your favorite toppings for a festive and fun dessert.
Ingredients
- 12 ounces good quality dark chocolate, chopped
- 12 ounces good quality white chocolate, chopped
- 1/2 cup assorted Halloween-themed candies (sprinkles, candy corn, M&Ms, candy pumpkins, etc.)
- 1/4 cup chopped nuts (optional, for added crunch)
Instructions
- Line a baking sheet with parchment paper or a silicone baking mat.
- Melt the dark chocolate: Place dark chocolate in a microwave-safe bowl. Microwave in 30-second intervals, stirring between each, until smooth and completely melted. Alternatively, use a double boiler.
- Spread the melted dark chocolate evenly over the prepared baking sheet to about 1/4 inch thickness.
- Melt the white chocolate: In a separate microwave-safe bowl, melt the white chocolate using the same method as the dark chocolate.
- Drizzle the melted white chocolate over the dark chocolate layer in a decorative pattern (swirls, zig-zags, or random drops).
- Immediately sprinkle the assorted Halloween candies and chopped nuts (if using) over the melted chocolate before it sets.
- Gently tap the baking sheet on the counter to help the toppings adhere.
- Refrigerate for at least 30 minutes, or until the chocolate is completely firm.
- Once firm, break the chocolate bark into irregular pieces. Store in an airtight container at room temperature or in the refrigerator.
Notes
- For a smoother melt, add a teaspoon of coconut oil or vegetable oil to each type of chocolate before microwaving.
- Feel free to experiment with different types of chocolate (milk chocolate, semi-sweet) and a wider variety of toppings like mini pretzels, crushed cookies, or edible glitter.
- This bark can be made a few days in advance and stored in a cool, dry place.
- Prep Time: PT15M
- Cook Time: PT5M
- Category: Dessert
- Method: No-Bake
- Cuisine: American
Nutrition
- Serving Size: 1 ounce
- Calories: 150
- Sugar: 15g
- Sodium: 10mg
- Fat: 9g
- Saturated Fat: 5g
- Carbohydrates: 16g
- Fiber: 1g
- Protein: 2g
- Cholesterol: 5mg