Get ready to spookify your snack table with these incredibly fun and surprisingly simple halloween pretzel rods! They’re the perfect blend of salty and sweet, making them a crowd-pleaser for all ages. Whether you’re hosting a ghoulish gathering or just looking for a festive treat to make with the kids, these chocolate-dipped delights are a fantastic choice. They are a wonderful addition to any halloween party food spread and easily rank among the best no bake halloween treats. Plus, they are incredibly versatile, allowing for endless creativity in decoration. If you’re new to this, don’t worry! We’ll guide you through every step, from melting chocolate to adding those final spooky touches. For more inspiration on festive baking, you might find this Halloween desserts guide helpful.
What are Halloween Pretzel Rods?
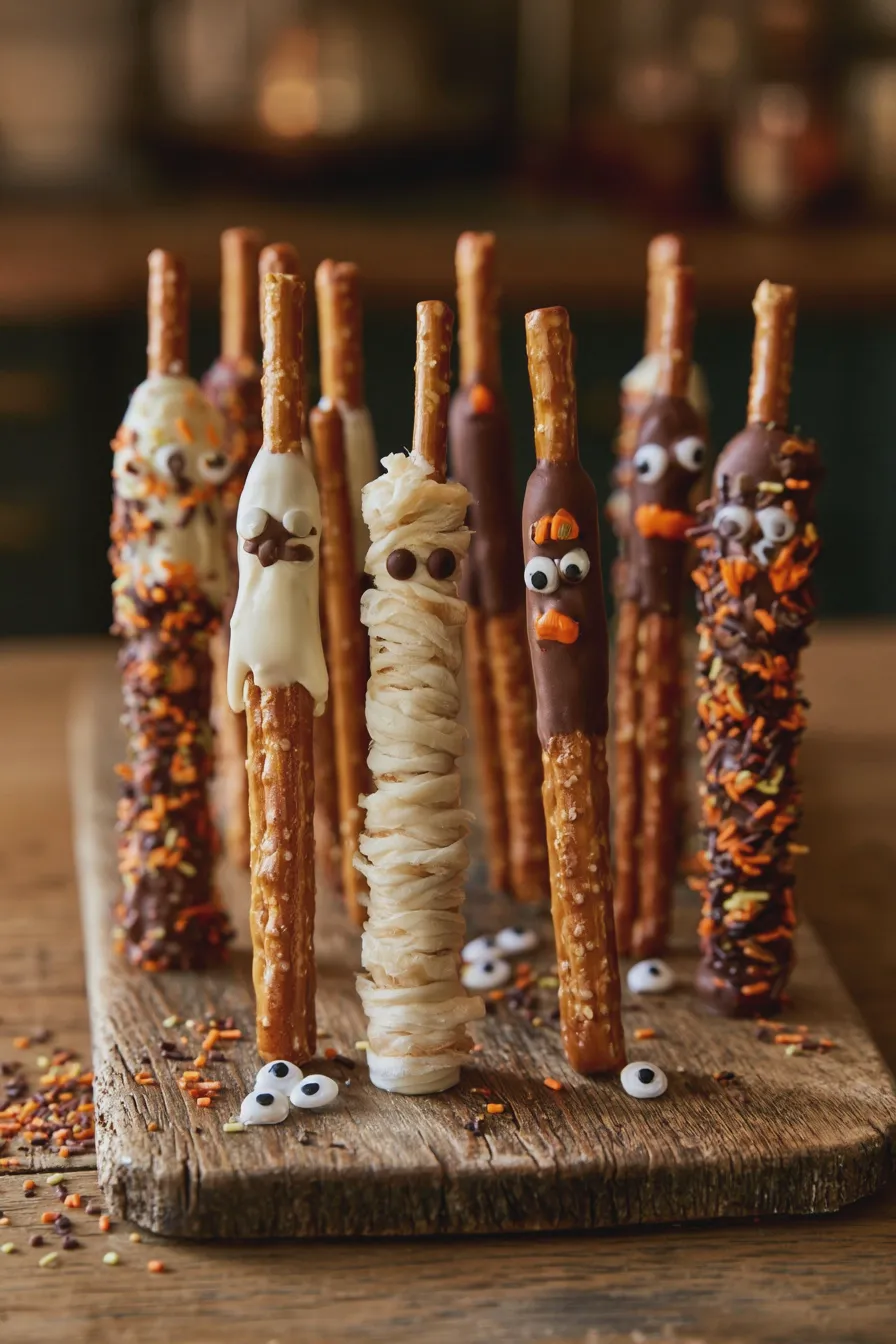
At their core, halloween pretzel rods are simply sturdy pretzel rods that have been dipped in melted chocolate or candy melts and then decorated with various Halloween-themed toppings. They combine the satisfying crunch of a pretzel with the sweet indulgence of chocolate, creating a treat that’s hard to resist. These are a brilliant example of easy halloween pretzel rods that look impressive but require minimal effort. They are perfect for a last-minute bake sale or a fun afternoon activity with children. The magic lies in the transformation of a simple pretzel into a festive masterpiece. You can find a wide array of pretzel rods perfect for dipping at most grocery stores; look for thicker, sturdier varieties that will hold up well to dipping and decorating. For more on choosing the right ingredients, check out chocolate dipping tips.
Essential Ingredients and Tools
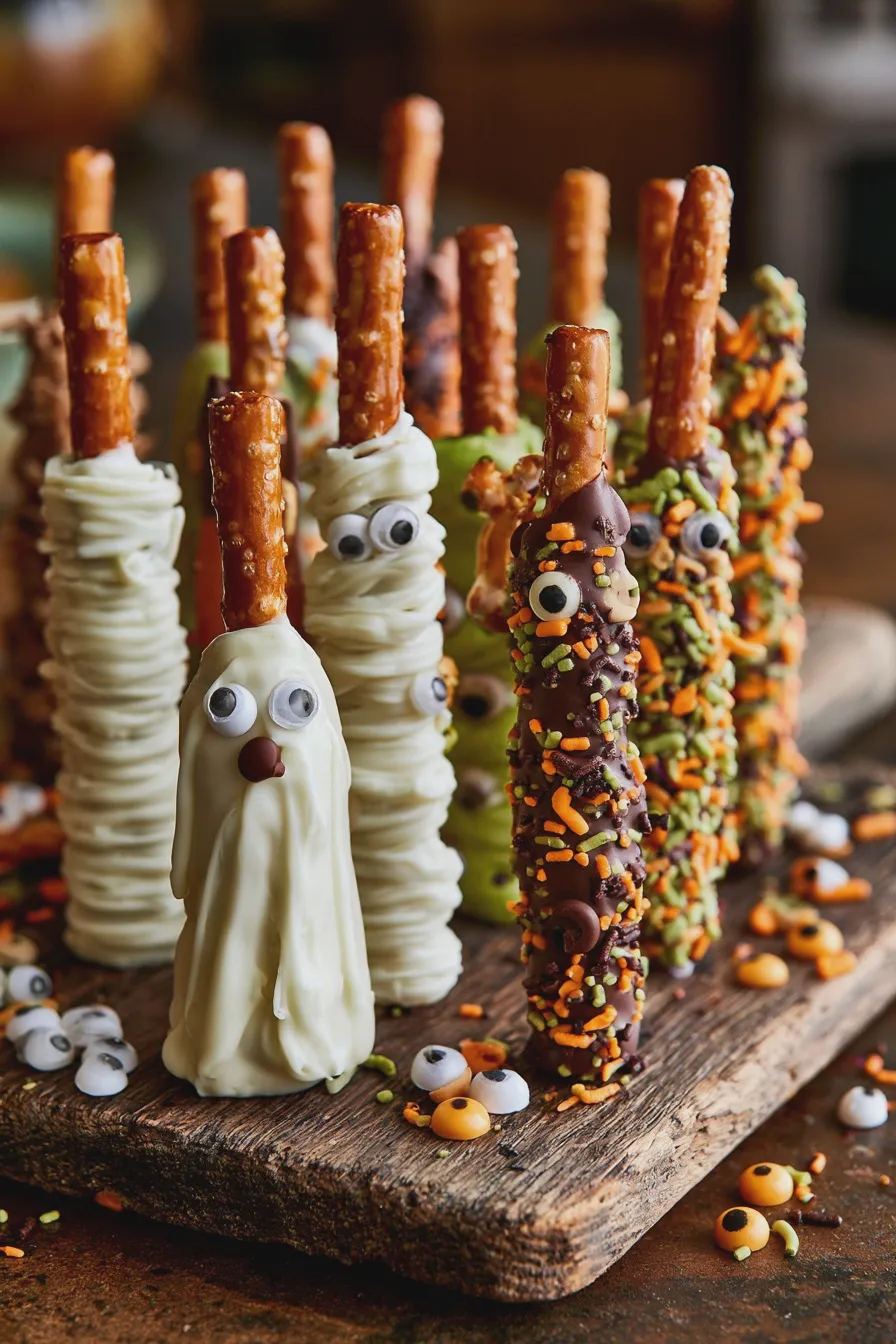
To create your own spooky delights, you’ll need a few key items. The base is, of course, sturdy pretzel rods. For the coating, you have options: melting chocolate wafers (like Ghirardelli or Guittard) or candy melts. Candy melts tend to set up firmer and are often easier for beginners, while melting chocolate offers a richer flavor. You’ll also need your chosen decorations: sprinkles, edible googly eyes, crushed candies, sanding sugar, and more!
Here’s a quick rundown:
- Pretzel Rods: Choose thick, sturdy rods for best results.
- Chocolate or Candy Melts: White, dark, or milk chocolate, or colored candy melts in orange, black, purple, or green.
- Decorations: Sprinkles (Halloween-themed, jimmies, nonpareils), edible googly eyes, crushed cookies (like Oreos for dirt effects), sanding sugar, mini candies.
- Optional Add-ins: A touch of coconut oil or shortening (about 1 teaspoon per cup of chocolate) can help achieve a smoother consistency when melting chocolate.
For tools, you’ll need:
Don’t miss out on our guide to How To Make Ice Cream At Home.
- Microwave-safe bowls or a double boiler: For melting your chocolate.
- Spatulas or spoons: For stirring.
- Parchment paper or wax paper: To line your baking sheets for easy cleanup and removal.
- Tall, narrow glasses or jars: These are incredibly helpful for dipping the pretzel rods, as they allow you to submerge a good portion of the rod without using too much chocolate.
- Baking sheets: To hold the dipped pretzel rods while they set.
Step-by-Step Guide to Making Halloween Pretzel Rods
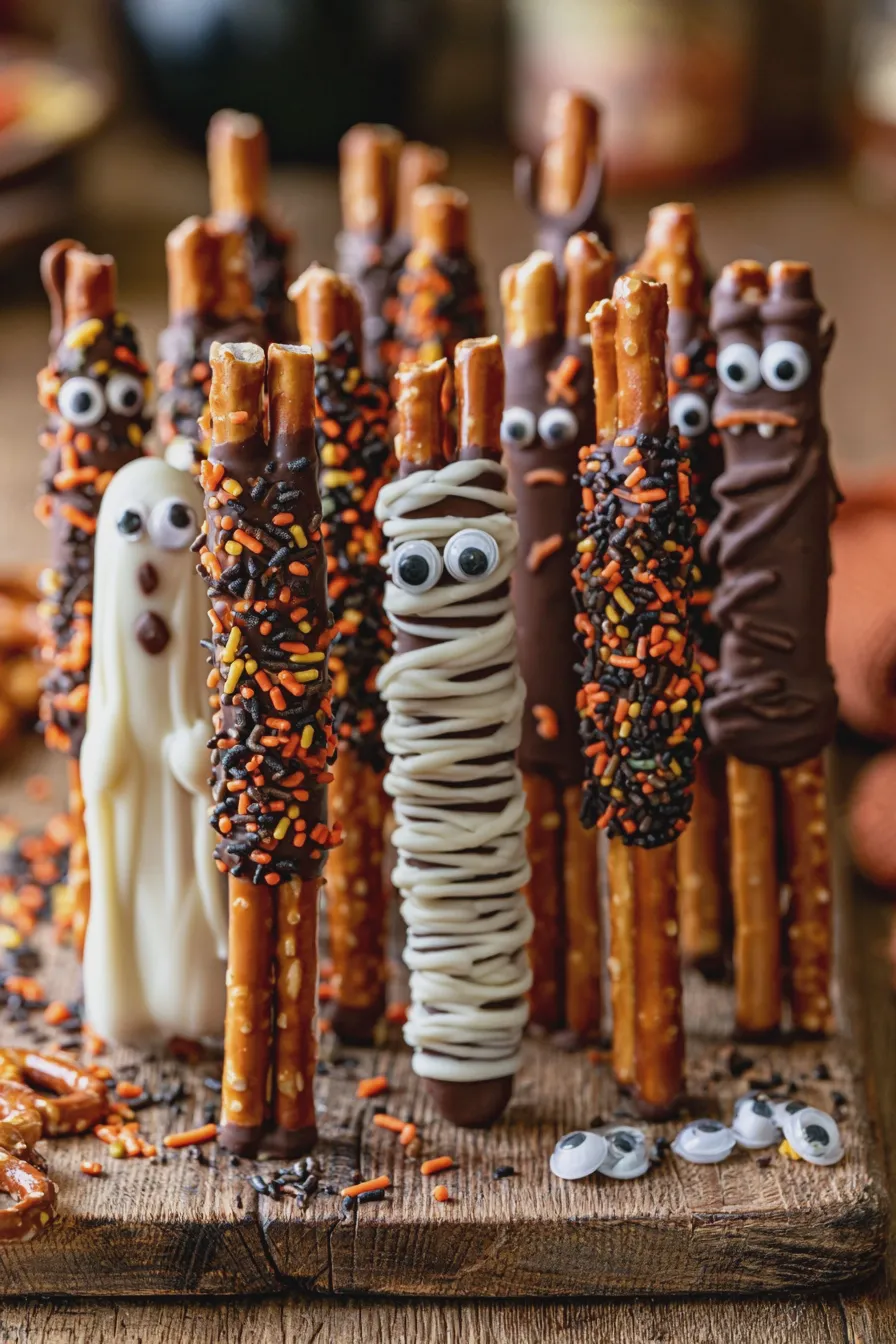
Making these treats is a straightforward process, perfect for bakers of all skill levels. The key is patience, especially when the chocolate is setting.
1. Prepare Your Workspace
Line a baking sheet with parchment paper or wax paper. This is crucial for preventing the pretzel rods from sticking and makes cleanup a breeze. Have your decorations ready and within reach. If using tall glasses for dipping, fill them about halfway with your melted chocolate or candy melts.
2. Melt Your Chocolate or Candy Melts
You can melt your chocolate using a microwave or a double boiler. For the microwave method, place the chocolate in a microwave-safe bowl and heat in 30-second intervals, stirring well after each interval, until smooth and fully melted. Be careful not to overheat, as chocolate can seize up. If using a double boiler, fill the bottom pot with about an inch of water and bring it to a simmer. Place the chocolate in the top bowl, ensuring it doesn’t touch the water, and stir until melted and smooth.
Tip: If your chocolate seems too thick, stir in about a teaspoon of coconut oil or vegetable shortening per cup of chocolate. This will help thin it out for easier dipping.
If you enjoyed this, you might also love our How To Fold Ingredients Without Deflating recipe.
3. Dip the Pretzel Rods
Hold a pretzel rod by one end and carefully dip it into the melted chocolate, rotating it to coat about two-thirds to three-quarters of the rod. Let any excess chocolate drip back into the bowl. For a cleaner look, you can gently scrape the bottom of the rod against the rim of the bowl or glass.
Mistake to Avoid: Don’t try to dip the entire pretzel rod. Leaving a portion uncoated provides a handle for eating and decorating, and it also prevents the chocolate from dripping excessively.
4. Add Decorations
Before the chocolate sets, immediately sprinkle your chosen decorations over the still-wet chocolate. You can use a mix of sprinkles, edible googly eyes, or crushed cookies. For a more elaborate design, you can let the first layer of chocolate set, then use a spoon or piping bag to drizzle contrasting colors over the top.
Example: For mummy pretzel rods, after dipping in white chocolate, use a contrasting color (like black or brown) to drizzle thin lines resembling bandages.
Another favorite of ours is the How To Cream Butter And Sugar.
5. Let Them Set
Carefully place the decorated pretzel rods on the prepared parchment-lined baking sheet. Allow them to set completely at room temperature. This can take anywhere from 30 minutes to an hour, depending on the thickness of your coating and the room temperature. You can speed up the process by placing the baking sheet in the refrigerator for about 10-15 minutes, but be aware that refrigeration can sometimes cause chocolate to bloom (develop white streaks).
Baking Explanation: Chocolate hardens as it cools. When melted chocolate is exposed to cooler air, its fat molecules re-solidify, creating a firm coating. Avoid disturbing the rods while they are setting to ensure a smooth finish.
Creative Halloween Pretzel Rod Ideas
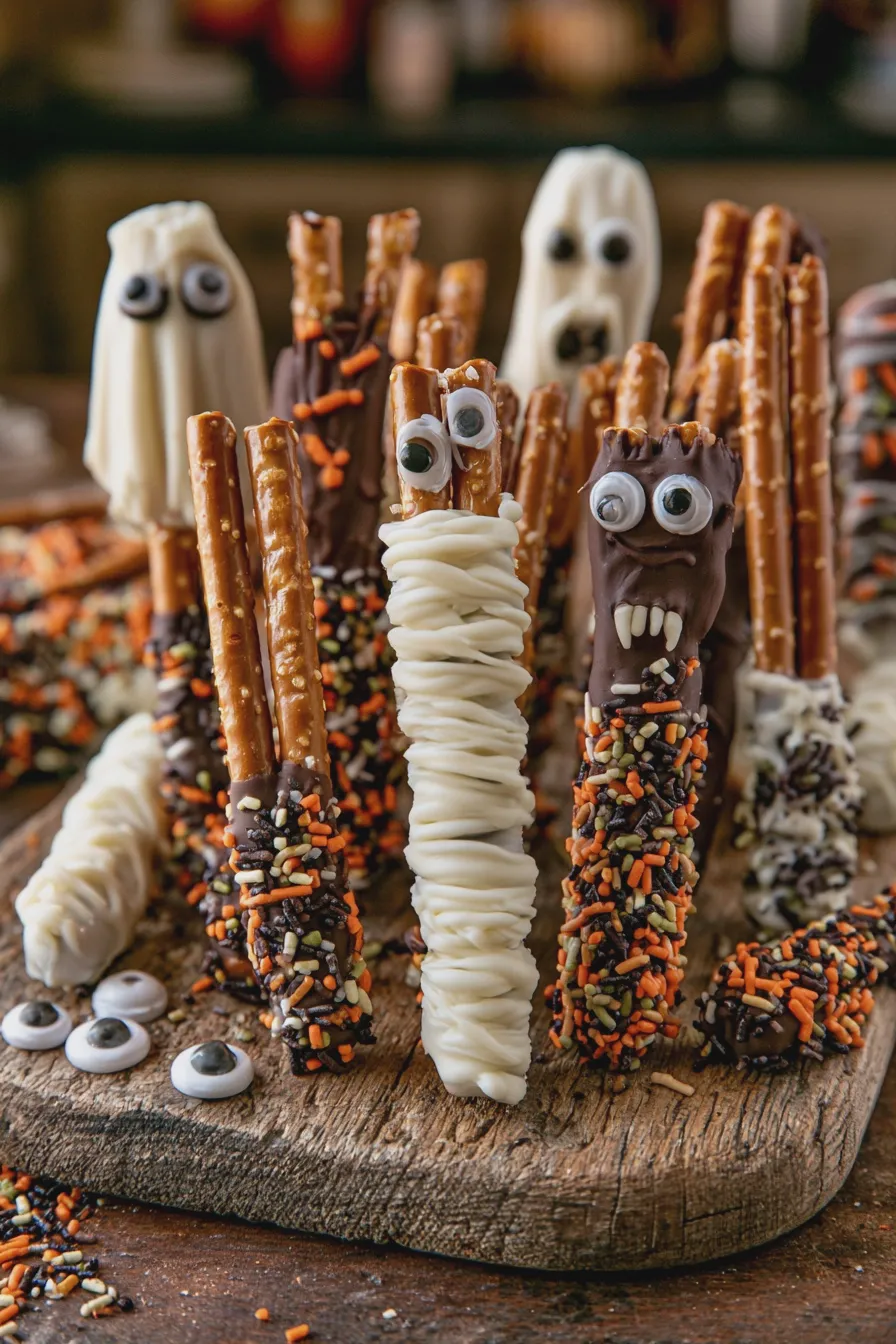
The beauty of halloween pretzel rod ideas is their endless potential for creativity. Here are some popular themes and designs to get your imagination flowing:
Ghost Pretzel Rods
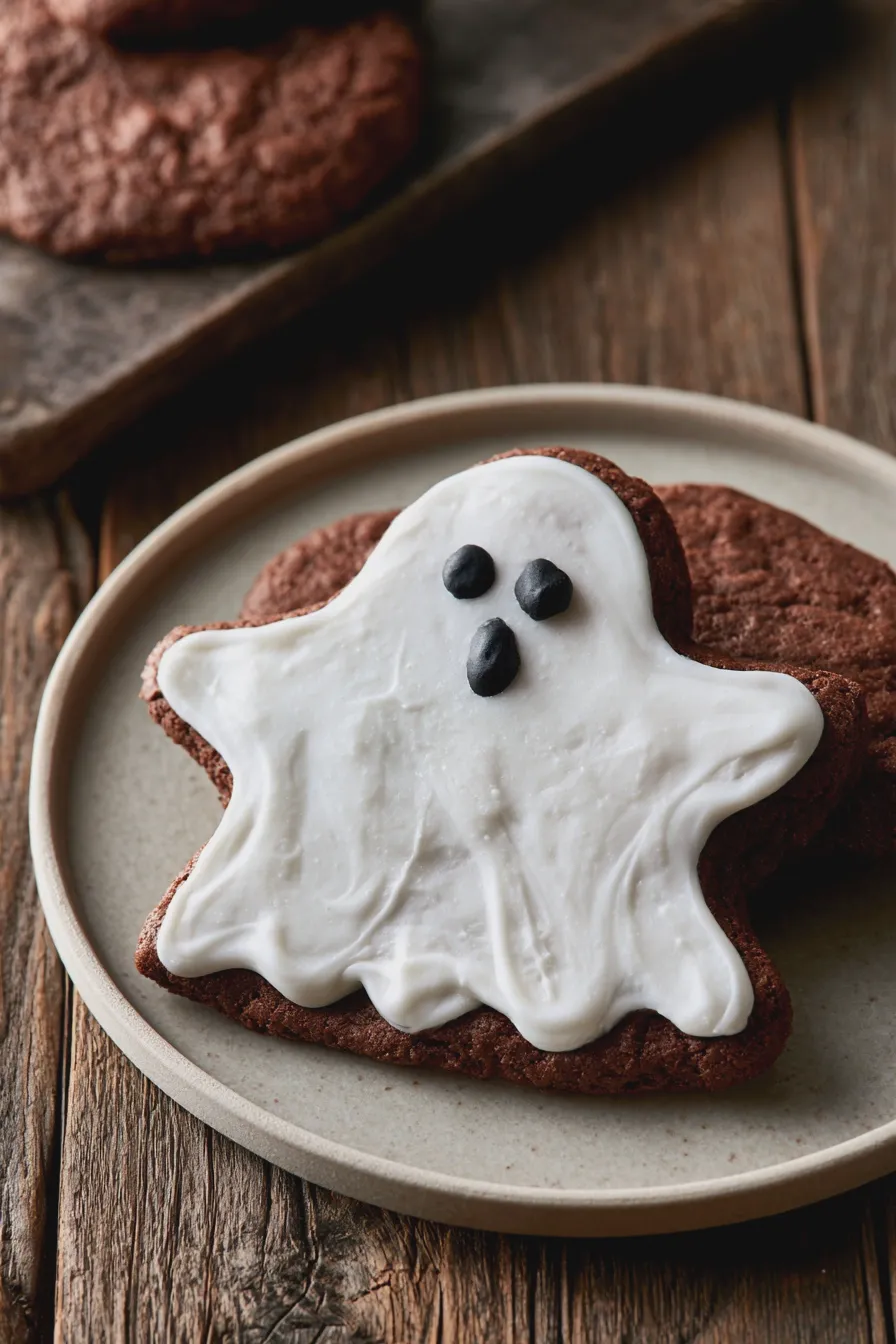
Dip the rods in white chocolate or candy melts. Once set, use a black edible marker or melted dark chocolate to draw two small eyes on the chocolate-coated section. You can also add a little wavy line for a mouth if you like!
Don’t miss out on our guide to How To Prepare A Cake Pan To Prevent Sticking.
Mummy Pretzel Rods
Dip the rods in white chocolate. Once mostly set but still slightly pliable, use a piping bag with a thin tip, or a fork, to drizzle thin lines of melted dark chocolate or black candy melts back and forth across the white coating, mimicking mummy bandages. Leave a small space near the top for the “eyes,” and place two edible googly eyes just above the bandages. This is one of the most popular kid friendly halloween snacks.
Monster Pretzel Rods
Use various colored candy melts (green, purple, orange) for the base dip. Once set, add details like edible googly eyes, sprinkles for hair, or even pipe on small “teeth” using white candy melts.
Witch Pretzel Rods
Dip rods in green candy melts. Once set, use black candy melts to pipe on a witch’s hat shape at the top of the green coating. You can also add edible glitter or purple sprinkles for a magical touch.
Candy Corn Pretzel Rods
Dip the rods in white chocolate. While still wet, create a gradient effect by adding yellow and orange sprinkles or sanding sugar, mimicking the colors of candy corn. Alternatively, you can dip sections in different colored candy melts (white, yellow, orange) to create distinct stripes.
If you enjoyed this, you might also love our Creaming Method For Cakes And Cookies recipe.
Spooky Spiderweb Pretzel Rods
Dip rods in black or dark purple candy melts. Once set, use white candy melts in a piping bag to draw concentric circles on the dark coating, then drag a toothpick from the center outwards to create a spiderweb effect. Add a candy spider on top for an extra creepy touch!
These decorated halloween pretzel rods are also fantastic as part of larger halloween dessert ideas, perhaps arranged on a platter with other themed treats.
Tips for Success
Achieving perfectly coated and decorated halloween pretzel rods is all about a few key techniques:
- Don’t Overcrowd: When dipping, give yourself enough space to move the pretzel rod without bumping into others.
- Work in Batches: If you’re using multiple colors or designs, melt and decorate one color at a time to prevent colors from mixing unintentionally.
- Temperature is Key: Ensure your chocolate is smooth and fluid but not too hot. If it’s too thick, it won’t coat well; if it’s too hot, it can melt the pretzel.
- Embrace Imperfection: Especially when working with kids, remember that slightly messy decorations add to the homemade charm! These are meant to be fun, after all.
- Storage Savvy: Store your finished halloween candy pretzel rods in an airtight container at room temperature. Avoid stacking them directly on top of each other if possible, or place parchment paper between layers. They are best enjoyed within a week.
Common Mistakes and How to Avoid Them
Even experienced bakers can run into a few snags. Here are common mistakes when making chocolate dipped pretzel rods halloween treats:
Don’t miss out on our guide to Why Did My Cake Sink In The Middle.
- Seized Chocolate: This happens when chocolate comes into contact with even a tiny bit of water or steam. It becomes thick, lumpy, and unusable. To avoid this, ensure all utensils and bowls are completely dry, and melt chocolate gently. If it seizes, sometimes adding a bit more melted chocolate or a tablespoon of oil can revive it, but it’s often best to start over.
- Chocolate Not Setting: If your chocolate is too thick, or if you used a type of chocolate that doesn’t set firmly, your decorations might slide off. Using good quality melting wafers or candy melts, and adding a little oil if needed, usually solves this.
- Uneven Coating: Dipping too quickly or not allowing excess chocolate to drip off can lead to thick, uneven coatings. Take your time, rotate the rod gently, and let the excess drip back into the bowl.
- Decorations Falling Off: Ensure you add decorations while the chocolate is still wet. If the chocolate has started to set, the toppings won’t adhere properly.
halloween pretzel rods Quick and Easy Spooky Treats
- Total Time: PT20M
- Yield: Approximately 24 pretzel rods 1x
- Diet: Vegetarian
Description
These Spooky Halloween Pretzel Rods are a fun and easy treat for any Halloween party! Dip them in colorful candy melts and decorate with sprinkles for a festive and delicious snack.
Ingredients
- 1 pound pretzel rods
- 12 ounces orange candy melts
- 12 ounces black candy melts
- 12 ounces purple candy melts
- Halloween-themed sprinkles (jimmies, nonpareils, edible eyes, candy corn)
- Parchment paper
Instructions
- Line a baking sheet with parchment paper.
- Melt the orange candy melts according to package directions. This can be done in a microwave-safe bowl in 30-second intervals, stirring between each, or in a double boiler.
- Dip each pretzel rod about two-thirds of the way into the melted orange candy melts, allowing excess to drip off. Place the dipped pretzel rod on the prepared baking sheet.
- While the orange coating is still wet, immediately add Halloween sprinkles.
- Repeat steps 2-4 with the black and purple candy melts, working with one color at a time. You can dip some rods fully, others halfway, or create swirls for a more artistic look.
- Allow the candy coating to set completely. This can take about 15-30 minutes at room temperature, or you can speed it up by placing the baking sheet in the refrigerator for about 10 minutes.
- Once set, carefully remove the pretzel rods from the parchment paper.
- For extra spooky decorations, use a toothpick dipped in melted black candy melts to draw spiderwebs or spooky faces on the dried candy coating. Add edible eyes for a ghoulish touch.
Notes
- Ensure your candy melts are completely dry before dipping the next section or color to prevent colors from bleeding.
- You can also use white chocolate or almond bark as a base and color it with oil-based candy coloring if desired.
- Store the pretzel rods in an airtight container at room temperature for up to a week.
- Get creative with your decorations! Use different sprinkle combinations, edible glitter, or even drizzle contrasting colors for a unique effect.
- Prep Time: PT20M
- Cook Time: PT0M
- Category: Desserts
- Method: No-Bake
- Cuisine: American
Nutrition
- Serving Size: 1 pretzel rod
- Calories: 150
- Sugar: 15g
- Sodium: 100mg
- Fat: 8g
- Saturated Fat: 5g
- Carbohydrates: 20g
- Fiber: 1g
- Protein: 2g
- Cholesterol: 5mg