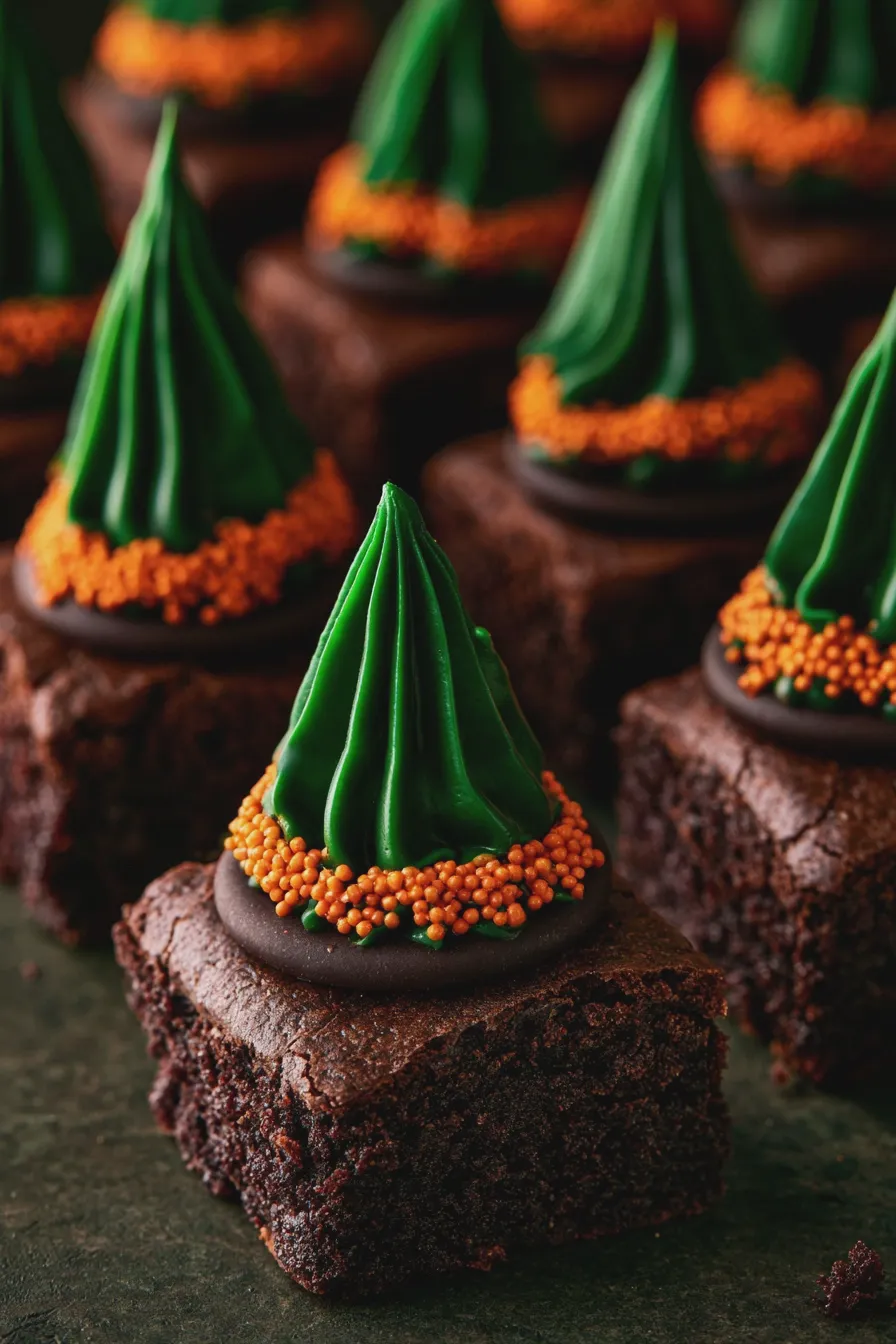
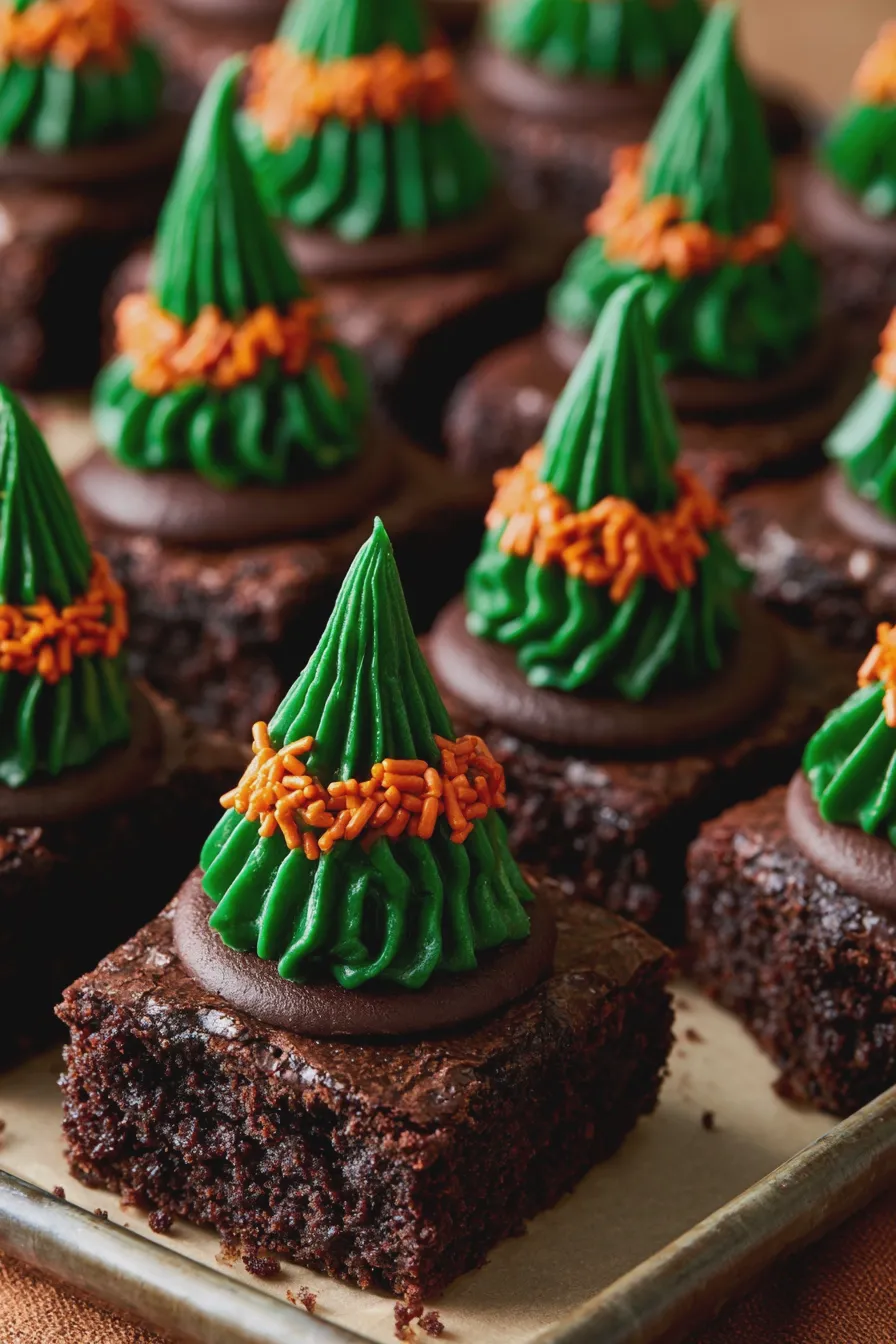
Get ready to cast a delicious spell in your kitchen with these enchanting witch hat brownies! Perfect for Halloween parties or just a fun afternoon baking with the grandkids, these treats are as fun to make as they are to eat. We’ll guide you through creating these whimsical delights, transforming a simple brownie into a festive witch hat. It’s a fantastic way to bring some spooky fun to your dessert table and impress your guests with your creativity. If you’re looking for some inspiration, you can explore other Halloween dessert ideas that are sure to be a hit.
The Magic Behind Witch Hat Brownies
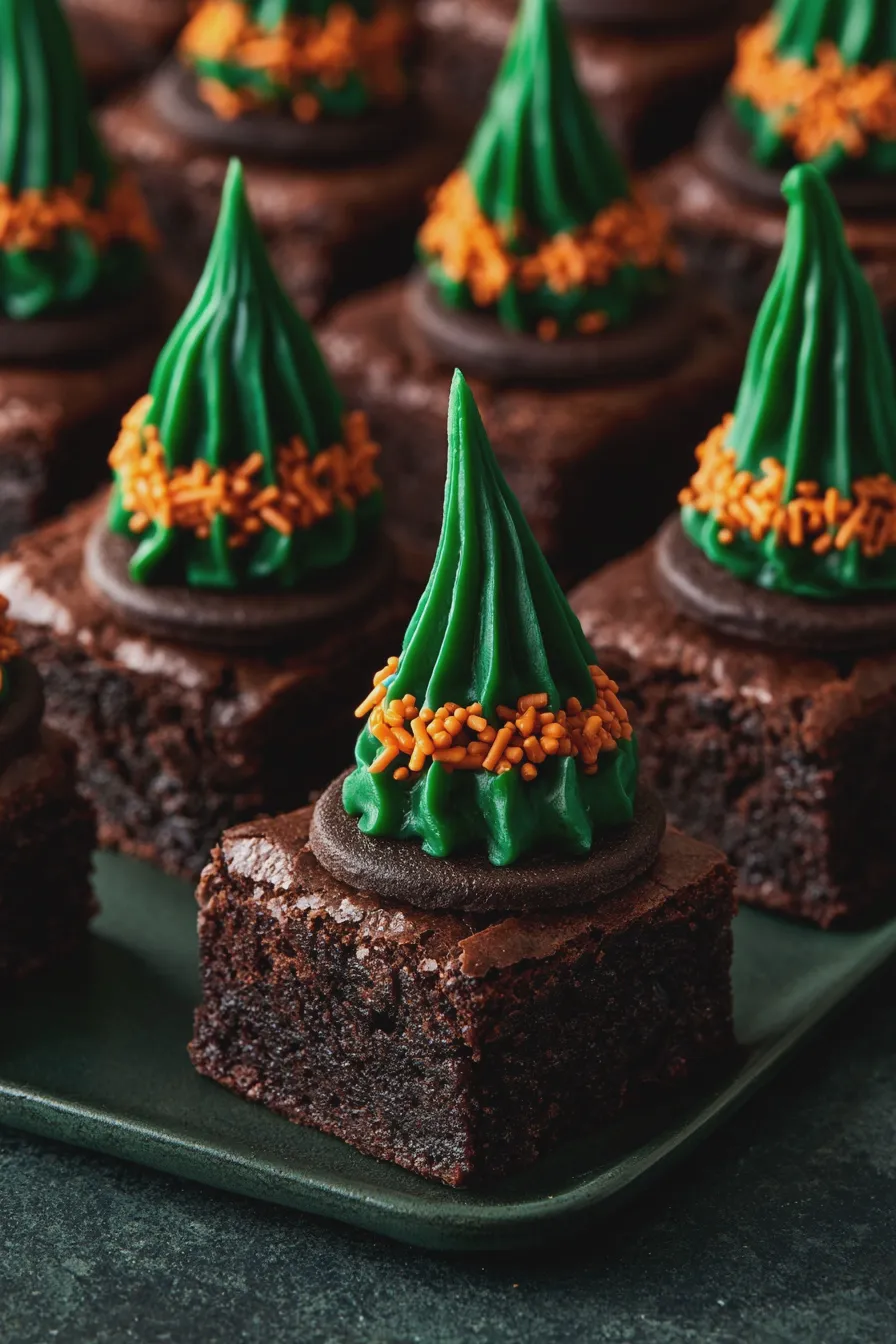
At its heart, the witch hat brownie is a delightful combination of a rich, fudgy brownie base and a decorative, cone-shaped topping. This isn’t just any brownie; it’s a canvas for your Halloween creativity. The beauty of this dessert lies in its versatility. You can use your favorite brownie recipe, whether it’s from a box or your own cherished family creation. The “hat” part is where the real fun begins, allowing for endless decoration possibilities.
Choosing Your Brownie Base
The foundation of your witch hat brownies is crucial. For the most satisfying texture and flavor, I recommend a fudgy brownie recipe. These tend to hold their shape better when cut and decorated. A cakey brownie can sometimes crumble, making it a bit trickier to work with for this specific design. If you’re new to brownie making, a good fudgy brownie recipe will set you up for success.
Tips for Perfect Brownies:
- Don’t Overmix: Overmixing the batter can develop the gluten too much, leading to tough brownies. Mix just until the ingredients are combined.
- Don’t Overbake: This is probably the most common brownie mistake! Brownies continue to cook slightly as they cool. A toothpick inserted into the center should come out with moist crumbs, not wet batter.
- Cool Completely: Patience is key! Let your brownies cool entirely before cutting them. This allows them to firm up, making them easier to handle and decorate.
Crafting the Witch Hat Topping
The “hat” of our witch hat brownies can be made in several ways. The most common and easiest approach involves using frosting or melted chocolate to create the cone shape. For a truly impressive witch hat dessert, consider using different colors of frosting to add dimension and detail.
If you enjoyed this, you might also love our Zucchini Brownies With Frosting recipe.
Frosting Method:
This is the most accessible method, especially if you’re decorating with children. You’ll need a sturdy frosting that holds its shape. A classic buttercream or a cream cheese frosting works wonderfully. You can make your own or use a good quality store-bought version.
Ingredients for Buttercream Frosting (Basic):
- 1 cup (2 sticks) unsalted butter, softened
- 3-4 cups powdered sugar
- 1/4 cup milk or cream
- 1 teaspoon vanilla extract
- Food coloring (black, purple, green, or orange for Halloween)
Instructions for Frosting:
- In a large bowl, beat the softened butter until creamy. This is a crucial step for a smooth frosting, similar to how you’d cream butter and sugar for cakes.
- Gradually add the powdered sugar, alternating with the milk, until you reach your desired consistency.
- Stir in the vanilla extract.
- Divide the frosting into bowls and tint with food coloring as desired. Black is classic for witch hats, but other spooky colors work too!
To form the hat, you’ll pipe a cone shape onto the brownie. You can also use a spatula to sculpt the frosting into a cone. For a more defined cone, you can pipe a circular base first, then build up the cone shape.
Melted Chocolate Method:
For a slightly more sophisticated look, melted chocolate can be used. Dark or semi-sweet chocolate works well. You can melt chocolate chips or a good quality chocolate bar. This method is also great for creating a smooth, glossy finish for your witch hat cookies.
If you enjoyed this, you might also love our Brownie With Ice Cream recipe.
Instructions for Melted Chocolate:
- Melt your chocolate using a double boiler or in the microwave in 30-second intervals, stirring between each.
- Once melted and smooth, you can use it to pipe the hat shape.
Assembling Your Witch Hat Brownies
Now for the fun part – bringing it all together! This is where your easy witch hat brownies truly come to life.
Step-by-Step Assembly:
- Cut Your Brownies: Once your brownies are completely cool, cut them into desired shapes. Squares are standard, but you can get creative. For a classic witch hat look, cut them into rectangles or even triangles.
- Prepare Your “Hat”: If using frosting, have your piping bags ready with your chosen colors and tips. If using melted chocolate, have a piping bag or a spoon ready.
- Create the Cone: Pipe or spread a generous amount of frosting or chocolate onto the brownie base, building it up into a cone shape. Start with a wider base and taper upwards.
- Add the Brim (Optional but Recommended): For a more realistic witch hat, pipe a wider circle of frosting around the base of the cone to create the brim.
- Decorate! This is where the magic happens. Use different colored frostings to add details like a buckle, stripes, or even spooky cobwebs. Edible glitter or sprinkles can add extra sparkle. If you want to create entirely edible witch hats, consider using fondant.
Mistakes to Avoid During Assembly:
- Warm Brownies: Trying to decorate warm brownies is a recipe for disaster. They will crumble and the frosting will melt.
- Too Much Frosting: While it’s tempting to pile on the frosting, too much can make the hat unstable and overwhelming. Aim for a balanced proportion.
- Not Letting Frosting Set: If you’re layering colors or adding details, give each layer a little time to set before adding the next, especially if the frosting is soft.
Creative Variations for Spooky Brownies
These witch hat brownies are fantastic as is, but there are so many ways to customize them to fit your Halloween party theme or personal preference. Think of them as spooky brownies that can be adapted for any occasion.
Chocolate Cauldron Brownies
Instead of a flat brownie base, try using a slightly deeper brownie recipe baked in a rectangular pan. Cut out circles from the brownies to resemble cauldrons. Fill the “cauldron” with green or purple frosting, and then add a small witch hat on top, perhaps with some bubbling effects from the frosting. This makes for a wonderfully themed chocolate cauldron brownies.
Don’t miss out on our guide to How To Make Ice Cream At Home.
No-Bake Witch Hat Brownies
For a quicker, no-bake version, you can use pre-made brownies or even large chocolate cookies as the base. Top with a dollop of frosting or melted chocolate shaped into a hat. This is a great option if you’re short on time or want to involve younger children in the decorating process. These no-bake witch hat brownies are a lifesaver!
Witch Hat Cookies
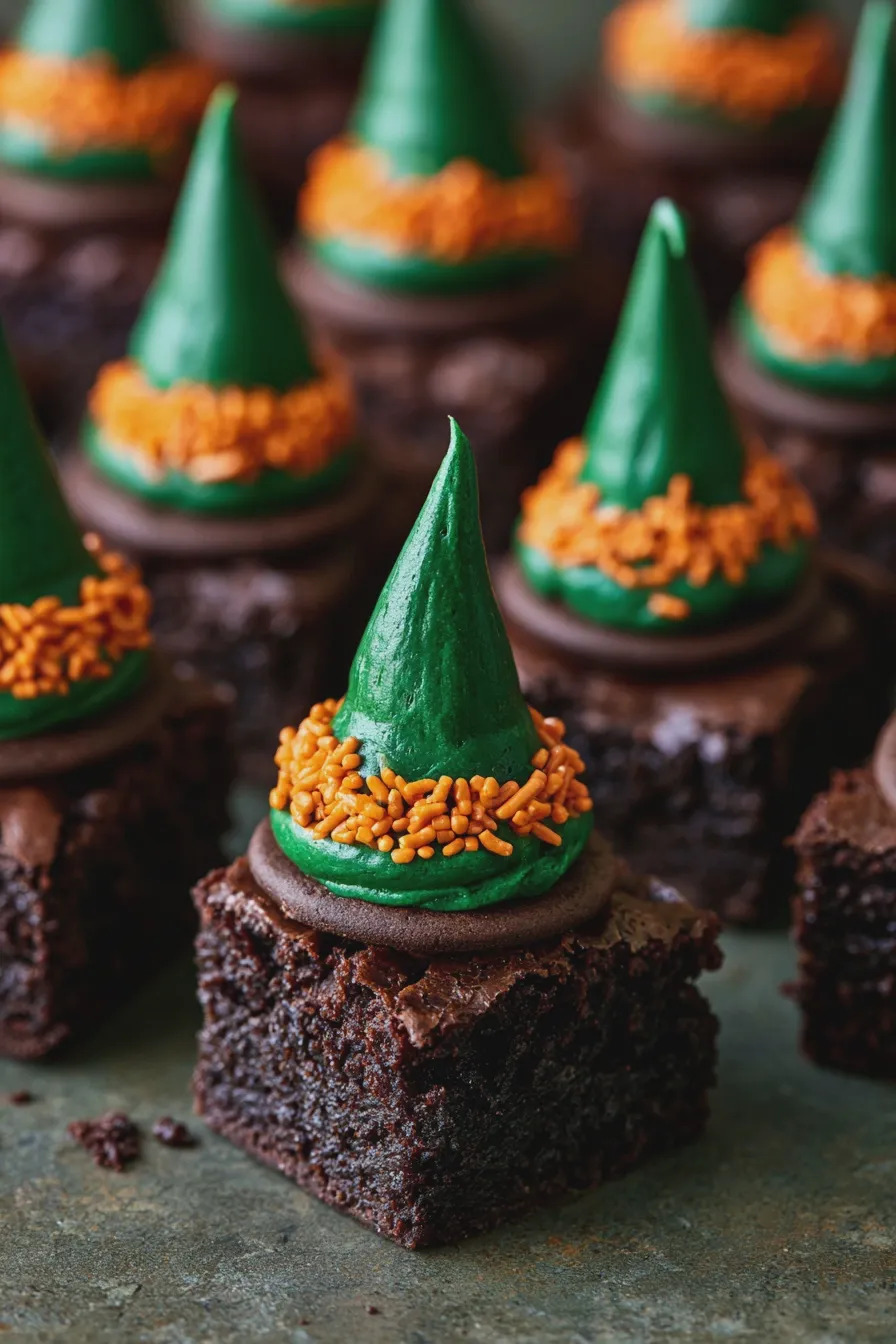
While we’re focusing on brownies, the same hat-making technique can be applied to cookies! Use round sugar cookies or gingerbread cookies as your base. This offers a slightly different texture and can be a fun alternative if you prefer cookies over brownies. These witch hat cookies are just as delightful.
Spooky Dessert Recipes
When planning your Halloween party food, consider pairing these brownies with other spooky treats. Witch finger brownies (brownies shaped and decorated like fingers), ghost meringues, or candy corn bark are all excellent additions to a haunted dessert table.
Another favorite of ours is the Rhubarb Bars With Oat Topping.
Tips for the Best Witch Hat Brownies
Achieving the best witch hat brownies involves a little attention to detail and a lot of fun. Here are some extra tips to elevate your creations.
- Use Quality Ingredients: Good quality chocolate and butter will make a noticeable difference in the flavor of your brownies.
- Chill Your Brownies: For the cleanest cuts, chilling your brownies in the refrigerator for about 30 minutes before cutting can help.
- Piping Bags and Tips: Invest in a few basic piping bags and tips. They make shaping and decorating much easier and give a more professional look to your decorated witch hat brownies. A star tip is great for frosting edges, and a round tip is perfect for drawing details.
- Color Contrast: Use contrasting frosting colors to make your witch hats pop. Black hats with purple or green details, or even orange hats with black stripes, are visually striking.
- Add Texture: Consider adding edible glitter, sanding sugar, or even small candies to create texture and visual interest on your witch hats.