
Get ready to cast a delicious spell with these utterly charming witch broom cupcakes! Perfect for Halloween parties, school treats, or just a fun baking project with the grandkids, these easy witch broom cupcakes are as delightful to make as they are to eat. We’re going to transform simple cupcakes into magical edible witch brooms that are sure to fly off the dessert table. Forget complicated decorating; this recipe is designed for ease and maximum “wow” factor. Let’s dive into the enchanting world of witch broom cupcakes recipe and discover how simple it is to create these spooky delights. For more fantastic Halloween inspiration, check out these Halloween dessert ideas.
The Magic Behind Witch Broom Cupcakes
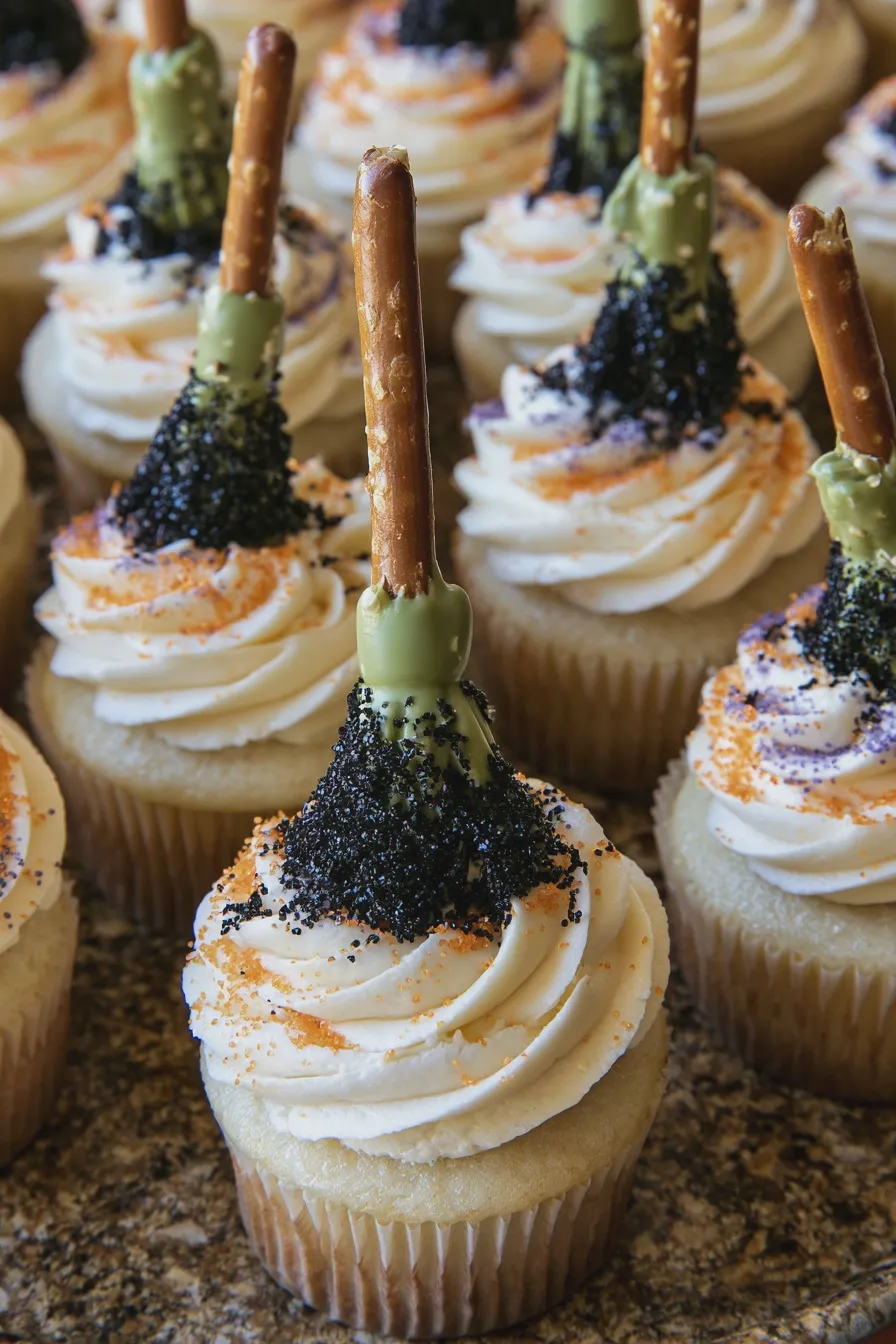
What makes these Halloween broomstick cupcakes so special? It’s all in the clever assembly! We start with a delicious, moist cupcake base, which can be homemade or store-bought for ultimate convenience. The real magic happens with the “broom” itself. We’ll use a few simple ingredients to create the iconic broomstick shape. This broomstick dessert is a fantastic way to get creative in the kitchen without needing advanced decorating skills. It’s a project that’s fun for all ages, making it ideal for kids Halloween cupcakes. The combination of sweet cake and salty pretzel creates a delightful flavor profile that everyone will love. These are truly some of the most simple Halloween treats you can whip up.
Choosing Your Cupcake Base
The foundation of your witch broom cupcakes is, of course, the cupcake itself! You have a few wonderful options here, depending on your time and preference.
- Homemade Cupcakes: If you love baking from scratch, this is your moment! A classic vanilla or chocolate cupcake recipe works beautifully. For a rich chocolate flavor, try a recipe that uses melted chocolate or cocoa powder. Ensure your cupcakes are fully cooled before decorating. If you’re looking for a perfect base recipe, consider a reliable chocolate cupcake recipe.
- Boxed Cake Mix: Don’t underestimate the power of a good cake mix! They are incredibly convenient and can yield delicious results. Just follow the package directions, and you’ll have a perfect batch of cupcakes in no time. You can even add a little extra flavor by substituting milk for water or adding an extra egg.
- Store-Bought Cupcakes: For the absolute quickest option, you can purchase unfrosted cupcakes from your local bakery or grocery store. This cuts down on prep time significantly, allowing you to focus on the fun decorating part.
No matter which base you choose, make sure they are completely cool before you start assembling your edible witch brooms. Warm cupcakes can melt the frosting and make the decorating process messy.
Gathering Your Broomstick Supplies
The beauty of pretzel witch broom cupcakes lies in their simplicity. You likely have many of these items in your pantry already! Here’s what you’ll need:
- Cupcakes: As discussed above, your chosen base.
- Frosting: A simple buttercream frosting is perfect. You can tint it green, purple, or black for a spooky Halloween vibe, or keep it a neutral color like vanilla or chocolate.
- Pretzels: Small pretzel twists or pretzel sticks are ideal for the broom handle.
- Candy Melts or Chocolate: Brown candy melts or semi-sweet chocolate chips are perfect for creating the broom bristles.
- Optional Decorations: Sprinkles (Halloween colors, stars, or even tiny pumpkins), edible glitter, or small candies.
The combination of salty pretzels and sweet frosting/cupcake is a classic for a reason! These chocolate pretzel broomsticks are a delightful treat.
Don’t miss out on our guide to Creaming Method For Cakes And Cookies.
Step-by-Step: Crafting Your Edible Witch Brooms
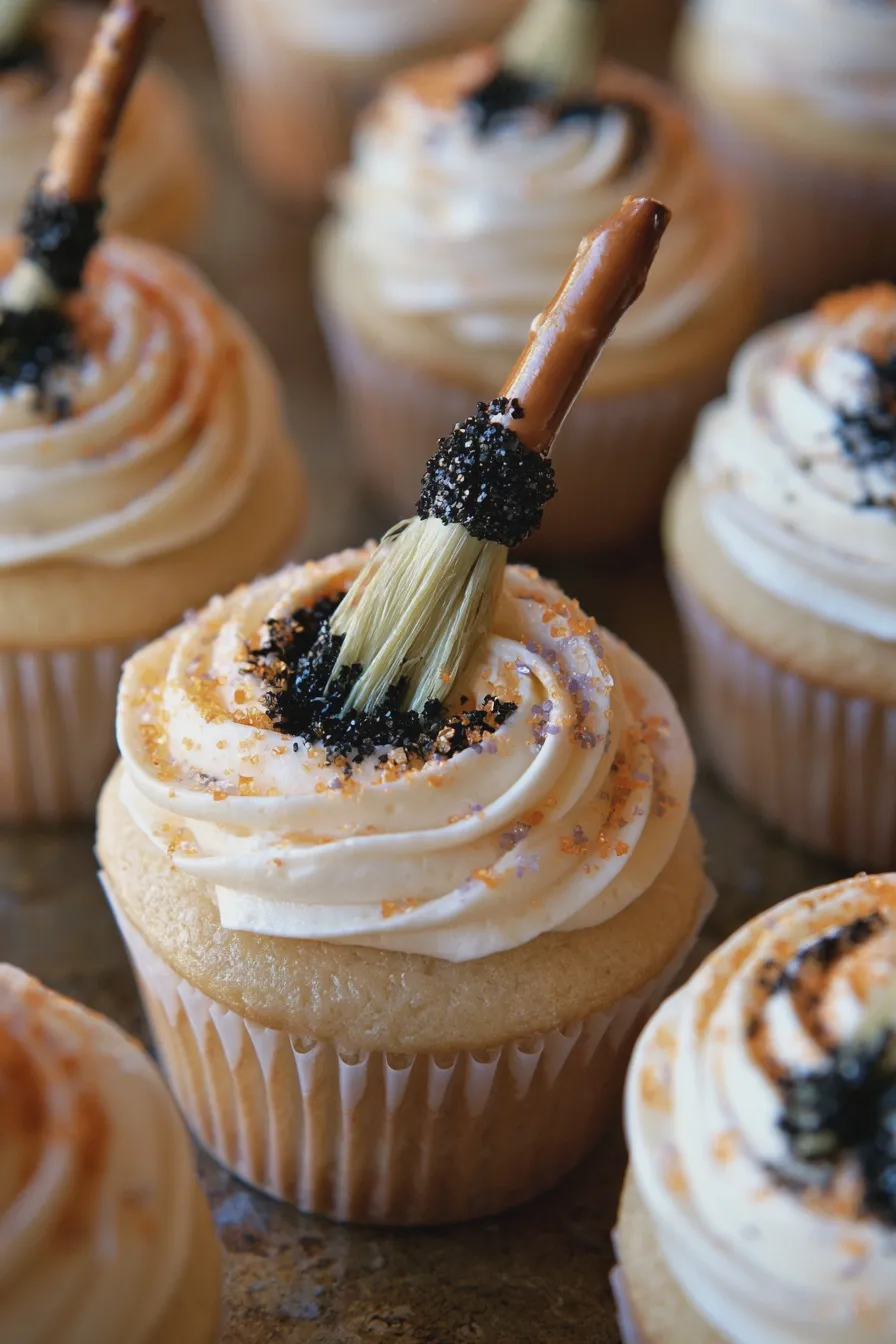
Let’s get to the fun part! Assembling these witch hat cupcakes (which are essentially broomsticks today!) is straightforward and incredibly rewarding. Remember, the goal is fun, not perfection!
Step 1: Frost the Cupcakes
Using an offset spatula or a butter knife, generously frost each cooled cupcake. You can create swirls, smooth finishes, or even just a rustic dollop of frosting. This frosting acts as the “glue” for our broom bristles and adds delicious flavor.
Tip: If you want a perfectly smooth frosting, dip your offset spatula in hot water, wipe it dry, and then smooth the frosting. This will give you a professional finish.
Step 2: Prepare the Broom Bristles
This is where the magic really happens! You have a couple of options for creating the broom bristles:
- Using Candy Melts: Place brown candy melts in a microwave-safe bowl. Microwave in 30-second intervals, stirring between each, until smooth and melted. Be careful not to overheat them, as they can seize up.
- Using Chocolate Chips: Place semi-sweet chocolate chips in a microwave-safe bowl. Microwave in 30-second intervals, stirring between each, until smooth and melted. You might need to add a tiny bit of vegetable oil (about 1/2 teaspoon per cup of chips) to help it melt smoothly.
Once your chocolate or candy melts are smooth, you’ll dip the end of your pretzel sticks into the melted chocolate.
Don’t miss out on our guide to How To Prepare A Cake Pan To Prevent Sticking.
Step 3: Assemble the Brooms
Take a pretzel stick and dip about one-third to one-half of it into the melted chocolate or candy melts. Let any excess drip off.
Immediately press the chocolate-covered end of the pretzel stick into the frosted top of a cupcake. You want to push it in about halfway, so it stands up nicely.
Now, here’s the trick for the bristles: While the chocolate on the pretzel is still wet, gently pull the chocolate-covered end of the pretzel downwards through the frosting. This will create the wispy, broom-like effect. You can do this a few times, pulling in different directions, to create a fuller look.
Mistake to Avoid: Don’t let the chocolate on the pretzel harden before you dip it into the frosting and pull. The wet chocolate needs to adhere to the frosting to create the wispy effect.
Example: Imagine you’re gently scraping a cloud across the sky – that’s the motion you want for pulling the chocolate through the frosting.
Another favorite of ours is the How To Make Ice Cream At Home.
Step 4: Add Finishing Touches (Optional)
Once your broomsticks are assembled, you can add a few extra touches to make them even more festive:
- Sprinkles: While the frosting is still soft, sprinkle some Halloween-themed sprinkles around the base of the broomstick or over the entire cupcake.
- Edible Glitter: A touch of edible glitter can add a magical sparkle.
- Candy Corn: For a fun twist, you could even incorporate candy corn into the frosting or as a decoration.
These spooky cupcakes are almost ready to enchant your guests!
Tips for Perfect Witch Broom Cupcakes
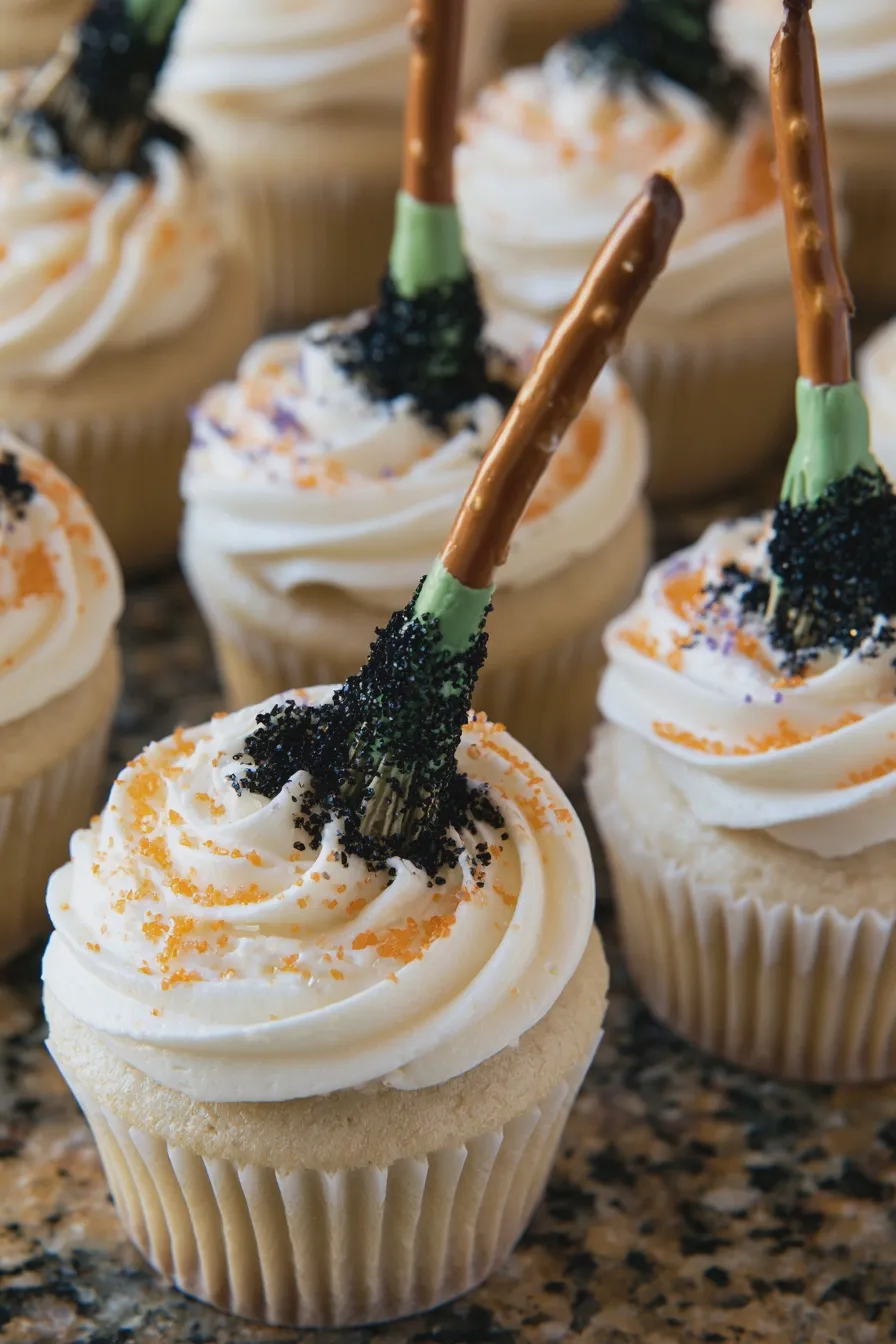
Baking is often about the little details. Here are some tips to ensure your Halloween party cupcakes turn out wonderfully:
- Cool Completely: I can’t stress this enough – ensure your cupcakes are completely cool before frosting. This prevents the frosting from melting and sliding off.
- Room Temperature Ingredients: If you’re making your own frosting, make sure your butter is at room temperature for the creamiest results. This is key for a good creaming method for cakes and cookies.
- Melt Chocolate Carefully: Chocolate and candy melts can burn easily. Use short bursts in the microwave and stir frequently. If you’re struggling, a double boiler method is a foolproof way to melt chocolate.
- Work in Batches: If you’re making a large number of cupcakes, melt your chocolate in batches so it doesn’t harden before you can use it.
- Pretzel Variety: Small pretzel twists work best as they have more nooks and crannies to hold the chocolate and create a fuller broom effect.
- Frosting Consistency: Your frosting should be thick enough to hold its shape but soft enough to spread easily. If it’s too stiff, add a tablespoon of milk or cream. If it’s too thin, add more powdered sugar.
Common Mistakes and How to Avoid Them
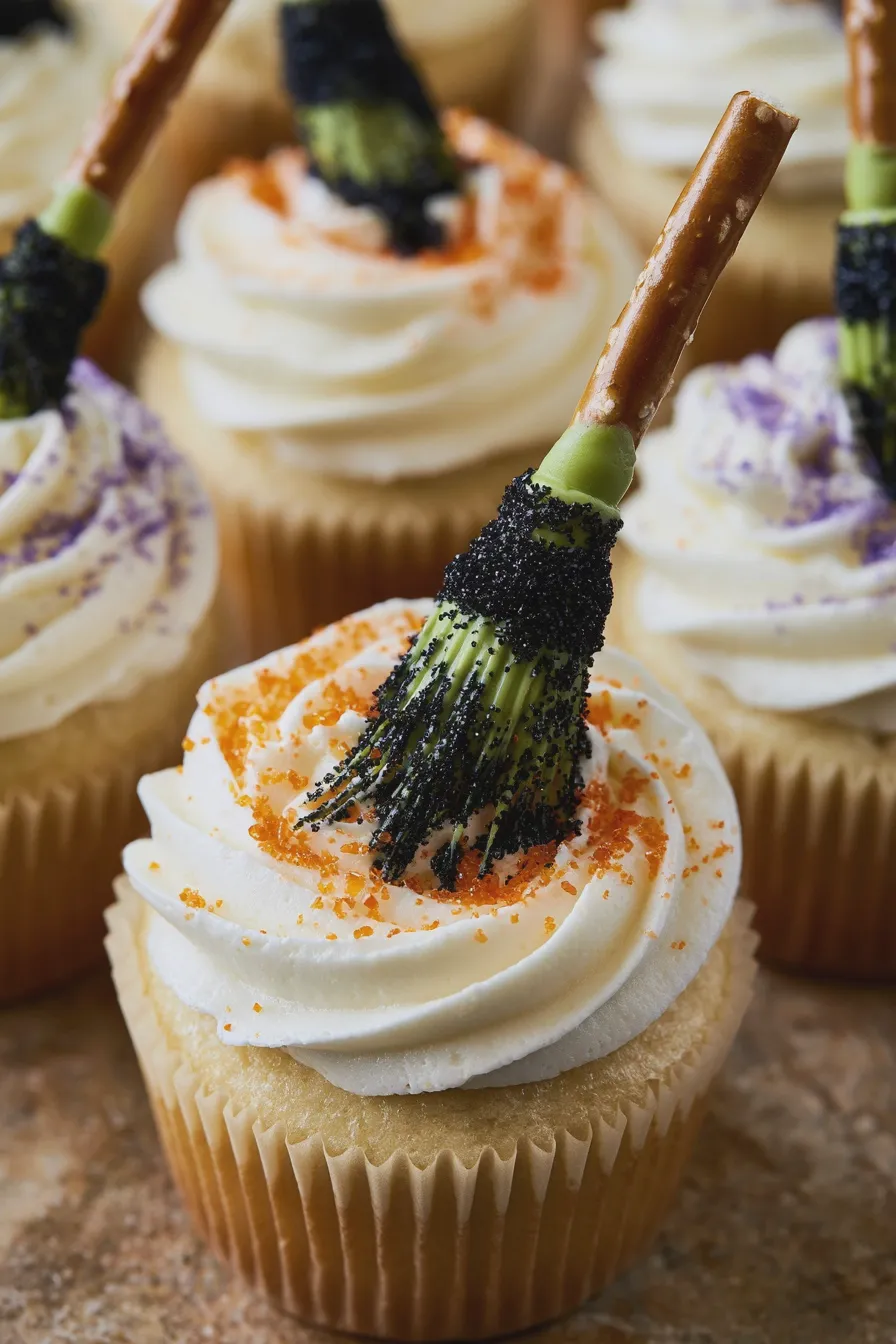
Even with simple recipes, a few common pitfalls can occur. Here’s how to navigate them:
- Melting Frosting: This usually happens if the cupcakes aren’t fully cooled or if the chocolate on the pretzel is too hot when you insert it. Let everything cool down properly.
- Brittle Bristles: If your chocolate bristles break off, it might be because the chocolate was overheated, or you didn’t use enough chocolate to coat the pretzel sufficiently. Re-melt the chocolate and ensure a good coating.
- Messy Assembly: If you’re finding the chocolate is dripping everywhere, try working with slightly cooler (but still melted) chocolate. Also, have a damp cloth ready for easy cleanup.
- Frosting Too Thin: If your frosting is too runny, it won’t hold the pretzel and bristles in place. Add more powdered sugar, a tablespoon at a time, until it reaches a good consistency.
Variations for Your Witchy Desserts
Once you’ve mastered the basic witch broom cupcakes recipe, you can get even more creative with these witchy desserts!
Don’t miss out on our guide to Rhubarb Bars With Oat Topping.
- Chocolate Witch Broom Cupcakes: Use a rich chocolate cake mix and chocolate buttercream frosting for an intense chocolate experience.
- Candy Corn Witch Broom Cupcakes: Decorate the cupcakes with orange, yellow, and white frosting to mimic candy corn colors, then add the broomstick.
- No-Bake Witch Broom Cupcakes: For a truly no-bake version, use store-bought frosted cupcakes and simply add the pretzel broomsticks. You could even use chocolate-covered pretzels for the handles. This is a fantastic option for no-bake witch broom cupcakes.
- Different “Bristles”: Instead of chocolate, try drizzling melted caramel over the pretzel ends for a different flavor profile.
- Themed Cupcakes Halloween: Add edible googly eyes or small fondant witch hats to the cupcakes for extra Halloween flair.
These themed cupcakes Halloween are guaranteed to be a hit!
Print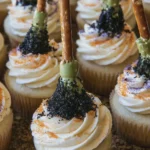
Witch Broom Cupcakes Recipe Quick and Easy
- Total Time: PT45M
- Yield: 24 cupcakes 1x
- Diet: Vegetarian
Description
These adorable witch broom cupcakes are a fun and easy Halloween treat! Made with simple ingredients and a creative assembly, they’re perfect for parties and bake sales.
Ingredients
- 1 box vanilla cake mix, plus ingredients listed on box (eggs, oil, water)
- 1 cup buttercream frosting
- 1 bag pretzel sticks
- Green candy melts
- Black sanding sugar or sprinkles
- Optional: Orange and purple sanding sugar for extra flair
Instructions
- Preheat your oven according to cake mix directions. Prepare cupcake liners in a muffin tin.
- Bake cupcakes according to cake mix instructions. Let them cool completely on a wire rack.
- Melt green candy melts in a microwave-safe bowl in 30-second intervals, stirring in between, until smooth.
- Dip one end of each pretzel stick into the melted green candy melts, about halfway up the stick.
- Immediately roll the coated end in black sanding sugar or sprinkles, or a mix of colors, to resemble broom bristles. Place on parchment paper to set.
- Once cupcakes are cool, spread a generous amount of buttercream frosting on top of each.
- Gently insert the candy-coated end of a pretzel stick into the frosting of each cupcake, creating the broom handle.
- If desired, add a few more sprinkles around the frosting to enhance the broomstick effect.
- Chill cupcakes for about 15-20 minutes to help the frosting set before serving.
Notes
- For an extra spooky touch, you can tint the buttercream frosting grey or black.
- These cupcakes are best enjoyed within 2-3 days.
- Ensure the candy melts are fully set on the pretzel sticks before inserting them into the cupcakes to prevent them from sliding.
- Prep Time: PT25M
- Cook Time: PT20M
- Category: Halloween Desserts
- Method: Baking and Assembly
- Cuisine: American
Nutrition
- Serving Size: 1 cupcake
- Calories: 350
- Sugar: 30g
- Sodium: 200mg
- Fat: 20g
- Saturated Fat: 10g
- Carbohydrates: 40g
- Protein: 3g







