
Halloween is a magical time for baking, and what could be more enchanting than crafting your very own witch hat cake pops? These delightful treats are sure to cast a spell on your guests, whether you’re hosting a spooky soiree or simply looking for a fun baking project. They’re whimsical, delicious, and surprisingly achievable, even for beginner bakers. Get ready to stir up some enchantment in your kitchen as we dive into the world of these witch hat cake pops.
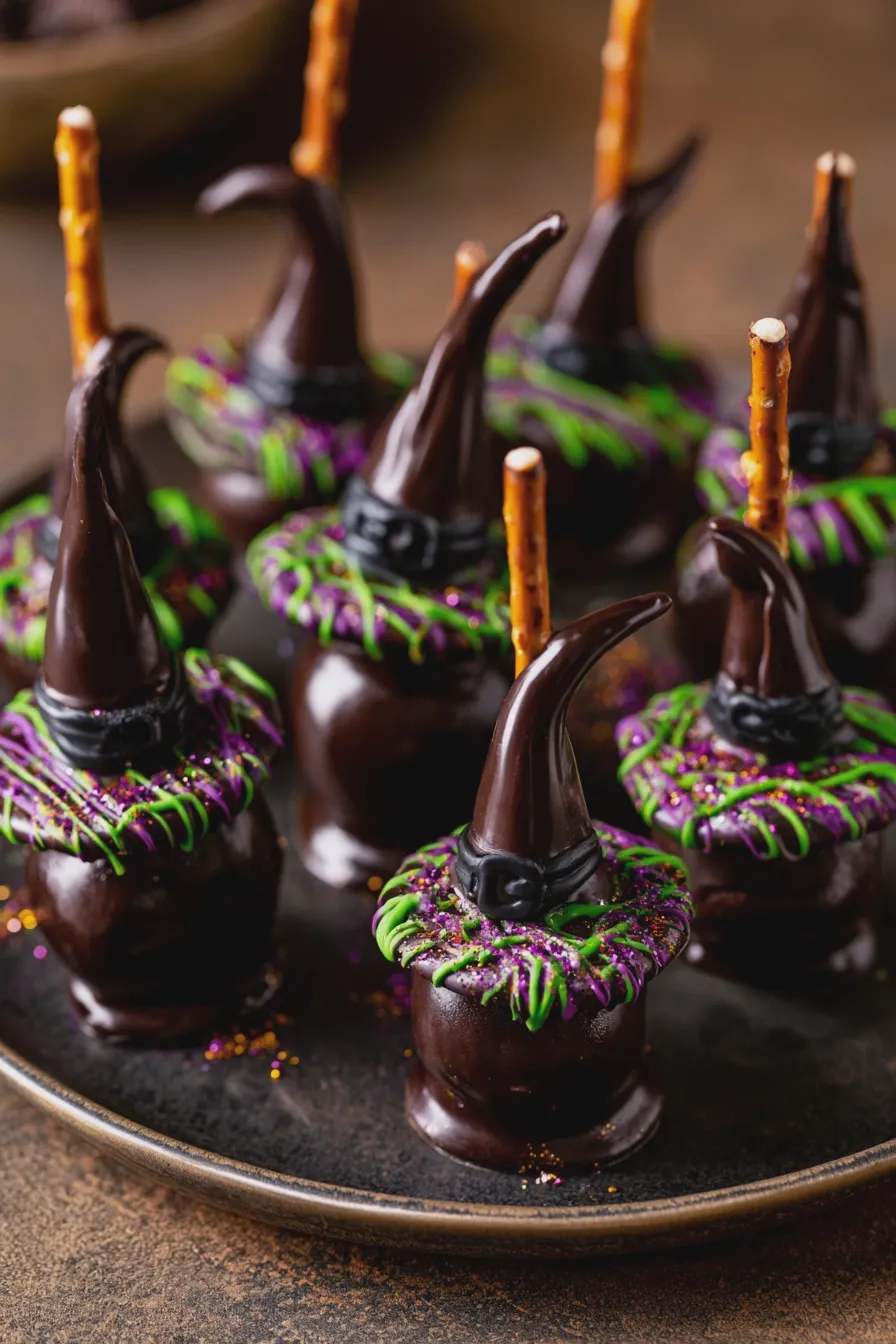
The Magic Behind Witch Hat Cake Pops
These charming witch hat cake pops recipe are a fantastic way to elevate your Halloween party treats. Unlike traditional cake pops that are rolled into balls, these are shaped to resemble miniature witch hats, complete with a pointy cone and a wide brim. The beauty of this dessert recipes for Halloween lies in its versatility. You can customize the cake flavor, the coating, and the decorations to create truly unique witch hat cookies-inspired treats.
The basic construction involves creating a cake base, mixing it with frosting to form a dough, shaping it into the hat form, and then dipping it in melted chocolate or candy melts. The final touches, like adding a buckle or a ribbon, really bring the witch hat to life. This witch hat dessert is a showstopper that tastes as good as it looks.
Essential Ingredients and Tools
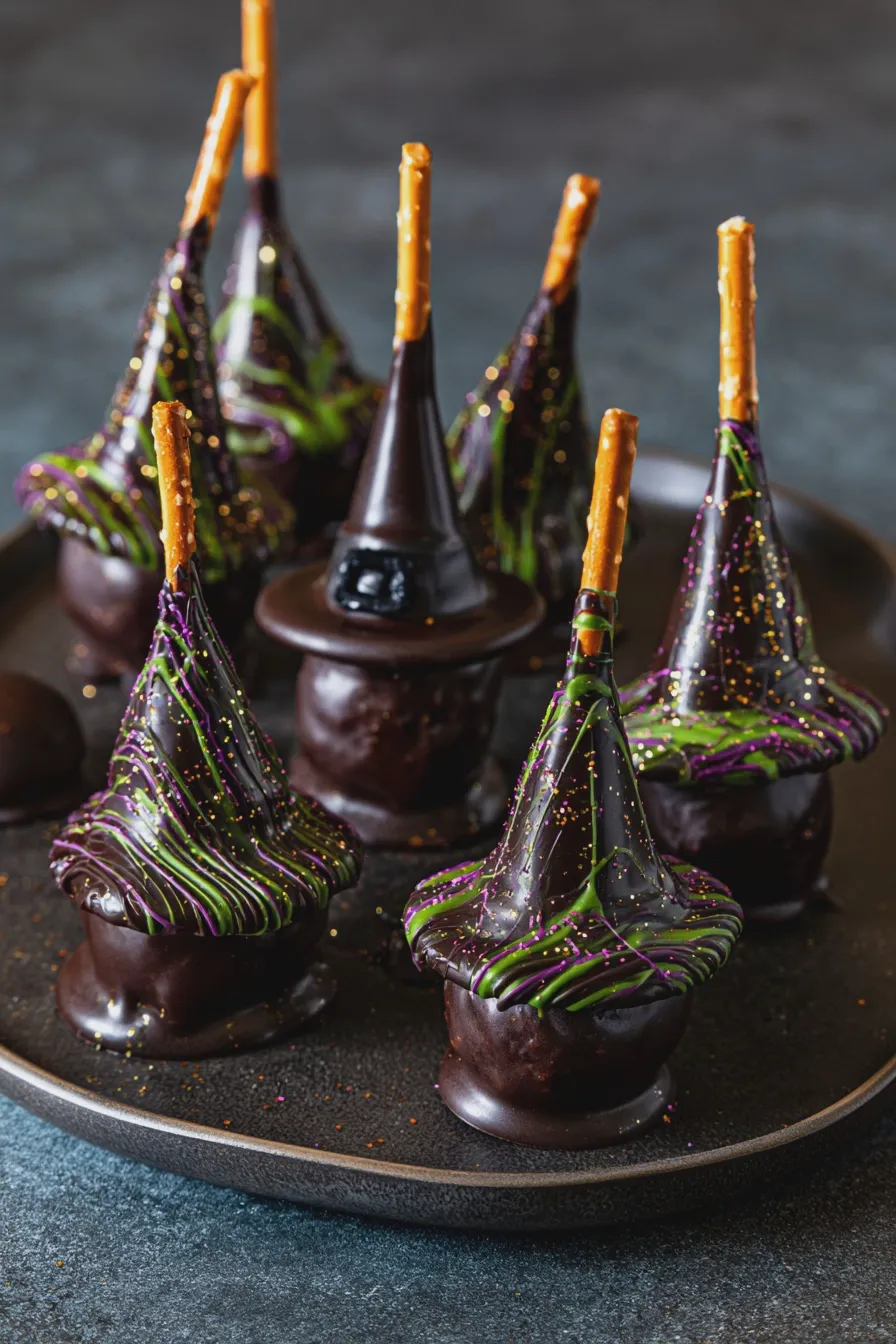
Before we begin our witch hat cake pop tutorial, let’s gather our magical components. Having everything ready will make the process smoother and more enjoyable.
For the Cake Base:
- Your favorite baked cake (about 1 standard 9×13 inch cake)
- Frosting (about 1/2 cup, or enough to bind the cake crumbs)
Baking Explanation: For the cake base, you can use a cake from scratch or a good quality box mix. Chocolate, vanilla, or even a red velvet cake would work wonderfully. Ensure the cake is completely cooled before you begin. This is crucial for achieving the right consistency for shaping.
Another favorite of ours is the How To Prepare A Cake Pan To Prevent Sticking.
For Shaping and Coating:
- Black candy melts or chocolate
- Optional: Purple, green, or orange candy melts for accents
- Lollipop sticks
- Styrofoam block or a cake pop stand for drying
For Decoration:
- Edible glitter, sprinkles, or edible markers
- Royal icing or melted chocolate for details
Essential Tools:
- Large mixing bowl
- Spatula or spoon
- Baking sheets
- Parchment paper
- Microwave-safe bowls for melting candy melts/chocolate
- Small offset spatula or spoon for drizzling
Step-by-Step Enchantment: Creating Your Witch Hat Cake Pops
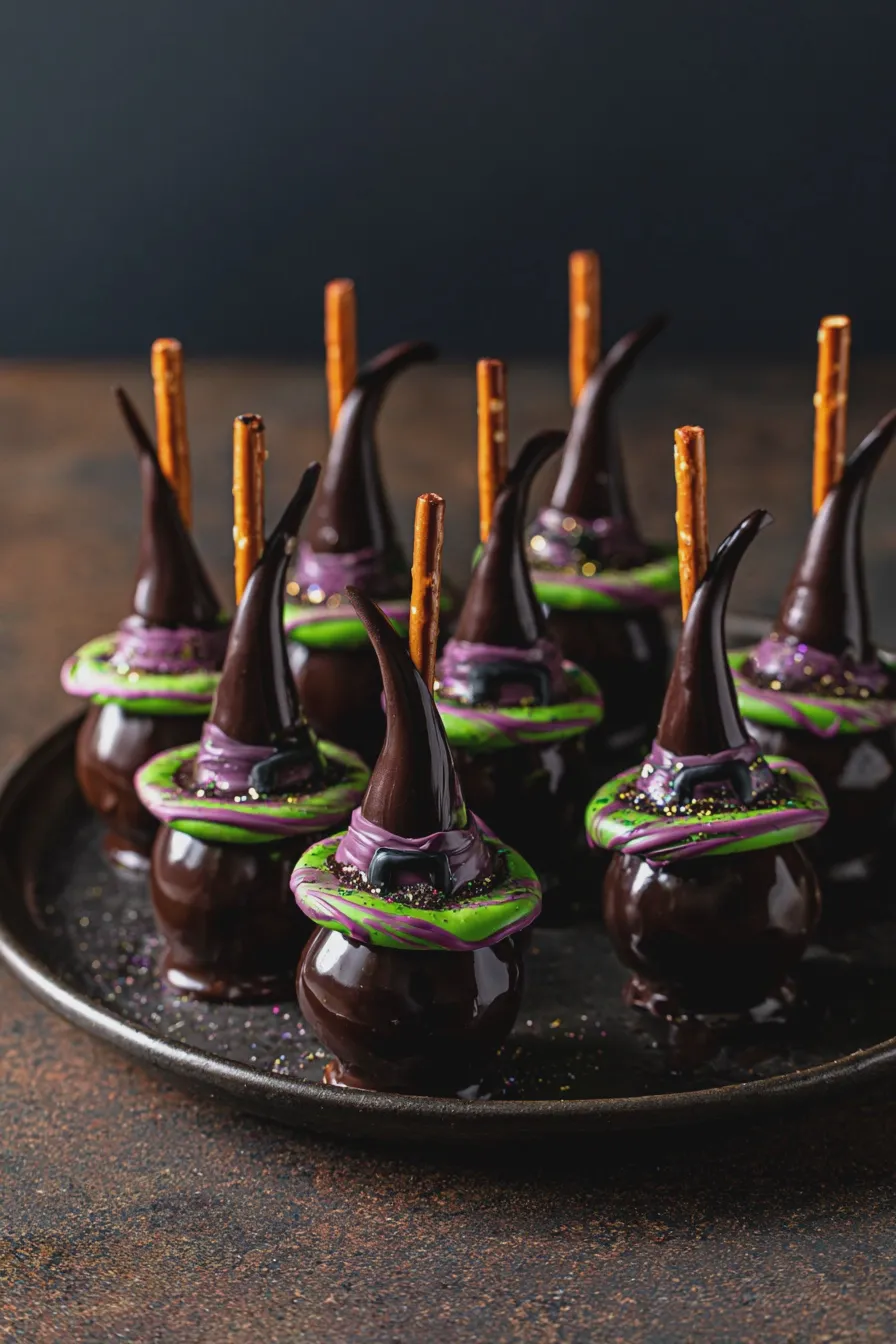
Let’s get our hands a little messy and create some easy witch hat cake pops!
1. Crumble and Combine
Take your cooled cake and crumble it into fine pieces in a large mixing bowl. It should resemble coarse breadcrumbs. Discard any large chunks or burnt edges.
Tip: For the smoothest dough, you can pulse the cake in a food processor. Be careful not to over-process it into a paste.
2. Bind the Dough
Add your frosting to the crumbled cake. Start with about half a cup and mix thoroughly with a spatula or your hands until the mixture holds together when squeezed. You want a consistency similar to play-dough – moist enough to stick but not sticky to the touch.
Don’t miss out on our guide to Why Did My Cake Sink In The Middle.
Mistake to Avoid: Adding too much frosting can make the cake pop dough too wet, making it difficult to shape and causing it to slide off the stick. Add frosting a tablespoon at a time until you reach the desired consistency.
3. Shape the Hats
This is where the magic happens! Take a small portion of the cake dough (about 1-1.5 tablespoons) and shape it into a cone for the hat’s crown. Then, take a slightly larger portion and flatten it into a disc for the brim. Carefully attach the cone to the brim, pressing gently to secure them together. Ensure the brim is relatively flat so the hats can stand.
Example: Some bakers prefer to shape the entire hat from one piece of dough, creating a cone and then flattening the bottom to form the brim. Experiment to see what works best for you!
4. Chill for Stability
Place the shaped cake pops on a baking sheet lined with parchment paper. Refrigerate them for at least 30 minutes, or until firm. This step is crucial for preventing the hats from falling apart when you dip them.
Don’t miss out on our guide to Zucchini Cake With Cream Cheese Frosting.
5. Melt and Dip
While the cake pops are chilling, melt your black candy melts or chocolate in a microwave-safe bowl. Heat in 30-second intervals, stirring in between, until smooth and completely melted. Be careful not to overheat, as this can cause the chocolate to seize.
Baking Explanation: Candy melts are often preferred for cake pops because they set up quickly and have a smooth, glossy finish without the need for tempering. If using real chocolate, you may need to temper it for the best results.
6. Dip and Decorate
Remove the chilled cake pops from the refrigerator. Dip the end of a lollipop stick into the melted candy melts and insert it about halfway into the base of the hat. This acts as ‘glue’. Let it set for a minute. Then, dip the entire hat into the melted candy, allowing excess to drip off. Gently tap the stick on the side of the bowl to remove excess coating.
Carefully place the dipped cake pop, stick-side down, into a Styrofoam block or cake pop stand to dry. You can also insert the sticks into an overturned egg carton lined with parchment paper. Work quickly before the coating sets.
Another favorite of ours is the Carrot Cake With Cream Cheese Frosting.
Tip: If the candy melts start to thicken, reheat them gently in the microwave for 10-15 seconds.
7. Add the Finishing Touches
Once the black coating is completely dry, it’s time for the fun decorations! Use a small amount of melted candy melts or royal icing to create a buckle around the base of the hat. You can also add a band of a contrasting color. For extra sparkle, dust with edible glitter or use edible markers to draw designs.
Witch Hat Cake Pop Ideas: For a classic look, create a simple yellow or silver buckle. For a more whimsical touch, add colorful sprinkles or swirls. You can also make no-bake witch hat cake pops by using pre-made cake or brownie bites and shaping them, though the cake and frosting method provides a superior texture.
Variations and Creative Ideas
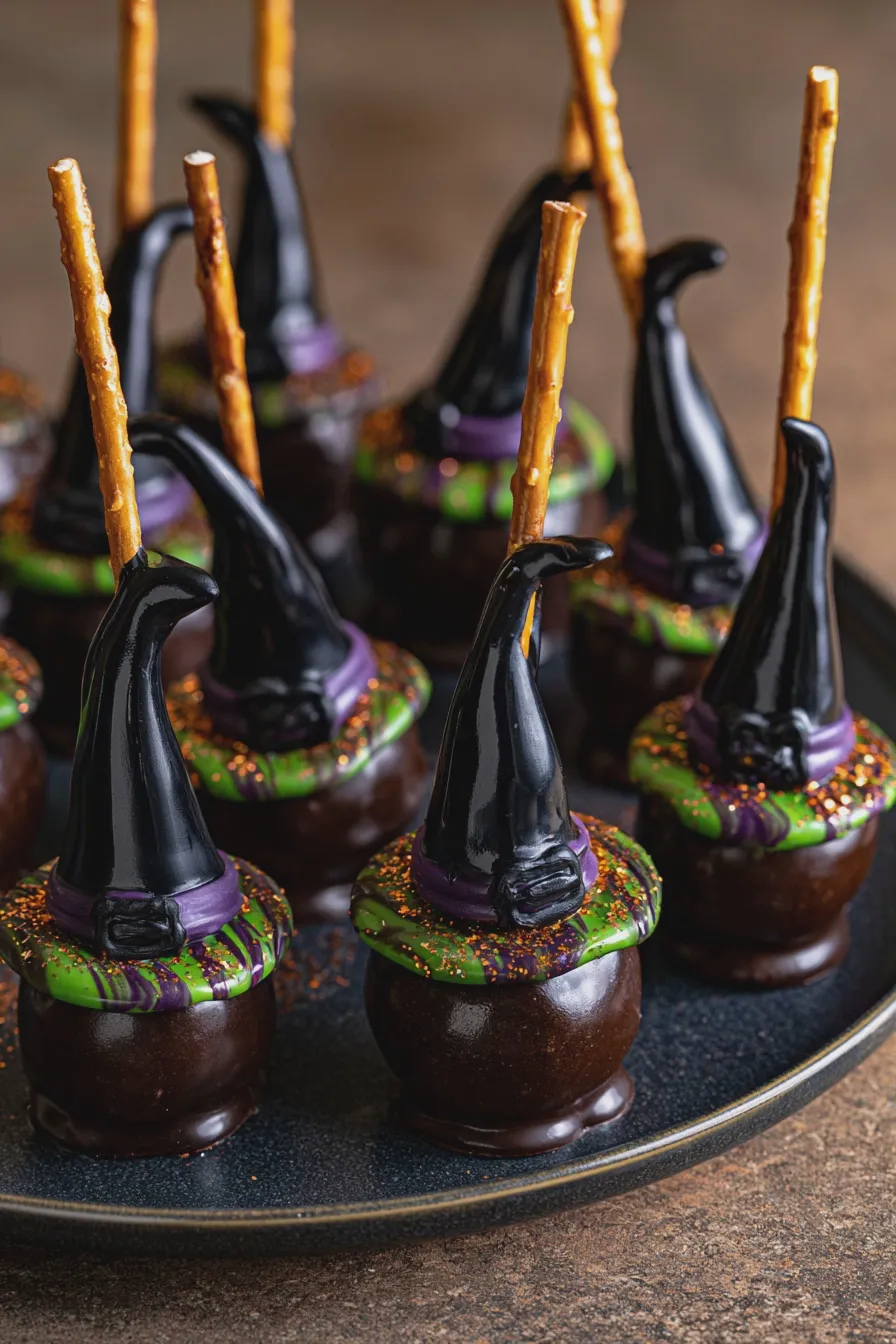
Don’t be afraid to get creative with your decorated witch hat cake pops! Here are a few ideas to inspire you:
If you enjoyed this, you might also love our How To Make Ice Cream At Home recipe.
- Color Play: Instead of black, try deep purple or emerald green candy melts for the hats.
- Glitter Glam: Use edible glitter generously on the brim or the cone for a magical shimmer.
- Spooky Faces: Use edible markers to draw little Halloween faces on the hats.
- Pointy Perfection: For extra pointy witch hat cake pops, you can use a sugar cone as a mold for the crown before dipping.
- Witch Broom Cake Pops: Alongside your hats, make some witch broom cake pops by shaping the cake dough into a broomstick and adding pretzel stick handles.
These Halloween cake pops are a wonderful addition to any Halloween spread. They are also great for younger bakers to help with, making them perfect witch hat cake pops for kids to assemble (with supervision for melting chocolate, of course).
Troubleshooting Common Baking Pitfalls
Even with the best intentions, sometimes things don’t go as planned. Here are a few common issues and how to fix them:
- Cake Pops Falling Apart: This usually means the cake dough wasn’t bound well enough with frosting, or the pops weren’t chilled sufficiently. Ensure you have the right cake-to-frosting ratio and chill them until very firm.
- Cracking Coating: If your chocolate coating cracks as it dries, it might be too thick or cooling too rapidly. Try adding a little vegetable oil (about 1 teaspoon per cup of melts) to thin it out. Ensure your cake pops are at room temperature when dipping.
- Uneven Coating: Dip and swirl gently. If you have too much excess coating, let it drip off for a few seconds before placing it on the drying rack. You can always do a second thin coat if needed.
- Brims Breaking: Be gentle when shaping the brims. If they are too thin or too large, they can be fragile. Ensure they are at least 1/4 inch thick and well-attached to the cone.
Remember, practice makes perfect! Don’t be discouraged if your first batch isn’t flawless. These spooky cake pops are meant to be fun!
Print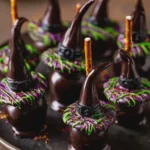
Witch Hat Cake Pops Recipe Easy and Fun
- Total Time: PT1H15M
- Yield: 24 cake pops 1x
- Diet: Vegetarian
Description
Whip up these adorable Witch Hat Cake Pops for a magical Halloween treat! They’re surprisingly easy to make and are sure to be a hit at any spooky celebration.
Ingredients
- 1 (15.25 ounce) box chocolate cake mix, plus ingredients to prepare (eggs, oil, water)
- 1 (16 ounce) container chocolate frosting
- 1 (12 ounce) package black candy melts
- 1/4 cup vegetable shortening
- 1/2 cup green candy melts
- 1/4 cup purple candy melts
- Green and purple edible glitter
- Orange and yellow sprinkles
- Black edible marker
Instructions
- Prepare cake mix according to package directions and bake in a 9×13 inch pan. Let cool completely.
- Crumble the cooled cake into a large bowl. Add about 1 cup of chocolate frosting and mix until well combined and the mixture holds its shape when pressed.
- Roll the cake mixture into 1-inch balls. Place on a baking sheet lined with parchment paper and chill in the refrigerator for at least 30 minutes.
- Melt the black candy melts with vegetable shortening in a microwave-safe bowl in 30-second intervals, stirring between each, until smooth.
- Dip the chilled cake balls into the melted black candy coating, ensuring they are fully covered. Let excess drip off. Place back on the parchment-lined baking sheet.
- While the black coating is still wet, insert a pretzel stick into the top of each cake pop to create the hat’s cone.
- Melt the green candy melts with 1 teaspoon of vegetable shortening until smooth.
- Once the black coating has set, drizzle the melted green candy over the top of the cake pops to form the brim of the witch’s hat.
- Melt the purple candy melts with 1 teaspoon of vegetable shortening until smooth.
- Drizzle the melted purple candy over the green brim to add a contrasting color.
- While the green and purple candy melts are still wet, sprinkle with edible glitter and edible sprinkles.
- Once completely dry, use the black edible marker to draw a buckle or other decorations on the hat brim.
Notes
- You can use any flavor of cake mix you prefer.
- Ensure the cake mixture is firm enough to roll into balls. If it’s too crumbly, add more frosting. If too sticky, add a bit more cake crumbs.
- For a smoother coating, you can add a little more vegetable shortening to the candy melts.
- Allow each layer of candy melt to set before adding the next for clean lines.
- Prep Time: PT45M
- Cook Time: PT30M
- Category: Desserts
- Method: Baking and No-Bake
- Cuisine: American
Nutrition
- Serving Size: 1 cake pop
- Calories: 250
- Sugar: 25g
- Sodium: 100mg
- Fat: 15g
- Saturated Fat: 8g
- Carbohydrates: 30g
- Protein: 3g







