
Halloween is a time for ghoulish delights and sweet surprises, and what better way to celebrate than with some delightfully spooky treats? Rice Krispie treats are a classic for a reason – they’re incredibly easy to make, universally loved, and wonderfully versatile. When you want to add a touch of Halloween magic to your kitchen, transforming these simple squares into something truly frightful (in the best way!) is a fantastic idea. These spooky rice krispie treats are perfect for parties, school events, or just a fun afternoon of baking with the kids. They’re a crowd-pleasing option that requires no actual baking, making them a lifesaver when you’re short on time or oven space. Get ready to dive into the wonderfully eerie world of edible Halloween crafts and discover how to create some truly memorable treats that will have everyone howling with delight!
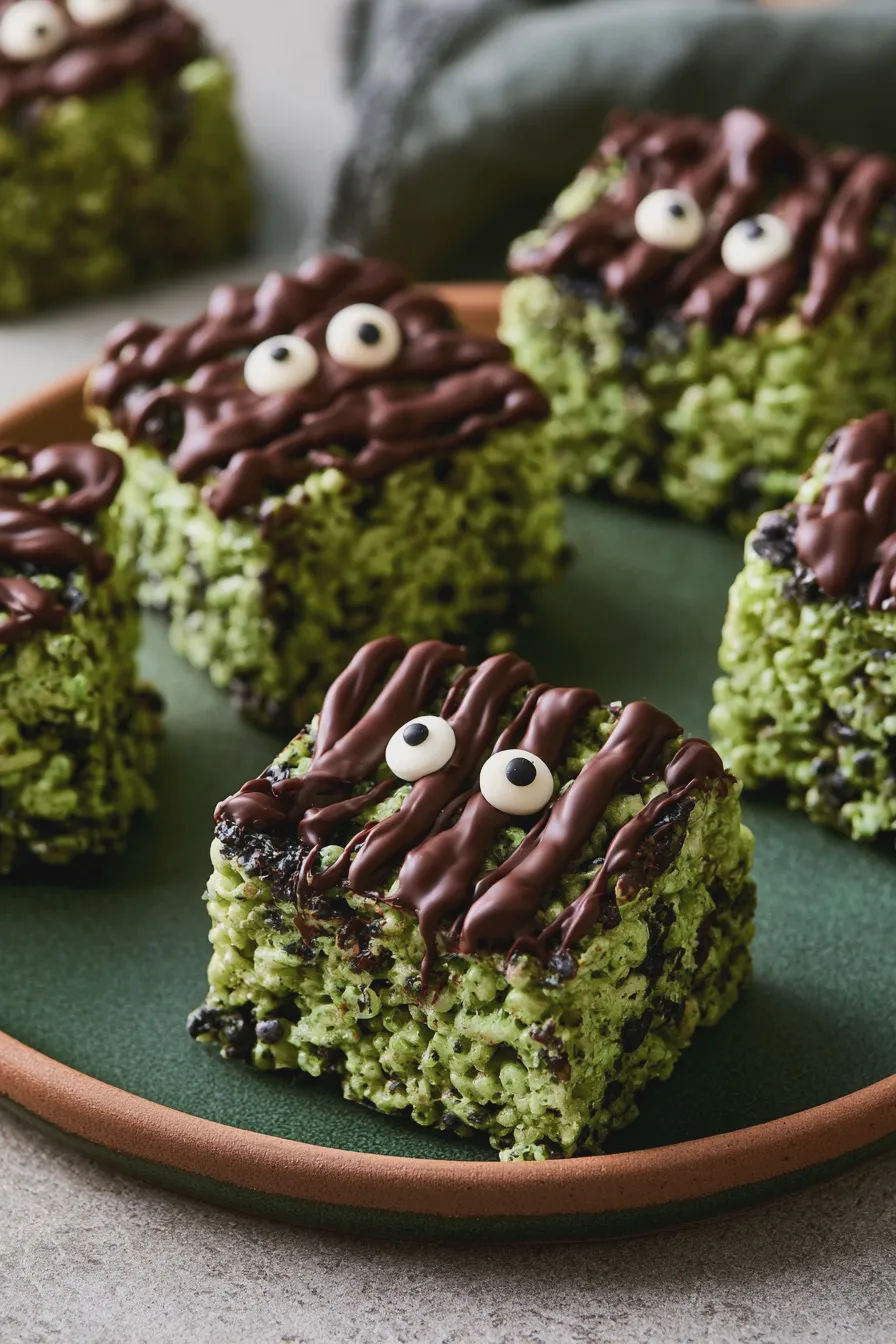
This guide will walk you through everything you need to know to create the most amazing spooky rice krispie treats, from the basic recipe to creative decorating ideas. We’ll cover essential tips, common mistakes to avoid, and plenty of inspiration to make your Halloween rice krispie treats the star of any celebration. Whether you’re aiming for cute ghosts, creepy spiders, or a whole haunted house scene, these no-bake Halloween desserts are sure to be a hit!
The Classic Rice Krispie Treat Recipe: Your Spooky Foundation
Before we get to the spooky decorations, let’s ensure you have the perfect base. The classic Rice Krispie treat recipe is simple and relies on just a few key ingredients. Having this solid foundation is crucial for any successful spooky rice krispie treats recipe. You’ll need butter, marshmallows, and of course, Rice Krispies cereal. The quality of your ingredients can make a difference, so using fresh marshmallows and good quality butter is recommended. For those interested in the science behind baking, understanding the role of butter in desserts can offer insights into how it contributes to texture and flavor, even in no-bake treats.
Ingredients for Your Base Recipe:
- 3 tablespoons of butter
- 1 package (10 ounces) of marshmallows
- 6 cups of Rice Krispies cereal
Instructions:
- Melt the butter in a large saucepan over low heat. Using low heat is important to prevent the butter from burning, which can affect the flavor of your treats.
- Add the marshmallows to the melted butter and stir constantly until they are completely melted and smooth. This step requires patience; avoid high heat, as it can cause the marshmallows to become tough and stringy.
- Remove the saucepan from the heat.
- Add the Rice Krispies cereal to the marshmallow mixture. Stir gently until the cereal is well coated. It’s important not to overmix, as this can crush the cereal and result in denser, less airy treats.
- Lightly grease a 9×13 inch pan with butter or cooking spray. You can also line it with parchment paper for easier removal.
- Press the mixture evenly into the prepared pan. Use a buttered spatula or wax paper to press the mixture down firmly but gently. Avoid pressing too hard, as this can make the treats difficult to cut and chewy.
- Let the treats cool completely before cutting. This allows them to set properly.
This basic recipe creates the perfect canvas for all sorts of spooky transformations. You can find more variations and tips on achieving the perfect texture at Serious Eats, which offers great insights into the fundamentals of this beloved treat.
Looking for more? Try this delicious The Role Of Butter In Desserts next.
Transforming Your Treats: Spooky Rice Krispie Ideas
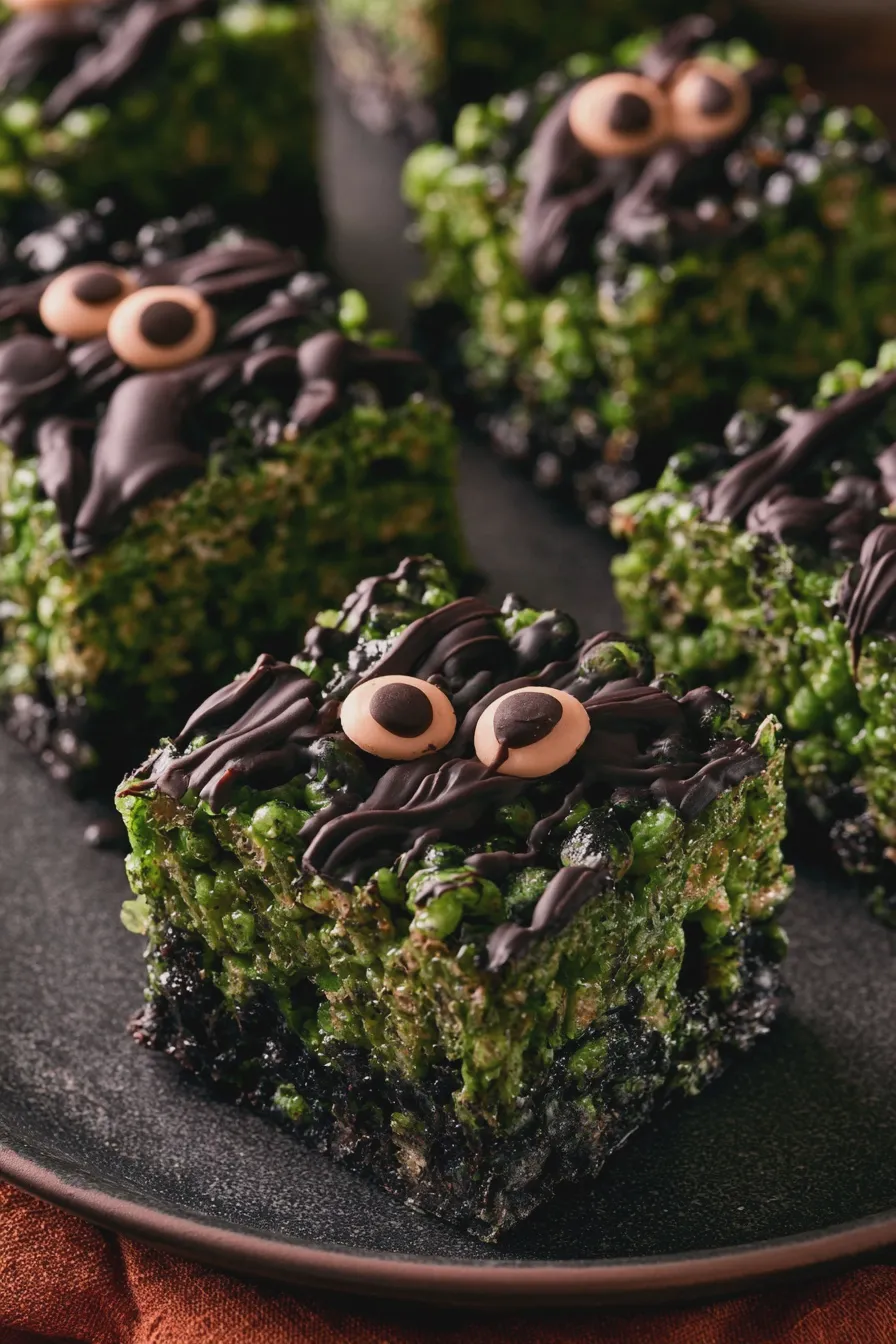
Now for the fun part – making your classic Rice Krispie treats spooky! The possibilities are endless, and these ideas are perfect for any skill level, making them ideal kid-friendly Halloween treats. We’ll explore a few popular themes that are sure to be a hit.
Ghost Rice Krispie Treats
These are a classic for a reason! They’re adorable and surprisingly easy to make. For ghost rice krispie treats, you can either cut your cooled treats into ghost shapes using a cookie cutter or shape them by hand while they are still slightly warm and pliable. Once shaped, you can dip them in white candy melts or simply use edible markers or black icing to draw on ghost faces. For a more ethereal look, you can leave some of the edges slightly uneven.
Pumpkin Rice Krispie Treats
To create pumpkin rice krispie treats, you’ll want to incorporate orange. You can achieve this in a few ways. Either add a few drops of orange food coloring to the marshmallow mixture before adding the cereal, or use orange candy melts to coat the treats. Once coated, you can use green candy melts or icing to create a stem, or even pipe on a jack-o’-lantern face using black icing. Shaping them into slightly flattened circles can also enhance the pumpkin effect.
If you enjoyed this, you might also love our Patriotic Rice Krispie Treats recipe.
Spiderweb Rice Krispie Treats
Spiderweb rice krispie treats are perfect for a more intricate, yet still achievable, spooky dessert. You can make black rice krispie treats by adding black food coloring to the marshmallow mixture. Once set, spread a thin layer of white icing or melted white chocolate over the top. Then, using a toothpick or a piping bag with a fine tip, draw concentric circles with black icing (or dark chocolate) on top of the white, and then drag a toothpick from the center outwards to create the spiderweb effect. This is a fantastic example of edible Halloween crafts.
Monster Rice Krispie Treats
Monsters offer a lot of creative freedom! You can make green rice krispie treats by adding green food coloring. Then, get creative with edible googly eyes, candy corn for teeth, or even small pretzel pieces for horns. You can also dip them in various colored candy melts and add different decorations to create a whole menagerie of monster rice krispie treats. Think different colored sprinkles for scales or even small fondant shapes for ears.
Mummy Rice Krispie Treats
Mummy rice krispie treats are another fun and easy option. Cut your treats into rectangular or strip shapes. Dip them partially in white candy melts, leaving some of the treat showing. While the candy melts are still wet, use a piping bag with a thin tip or a fork to drizzle white icing or melted candy melts back and forth across the treat to create mummy bandages. Add two small dots of black icing for eyes peeking through the bandages.
Looking for more? Try this delicious Baseball Themed Rice Krispie Treat Pops Recipe next.
Graveyard Rice Krispie Treats
This is a great way to create a whole scene! Use chocolate frosting or melted chocolate to cover the base rice krispie treats, creating a “dirt” effect. You can then add crumbled chocolate cookies for extra dirt. For the gravestones, you can use Milano cookies, rectangular graham crackers, or even cut shapes from hardened chocolate. Write epitaphs with edible markers or black icing. You can also add gummy worms or candy pumpkins for extra graveyard details. These are some of the most creative spooky dessert ideas.
Tips for Perfect Spooky Rice Krispie Treats
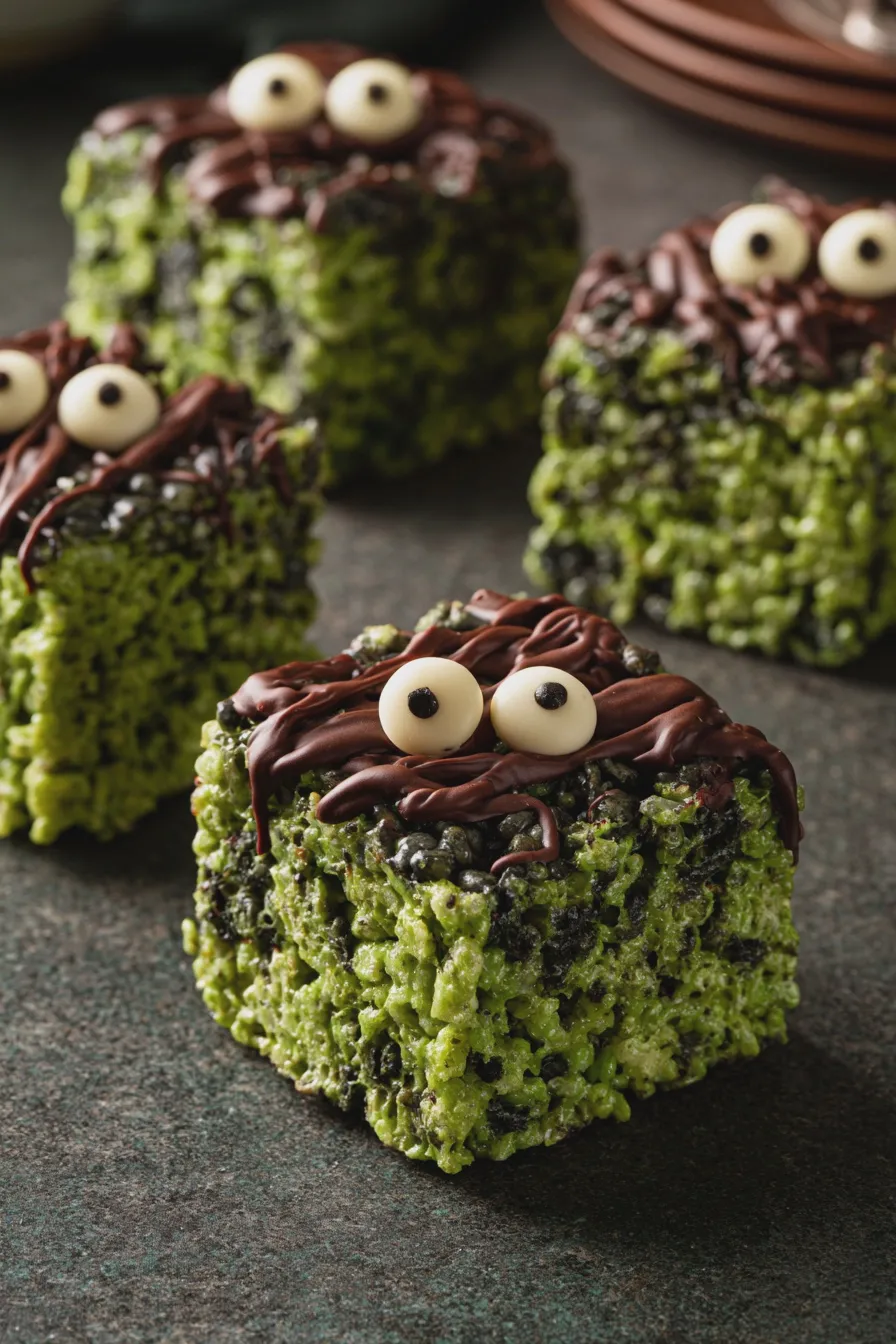
Achieving perfectly shaped and decorated spooky rice krispie treats involves a few key tricks. These tips will help you avoid common pitfalls and elevate your Halloween rice krispie treats from good to ghastly!
- Grease Everything: Your hands, your spatula, your pan – everything that touches the sticky mixture needs to be greased to prevent sticking. Butter or cooking spray works best.
- Work Quickly but Gently: Once the cereal is added, you have a limited time before the mixture starts to set. Work efficiently, but avoid pressing down too hard, which can make the treats dense.
- Use Fresh Ingredients: Stale marshmallows won’t melt as smoothly, and old cereal can lose its crispness.
- Control Your Colors: When adding food coloring, start with a small amount and add more gradually. Gel food coloring provides more vibrant colors than liquid versions. For black rice krispie treats, gel black food coloring is essential. For orange rice krispie treats, use a good quality orange gel coloring. For green rice krispie treats, green gel coloring will give you the best results.
- Melting Candy Melts: If using candy melts for dipping or decorating, melt them slowly in the microwave in short bursts (30 seconds), stirring in between, or use a double boiler. Don’t overheat them, or they will seize up.
- Patience is Key for Cooling: Allow the treats to cool completely before cutting or decorating. This ensures they hold their shape and don’t crumble.
- Storage Matters: Store your finished treats in an airtight container at room temperature. Avoid refrigerating them, as this can make them hard.
Common Mistakes to Avoid
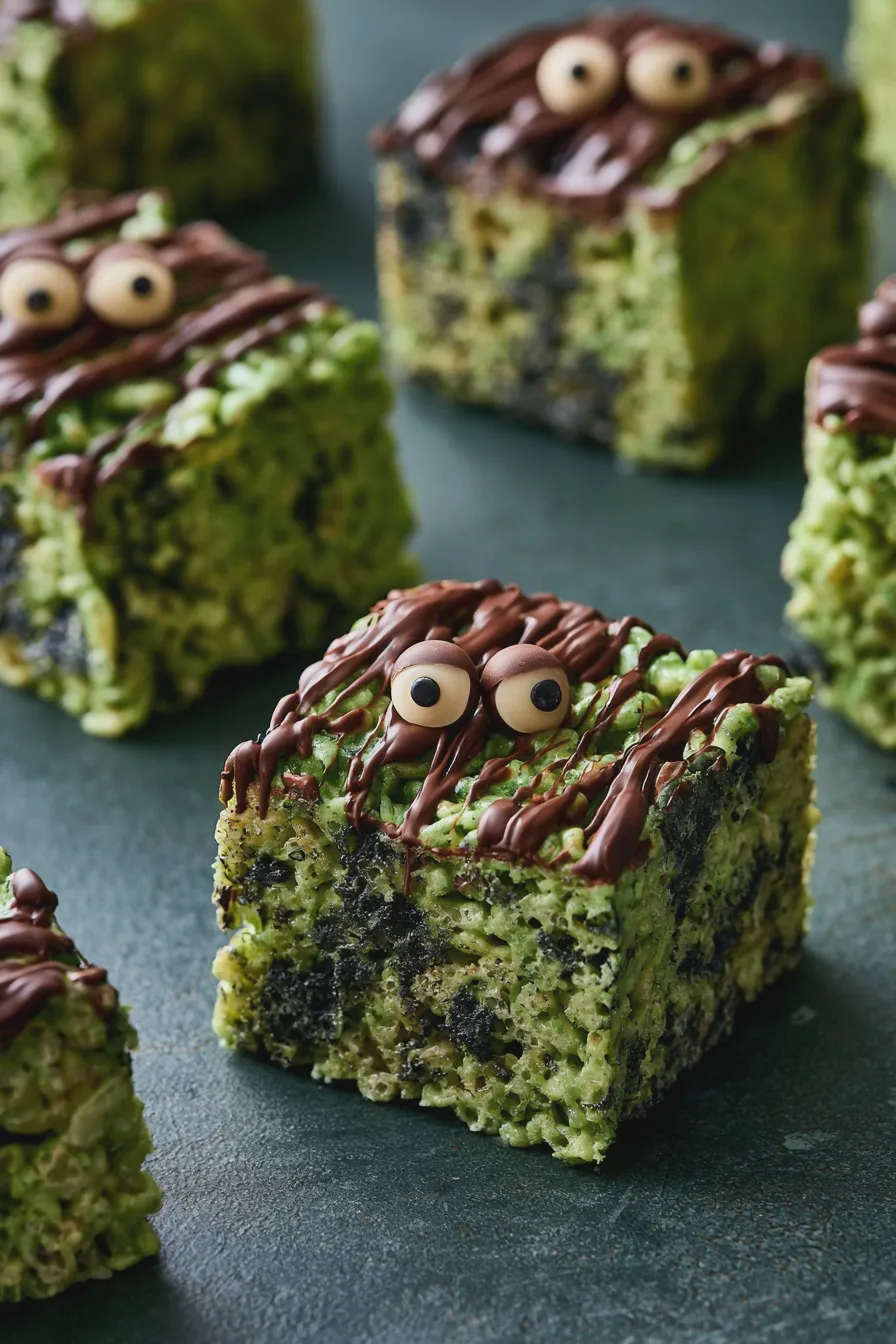
Even with a simple recipe, a few common mistakes can lead to less-than-perfect spooky rice krispie treats. Being aware of these will help ensure your success.
Looking for more? Try this delicious How To Cream Butter And Sugar next.
- Overheating Marshmallows: This is perhaps the most common mistake. High heat makes marshmallows tough and difficult to work with, resulting in hard, chewy treats. Always use low heat and stir constantly.
- Crushing the Cereal: Stirring too vigorously after adding the Rice Krispies can break down the cereal, leading to a dense, less airy texture. Be gentle when mixing.
- Pressing Too Hard: While you need to press the mixture into the pan to make it even, pressing too firmly will result in hard, brick-like treats. Use light, even pressure.
- Not Greasing Enough: If you don’t grease your tools or pan sufficiently, you’ll end up with a sticky mess and damaged treats.
- Cutting Too Soon: Trying to cut the treats before they have fully set will result in messy edges and misshapen treats.
- Using Old Ingredients: As mentioned, stale marshmallows or cereal will negatively impact the texture and flavor of your no-bake Halloween desserts.
Creative Examples and Inspiration
Beyond the basic ghosts and pumpkins, there are so many ways to get creative with your spooky rice krispie treats. Think about:
- Haunted House Rice Krispie Treats: Build a small haunted house using larger rectangles of treats as the base and walls, and smaller pieces for roofs and details. Decorate with black icing for windows and doors, and candy cobwebs. This is a truly impressive edible Halloween craft.
- Vampire Rice Krispie Treats: Dip the treats in red candy melts and add white candy melt fangs. You can also use black icing to draw on vampire capes.
- Witch Rice Krispie Treats: Shape them into triangles for witch hats, dip them in green or black candy melts, and add details like orange candy corn for hair or a purple candy melt buckle.
- Layered Treats: Create layered rice krispie treats using different colors. For example, a layer of orange, then black, then green for a truly monstrous effect.
- Cookie Cutter Fun: Use various Halloween-themed cookie cutters (bats, skulls, cats) to cut out shapes from your freshly pressed treats.
For more inspiration on themed Rice Krispie treats, check out these Halloween Rice Krispie Treats on Allrecipes. They offer a wealth of ideas to spark your imagination.
Print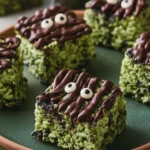
Spooky Rice Krispie Treats Recipe for a Delightful Halloween
- Total Time: PT20M
- Yield: 24 treats 1x
- Diet: Vegetarian
Description
Whip up these spooky and fun Spooky Rice Krispie Treats for your next Halloween party! Easy to make and incredibly delicious, these treats are sure to be a hit with ghouls and goblins of all ages.
Ingredients
- 6 cups Rice Krispie cereal
- 1 (10 ounce) package marshmallows
- 3 tablespoons butter
- 1/2 teaspoon black food coloring
- 1/4 teaspoon green food coloring
- 1/4 cup chocolate chips, melted (for decorating)
- Candy eyes (optional, for decorating)
Instructions
- Butter a 9×13 inch pan.
- In a large saucepan, melt butter over low heat. Add marshmallows and stir until completely melted.
- Remove from heat. Stir in black food coloring and green food coloring until desired spooky color is achieved.
- Add Rice Krispie cereal and stir until well coated.
- Press the mixture evenly into the prepared pan.
- Let cool completely.
- Once cooled, cut into squares.
- Melt chocolate chips and drizzle over treats, or use a piping bag for more intricate designs. Add candy eyes if desired.
Notes
- For extra spooky shapes, use Halloween-themed cookie cutters after the treats have cooled slightly.
- Store in an airtight container at room temperature for up to 3 days.
- Feel free to add sprinkles or edible glitter for an extra festive touch!
- Prep Time: PT15M
- Cook Time: PT5M
- Category: Halloween Desserts
- Method: No-Bake
- Cuisine: American
Nutrition
- Serving Size: 1 treat
- Calories: 150
- Sugar: 15g
- Fat: 5g
- Saturated Fat: 3g
- Carbohydrates: 25g
- Protein: 1g







