
Get ready to embrace the deliciously eerie with our guide to creating the perfect spooky chocolate bark! This versatile treat is a fantastic way to add some festive fun to your Halloween celebrations. Whether you’re a seasoned baker or just starting, this no-bake wonder is incredibly forgiving and endlessly customizable. Imagine a canvas of rich chocolate adorned with creepy-crawly candies and spooky sprinkles – it’s a showstopper that’s surprisingly simple to make. Perfect for parties, care packages, or just a sweet indulgence, this spooky chocolate bark recipe is sure to become a holiday favorite. Let’s dive into the delightful world of Halloween chocolate bark!
What is Spooky Chocolate Bark?
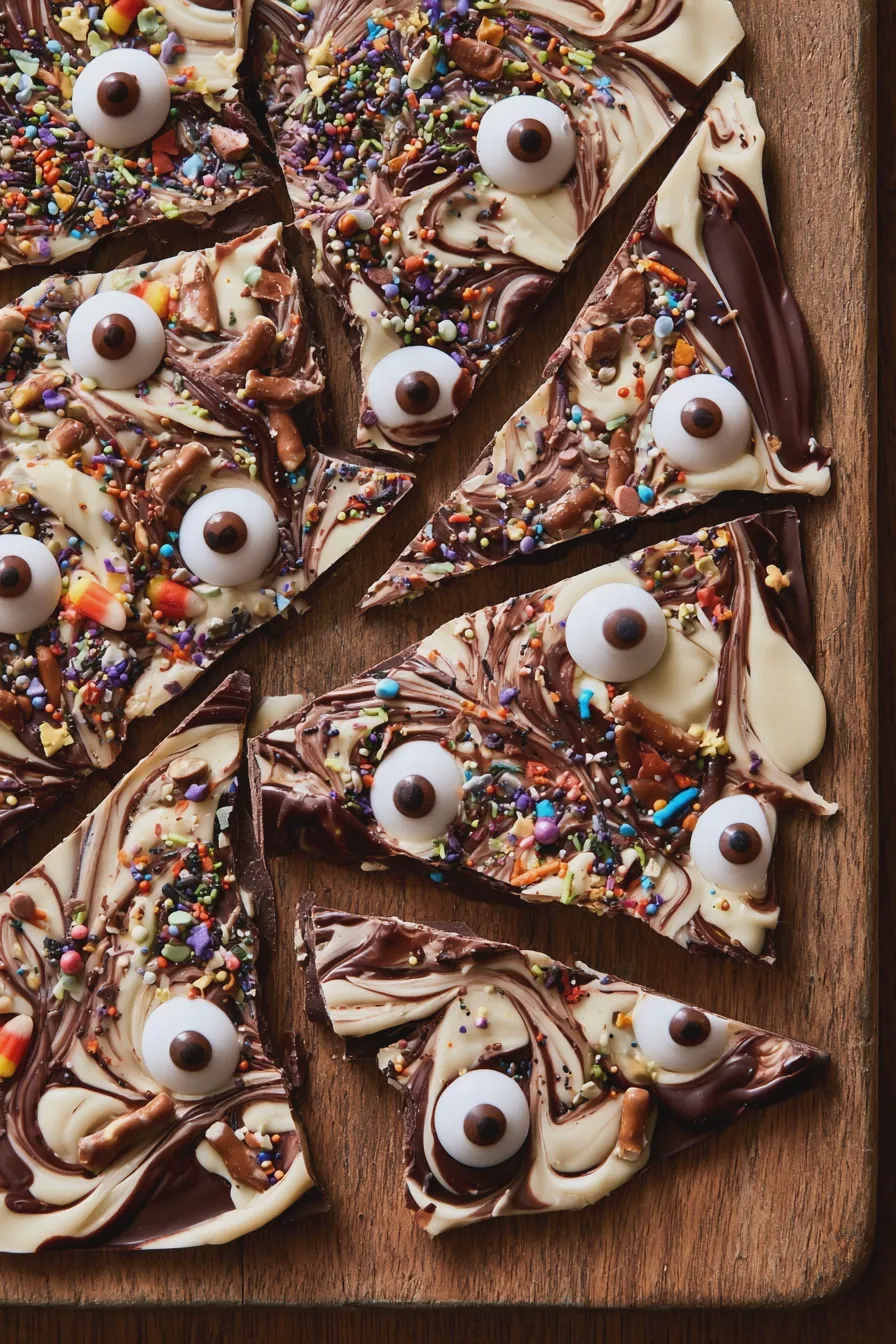
At its heart, chocolate bark is a simple confection made by spreading melted chocolate onto a flat surface and topping it with various ingredients before it hardens. For Halloween, we elevate this basic concept into something truly festive and fun. Think of it as a blank canvas for your creativity, transforming ordinary chocolate into edible art that screams Halloween! This delightful treat is a fantastic addition to any Halloween candy bark spread, offering a homemade touch that guests will adore. It’s a wonderfully accessible way to get into the spirit of the season, and the possibilities for decoration are truly endless. The beauty of this easy spooky chocolate bark lies in its simplicity; no complex techniques are required, making it an ideal project for bakers of all skill levels.
Choosing Your Chocolate Base
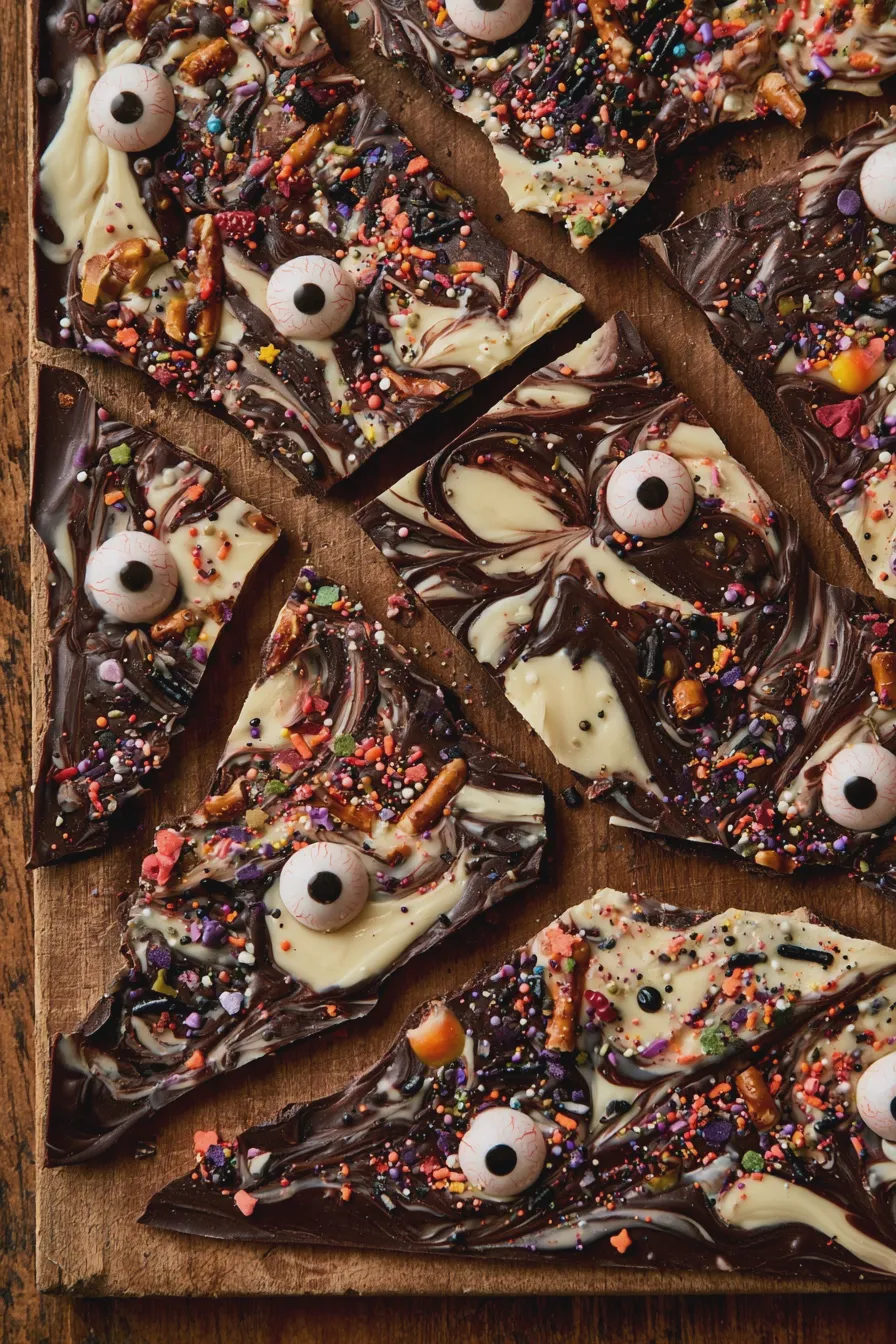
The foundation of any great chocolate bark is, of course, the chocolate itself. For this spooky chocolate bark recipe, you have a few excellent options, each offering a slightly different flavor and texture profile.
Types of Chocolate
- Dark Chocolate: Offers a rich, slightly bitter flavor that pairs beautifully with sweet toppings. It’s also a classic choice for its deep color.
- Milk Chocolate: A crowd-pleaser with its creamy sweetness. It’s a bit softer than dark chocolate, so ensure it’s tempered correctly for a good snap.
- White Chocolate: Provides a sweet, vanilla-like base that’s perfect for decorating. Its light color makes vibrant Halloween sprinkles and candies pop.
- Compound Chocolate (Candy Melts): These are specifically designed for melting and setting without tempering. They come in a wide array of colors, including orange and black, which are perfect for a festive look. While they don’t have the same nuanced flavor as real chocolate, they are incredibly user-friendly, making them a top choice for beginners and for achieving vibrant Halloween colors for your Halloween chocolate bark.
Melting Chocolate for Bark
When it comes to melting chocolate for bark, consistency is key. You want it smooth and pourable, but not too thin. Here are some tips for achieving the perfect melt:
- Double Boiler Method: This is a gentle and effective way to melt chocolate. Place your chocolate in a heatproof bowl set over a saucepan of simmering water (ensure the bottom of the bowl doesn’t touch the water). Stir until smooth.
- Microwave Method: This is faster but requires more attention. Heat the chocolate in a microwave-safe bowl in 30-second intervals, stirring well after each interval, until almost completely melted. Stir until smooth. Be careful not to overheat, as chocolate can seize and become grainy.
- Using Compound Chocolate: If using candy melts, follow the package instructions. They typically melt beautifully in the microwave or a low-heat double boiler.
Tip: For the smoothest results, avoid getting any water into your melting chocolate. Water can cause chocolate to seize, becoming thick and lumpy.
Looking for more? Try this delicious Chocolate Ice Cream Recipe next.
Essential Spooky Toppings and Decorations
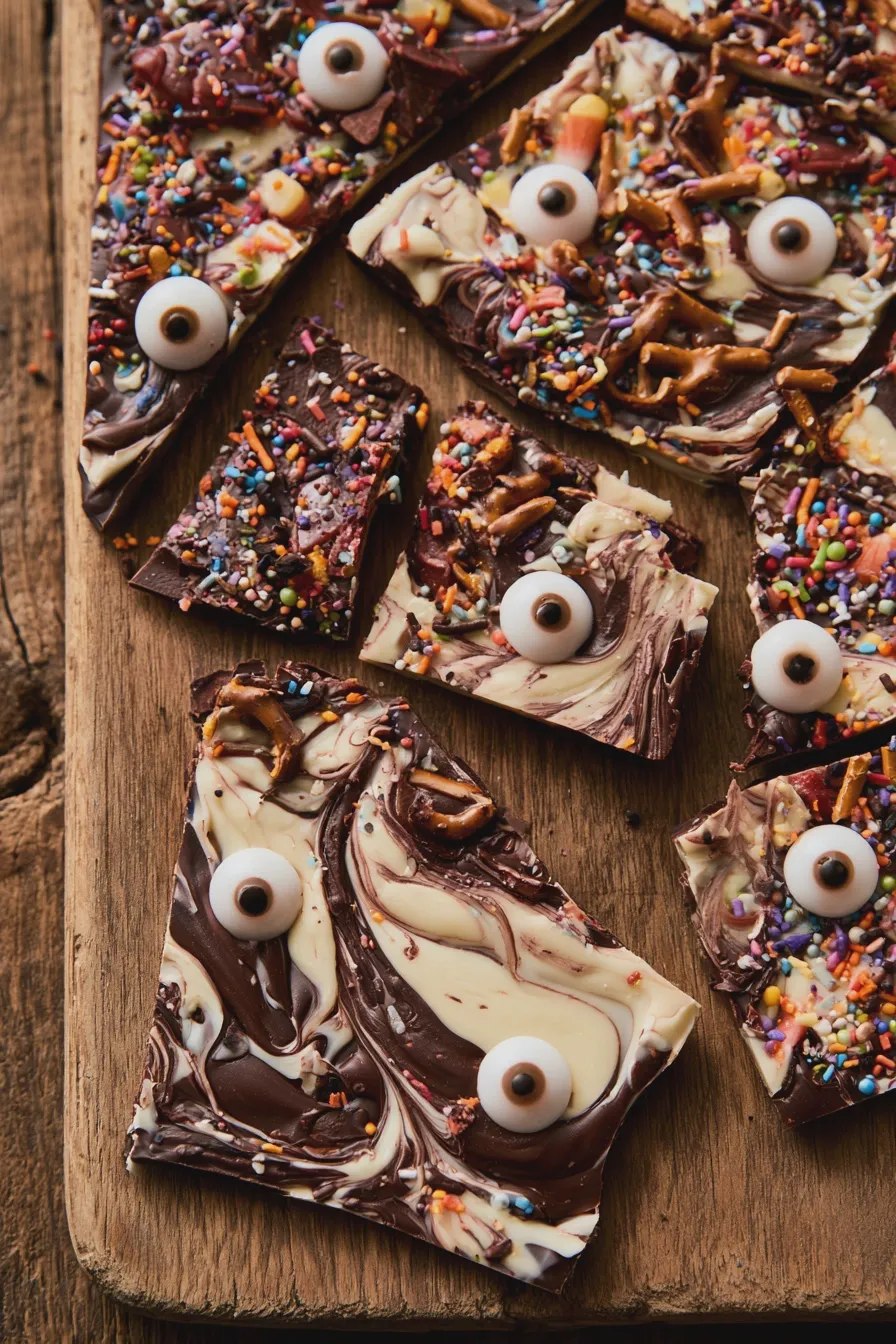
This is where the real fun begins! The toppings are what transform plain chocolate into exciting spooky desserts. Think about colors, textures, and of course, the Halloween theme!
Halloween Candy Bark Ideas
- Candy Corn: A quintessential Halloween candy that adds a pop of color and sweetness.
- Halloween Sprinkles: Look for pumpkin shapes, ghost shapes, black and orange jimmies, and edible glitter.
- Gummy Worms and Eyeballs: These add a playful, slightly gross factor that kids (and adults!) will love.
- Mini Chocolate Chips or Chunks: For added chocolatey goodness.
- Crushed Cookies: Oreos (especially the dark ones for a spooky look) or graham crackers add a nice crunch.
- Pretzels: Salty pretzels provide a wonderful contrast to the sweet chocolate.
- M&M’s or Reese’s Pieces: In Halloween colors, of course!
- Edible Eyes: These are fantastic for creating ghost chocolate bark or monster chocolate bark.
- Shredded Coconut: Can be toasted for a nutty flavor or left plain.
- Nuts: Almonds, peanuts, or pecans add a satisfying crunch.
Creative Decorating Techniques
- Swirls: Melt different colored chocolates (like white and dark) and drizzle them over each other before they set. Use a toothpick to create spooky swirls, reminiscent of a spiderweb chocolate bark.
- Layering: Pour one color of chocolate, sprinkle some toppings, then drizzle another color on top.
- Piping: Use melted white or dark chocolate in a piping bag to draw Halloween shapes like ghosts, bats, or pumpkins before adding other toppings.
- Color Blocks: Pour sections of different colored melted chocolate side-by-side for a modern look.
Mistake to Avoid: Don’t overload your bark with too many toppings. While tempting, too many additions can prevent the chocolate from setting properly and make the bark difficult to break into clean pieces.
The Basic Spooky Chocolate Bark Recipe
This recipe is a fantastic starting point for all your chocolate bark recipes. It’s designed to be easy and adaptable.
Ingredients:
- 12-16 ounces good quality chocolate (dark, milk, white, or compound chocolate/candy melts)
- Your choice of spooky toppings (see list above!)
Equipment:
- Baking sheet
- Parchment paper or silicone baking mat
- Spatula or offset spatula
- Microwave-safe bowls or a double boiler setup
Instructions:
- Prepare Your Baking Sheet: Line a baking sheet with parchment paper or a silicone baking mat. This will prevent the chocolate from sticking.
- Melt the Chocolate: Choose your preferred melting method (double boiler or microwave). Melt the chocolate until it’s smooth and pourable. If using compound chocolate in colors like orange or black, melt them separately.
- Spread the Chocolate: Pour the melted chocolate onto the prepared baking sheet. Use a spatula or offset spatula to spread it into an even layer, about 1/4 inch thick. Work relatively quickly before the chocolate starts to set.
- Add Toppings: While the chocolate is still wet, generously sprinkle your chosen spooky toppings over the surface. Press them down gently to ensure they adhere. If you’re creating designs like spiderwebs, now is the time to add those swirls.
- Chill to Set: Carefully transfer the baking sheet to the refrigerator. Let the bark chill for at least 1-2 hours, or until completely firm.
- Break and Serve: Once fully set, lift the parchment paper or silicone mat off the baking sheet. Break the chocolate bark into irregular pieces with your hands.
Tip: For a cleaner break, you can also score the bark with a sharp knife after it has partially set but before it’s fully hardened. Then, once completely firm, snap along the score lines.
Looking for more? Try this delicious Chocolate Cake Recipe 2 next.
Spooky Chocolate Bark Variations to Try
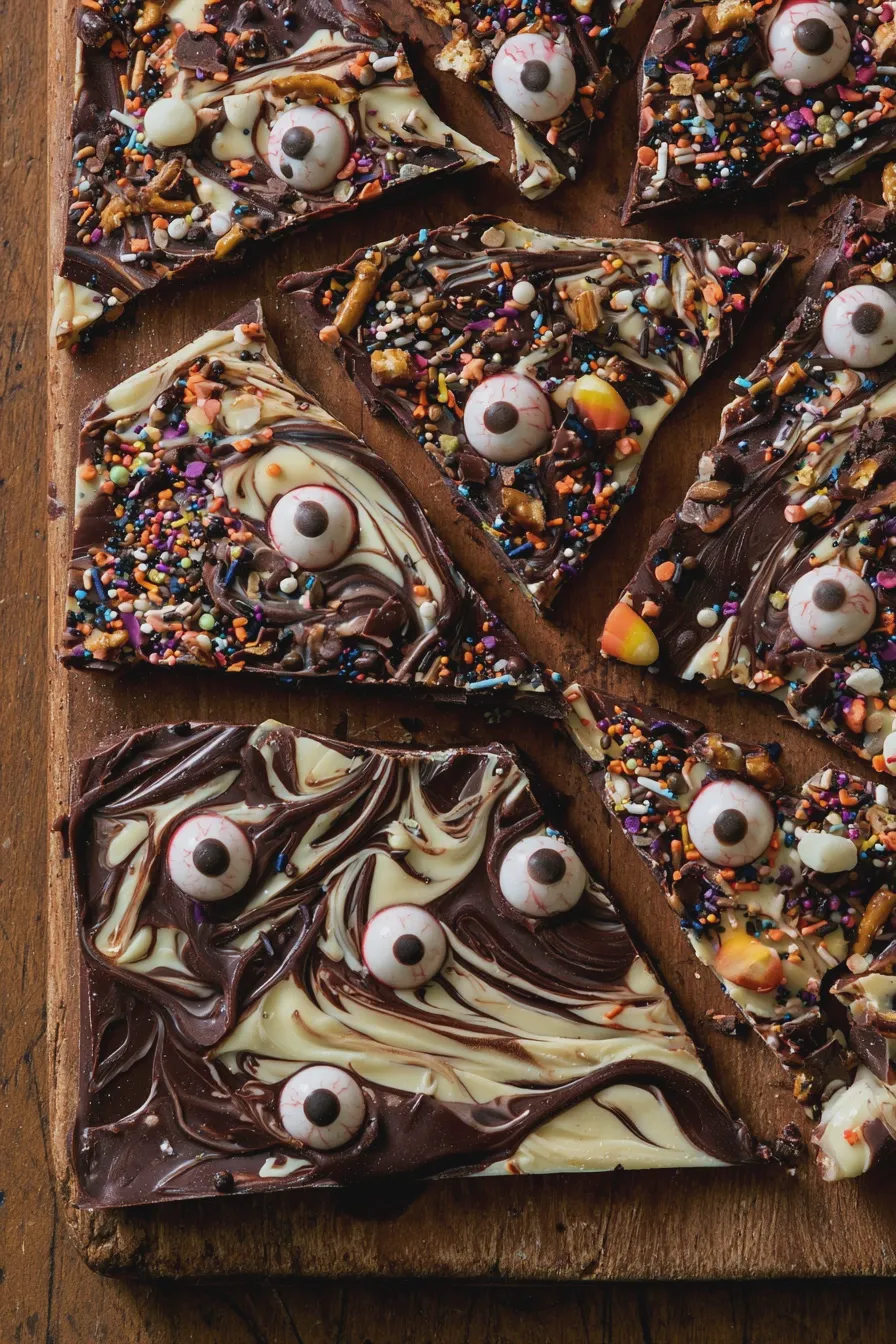
Once you’ve mastered the basic recipe, the fun truly begins with exploring different chocolate bark variations. Here are a few ideas to get your creative juices flowing:
Ghost Chocolate Bark
Use white candy melts or white chocolate as your base. Melt and spread as usual. Before it sets, use a toothpick to draw ghost shapes with melted dark chocolate. Alternatively, place white chocolate chips into ghost-shaped molds and fill with melted dark chocolate, or sprinkle white chocolate chips and edible googly eyes onto a dark chocolate base.
Monster Chocolate Bark
This is where you can have a lot of fun with colors! Use green or purple candy melts as a base. Once spread, sprinkle with various candies like gummy eyeballs, candy worms, and colorful sprinkles. You can even add chocolate chips for “warts” or chopped nuts for texture.
Witch Chocolate Bark
Melt dark chocolate and spread it. Top with green and purple candy melts drizzled and swirled on top. Add black sprinkles, candy witch hats, or even some edible glitter for a magical touch.
Looking for more? Try this delicious Easy Homemade Ice Cream Recipe next.
Skeleton Chocolate Bark
Use white chocolate or white candy melts as your base. Melt dark chocolate and use it to pipe skeleton shapes or bone shapes onto the white base. You can also use white chocolate to pipe skeleton details onto a dark chocolate base.
Spiderweb Chocolate Bark
Melt dark chocolate and spread it onto your baking sheet. Melt white chocolate and drizzle it in concentric circles over the dark chocolate. Then, drag a toothpick from the center outwards to create a classic spiderweb effect. Add a few gummy spiders for an extra creepy touch.
Candy Corn Chocolate Bark
Melt yellow, orange, and white candy melts or chocolates separately. Spread a layer of yellow, then immediately drizzle and swirl with orange, followed by white. While the top layer is still wet, add a few candy corns pressed gently into the chocolate.
Example: For a truly unique no-bake Halloween treat, try combining crushed Halloween Oreos with white chocolate bark and topping with orange and black sprinkles. It’s a delightful textural contrast!
Looking for more? Try this delicious How To Make Ice Cream At Home next.
Tips for Success with Spooky Chocolate Bark
Baking expert advice can make all the difference when creating your easy Halloween recipes. Here are some tips to ensure your spooky chocolate bark turns out perfectly every time:
- Work in a Cool Environment: Chocolate melts easily, especially in warmer kitchens. If your kitchen is hot, your chocolate might start to set before you can spread it or add toppings.
- Don’t Overwork the Chocolate: Once melted, try to spread and decorate fairly quickly. Over-stirring can cause chocolate to lose its sheen or seize.
- Tempering (Optional but Recommended for Real Chocolate): If you’re using real dark, milk, or white chocolate (not compound/candy melts), tempering will give you the best snap and finish. However, for simple bark, especially if it will be eaten relatively quickly or stored in the fridge, untempered chocolate is usually fine. If you want to learn more about tempering, check out resources on tempering chocolate.
- Be Generous with Toppings: Don’t be shy! The toppings are what make it festive. Ensure they adhere well by pressing them gently into the wet chocolate.
- Chill Thoroughly: Patience is key. Make sure the bark is completely hard before breaking it. This ensures clean breaks and prevents smudging.
- Storage: Store your spooky chocolate bark in an airtight container at cool room temperature or in the refrigerator. If refrigerating, allow it to come to room temperature for a few minutes before serving for the best texture.
Common Mistakes to Avoid
Even with an easy recipe like chocolate bark, a few common pitfalls can trip you up. Knowing these in advance can save you frustration:
- Getting Water in the Chocolate: As mentioned, water causes chocolate to seize. Be extra careful when using the double boiler method.
- Overheating Chocolate: Burnt chocolate tastes terrible and can become unusable. Melt gently and stir frequently.
- Trying to Decorate After Chocolate Starts to Set: Toppings won’t stick, and swirls won’t form if the chocolate has already begun to harden.
- Breaking Too Soon: If the bark isn’t fully set, you’ll end up with a messy, soft product instead of crisp pieces.
- Using Low-Quality Chocolate: While any chocolate works, better quality chocolate will yield a tastier result. For compound chocolate, choose a reputable brand for the best flavor and melting properties.
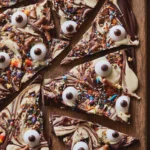
Spooky Chocolate Bark Recipe for a Hauntingly Good Treat
- Total Time: PT20M
- Yield: 1 pound 1x
- Diet: Vegetarian
Description
Whip up this easy Spooky Chocolate Bark for a festive Halloween treat! Perfect for parties or just a fun afternoon activity.
Ingredients
- 12 ounces good quality dark chocolate, chopped
- 4 ounces good quality white chocolate, chopped
- Assorted Halloween-themed sprinkles (jimmies, nonpareils, candy eyeballs, etc.)
- Optional: 1/4 cup chopped candy corn or Halloween-colored M&Ms
Instructions
- Line a baking sheet with parchment paper.
- Melt the dark chocolate. You can do this in a microwave-safe bowl in 30-second intervals, stirring between each, until smooth. Alternatively, use a double boiler.
- Pour the melted dark chocolate onto the prepared baking sheet and spread it into an even layer, about 1/4 inch thick.
- Melt the white chocolate using the same method as the dark chocolate.
- Drizzle the melted white chocolate over the dark chocolate layer in a decorative pattern (swirls, zigzags, or random drops).
- Immediately sprinkle the assorted Halloween sprinkles, candy eyeballs, and any optional add-ins over the chocolate before it sets.
- Let the bark set completely at room temperature or in the refrigerator for about 30 minutes.
- Once hardened, break the bark into irregular pieces. Store in an airtight container at room temperature.
Notes
- For a marbled effect, gently swirl the dark and white chocolate together with a toothpick before adding sprinkles.
- Ensure your bowls and utensils are completely dry when melting chocolate, as any water can cause it to seize.
- This bark can be stored for up to a week in an airtight container.
- Prep Time: PT15M
- Cook Time: PT5M
- Category: Candy
- Method: No-Bake
- Cuisine: American
Nutrition
- Serving Size: 1 ounce
- Calories: 150
- Sugar: 15g
- Fat: 9g
- Saturated Fat: 6g
- Carbohydrates: 17g
- Protein: 2g







