
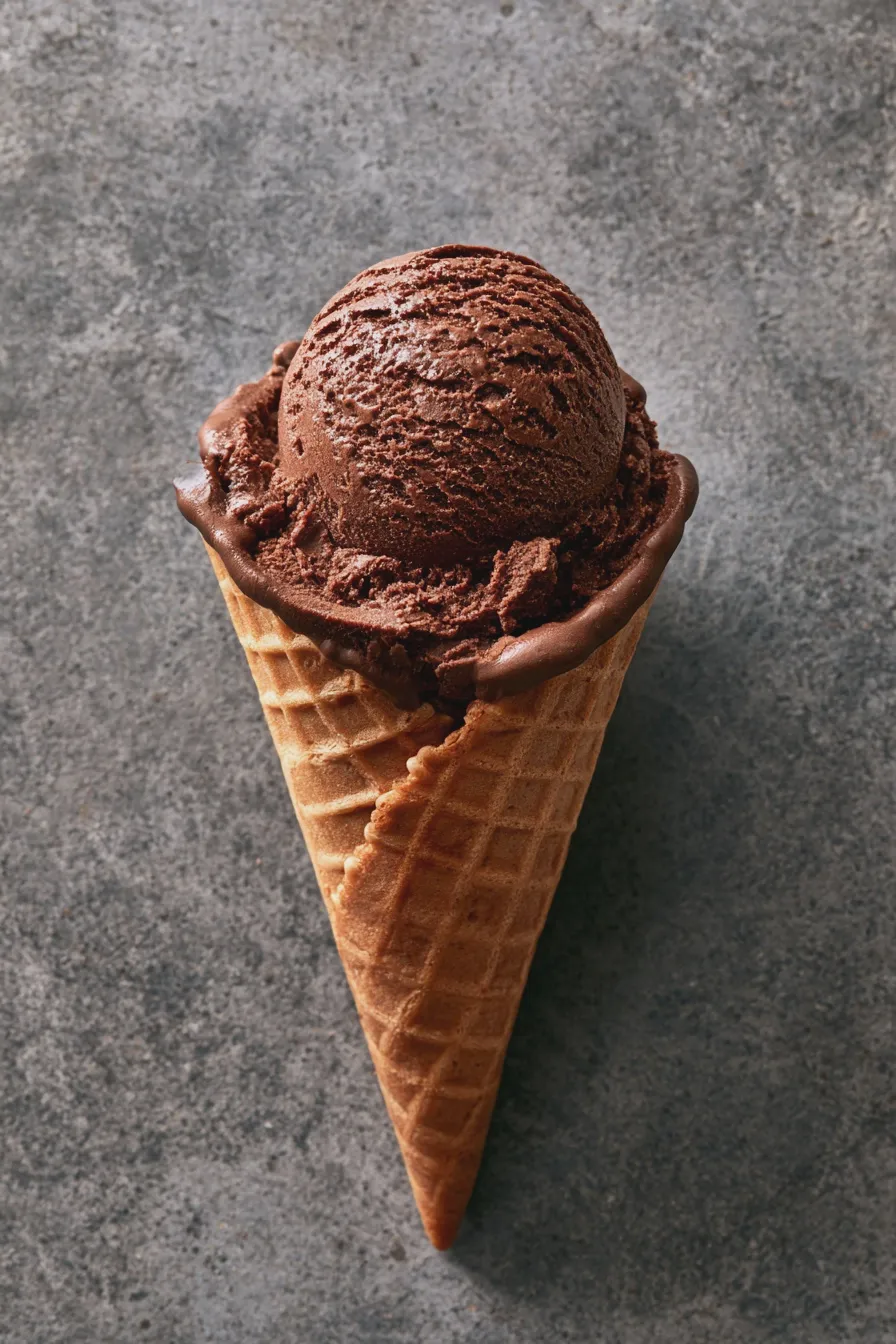
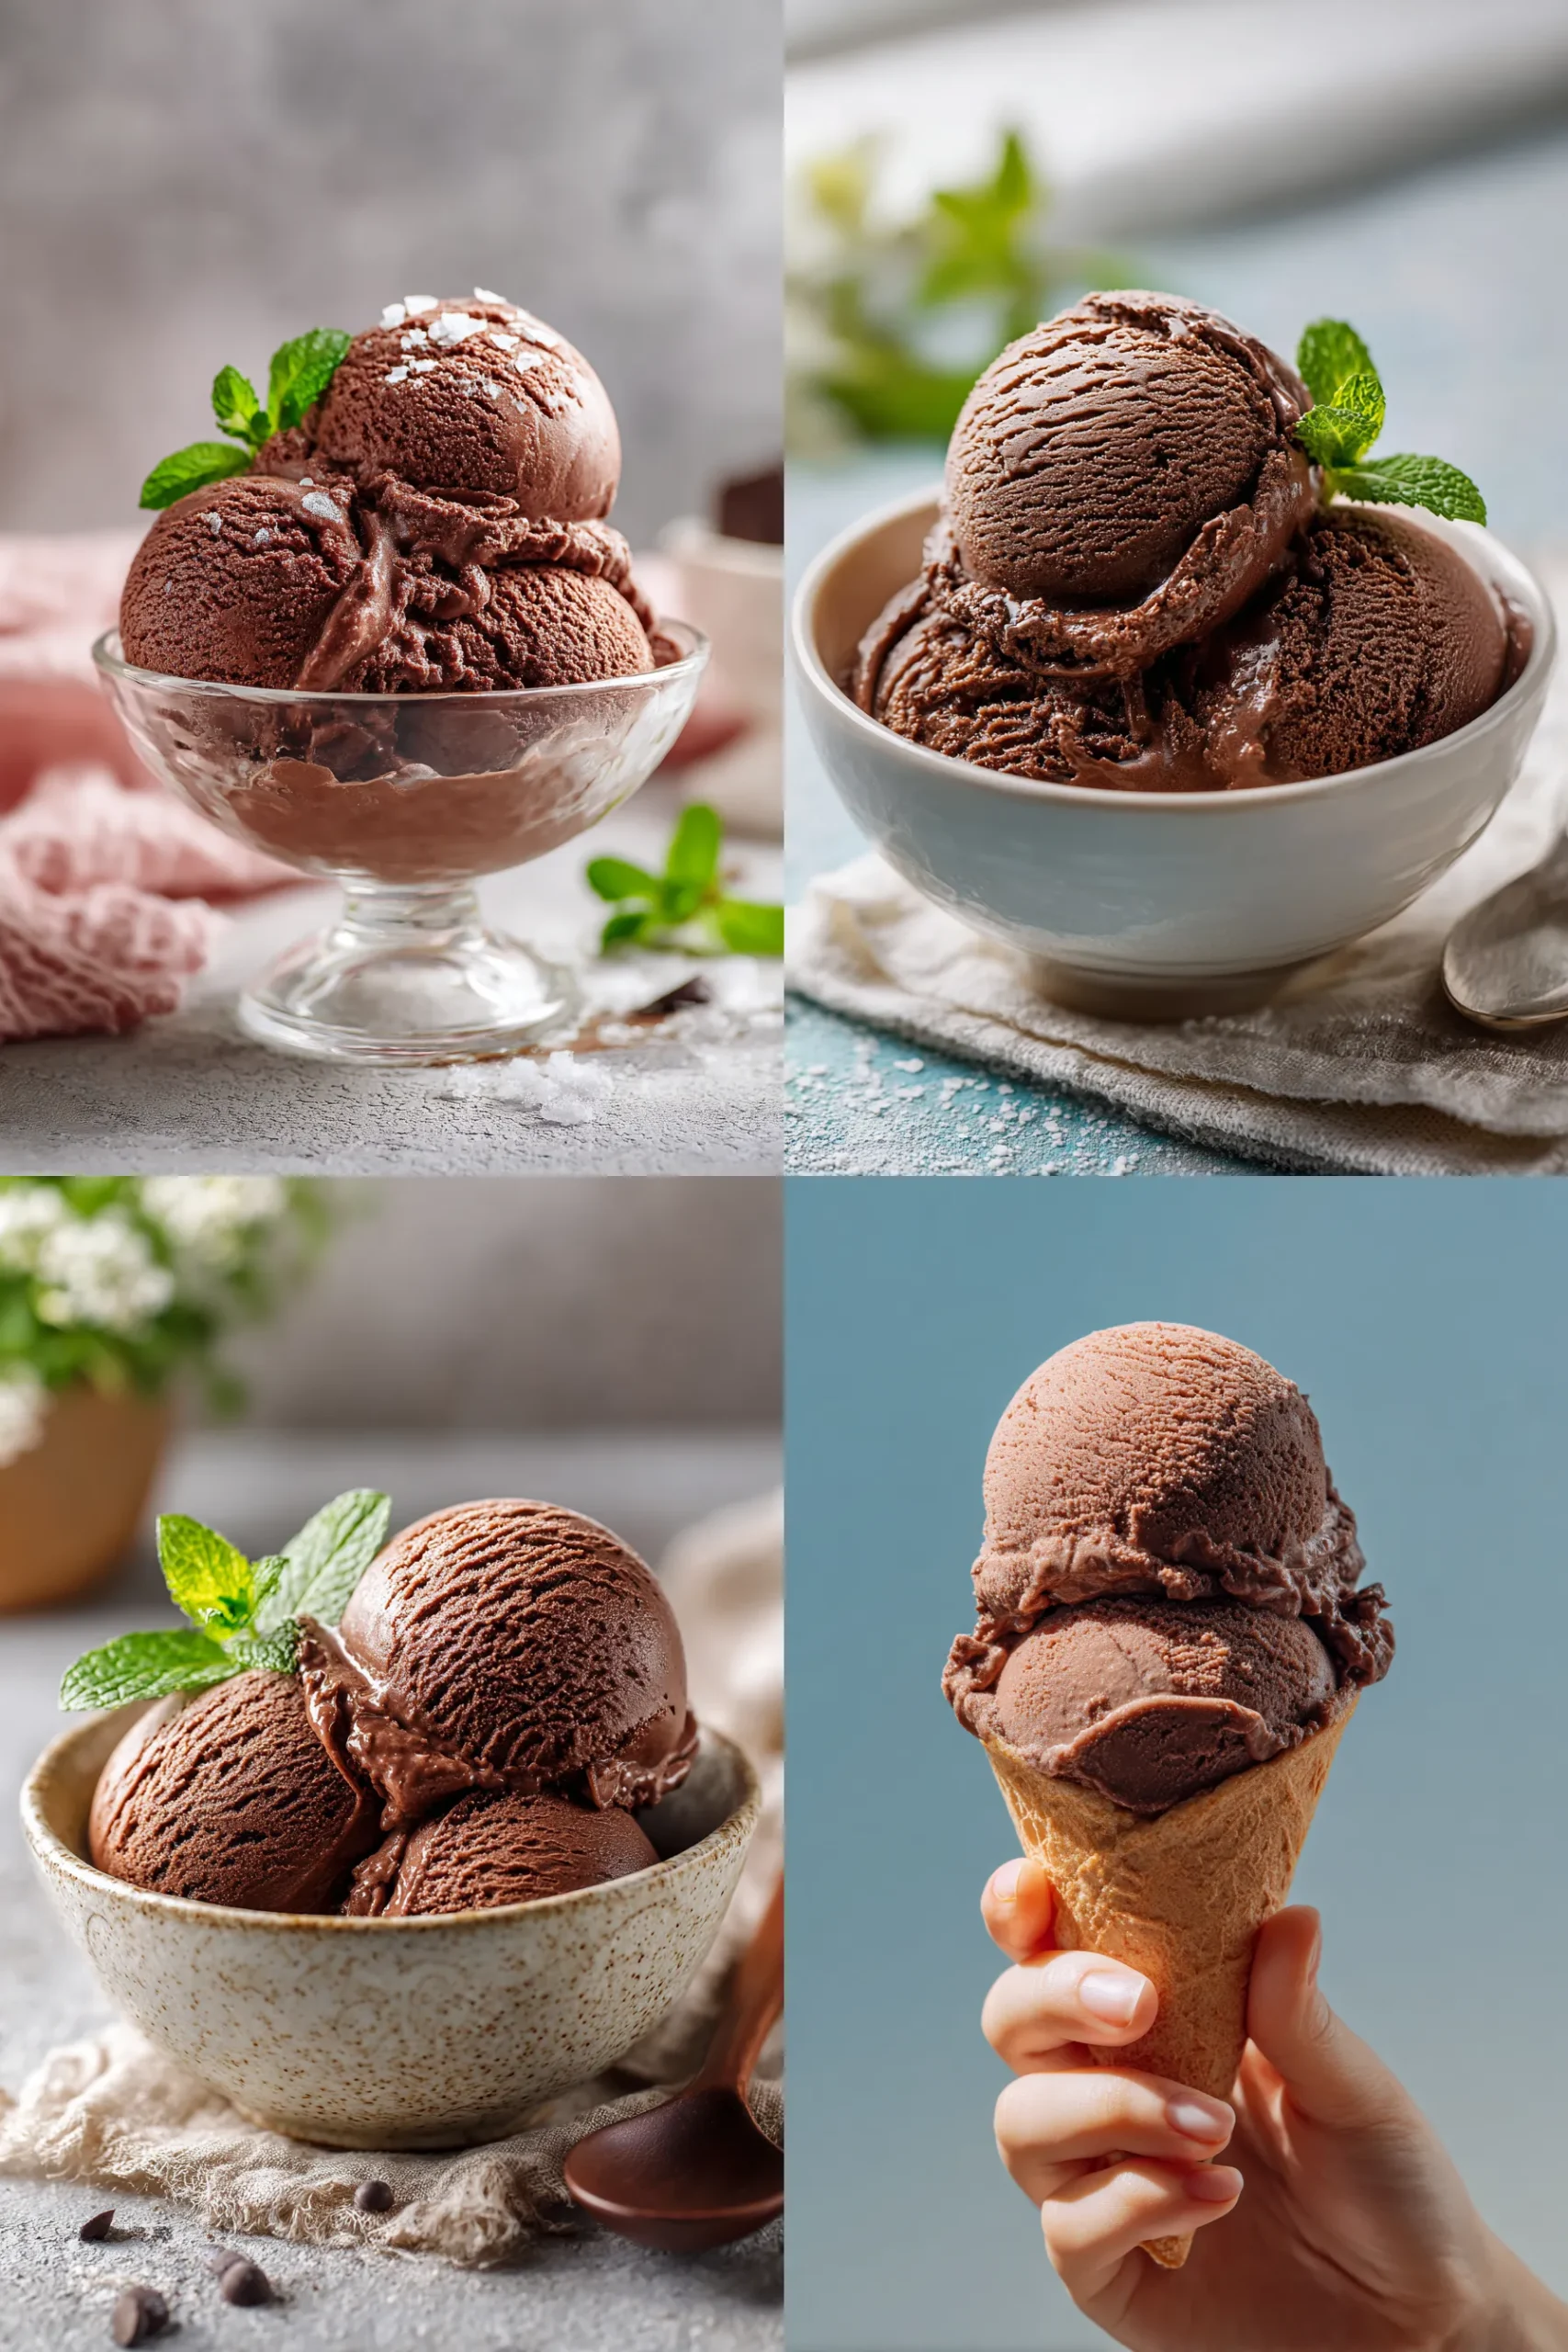
This creamy, decadent homemade chocolate ice cream recipe yields a deeply flavorful frozen dessert perfect for satisfying intense cravings without needing an ice cream maker. It’s a rich dark chocolate ice cream that sets up beautifully, delivering that classic, smooth texture that beats store-bought versions any day.
Welcome to your new favorite dessert project! Creating the chocolate ice cream recipe you dream about—one that is velvety smooth and intensely chocolatey—is much simpler than you might think, even for a weeknight treat.
This classic, custard-style frozen dessert relies on a rich cooked base to achieve its signature smooth mouthfeel, making it one of the best ways to enjoy homemade chocolate ice cream during the warmer months.
Why This Homemade Chocolate Ice Cream Recipe Works
Many home cooks fear making homemade ice cream because they believe it requires specialized equipment, but this recipe focuses on foundational techniques that ensure success, whether you have a machine or not. The secret to achieving that luxurious, scoopable texture lies in balancing the sweeteners and fats in the chocolate ice cream base, which prevents large ice crystals from forming.
We are aiming for a truly memorable scoop, and achieving that depth of flavor often means using high-quality cocoa and sometimes even melted chocolate, depending on how intense you want the final product to be; for more inspiration on classic dessert bases, you might enjoy exploring techniques found on Serious Eats.
Ingredients for Rich Homemade Chocolate Ice Cream
Gathering your components before you start is the key to a smooth cooking process, especially when dealing with tempering eggs for the custard.
- 2 cups Heavy Cream (cold)
- 1 cup Whole Milk (cold)
- 3/4 cup Granulated Sugar
- 1/2 cup Unsweetened Cocoa Powder (Dutch-processed works best for deep color)
- 1/4 teaspoon Salt
- 4 large Egg Yolks (room temperature is best for even cooking)
- 1 teaspoon Vanilla Extract
- 2 ounces High-quality bittersweet chocolate (chopped fine, optional, for intense chocolate ice cream)
If you are looking to make a quick batch without eggs—sometimes called a Philadelphia style chocolate ice cream—you can omit the yolks, but you may need to slightly adjust the sugar and milk ratios to maintain texture.
Necessary Equipment
While an ice cream maker makes the churning process hands-off, this recipe can still be managed using simple freezer techniques if necessary.
- Medium saucepan
- Whisk and rubber spatula
- Fine-mesh sieve
- Medium bowl for tempering
- Airtight freezer-safe container (for storage)
- Ice cream maker (recommended for the best texture)
How to Make chocolate ice cream recipe
This section walks you through creating the smooth, stable base necessary for the best chocolate ice cream recipe, ensuring every spoonful is pure delight.
Step 1: Preparing the Dairy and Dry Ingredients
In your saucepan, whisk together the whole milk, heavy cream, sugar, cocoa powder, and salt until they are well combined and the cocoa is fully dissolved.
Heat this mixture over medium heat, stirring frequently, until steam begins to rise and small bubbles form around the edge of the pan, but do not allow it to come to a full boil.
Step 2: Tempering the Egg Yolks
While the milk mixture heats, place your egg yolks in a separate medium bowl and lightly whisk them until they become slightly pale.
Slowly drizzle about one cup of the hot dairy mixture into the yolks while whisking constantly; this crucial step, called tempering, gently raises the temperature of the eggs so they do not scramble when added to the main pot.
Step 3: Cooking the Custard Base
Pour the tempered egg mixture back into the saucepan with the remaining dairy over medium-low heat, stirring constantly with a spatula scraping the bottom and sides.
Continue cooking until the custard thickens enough to coat the back of the spatula, reaching approximately 175°F, which is the key doneness cue for a safe and rich chocolate ice cream base.
Step 4: Finishing and Chilling the Base
Immediately remove the saucepan from the heat and stir in the vanilla extract and the optional chopped bittersweet chocolate until everything is completely melted and smooth, creating an intense chocolate ice cream flavor.
Pour the finished base through a fine-mesh sieve into a clean bowl to catch any potential small cooked egg bits, ensuring a silky smooth final product.
Step 5: Churning the Homemade Chocolate Ice Cream
Cover the bowl with plastic wrap, pressing the wrap directly onto the surface of the custard to prevent a skin from forming, and chill the mixture completely in the refrigerator for at least 4 hours, or preferably overnight.
Once thoroughly chilled, churn the base according to your ice cream maker’s instructions until it reaches the consistency of soft-serve, which usually takes about 20 to 30 minutes for a standard machine.
Step 6: Hardening and Storing Your Frozen Dessert
Transfer the soft, freshly churned ice cream into an airtight, freezer-safe container, pressing a piece of parchment paper onto the surface before sealing the lid.
Freeze for a minimum of 4 hours to allow the homemade chocolate ice cream to firm up to a perfectly scoopable consistency; if you find your homemade ice cream gets too hard, remember that adding a tablespoon of corn syrup to the base can help keep it softer, similar to how fats affect baked goods like butter vs oil in cakes.
Tips for the Creamiest Texture
The texture is what separates a good frozen dessert from an absolutely phenomenal one, and achieving that velvety mouthfeel requires attention to detail during the chilling and churning phases.
The Importance of Full Chilling
Never rush the chilling process; the colder your chocolate ice cream base is before it enters the churner, the less time the machine has to churn air into the mixture, resulting in denser, smoother ice cream.
If you are making this ahead of time, consider preparing the base a day or two in advance for maximum flavor development and coldness before churning; this is useful if you are also preparing other treats, like strawberry hand pies, for a dessert spread.
Churning Alternatives (No Machine Required)
If you do not own a machine, you can still make this a wonderful no churn chocolate ice cream by pouring the chilled base into a shallow metal pan and placing it in the freezer.
Every 45 minutes for the first 3 hours, use a sturdy whisk or an electric hand mixer to vigorously beat the mixture, breaking up ice crystals until it becomes too firm to mix further, which mimics the churning action.
Flavor Variations and Serving Suggestions
Once you master this fundamental recipe, you can easily pivot into exciting new flavor profiles for your frozen creations.
Creating Double Chocolate Ice Cream
To elevate this to a true double chocolate ice cream experience, fold in one cup of mini chocolate chips or chocolate shavings during the last five minutes of churning.
Alternatively, a tablespoon of instant espresso powder dissolved into the warm milk mixture enhances the cocoa flavor significantly without making the final product taste like coffee.
Serving Suggestions for Gourmet Chocolate Ice Cream
This rich dessert pairs beautifully with slightly tart flavors to balance the sweetness, such as a drizzle of raspberry sauce or a side of fresh berries.
For an elegant finish, serve scoops alongside homemade baked goods, perhaps a small slice of brownie, similar to how one might serve oreo brownies, or alongside warm fruit tarts like mini apple pies in muffin tin.
Print
chocolate ice cream recipe Homemade Easy
- Total Time: PT4H35M
- Yield: About 1.5 Quarts 1x
- Diet: Vegetarian
Description
This recipe delivers intensely rich, dark chocolate ice cream that melts perfectly in your mouth. We offer two methods: the traditional custard base (best for churners) and a quick, foolproof no-churn version using sweetened condensed milk.
Ingredients
- 2 cups Heavy Cream (cold)
- 1 cup Whole Milk
- 3/4 cup Granulated Sugar
- 1/2 cup Unsweetened Cocoa Powder (high quality recommended)
- 1/4 teaspoon Salt
- 4 large Egg Yolks (for custard base only)
- 1 teaspoon Vanilla Extract
- (No-Churn Option: 1 (14-ounce) can Sweetened Condensed Milk, chilled)
Instructions
- Prepare the Base (Custard Method): In a medium saucepan, whisk together the milk, cocoa powder, salt, and sugar until the cocoa is dissolved. Heat over medium heat until steaming, but not boiling.
- In a separate bowl, whisk the egg yolks. Slowly temper the yolks by whisking in about 1 cup of the hot chocolate mixture. Pour the tempered yolk mixture back into the saucepan.
- Cook over low heat, stirring constantly with a wooden spoon, until the mixture thickens slightly and coats the back of the spoon (about 170°F). Do not boil.
- Remove from heat and stir in the vanilla extract. Strain the custard through a fine-mesh sieve into a clean bowl set over an ice bath to cool quickly. Chill completely in the refrigerator for at least 4 hours, or preferably overnight.
- Churning: Once chilled, whisk the cold heavy cream into the chilled chocolate base. Churn in an ice cream maker according to the manufacturer’s instructions until it reaches a soft-serve consistency. Freeze for 2-3 hours to firm up.
- No-Churn Method: Skip steps 1-3. In a large bowl, whisk together the chilled heavy cream until stiff peaks form. In a separate bowl, gently whisk the chilled sweetened condensed milk, cocoa powder, milk, salt, and vanilla until smooth. Gently fold the whipped cream into the chocolate mixture in three additions until just combined.
- Transfer the no-churn mixture to a freezer-safe container, cover tightly, and freeze for at least 6 hours until firm.
- Allow ice cream to temper on the counter for 5-10 minutes before scooping and serving.
Notes
- For a richer flavor, use dark or Dutch-processed cocoa powder.
- To enhance the chocolate flavor, add 1/2 teaspoon of instant espresso powder to the milk mixture while heating.
- This ice cream stores best in a shallow, airtight container.
- Prep Time: PT20M
- Cook Time: PT15M
- Category: Ice Cream
- Method: Churn or No-Churn
- Cuisine: American
Nutrition
- Serving Size: 1/2 cup
- Calories: 320
- Sugar: 30g
- Sodium: 110mg
- Fat: 21g
- Saturated Fat: 13g
- Carbohydrates: 28g
- Fiber: 2g
- Protein: 5g
- Cholesterol: 115mg







