
Halloween is a time for delightful chills and sweet treats, and what better way to embrace the season than with some wonderfully spooky cookie sandwiches? These delightful confections are perfect for parties, bake sales, or just a fun afternoon in the kitchen with loved ones. They offer a fantastic canvas for creativity, allowing you to transform simple cookies into edible works of art that are as fun to make as they are to eat. From creepy crawly spiders to friendly ghosts, the possibilities are endless. If you’re looking for some inspiration to get your creativity flowing, exploring Halloween cookie ideas can be a great starting point.
The Perfect Base: Choosing Your Cookie
The foundation of any great cookie sandwich is, of course, the cookie itself. For spooky cookie sandwiches, you have a few excellent options, each bringing its own charm and texture to the final treat. The key is to choose a cookie that holds its shape well during baking and is sturdy enough to sandwich with a filling without crumbling.
Classic Sugar Cookies
Sugar cookies are a baker’s best friend when it comes to decorated cookies. Their slightly crisp texture and buttery flavor make them a perfect base. They also hold their shape beautifully, which is crucial for creating neat and impressive Halloween cookie sandwiches.
Tips for Success:
- Chill the Dough: Always chill your sugar cookie dough thoroughly. This prevents the cookies from spreading too much in the oven, ensuring they remain uniform in size and shape for perfect sandwiching.
- Even Thickness: Roll out your dough to an even thickness, about 1/4 inch. This guarantees consistent baking times and makes assembly much easier.
- Don’t Overbake: Bake until the edges are just lightly golden. Overbaking can make the cookies too hard and brittle.
When making sugar cookies, the creaming method is essential for achieving the right texture. Understanding the creaming method for cakes and cookies will set you up for success.
Chocolate or Peanut Butter Cookies
For those who prefer richer flavors, chocolate or peanut butter cookies are fantastic choices. A good chocolate cookie can be dyed black or deep red for a dramatic effect, while peanut butter cookies offer a nutty counterpoint to sweet fillings. These are great for creating dark and mysterious haunted cookie sandwiches.
Mistakes to Avoid:
- Too Thin: If your chocolate or peanut butter cookies are too thin, they might break when you try to stack them.
- Overmixing: Overmixing the dough can lead to tough cookies. Mix just until the ingredients are combined.
Spice Cookies
Consider a spiced cookie for a classic fall flavor. A gingerbread or a pumpkin spice cookie recipe provides a warm, aromatic base that perfectly complements the Halloween theme. These are particularly good for creating pumpkin cookie sandwiches or other autumnal spooky desserts.
Examples:
- A spiced pumpkin cookie can be paired with a cream cheese frosting for a delightful pumpkin cookie sandwich.
- Gingerbread cookies, with their firm texture, are excellent for more intricate designs like witch cookie sandwiches or Frankenstein cookie sandwiches.
If you’re looking for a ready-made recipe, consider a pumpkin spice cookies recipe as a starting point.
Creative Fillings for Your Spooky Cookie Sandwiches

The filling is just as important as the cookie! It binds the two halves together and adds another layer of flavor and texture. For Halloween cookie sandwiches, think about colors and flavors that enhance the spooky theme.
Buttercream Frosting
Classic buttercream is versatile and delicious. You can easily color it to match your spooky theme. Black, orange, purple, or even a deep green are perfect for Halloween.
Tips:
- American Buttercream: This is typically made with butter, powdered sugar, and a liquid (like milk or cream). It’s easy to make and holds its color well.
- Coloring: Use gel food coloring for vibrant colors without adding too much extra liquid. A little goes a long way!
- Flavor Extracts: Add a touch of vanilla, almond, or even peppermint extract for an extra flavor dimension.
Cream Cheese Frosting
For a slightly tangier and richer filling, cream cheese frosting is a wonderful option. It pairs beautifully with spice cookies and chocolate cookies.
Examples:
- A white cream cheese frosting can be tinted grey or green for ghost cookie sandwiches or monster cookie sandwiches.
- Chocolate cream cheese frosting is perfect for a darker, more mysterious haunted cookie sandwich.
No-Bake Options
If you’re short on time or want to make easy Halloween cookies, consider no-bake fillings. These are often simpler and can be assembled quickly.
Helpful List: No-Bake Filling Ideas
- Whipped Cream or Cool Whip: Light and airy, this is a quick and easy filling. It can be flavored or colored.
- Ganache: A simple mixture of chocolate and cream, ganache can be rich and decadent.
- Cookie Butter: This spreadable cookie butter is delicious on its own and works well for no-bake spooky cookies.
For a lighter touch, consider no bake cheesecake with cool whip as inspiration for light and airy fillings.
Decorating Your Spooky Cookie Sandwiches

This is where the real fun begins! Decorating allows you to bring your spooky cookie recipes to life and create truly memorable Halloween treats.
Another favorite of ours is the How To Make Ice Cream At Home.
Ghost Cookie Sandwiches
These are a classic for a reason! Use round sugar cookies and a white or pale grey frosting. Pipe a simple ghost shape, leaving a small space at the bottom for the “body.” Use black edible marker or small dots of black frosting for the eyes.
Mummy Cookie Sandwiches
For mummy cookie sandwiches, use any cookie base. Frost with white or cream cheese frosting. Then, using a piping bag with a small round tip or even a Ziploc bag with a corner snipped off, pipe thin, irregular strips of frosting across the cookie to resemble mummy bandages. Leave a small gap for two candy eyes.
Monster Cookie Sandwiches
Get creative with monster cookie sandwiches! Use brightly colored frosting (green, purple, blue) and add edible googly eyes, sprinkles, or even small candy pieces for horns or teeth. You can make them cute or truly monstrous!
Spiderweb Cookie Sandwiches
Decorate your cookie sandwiches with a spiderweb design. Frost the cookie with black or dark purple frosting. Then, pipe concentric circles of white or light grey frosting on top. Drag a toothpick from the center outwards to create the web effect. Add a small plastic spider for an extra creepy touch.
Frankenstein Cookie Sandwiches
Use green frosting for the base. Pipe black frosting for the hair and facial features. You can also add small bolts or stitches using black icing or edible markers.
Bat Cookie Sandwiches
Use chocolate cookies and a dark chocolate frosting or ganache. You can cut small bat wing shapes from black fondant or dark chocolate candy melts to attach to the sides of the sandwich.
Cauldron Cookie Sandwiches
Use black or dark green frosting. You can pipe bubbling effects around the edges with green or orange frosting. Add some edible glitter for a magical touch.
Graveyard Cookie Sandwiches
Crush chocolate cookies to resemble dirt. Frost the cookie sandwich with chocolate frosting and then press the crushed cookies on top. You can add small cookie or candy tombstones.
Candy Corn Cookie Sandwiches
Use cookies that are roughly the shape of a candy corn. Frost with layers of yellow, orange, and white frosting to mimic the candy corn colors.
Tips for Assembling and Storing
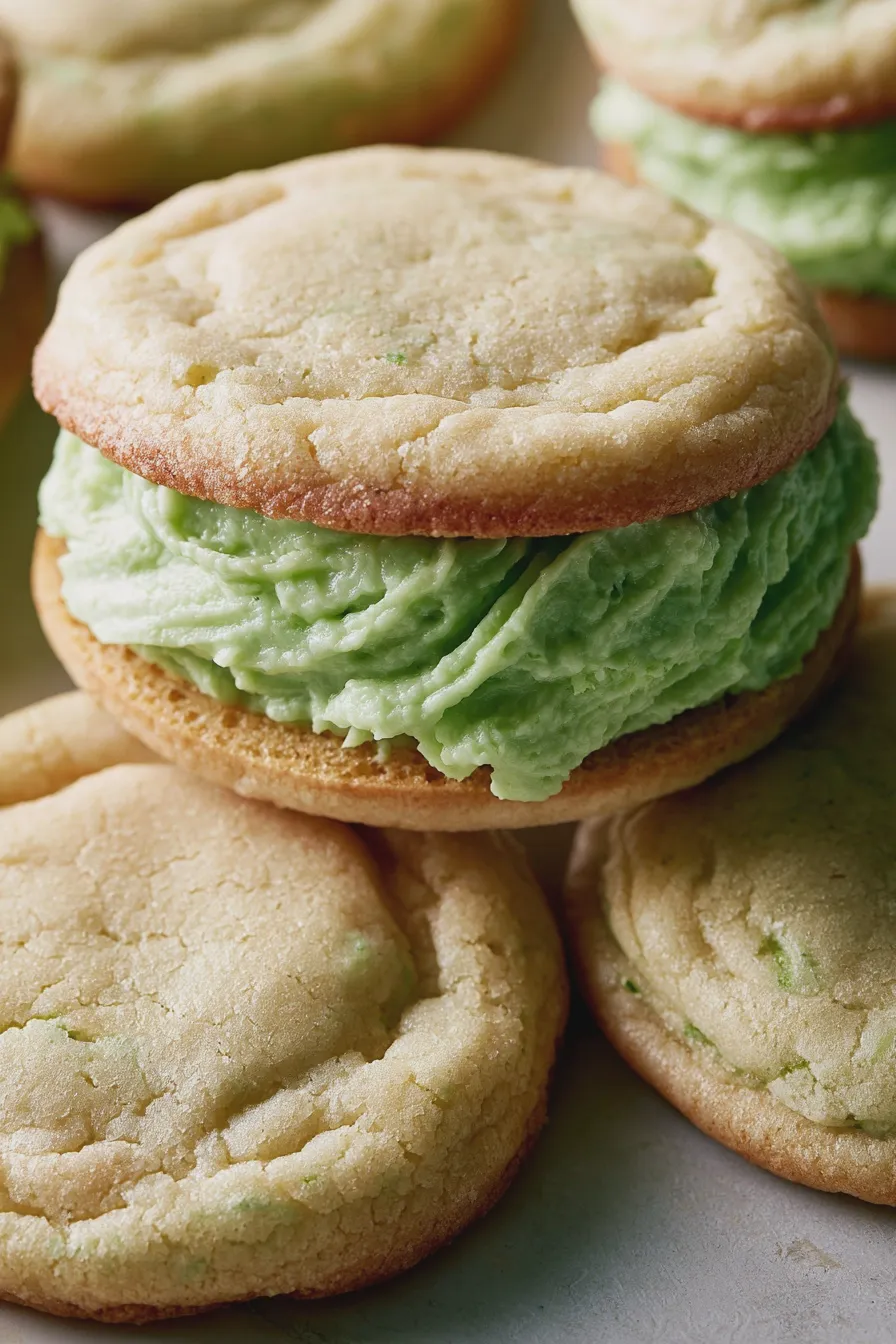
Once your cookies are baked and cooled, and your fillings and decorations are ready, it’s time for assembly. Proper assembly and storage will ensure your spooky cookie sandwiches stay fresh and delicious.
Assembly Tips
- Cool Completely: Ensure cookies are completely cooled before adding filling. Warm cookies will melt the frosting.
- Even Frosting: Use an offset spatula or a piping bag to apply an even layer of filling to one cookie, then top with the second cookie.
- Press Gently: Press the cookies together gently to spread the filling to the edges without causing the cookies to break.
- Decorate After Assembly: For designs that cover the entire cookie, it’s often easier to decorate the assembled sandwich rather than individual cookies.
Storage Instructions
Store your decorated Halloween cookie sandwiches in an airtight container. If they have a buttercream or cream cheese frosting, they are best stored at room temperature for a day or two, or in the refrigerator for up to a week. If using a filling that requires refrigeration (like homemade ice cream), keep them frozen.
For those who love ice cream-filled cookies, you might want to explore easy homemade ice cream recipes or even cookie dough ice cream as a filling, though these will require freezing.
Print
Spooky Cookie Sandwiches Recipe for a Hauntingly Good Treat
- Total Time: PT40M
- Yield: 24 cookie sandwiches 1x
- Diet: Vegetarian
Description
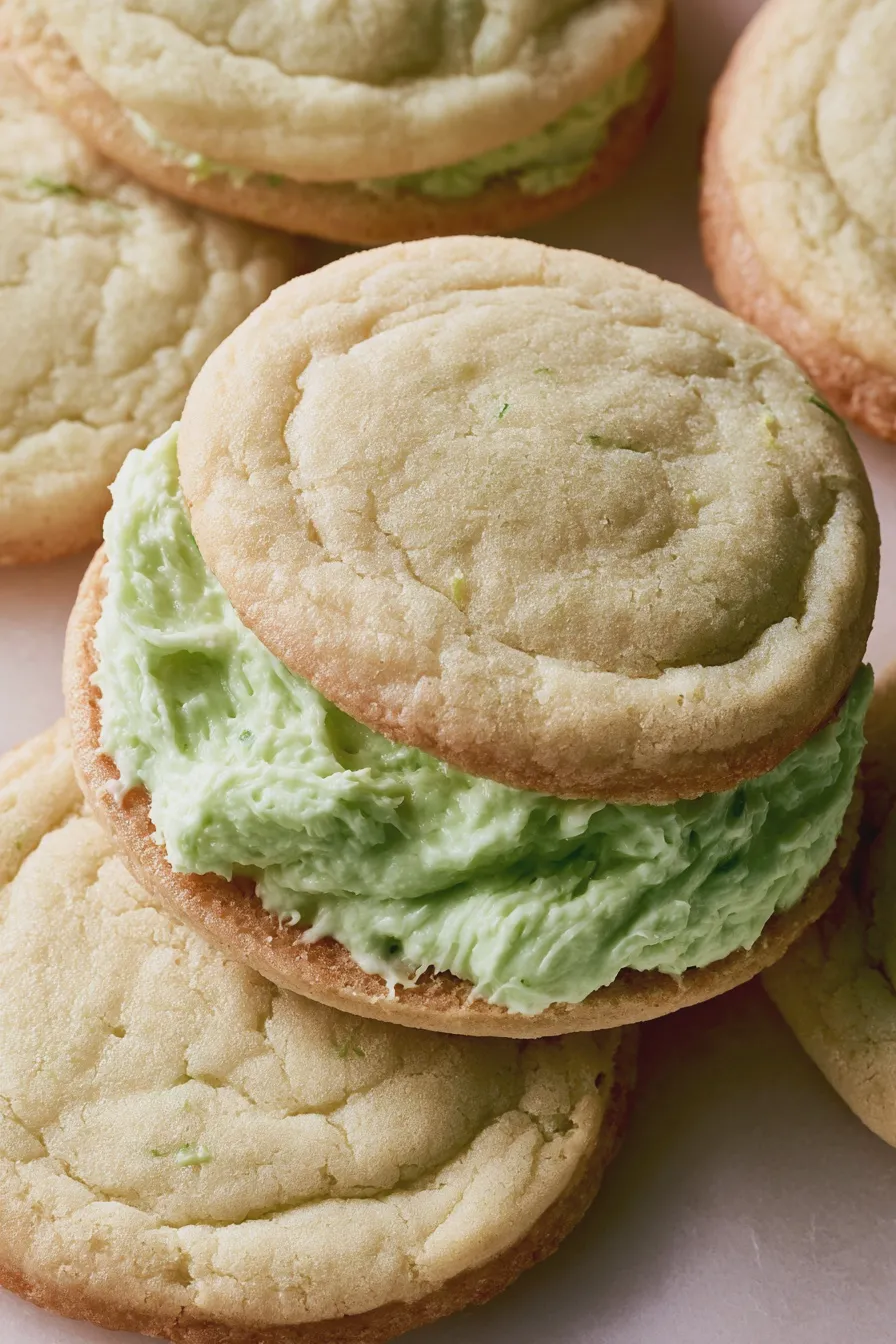
Whip up these spooktacular Halloween Cookie Sandwiches featuring a creamy, eerie green filling and a hint of lime. Perfect for parties!
Ingredients
- 1 cup (2 sticks) unsalted butter, softened
- 3/4 cup granulated sugar
- 3/4 cup packed light brown sugar
- 2 large eggs
- 1 teaspoon vanilla extract
- 2 3/4 cups all-purpose flour
- 1 teaspoon baking soda
- 1/2 teaspoon salt
- 1/4 cup fresh lime juice
- 1/2 teaspoon lime zest
- For the Filling:
- 8 oz cream cheese, softened
- 1/2 cup (1 stick) unsalted butter, softened
- 3 cups powdered sugar
- 1/4 cup heavy cream
- 1/2 teaspoon vanilla extract
- Green food coloring (gel or liquid)
Instructions
- Preheat oven to 350°F (175°C). Line baking sheets with parchment paper.
- In a large bowl, cream together softened butter, granulated sugar, and brown sugar until light and fluffy.
- Beat in eggs one at a time, then stir in vanilla extract.
- In a separate bowl, whisk together flour, baking soda, and salt.
- Gradually add the dry ingredients to the wet ingredients, mixing until just combined.
- Stir in the lime juice and lime zest. The dough will be slightly soft.
- Drop rounded tablespoons of dough onto the prepared baking sheets, about 2 inches apart.
- Bake for 9-11 minutes, or until the edges are lightly golden and the centers are still slightly soft. Let cool on the baking sheets for a few minutes before transferring to a wire rack to cool completely.
- For the filling: In a large bowl, beat together cream cheese and softened butter until smooth.
- Gradually add powdered sugar, alternating with heavy cream, beating until smooth and creamy.
- Stir in vanilla extract. Add green food coloring a few drops at a time until desired spooky green color is achieved.
- Once cookies are completely cool, spread a generous amount of filling onto the bottom of one cookie and top with another cookie to create a sandwich.
- Repeat with remaining cookies. Store in an airtight container.
Notes
- For an extra spooky touch, you can add a few drops of black food coloring to some of the filling to create a marbled effect.
- These cookies can be stored at room temperature for up to 3 days or in the refrigerator for up to a week.
- Ensure cookies are completely cooled before filling to prevent the filling from melting.
- Prep Time: PT30M
- Cook Time: PT10M
- Category: Cookies
- Method: Baking
- Cuisine: American
Nutrition
- Serving Size: 1 cookie sandwich
- Calories: 350
- Sugar: 30g
- Sodium: 150mg
- Fat: 18g
- Saturated Fat: 11g
- Unsaturated Fat: 7g
- Trans Fat: 0g
- Carbohydrates: 45g
- Fiber: 1g
- Protein: 3g
- Cholesterol: 60mg







