
Halloween is a time for all things spooky and sweet, and what could be more fun than a batch of delightful skeleton cookies? These playful treats are perfect for parties, school events, or just a cozy night in with the family. Whether you’re a seasoned baker or just starting out, this guide will walk you through creating perfect skeleton cookies that are as delicious as they are charming. Get ready to impress your guests with these festive creations! For more inspiration on holiday baking, check out Halloween cookie ideas.
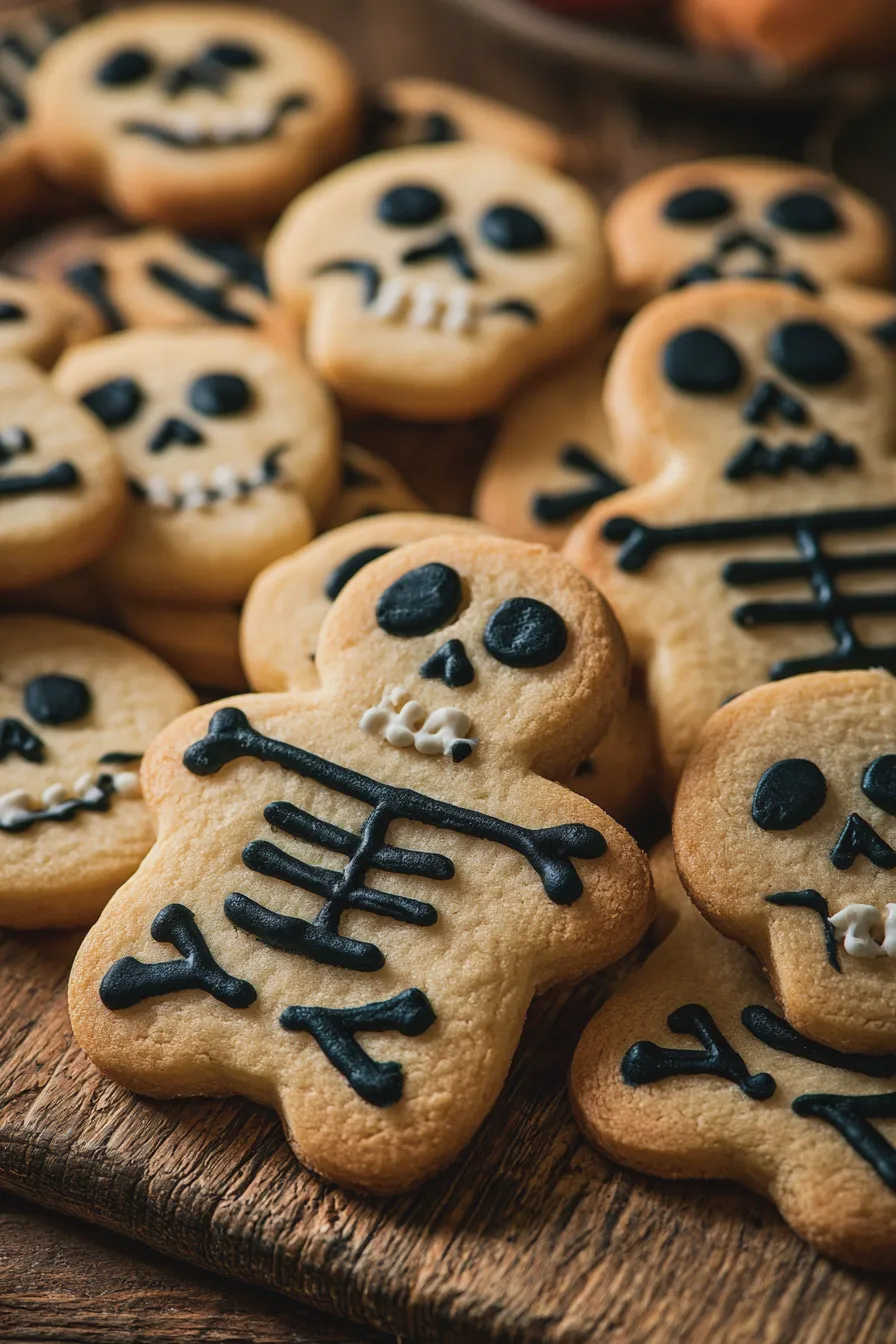
The Best Skeleton Cookie Recipe
Crafting the perfect skeleton cookie starts with a solid base recipe. We’ll be using a classic sugar cookie dough, which is versatile and holds its shape beautifully when baked. This recipe is designed to be straightforward, ensuring even novice bakers can achieve fantastic results. The key to successful sugar cookies is in the ingredients and the technique, so let’s dive in!
Ingredients You’ll Need
Gathering your ingredients is the first step to baking success. For our skeleton cookies, you’ll need:
- 2 ½ cups all-purpose flour, plus more for dusting
- 1 teaspoon baking powder
- ½ teaspoon salt
- 1 cup (2 sticks) unsalted butter, softened
- 1 ½ cups granulated sugar
- 2 large eggs
- 1 teaspoon vanilla extract
- Optional: black and white food coloring for black and white skeleton cookies
Step-by-Step Baking Instructions
Follow these steps carefully to create your delicious skeleton cookie base.
Looking for more? Try this delicious Creaming Method For Cakes And Cookies next.
- Combine Dry Ingredients: In a medium bowl, whisk together the flour, baking powder, and salt. Set aside.
- Cream Butter and Sugar: In a large bowl, beat the softened butter and granulated sugar together until light and fluffy. This step is crucial for a tender cookie texture. For a detailed guide, see how to cream butter and sugar.
- Add Wet Ingredients: Beat in the eggs one at a time, then stir in the vanilla extract.
- Combine Wet and Dry: Gradually add the dry ingredients to the wet ingredients, mixing on low speed until just combined. Be careful not to overmix.
- Divide and Color (Optional): If you’re making black and white skeleton cookies, divide the dough in half. Leave one half plain and add black food coloring to the other, mixing until the desired shade is reached.
- Chill the Dough: Divide the dough into two discs, wrap them in plastic wrap, and refrigerate for at least 1 hour. Chilling the dough makes it easier to handle and prevents the cookies from spreading too much.
- Preheat Oven and Prepare Baking Sheets: Preheat your oven to 375°F (190°C). Line baking sheets with parchment paper.
- Roll and Cut: On a lightly floured surface, roll out the chilled dough to about ¼-inch thickness. Use your skeleton cookie cutters to cut out shapes. If you don’t have cutters, you can freehand simple skeleton shapes or use a stencil.
- Bake: Place the cut-out cookies onto the prepared baking sheets, leaving about 1 inch between them. Bake for 8-10 minutes, or until the edges are lightly golden.
- Cool: Let the cookies cool on the baking sheets for a few minutes before transferring them to a wire rack to cool completely.
Tips for Perfect Skeleton Cookies
Achieving consistently good skeleton cookies involves a few key practices:
- Don’t Overmix: Overmixing the dough can develop gluten, resulting in tough cookies. Mix until just combined.
- Chill Thoroughly: Cold dough is firm dough. This prevents your spooky skeletons from spreading into amorphous blobs in the oven.
- Consistent Thickness: Roll your dough to an even thickness so cookies bake uniformly.
- Watch the Oven: Baking times can vary. Keep an eye on your cookies, especially during the last few minutes, to prevent burning.
- Proper Cooling: Allow cookies to set on the baking sheet for a few minutes before moving them. This helps them firm up.
Common Skeleton Cookie Mistakes to Avoid
Even experienced bakers can run into issues. Here are some common mistakes and how to avoid them:
- Dough Too Warm: If the dough is too soft, it will spread excessively. Ensure it’s well-chilled.
- Oven Not Hot Enough: An underheated oven can also lead to spreading. Use an oven thermometer to ensure accuracy.
- Over-Baking: This is a common culprit for dry, hard cookies. Aim for just-golden edges.
- Not Enough Flour: While you don’t want to add too much, a slight dusting when rolling is necessary to prevent sticking.
- Skipping the Chill: This is perhaps the most critical step for shaped cookies. Don’t skip it!
Decorating Your Spooky Skeleton Cookies
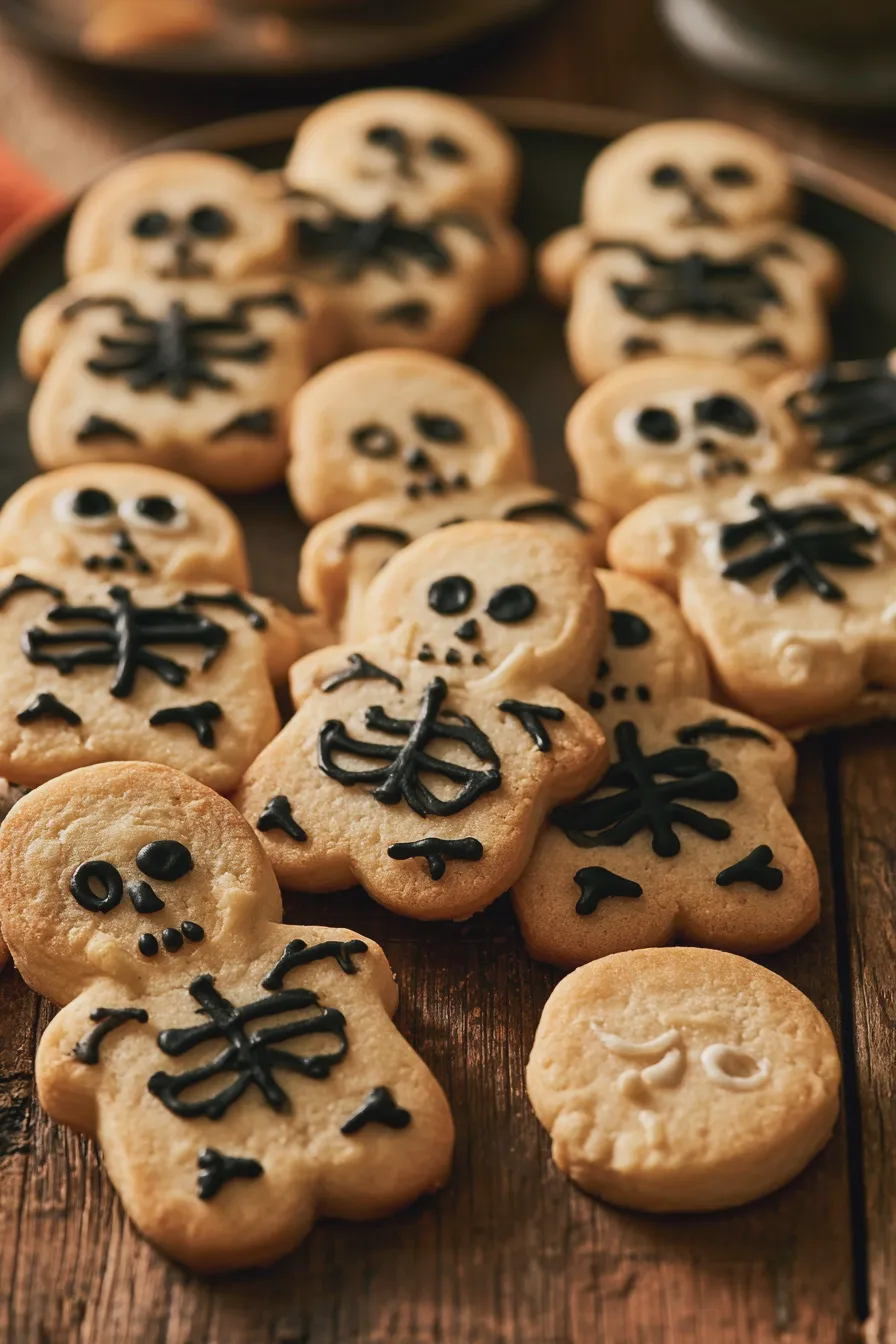
Once your skeleton cookies are baked and cooled, the real fun begins: decorating! This is where your creativity can truly shine and transform simple cookies into edible art. Whether you’re aiming for cute skeleton cookies for kids or more elaborate, scary skeleton cookies, the possibilities are endless.
Don’t miss out on our guide to How To Make Ice Cream At Home.
Essential Decorating Supplies
To bring your skeletons to life, you’ll want a few key supplies:
- Royal icing (various colors like white, black, red, and grey)
- Piping bags and tips (small round tips are great for details)
- Food coloring (gel colors work best for vibrant hues)
- Edible markers or food-safe pens
- Sprinkles, edible glitter, or edible skeleton decorations
Simple Skeleton Cookie Decorating Ideas
Here are a few ideas to get you started with decorating your Halloween skeleton cookies:
- Classic Black and White: Use white royal icing to outline and flood the cookie. Once dry, use black icing to draw the skeleton face, ribs, and limbs.
- Ghostly Skeletons: Use a lighter grey or off-white icing for the body and black for the details. Add a touch of red for eerie eyes or a spooky mouth.
- Color Pop Skeletons: Use bright, unexpected colors for the skeleton details against a plain cookie base. Think neon green or electric blue for a modern twist.
- Black Skeleton Cookies: If you made black dough, use white or bone-colored icing for the details. This creates a striking contrast.
- Adding Texture: Use a skeleton cookie stencil with powdered sugar or cocoa powder for a quick, textured effect.
Advanced Decorating Techniques
For those looking to elevate their skeleton cookie game:
Looking for more? Try this delicious How To Fold Ingredients Without Deflating next.
- Wet-on-Wet Technique: Flood the cookie with a base color. While the base is still wet, drop dots of a contrasting color onto it. Use a toothpick to swirl the colors together for marbled effects.
- Piping Details: Practice piping fine lines for bones, joints, and facial features. A steady hand and the right tip make all the difference.
- Layering Icing: Allow one layer of icing to dry completely before adding another. This prevents colors from bleeding and allows for dimensional details.
- Edible Paint: Use edible food paints to add shading and depth to your skeleton designs.
Variations for Your Skeleton Cookies
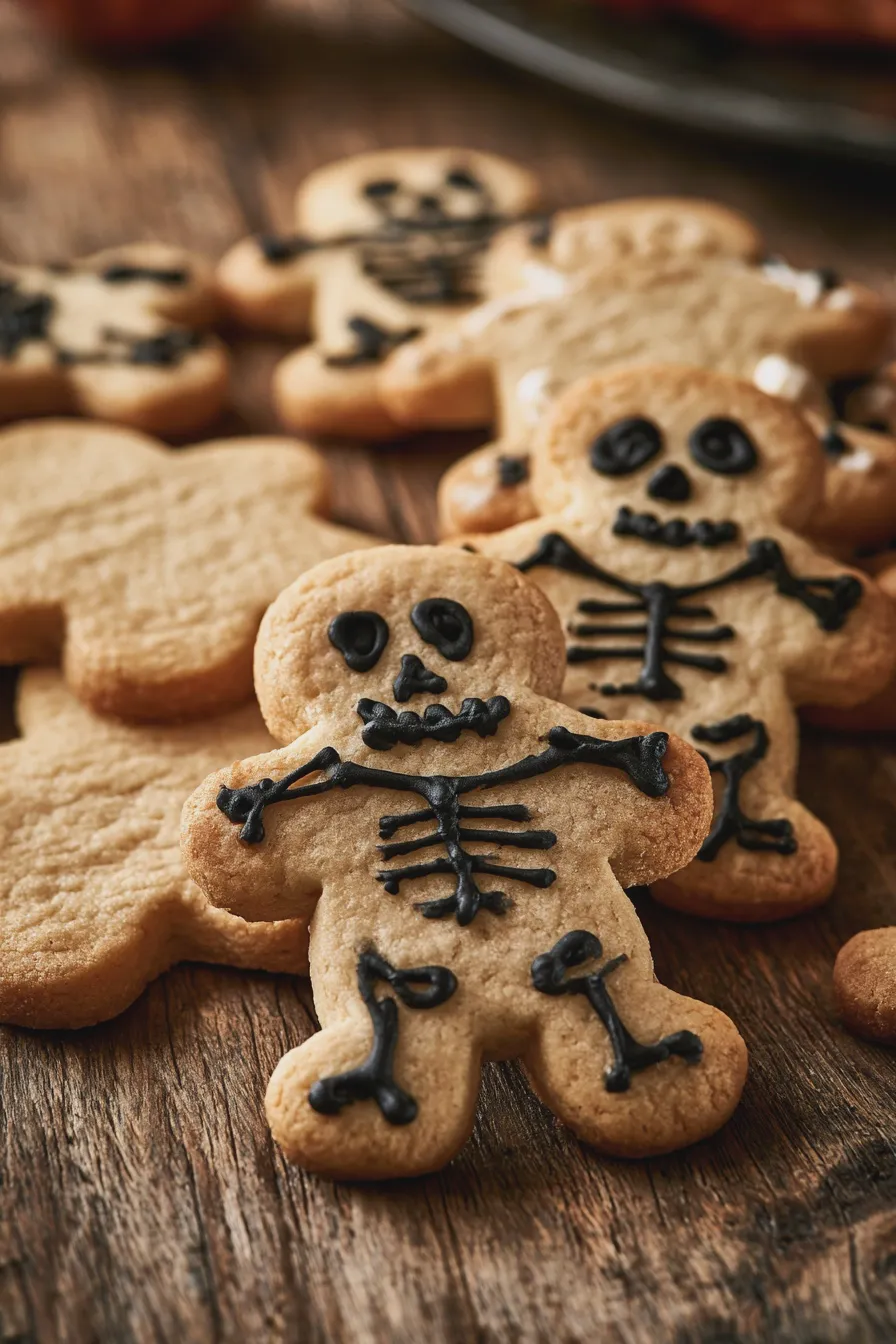
Don’t limit yourself to just one type of skeleton cookie! Experiment with different flavors and styles to keep your Halloween treats exciting.
Chocolate Skeleton Cookies
For the chocolate lovers, swap out some of the all-purpose flour for cocoa powder. Use about ½ cup of unsweetened cocoa powder and reduce the all-purpose flour to 2 cups. This creates a rich chocolate cookie base perfect for spooky designs.
Gingerbread Skeleton Cookies
Gingerbread is a classic fall and winter flavor that works wonderfully for Halloween. Add 1 teaspoon of ground ginger, ½ teaspoon of cinnamon, and ¼ teaspoon of cloves to the dry ingredients. You might also want to add a tablespoon of molasses to the wet ingredients for that classic gingerbread taste. These make for delicious gingerbread skeleton cookies.
Don’t miss out on our guide to How To Prepare A Cake Pan To Prevent Sticking.
No-Bake Skeleton Cookies
If you’re short on time or want a fun activity with younger children, consider no-bake options. You can use pre-made cookies like shortbread or vanilla wafers and decorate them with icing. Another option is to make a no-bake cookie dough base, shape it, and then decorate.
Skeleton Cookies for Every Occasion
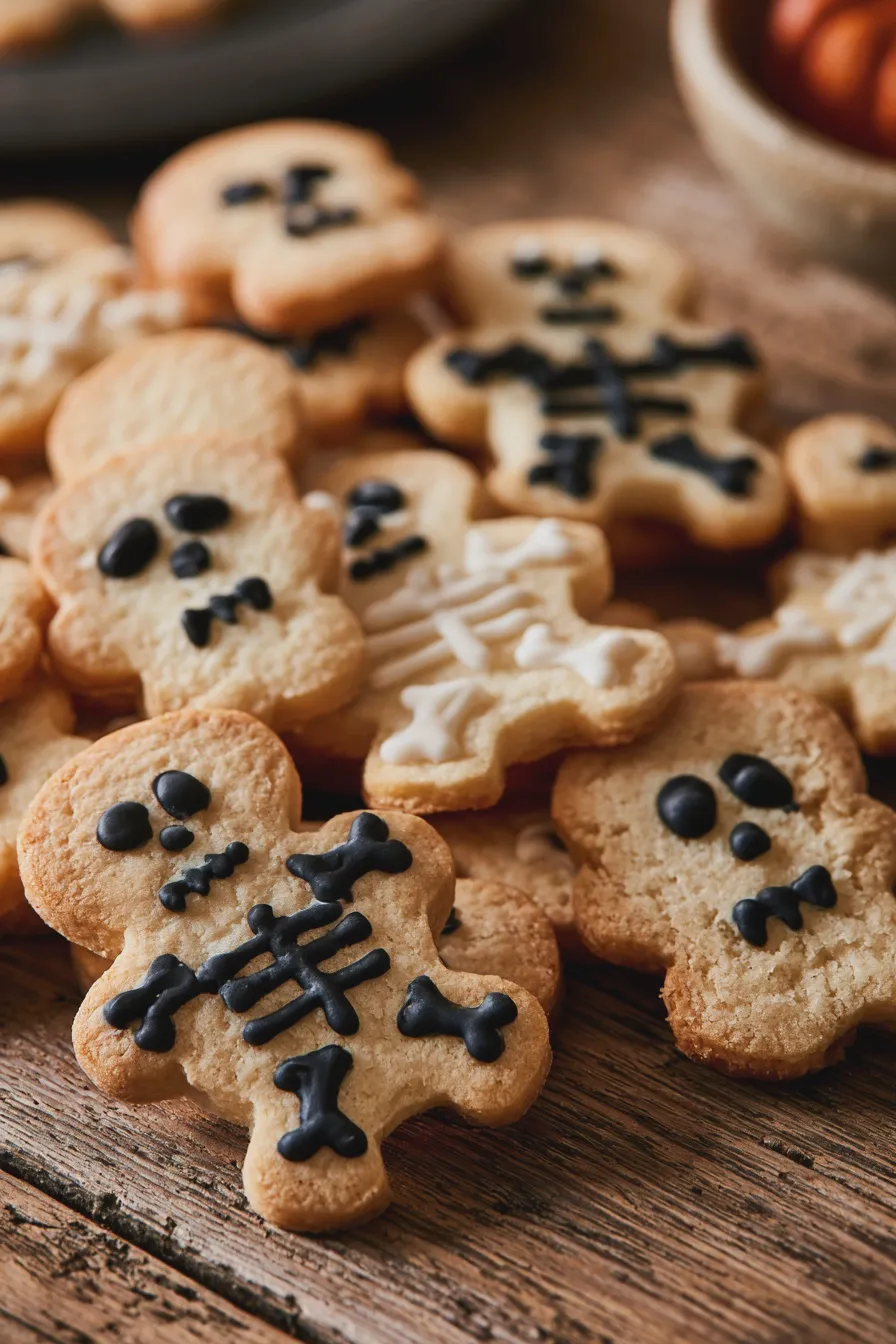
While perfect for Halloween, skeleton cookies can be adapted for other themes too. Their distinctive shape lends itself well to various interpretations, making them a versatile addition to your baking repertoire. These are some of the most popular halloween treats that families enjoy making together.
Skeleton Cookies for Kids
When baking for children, focus on simple designs and bright colors. Cute skeleton cookies with big eyes and smiling faces are always a hit. Consider making larger cookies that are easier for little hands to decorate.
Another favorite of ours is the Why Did My Cake Sink In The Middle.
Spooky and Scary Skeleton Cookies
For an adult Halloween party or for those who love a good scare, go for more intricate and eerie designs. Think cracked bones, glowing eyes, or even a zombie-like skeleton. These can also be made with darker doughs or icings to enhance the spooky factor.
Beyond Halloween
While they are a Halloween staple, skeleton cookies can be used for other events. Imagine black and white skeleton cookies for a gothic-themed party or even as a unique element in a dessert table for a medical or science-themed event. They also pair well with other spooky cookies like ghost cookies, witch cookies, and monster cookies.
Print
Skeleton Cookies Recipe for Spooky Halloween Fun
Description
These classic skeleton cookies are a fun and spooky treat perfect for Halloween parties. Easy to make and decorate, they’re sure to be a hit with kids and adults alike!
Ingredients
- 1 cup (2 sticks) unsalted butter, softened
- 1 1/2 cups granulated sugar
- 1 large egg
- 1 teaspoon vanilla extract
- 3 cups all-purpose flour
- 1 teaspoon baking powder
- 1/2 teaspoon salt
- For Decoration (Optional): Royal icing, black edible marker
Instructions
- In a large bowl, cream together the softened butter and granulated sugar until light and fluffy.
- Beat in the egg and vanilla extract until well combined.
- In a separate bowl, whisk together the all-purpose flour, baking powder, and salt.
- Gradually add the dry ingredients to the wet ingredients, mixing until just combined.
- Divide the dough in half, flatten each half into a disc, wrap in plastic wrap, and refrigerate for at least 1 hour.
- Preheat your oven to 375°F (190°C). Line baking sheets with parchment paper.
- On a lightly floured surface, roll out one disc of dough to about 1/4-inch thickness.
- Using a skeleton-shaped cookie cutter, cut out cookies and carefully place them on the prepared baking sheets, leaving about 2 inches between them.
- Bake for 10-12 minutes, or until the edges are lightly golden.
- Let the cookies cool on the baking sheets for a few minutes before transferring them to a wire rack to cool completely.
- Once completely cooled, decorate with royal icing to create skeleton features, or leave them plain for a simple, elegant look.
Notes
- Ensure the dough is well chilled before rolling and cutting to prevent spreading.
- If the dough becomes too soft while working, return it to the refrigerator for a few minutes.
- Baking time may vary depending on your oven. Watch cookies closely to prevent over-baking.
- Decorate with your favorite Halloween-themed icing colors!
Nutrition
- Calories: 200
- Sugar: 15g
- Sodium: 50mg
- Fat: 10g
- Carbohydrates: 25g
- Protein: 2g







