
Halloween is a time for spooky delights and delightful treats, and what could be more fitting for your next haunted gathering than some bewitching vampire cake pops? These bite-sized confections are not only adorable but also incredibly fun to make and even more fun to eat. Whether you’re a seasoned baker or just starting out, this guide will walk you through creating the perfect vampire cake pops recipe. Get ready to sink your teeth into this truly fang-tastic dessert that’s sure to be a hit with all your guests, big and small. For more inspiration on creating show-stopping Halloween treats, you might want to explore some Halloween dessert ideas.
What Are Vampire Cake Pops?
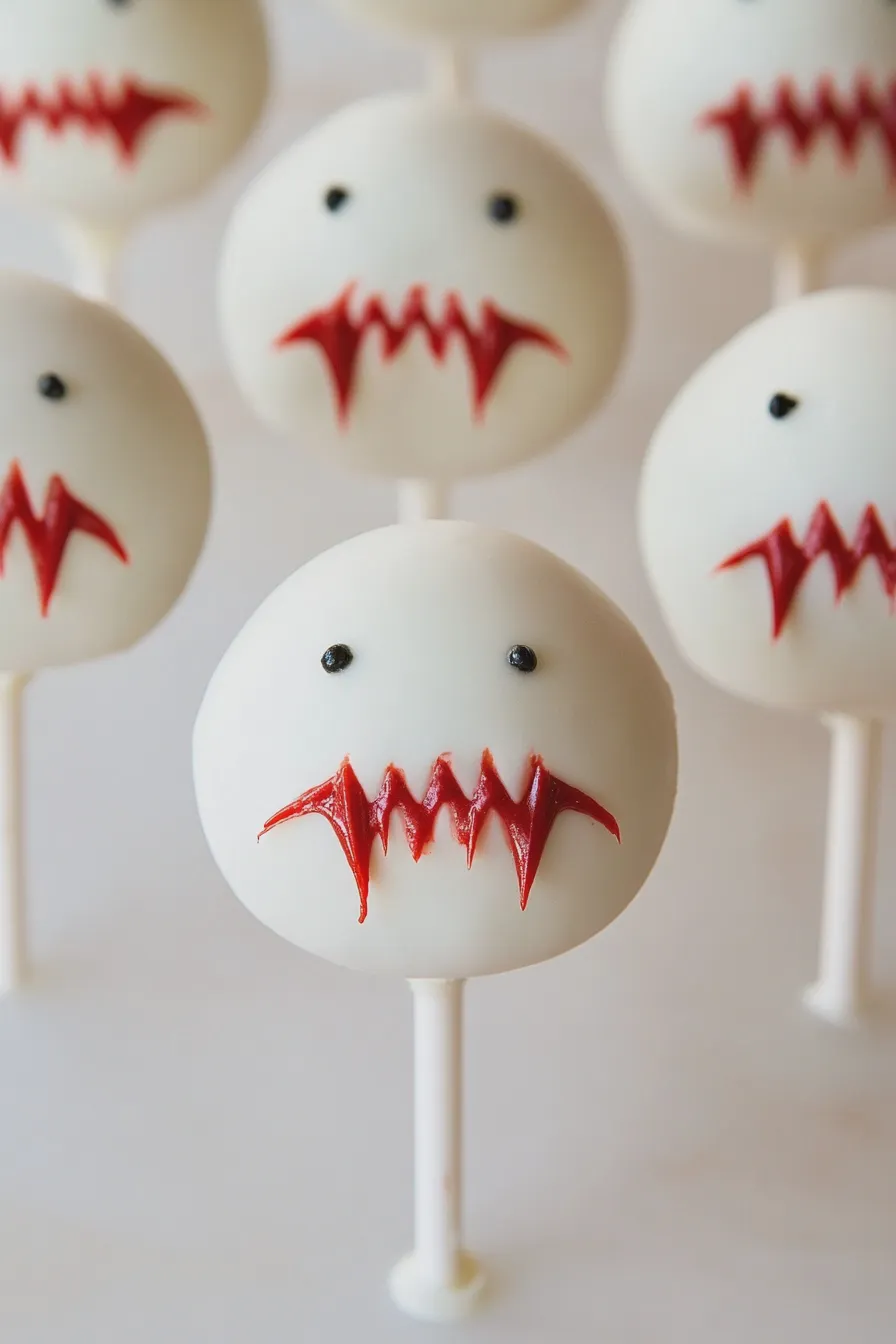
Vampire cake pops are a fun and festive twist on the classic cake pop. They typically feature a rich chocolate cake base, rolled into balls, dipped in a vibrant red or dark chocolate coating, and decorated with spooky vampire-themed elements. Think dripping “blood,” sharp fangs, or even little vampire bats. They are a fantastic addition to any themed cake pops assortment and perfect for a vampire-themed party food spread. The beauty of cake pops is their versatility; you can customize them to fit any theme, and these spooky cake pops are no exception. For a deeper dive into the world of cake pops, understanding the basic techniques is key, and resources like cake pop recipes can be incredibly helpful.
Gathering Your Vampire Cake Pops Ingredients
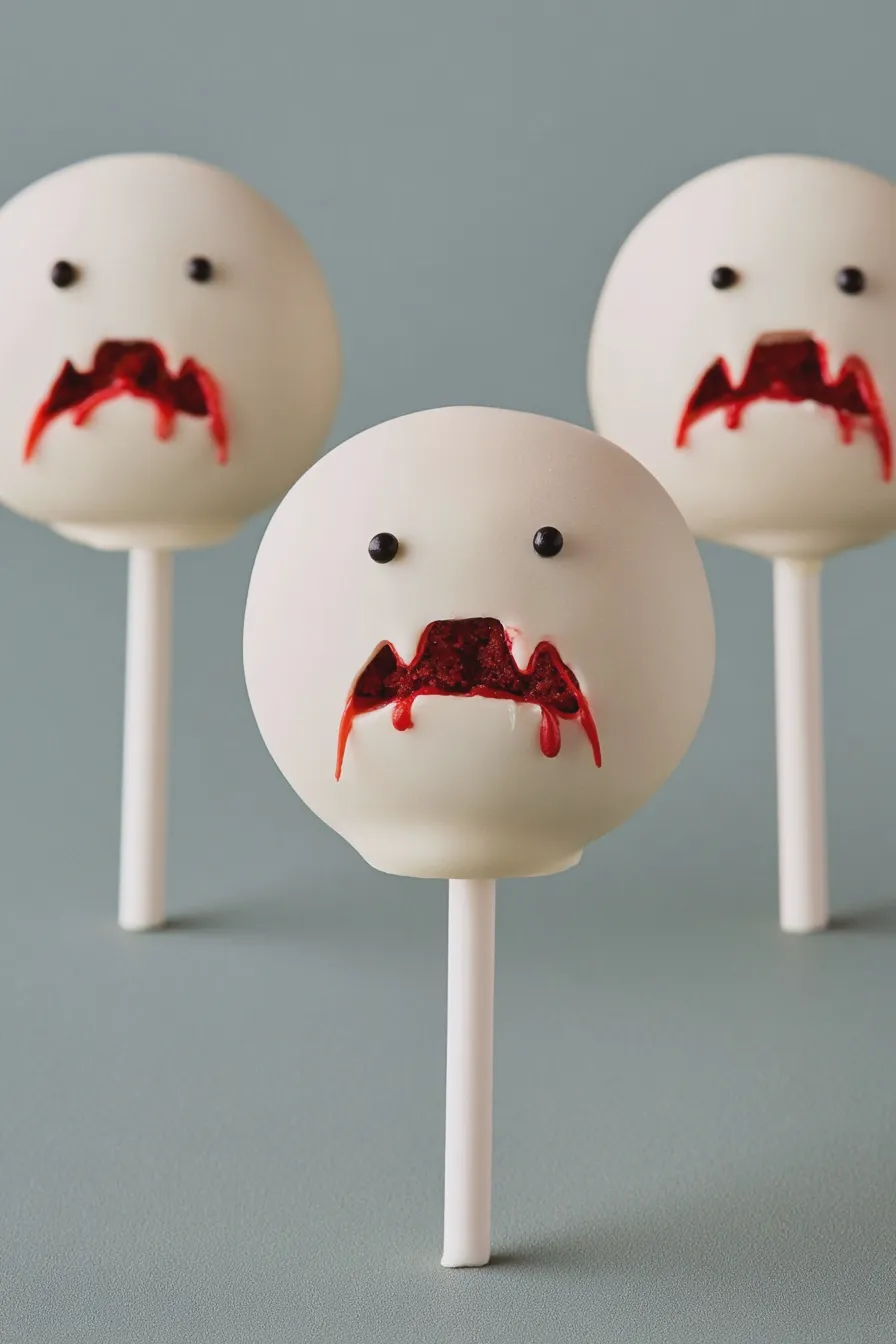
To create these delightful diy vampire cake pops, you’ll need a few key ingredients. The foundation is your cake, and you have options. You can bake your favorite cake from scratch or use a box mix for convenience. Chocolate cake is a classic choice for a deeper flavor, making chocolate vampire cake pops a popular option. Red velvet cake is also a fantastic choice, lending a natural crimson hue that complements the vampire theme, making red velvet vampire cake pops a perfect contender.
Beyond the cake, you’ll need:
Don’t miss out on our guide to Chocolate Zucchini Cake.
- Frosting: This acts as the “glue” to bind the cake crumbs together, creating a dough-like consistency. Cream cheese frosting or a simple buttercream works well.
- Candy Melts or Chocolate: For dipping. Red candy melts are ideal for creating that signature “blood red” look, while dark chocolate or black candy melts can create a more gothic vampire aesthetic.
- Cake Pop Sticks: Essential for holding your pops.
- Decorations: This is where the vampire magic happens! You might want black sprinkles, edible white gel pens for drawing fangs, edible silver or gold balls for eyes, or even pre-made edible vampire teeth.
- Optional: Shortening or Coconut Oil: A small amount can help thin the candy melts for a smoother dip.
Having these items ready will ensure a smooth and enjoyable baking process, leading to perfectly crafted blood red cake pops.
Step-by-Step Guide to Making Vampire Cake Pops
Let’s get down to the fun part – creating your vampire cake pops recipe from scratch!
1. Prepare Your Cake
First, bake your chosen cake according to the recipe or box instructions. Allow it to cool completely. Once cooled, crumble the cake into fine crumbs in a large bowl. This is a crucial step for achieving the right texture. If your cake is too chunky, your pops might fall apart. Think of it like making cookie dough – you want a uniform consistency.
Don’t miss out on our guide to How To Prepare A Cake Pan To Prevent Sticking.
2. Mix the Cake Pop Dough
Add your frosting to the cake crumbs. Start with a smaller amount, about half the amount of frosting to cake, and mix it in thoroughly. You want the mixture to be moist enough to hold together when squeezed, but not sticky or overly wet. Gradually add more frosting, a tablespoon at a time, until you reach the perfect dough-like consistency. This is where the magic begins to bind everything together.
3. Roll and Chill Your Cake Balls
Using a tablespoon as a guide, scoop out portions of the cake mixture and roll them into smooth, uniform balls. Aim for about 1 to 1.5 inches in diameter. Consistency in size ensures even dipping and a professional look. Place the rolled balls on a baking sheet lined with parchment paper. Once all your balls are rolled, pop the baking sheet into the refrigerator for at least 30 minutes, or the freezer for about 15 minutes. Chilling the cake balls helps them hold their shape during the dipping process and prevents them from crumbling.
4. Melt Your Coating
While the cake balls are chilling, prepare your dipping coating. Place your chosen candy melts or chocolate in a microwave-safe bowl. Microwave in 30-second intervals, stirring well after each interval, until smooth and fully melted. Be careful not to overheat chocolate, as it can seize up. If using candy melts, you can add a teaspoon of shortening or coconut oil to achieve a thinner, smoother consistency for easier dipping. For those aiming for a deep, dramatic look, consider using dark chocolate vampire cake pops.
Looking for more? Try this delicious Why Did My Cake Sink In The Middle next.
5. Dip Your Cake Pops
Remove the chilled cake balls from the refrigerator. Dip the tip of a cake pop stick into the melted coating, then insert it about halfway into a cake ball. This helps secure the stick. Let it set for a moment. Now, carefully dip the entire cake ball into the melted coating, allowing any excess to drip back into the bowl. For perfect dipping, ensure your coating is the right consistency – not too thick, not too thin. If it’s too thick, add a little more shortening or oil. Once dipped, gently tap the stick on the side of the bowl to remove excess coating. You want a smooth, even layer.
6. Decorate Your Vampire Cake Pops
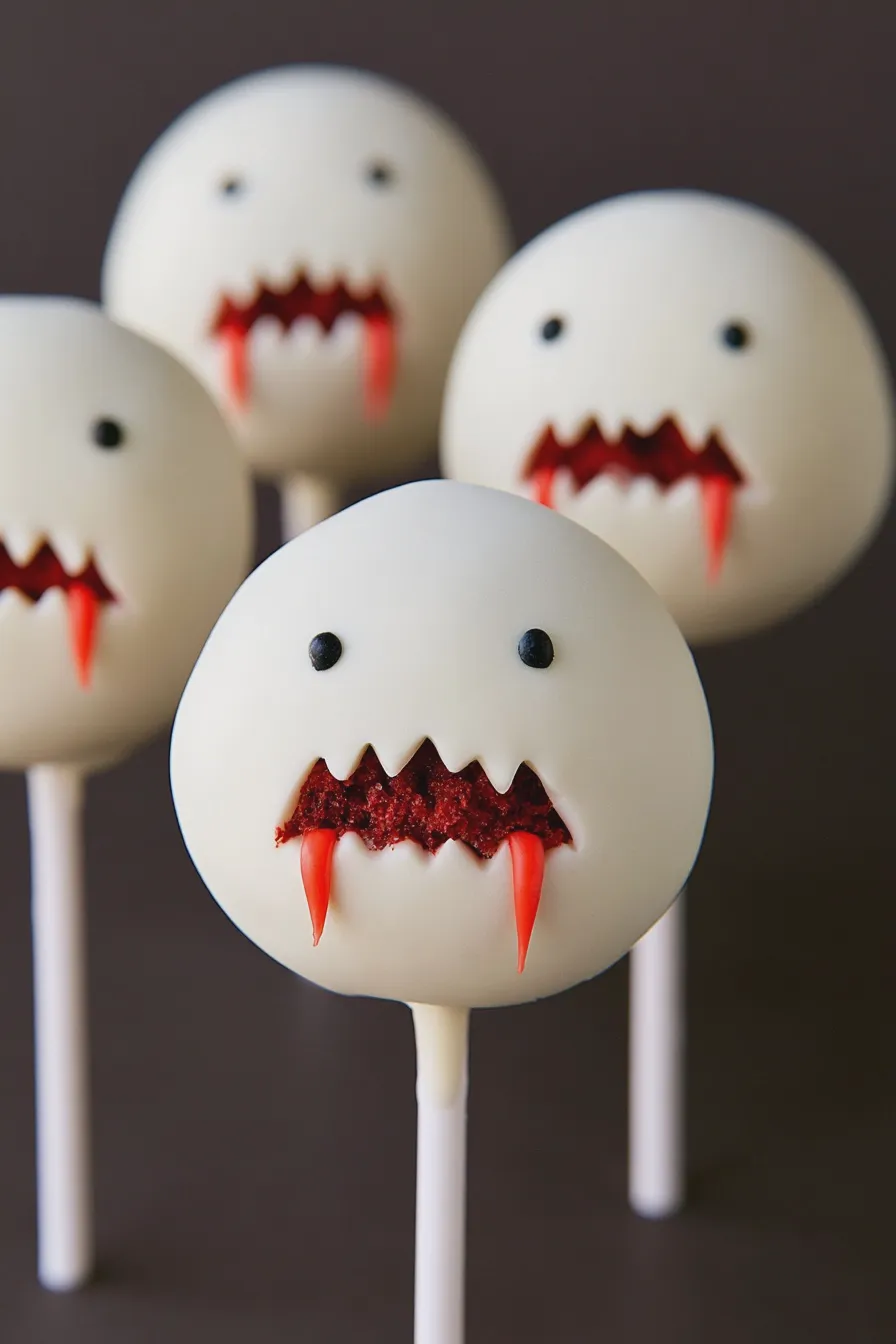
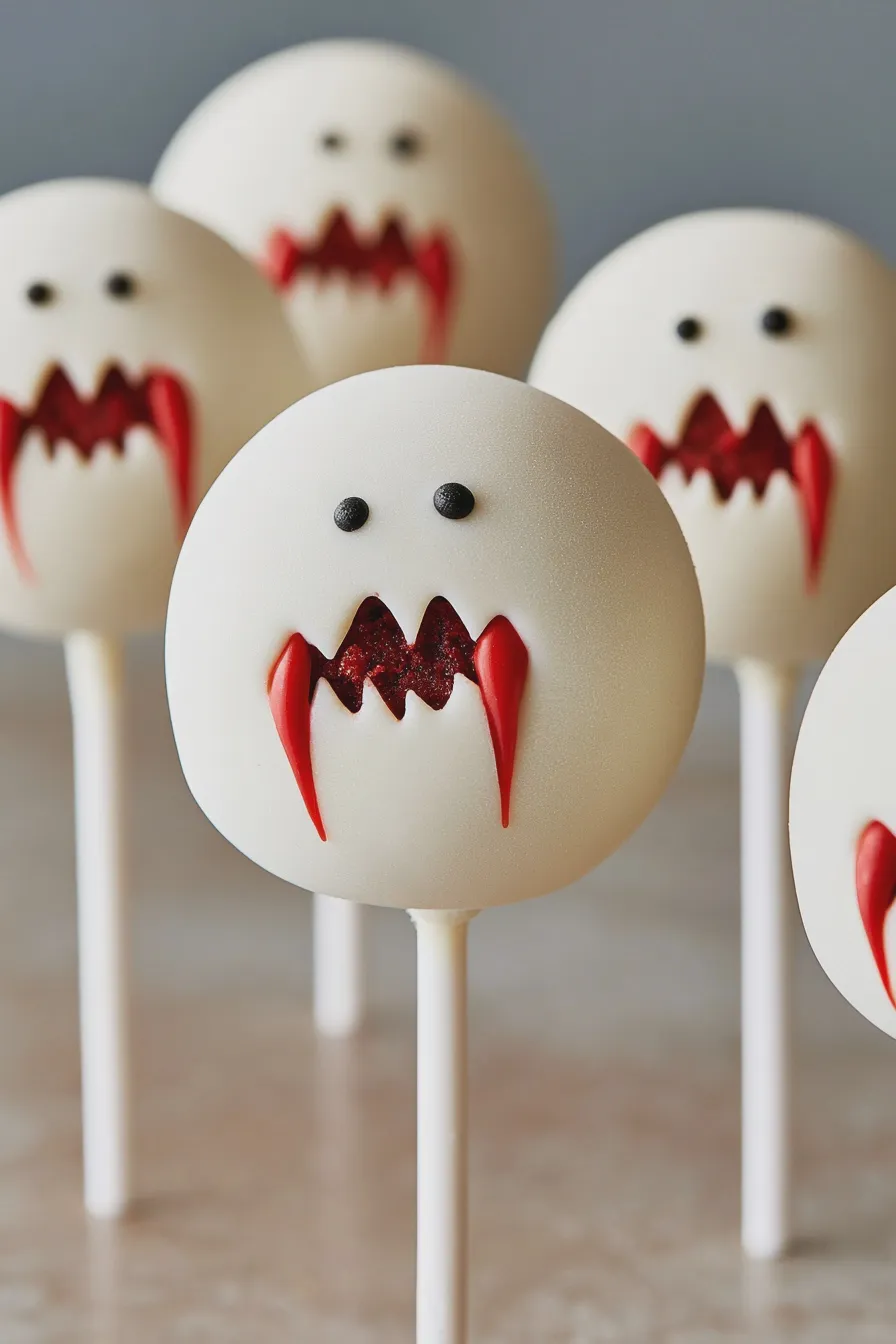
This is where your creativity shines! While the coating is still wet, you can add sprinkles or other decorations. For classic vampire teeth cake pops, you might want to let the coating set slightly, then use an edible white gel pen to draw sharp fangs. For a “bloody” effect, you can drizzle extra red candy melts or use edible red food coloring mixed with a little melted white chocolate and let it drip down the sides. You can also create vampire bat cake pops by using black candy melts and adding small edible bat shapes. If you’re looking for something quicker, edible googly eyes can add a spooky touch. The goal is to make them look undeniably vampiric and wonderfully spooky.
7. Let Them Set
Place the decorated cake pops upright in a cake pop stand or a sturdy piece of Styrofoam to dry completely. This can take anywhere from 15 minutes to an hour, depending on the thickness of your coating and the ambient temperature.
Another favorite of ours is the Zucchini Cake With Cream Cheese Frosting.
Tips for Perfect Vampire Cake Pops
Baking is a science, and cake pops are no exception! Here are some tips to ensure your easy vampire cake pops turn out wonderfully:
- Use a good binder: Don’t skimp on the frosting. It’s what holds your cake balls together.
- Chill is key: Don’t skip the chilling step! Cold cake balls are much easier to work with and less likely to fall apart.
- Coating consistency matters: If your candy melts are too thick, dipping will be a struggle, and you’ll end up with lumpy pops. If too thin, they won’t coat properly.
- Work in batches: If you have a lot of cake pops to dip, work in smaller batches so your coating doesn’t harden before you’re done.
- Drying space: Ensure you have enough space for your pops to dry without touching each other. A cake pop stand is a worthwhile investment.
Common Mistakes to Avoid
Even experienced bakers can run into a few snags. Here are some common mistakes to watch out for when making halloween cake pops:
- Cake too dry: If your cake is very dry, you’ll need more frosting to bind it. This can sometimes lead to a more crumbly texture. Baking a slightly moister cake initially can help.
- Over-mixing the dough: Once you add the frosting, mix just until combined. Over-mixing can make the dough tough.
- Dipping warm cake balls: Always ensure your cake balls are well-chilled before dipping. Dipping a warm ball into melted coating will cause it to melt and fall off the stick.
- Not letting excess coating drip: A quick tap on the side of the bowl will remove excess coating, preventing thick, uneven drips.
- Decorating too soon: If you try to decorate before the base coating has set, your decorations might slide off or smudge.
Variations for Your Spooky Creations
The beauty of these spooky dessert recipes is their adaptability. Here are a few ideas to make your vampire cake pops even more unique:
Don’t miss out on our guide to Chocolate Fudge Cake.
- No-Bake Vampire Cake Pops: For a quicker, fuss-free option, you can use crushed cookies (like Oreos) mixed with cream cheese or condensed milk as your base, eliminating the need to bake a cake. This makes for excellent no-bake vampire cake pops.
- Different Cake Flavors: While chocolate and red velvet are popular, try a dark chocolate zucchini cake for a moist, rich base.
- Ghoulish Decorations: Experiment with edible glitter for a shimmering effect, or use different colored candy melts to create unique patterns. You could even try making them into cute kid-friendly halloween treats by using brighter colors and simpler designs.
- Mini Cake Pops: Make smaller versions for bite-sized treats, perfect for a large party or for little hands.







