
Halloween is a time for all things spooky and fun, and what better way to celebrate than with a batch of delicious skeleton cupcakes? These treats are not only a delight to eat but also a fantastic activity for the whole family to get involved in. Whether you’re a seasoned baker or just starting out, this guide will walk you through creating the best skeleton cupcakes that will be the highlight of any Halloween party. Get ready to impress your guests with these creative and festive desserts!
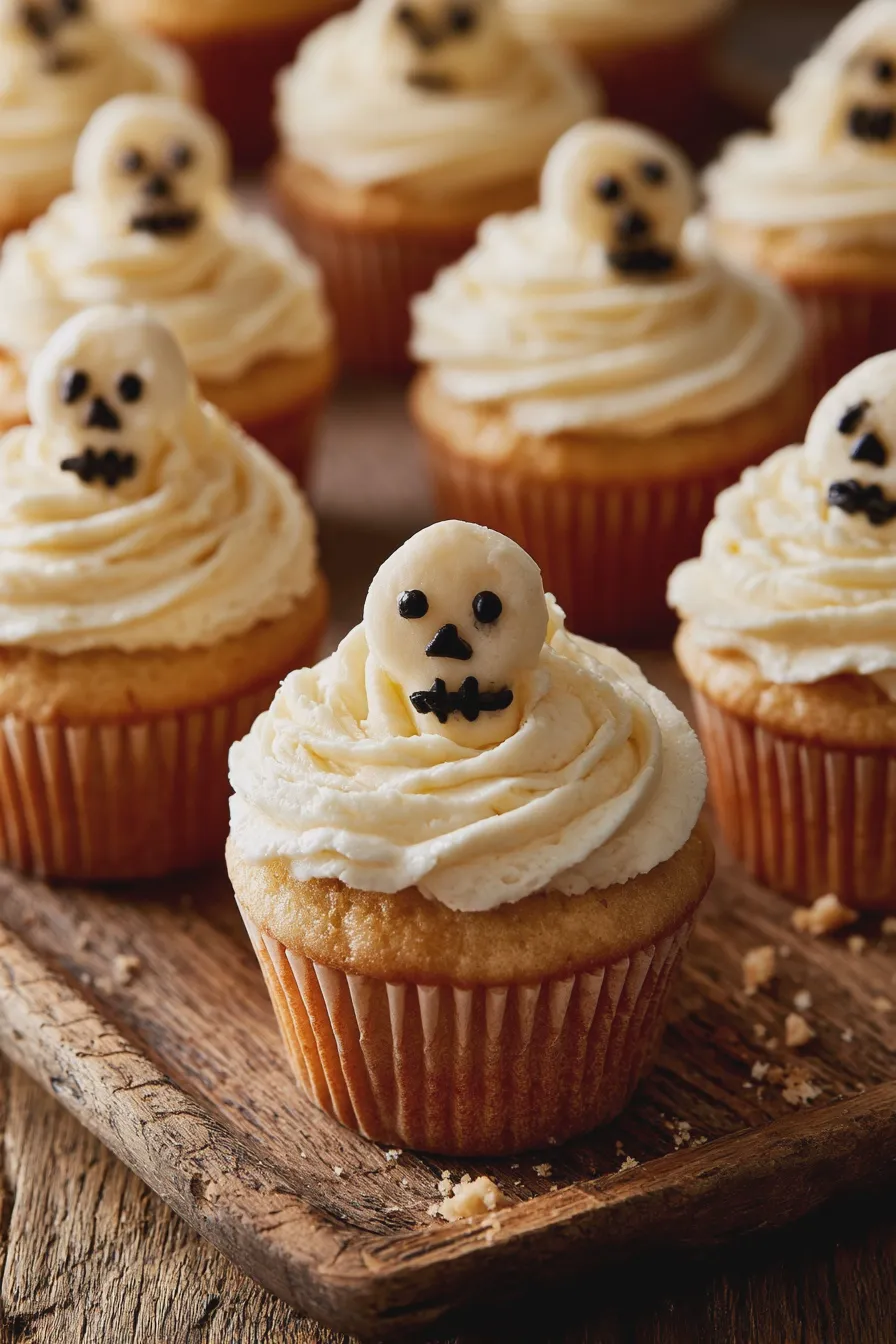
For those looking to get a head start on their Halloween baking, exploring Halloween cupcake recipes can provide a wealth of inspiration. We’ll be focusing on making our cupcakes truly come alive with skeleton-themed decorations.
The Best Skeleton Cupcakes Recipe
Crafting the perfect skeleton cupcakes starts with a solid foundation: a delicious cupcake base. You can opt for a classic vanilla or a rich chocolate flavor. For this tutorial, we’ll outline a versatile vanilla cupcake recipe that pairs wonderfully with any frosting and decoration.
Ingredients for Vanilla Cupcakes:
- 2 ½ cups all-purpose flour
- 1 ½ teaspoons baking powder
- ½ teaspoon salt
- 1 cup (2 sticks) unsalted butter, softened
- 1 ¾ cups granulated sugar
- 3 large eggs, room temperature
- 1 teaspoon pure vanilla extract
- 1 ¼ cups milk, room temperature
Instructions for Vanilla Cupcakes:
- Preheat your oven to 350°F (175°C). Line a 12-cup muffin tin with cupcake liners.
- In a medium bowl, whisk together the flour, baking powder, and salt. Set aside.
- In a large bowl, cream together the softened butter and granulated sugar until light and fluffy. This is a crucial step for a tender cupcake, and you can learn more about how to cream butter and sugar for optimal results.
- Beat in the eggs one at a time, mixing well after each addition. Stir in the vanilla extract.
- Gradually add the dry ingredients to the wet ingredients, alternating with the milk. Begin and end with the dry ingredients, mixing until just combined. Be careful not to overmix, as this can lead to tough cupcakes.
- Divide the batter evenly among the prepared cupcake liners, filling each about two-thirds full.
- Bake for 18-22 minutes, or until a wooden skewer inserted into the center of a cupcake comes out clean.
- Let the cupcakes cool in the muffin tin for a few minutes before transferring them to a wire rack to cool completely.
These vanilla cupcakes are a perfect canvas for our spooky decorations. If you prefer a chocolate base, you can easily adapt this recipe by substituting some flour with cocoa powder or using a dedicated chocolate cupcake recipe.
Decorating Your Skeleton Cupcakes
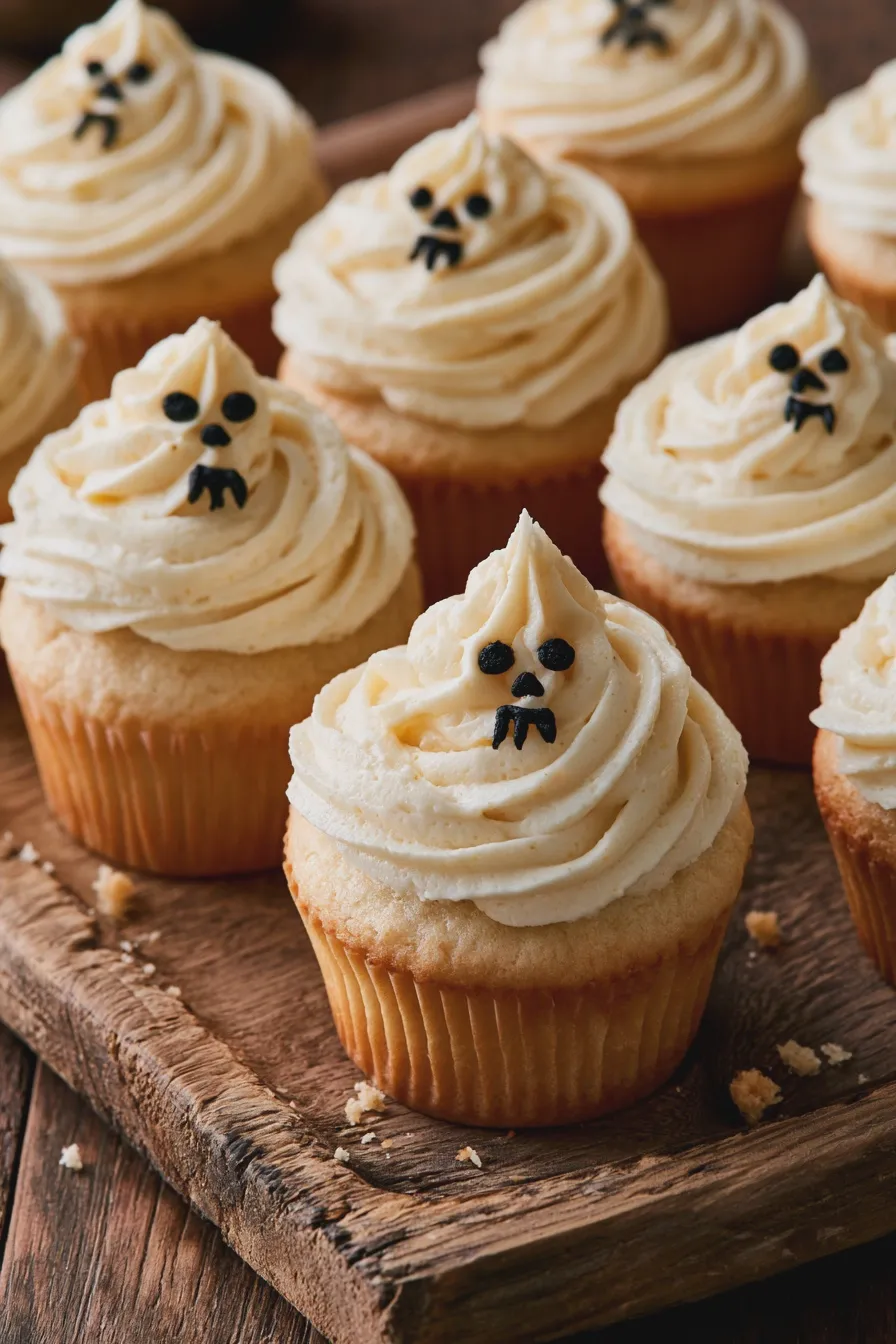
Now for the fun part – transforming your plain cupcakes into spooktacular Halloween skeleton cupcakes! The key to great skeleton cupcakes is layering simple elements to create a striking visual. We’ll cover a few popular methods for creating skeleton designs.
Another favorite of ours is the Zucchini Cake With Cream Cheese Frosting.
Method 1: Black and White Skeleton Frosting
This method uses contrasting frosting colors to create a bold look, perfect for black and white skeleton cupcakes.
Ingredients for Frosting:
- 1 cup (2 sticks) unsalted butter, softened
- 4 cups powdered sugar, sifted
- ¼ cup milk or heavy cream
- 1 teaspoon vanilla extract
- Black gel food coloring
Instructions for Frosting:
- In a large bowl, beat the softened butter until creamy.
- Gradually add the sifted powdered sugar, alternating with the milk or cream, until smooth and fluffy.
- Stir in the vanilla extract.
- Divide the frosting into two bowls. Leave one bowl white. Add black gel food coloring to the second bowl, a little at a time, until you achieve a deep black color.
- Fit a piping bag with a round tip (like a Wilton #12) for the white frosting and a separate piping bag with a small round tip (like a Wilton #3) for the black frosting.
Decorating Steps:
- Frost the cooled cupcakes with a base layer of white frosting. You can use an offset spatula for a smooth finish or pipe swirls for texture.
- Using the piping bag with the black frosting and the small tip, pipe thin lines to create the skeleton’s ribs, spine, and limbs. For the skull, pipe a small circle and add eye sockets and a nose cavity.
- Alternatively, you can create a simpler design by just piping a skull shape and some bone outlines.
Tip: For cleaner lines, chill the frosted cupcakes for about 15-20 minutes before piping the black details. This prevents the black frosting from bleeding into the white.
Method 2: Fondant Skeleton Decorations
Fondant offers a smooth, sculpted look for your skeleton bone cupcakes and skeleton head cupcakes. This method is great for creating more intricate designs.
Materials:
- White fondant
- Black food coloring (optional, for contrast)
- Cornstarch (for dusting)
- Small rolling pin
- Sharp knife or fondant cutters
- Edible glue or a little water
Decorating Steps:
- Roll out a portion of white fondant thinly on a surface lightly dusted with cornstarch.
- Using a small round cutter or a knife, cut out circles for the cupcake tops.
- Cut out thin strips of fondant to create the rib cage, arms, and legs.
- For the skull, you can use a small skull cutter or freehand a shape. Add details like eye sockets and a jawline with a sharp knife.
- If you want black accents, you can color a small portion of fondant black or use black edible marker for details.
- Assemble the skeleton pieces on the fondant circles. Use a tiny bit of edible glue or water to secure the pieces.
- Place the fondant skeleton decorations on top of your frosted cupcakes.
Mistake to Avoid: Don’t roll the fondant too thick, as it can be overwhelming on a cupcake. Aim for about 1/8-inch thickness.
Another favorite of ours is the Carrot Cake With Cream Cheese Frosting.
Method 3: Simple Skeleton Icing
For a quicker and still effective approach to easy skeleton cupcakes, you can use black icing to draw directly onto white-frosted cupcakes.
Materials:
- White frosting (buttercream or cream cheese based)
- Black decorating icing in a tube or a piping bag with a fine tip
Decorating Steps:
- Frost your cooled cupcakes smoothly with white frosting.
- Using the black decorating icing, pipe simple skeleton shapes. You can draw a basic skull with two eye sockets and a mouth.
- Add lines for the spine and ribs radiating from the center.
- For even simpler cute skeleton cupcakes, just draw a few bone shapes or a single skull.
This method is perfect for those who want to create DIY skeleton cupcakes without a lot of fuss.
Creative Skeleton Cupcake Ideas
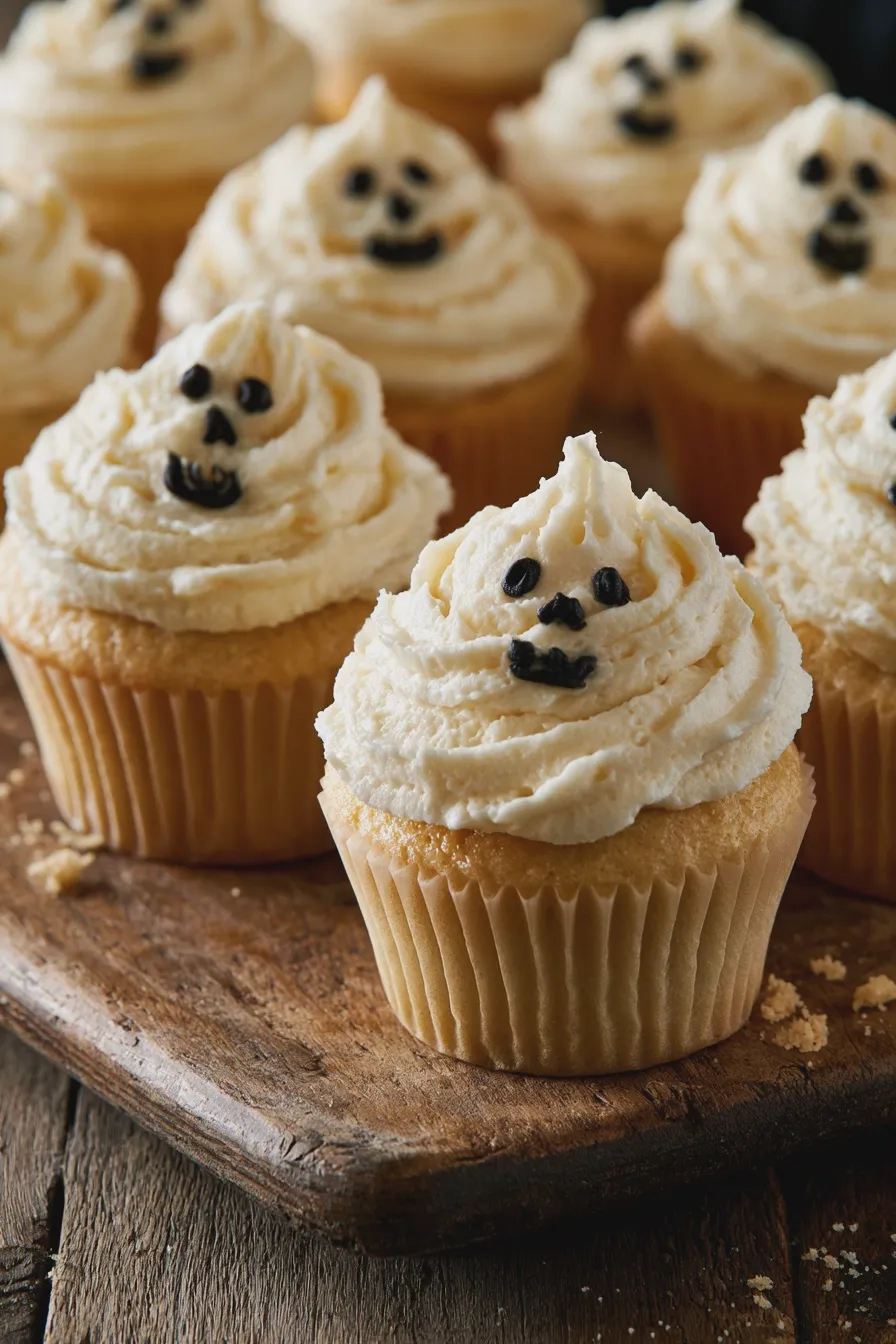
Beyond the classic skeleton, there are many ways to get creative with your creative skeleton cupcakes and skeleton cupcake ideas.
- Skeleton Ghost Cupcakes: Combine skeleton elements with ghost shapes. Pipe a white ghost and add black skeleton details to its “face” or body.
- Scary Skeleton Cupcakes: Use jagged lines, darker colors, and perhaps some edible blood splatters (red gel frosting) to create a more frightening look.
- Haunted Skeleton Cupcakes: Add other Halloween elements like cobwebs (piped white icing), small spiders (fondant or candy), or candy tombstones around the skeleton.
- Skeleton Rider Cupcakes: Pipe a skeleton figure riding a broomstick.
- Black and White Skull Cupcakes: Focus solely on the skull, using intricate black and white patterns to create a visually stunning effect.
For more inspiration on unique dessert creations, exploring creative cupcake decorations can spark even more ideas.
Another favorite of ours is the Zucchini Brownies With Frosting.
Tips for Perfect Skeleton Cupcakes
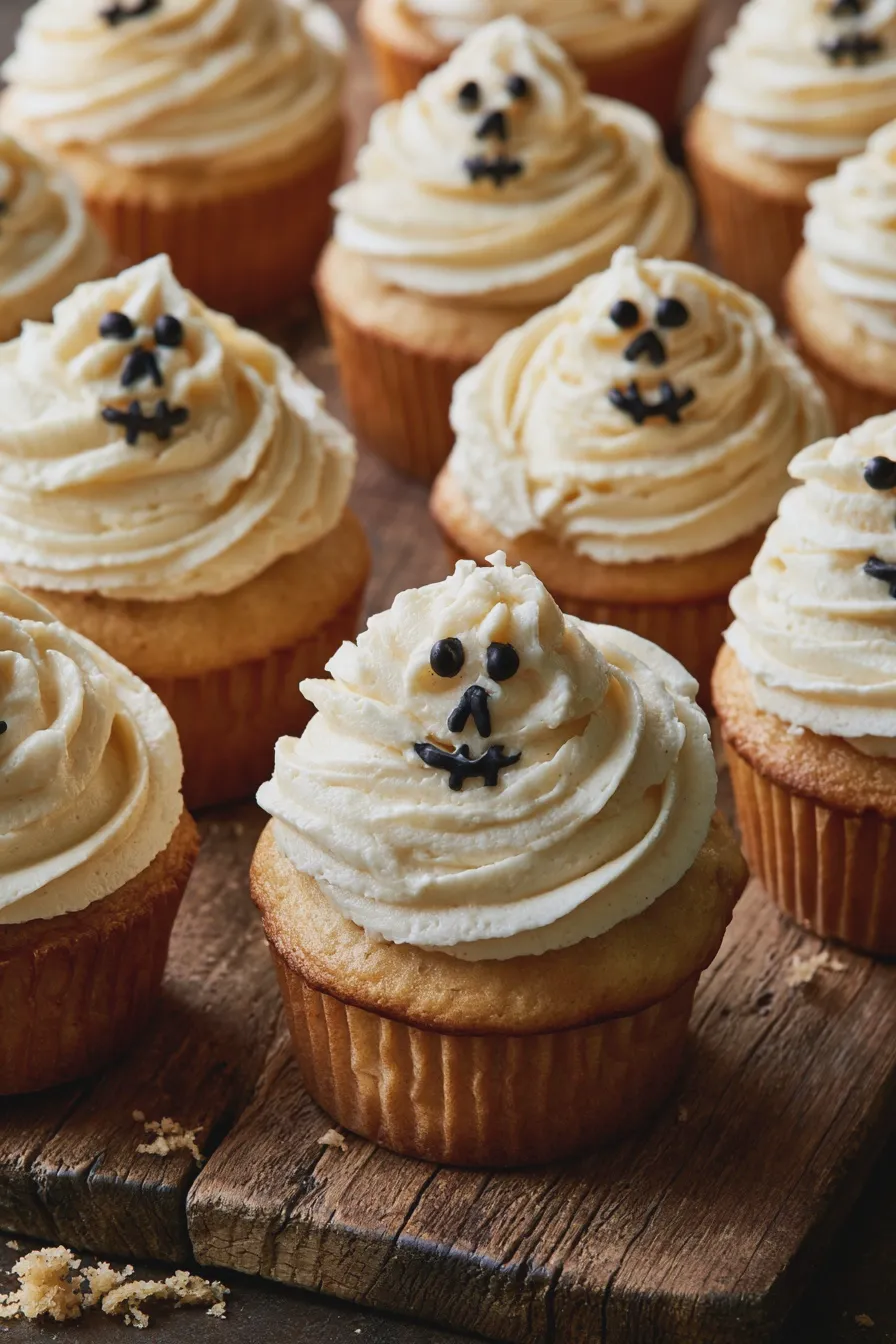
Here are some helpful tips to ensure your best skeleton cupcakes turn out wonderfully:
- Room Temperature Ingredients: Ensure your butter, eggs, and milk are at room temperature for the best cake texture.
- Don’t Overmix: Overmixing the batter can develop the gluten too much, resulting in tough cupcakes. Mix until just combined.
- Cool Completely: Always let your cupcakes cool completely before frosting. Warm cupcakes will melt the frosting.
- Sift Dry Ingredients: Sifting flour and powdered sugar helps prevent lumps and creates a smoother batter and frosting.
- Gel Food Coloring: Use gel food coloring for vibrant colors without altering the consistency of your frosting too much.
- Practice Piping: If you’re new to piping, practice on parchment paper first to get a feel for the pressure and flow.
- Storage: Store frosted cupcakes in an airtight container at room temperature for up to 2 days, or in the refrigerator if using a cream cheese frosting.
Common Mistakes to Avoid
Even experienced bakers can make mistakes. Here are a few common pitfalls to watch out for:
- Overbaking: This leads to dry, crumbly cupcakes. Keep an eye on the baking time and test for doneness with a skewer.
- Under-creaming Butter and Sugar: This is essential for a light and airy cake. Ensure you cream until the mixture is pale and fluffy.
- Using Cold Ingredients: Cold ingredients don’t emulsify well, leading to a denser cake and potentially curdled frosting.
- Frosting Warm Cupcakes: As mentioned, this is a recipe for melted, messy frosting. Patience is key!
- Too Much Liquid in Frosting: If your frosting is too thin, it won’t hold its shape. Add powdered sugar gradually to thicken.

Skeleton Cupcakes Recipe for Spooky Halloween Parties
- Total Time: PT40M
- Yield: 12 cupcakes 1x
- Diet: Vegetarian
Description
Celebrate Halloween with these adorable and spooky skeleton cupcakes! A simple vanilla cupcake topped with creamy vanilla frosting and decorated to look like a cute skeleton face.
Ingredients
- 1 ½ cups all-purpose flour
- 1 cup granulated sugar
- 1 ½ teaspoons baking powder
- ½ teaspoon salt
- ½ cup unsalted butter, softened
- 2 large eggs
- 1 teaspoon vanilla extract
- ¾ cup milk
- 1 cup powdered sugar
- ¼ cup unsalted butter, softened
- 2 tablespoons milk
- ½ teaspoon vanilla extract
- Black edible food marker
Instructions
- Preheat oven to 350°F (175°C). Line a 12-cup muffin tin with paper liners.
- In a large bowl, whisk together flour, sugar, baking powder, and salt.
- Add softened butter and mix until the mixture resembles coarse crumbs.
- In a separate bowl, whisk together eggs, vanilla extract, and milk.
- Add the wet ingredients to the dry ingredients and mix until just combined. Do not overmix.
- Divide the batter evenly among the prepared muffin cups, filling each about two-thirds full.
- Bake for 18-22 minutes, or until a wooden skewer inserted into the center comes out clean. Let cool in the tin for a few minutes before transferring to a wire rack to cool completely.
- While the cupcakes cool, prepare the frosting: In a medium bowl, beat together powdered sugar, softened butter, milk, and vanilla extract until smooth and creamy.
- Once cupcakes are completely cool, frost them generously.
- Use a black edible food marker to draw two small circles for eyes, an upside-down triangle for a nose, and a curved line for a mouth on each frosted cupcake to create a skeleton face.
Notes
- For a chocolate version, substitute 1/4 cup unsweetened cocoa powder for 1/4 cup of the flour.
- Make sure your butter is truly softened for the best frosting texture.
- You can use black icing in a piping bag with a small round tip instead of an edible marker for a more defined skeleton face.
- Prep Time: PT20M
- Cook Time: PT20M
- Category: Cupcakes
- Method: Baking
- Cuisine: American
Nutrition
- Serving Size: 1 cupcake
- Calories: 350
- Sugar: 40g
- Sodium: 150mg
- Fat: 18g
- Saturated Fat: 11g
- Carbohydrates: 45g
- Protein: 4g







