
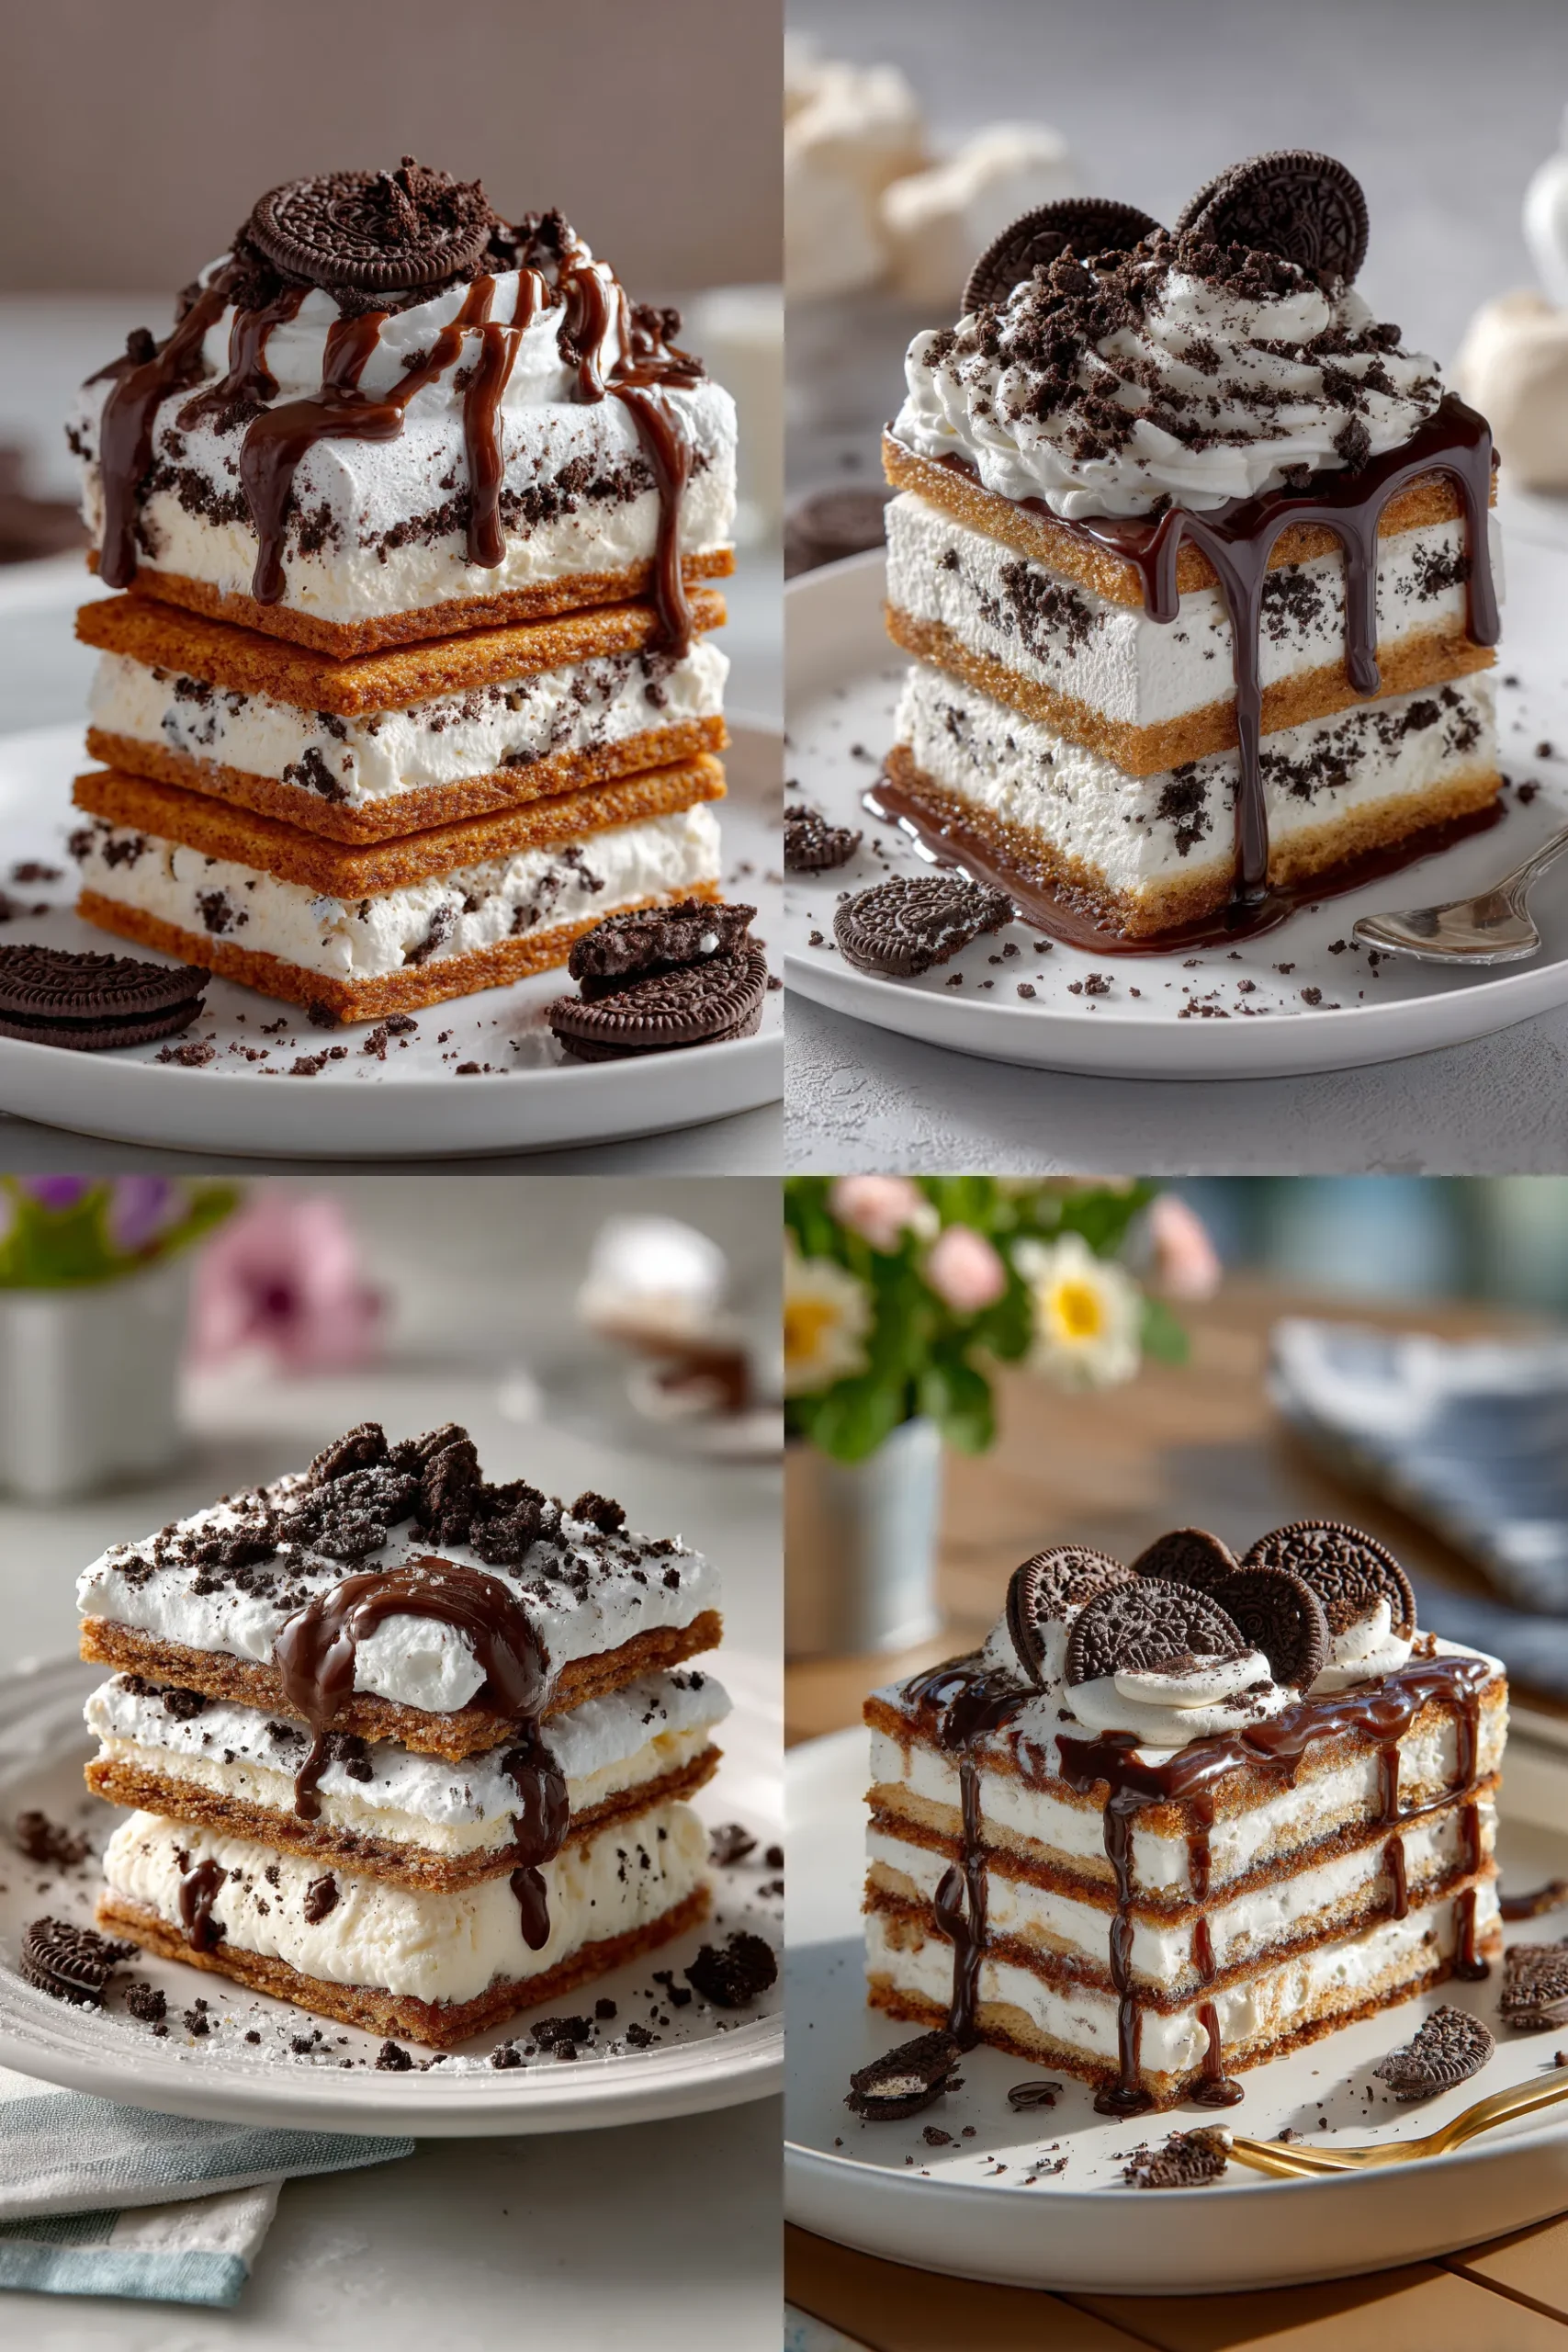
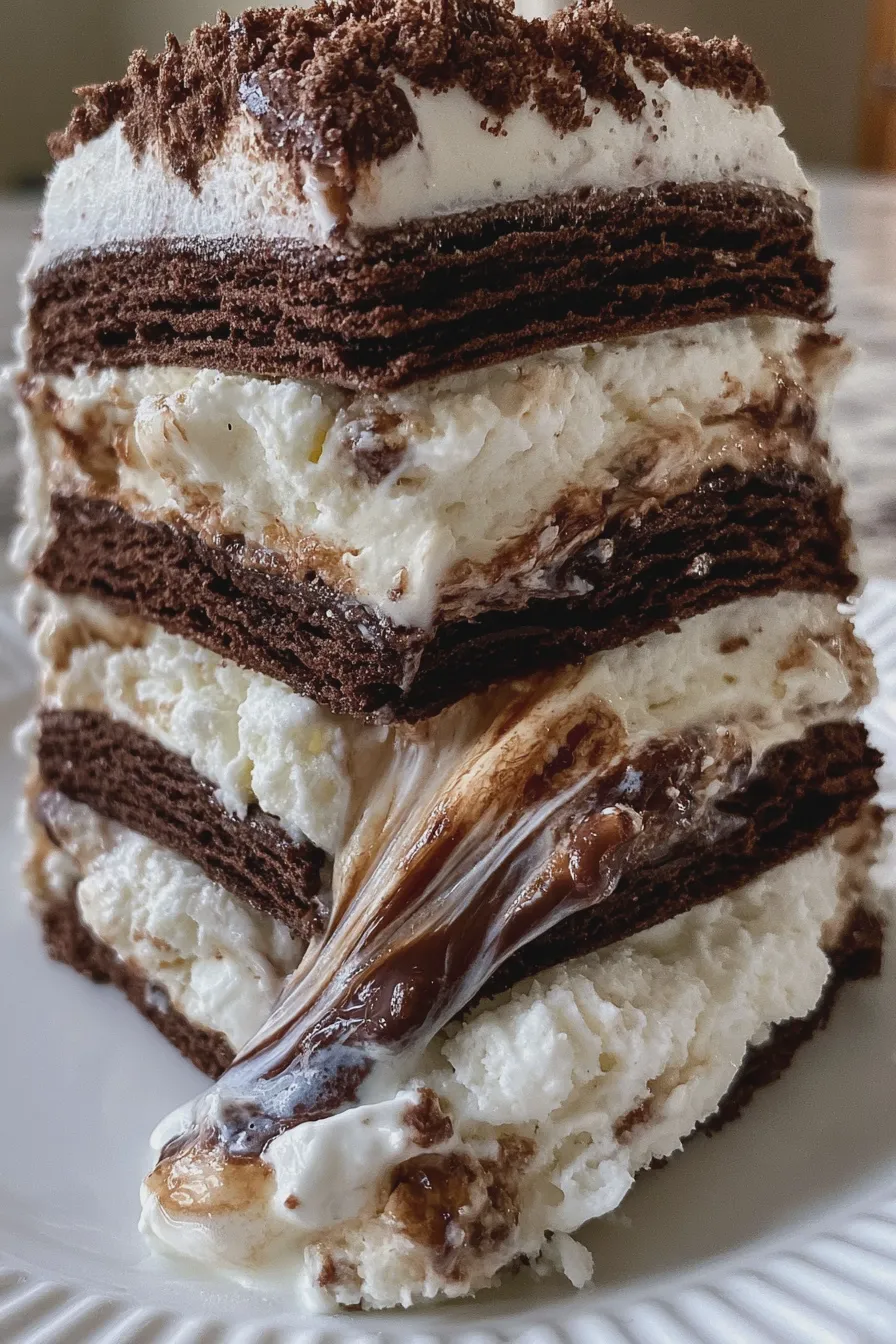
This ultimate ice cream sandwich cake recipe combines layers of soft chocolate wafers and creamy vanilla ice cream, held together with a rich, dreamy whipped topping, making it a spectacular no-bake ice cream cake perfect for celebrations or warm evenings. It’s a simple yet impressive frozen dessert recipes staple that minimizes oven time while maximizing that nostalgic, cool, creamy satisfaction.
When you are craving something sweet, substantial, and delightfully cold, nothing beats this classic confection that brings together the best textures and flavors of childhood favorites. We are diving deep into how to construct this fantastic layered ice cream cake recipe, ensuring every slice of your DIY ice cream sandwich cake is absolutely perfect.
Ingredients for Your Ice Cream Sandwich Cake
Gathering your components is the first step toward creating this wonderful summer ice cream desserts favorite. Having everything measured and ready ensures the assembly process moves smoothly, which is key when dealing with rapidly softening ice cream.
For the Cookie Layers
For authentic texture, we rely on soft, slightly chewy chocolate wafers, similar to those used in homemade ice cream sandwiches. If you happen to have leftover chocolate chip cookies that are relatively flat, you could potentially chop them up for a crunchier layer, though the traditional wafer is preferred for that signature softness.
- 1 (9-ounce) package soft chocolate wafer cookies (about 30-36 cookies)
- 1/4 cup milk (whole or 2% works best for slight softening)
For the Ice Cream Filling
The heart of this easy ice cream cake recipe is, naturally, the ice cream; using high-quality, full-fat ice cream ensures the best texture when frozen solid. While vanilla is classic, feel free to substitute with your favorite flavor to create a unique chocolate ice cream sandwich cake.
- 1.5 quarts high-quality Vanilla Ice Cream, softened slightly
- 1.5 quarts high-quality Chocolate Ice Cream, softened slightly
For the Whipped Topping
This topping provides the necessary structure and beautiful finish, acting almost like a light frosting for your frozen creation. For the creamiest result, ensure your heavy cream is very cold before whipping.
- 2 cups heavy whipping cream, very cold
- 1/2 cup powdered sugar, sifted
- 1 teaspoon vanilla extract
- Optional: Chocolate sprinkles or finely chopped nuts for decoration
Preparing to Assemble Your Layered Ice Cream Cake Recipe
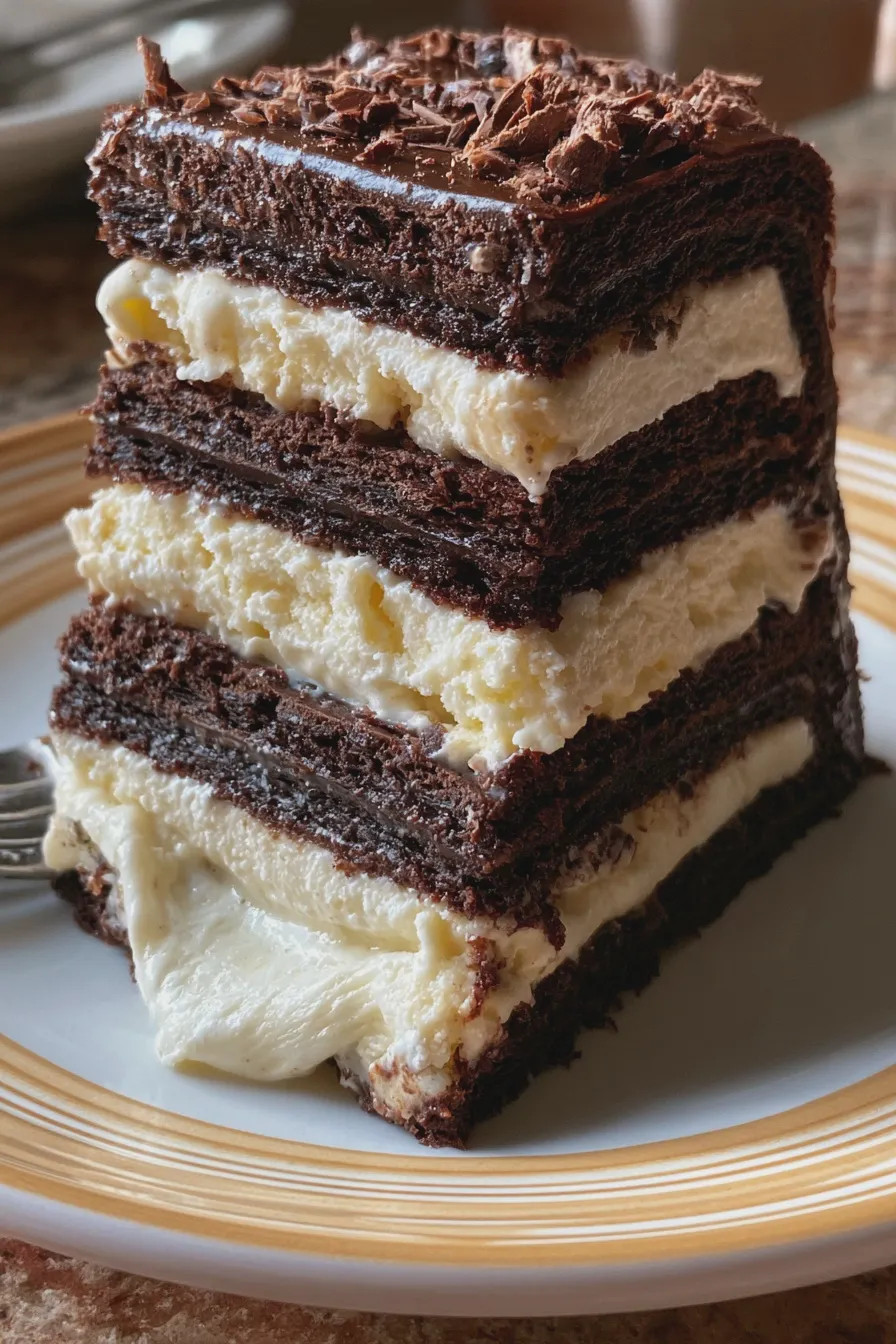
Proper pan preparation is critical for successful removal of any frozen dessert, especially when building a tall, layered ice cream cake recipe like this one. Before you begin layering, take a moment to prepare your pan so that release is effortless later on.
Preparing the Pan
You will need a 9×13-inch baking dish for this recipe, which is ideal for achieving a beautiful, sliceable giant ice cream sandwich. For stress-free removal, I highly recommend learning how to prepare a cake pan to prevent sticking by lining it completely with plastic wrap, leaving an overhang on all sides. This overhang acts as handles to lift the entire finished dessert out once it has set.
Softening the Ice Cream
The key to an even, beautiful layer is having the ice cream softened just enough to spread easily without melting completely. Take the ice cream out of the freezer about 10 to 15 minutes before you plan to start spreading; it should yield slightly to gentle pressure. If you prefer a different flavor profile, consider making a batch of snickerdoodle cookies to use as a base for a spiced twist on this classic.
How to Make Ice Cream Sandwich Cake
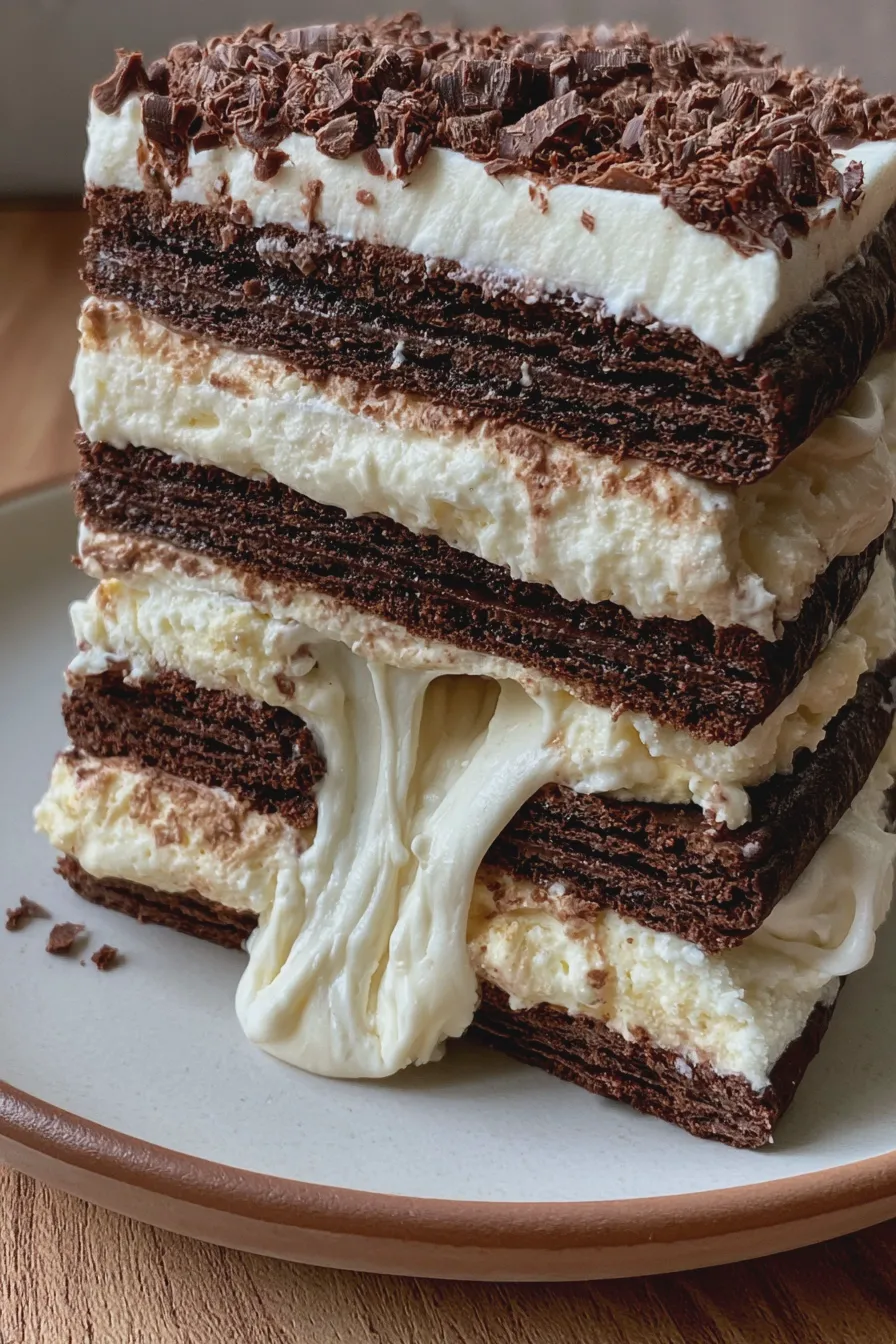
This step-by-step guide walks you through the ice cream cake assembly, ensuring your no-bake ice cream cake holds its shape beautifully. Remember that speed is important once the ice cream comes out, so have your spatula ready!
Layer One: The Cookie Base and First Ice Cream Layer
Take half of your chocolate wafers and quickly dip each one into the milk for just a second or two to slightly soften them, creating the bottom layer of your ice cream sandwich dessert recipes foundation. Arrange these dipped wafers tightly in a single layer across the bottom of your prepared 9×13 pan, trimming them as needed to fit snugly.
Next, spread the slightly softened vanilla ice cream evenly over the cookie base, using an offset spatula to smooth the top surface completely; place the pan immediately back into the freezer while you prepare the next components. Freezing this layer for at least 45 minutes ensures it sets firmly before the next layer goes on, which is crucial for a clean slice later.
Layer Two: The Middle Cookie Layer and Second Ice Cream Layer
Repeat the dipping process with the remaining chocolate wafers and arrange them carefully on top of the now-firm vanilla layer, ensuring these cookies also form a tight, single layer. If you are looking for more decadent ice cream desserts, you could swap the vanilla for a peanut butter flavor here.
Once the middle cookie layer is set, spread the softened chocolate ice cream evenly over the cookies, taking care not to disturb the layer beneath; return the entire pan to the freezer for another hour or until this layer is very firm. This firm setting time is what makes this a successful easy ice cream cake rather than a soupy mess.
Layer Three: The Final Topping Application
While the ice cream layers are freezing, prepare your whipped topping by beating the cold heavy cream, powdered sugar, and vanilla extract until stiff peaks form; this topping should be light and airy. Spread this glorious whipped topping generously over the frozen chocolate ice cream layer, taking time to create nice swirls or a smooth, even surface for a beautiful presentation.
If you desire a more festive look, sprinkle the top generously with chocolate sprinkles or finely chopped nuts immediately after spreading; then, cover the pan loosely with plastic wrap and freeze the entire decadent ice cream desserts creation for at least 6 hours, or preferably overnight, to fully set. This long freeze time is essential for achieving the perfect texture for cutting into those classic ice cream dessert bars.
Tips for the Best Homemade Ice Cream Sandwiches Cake
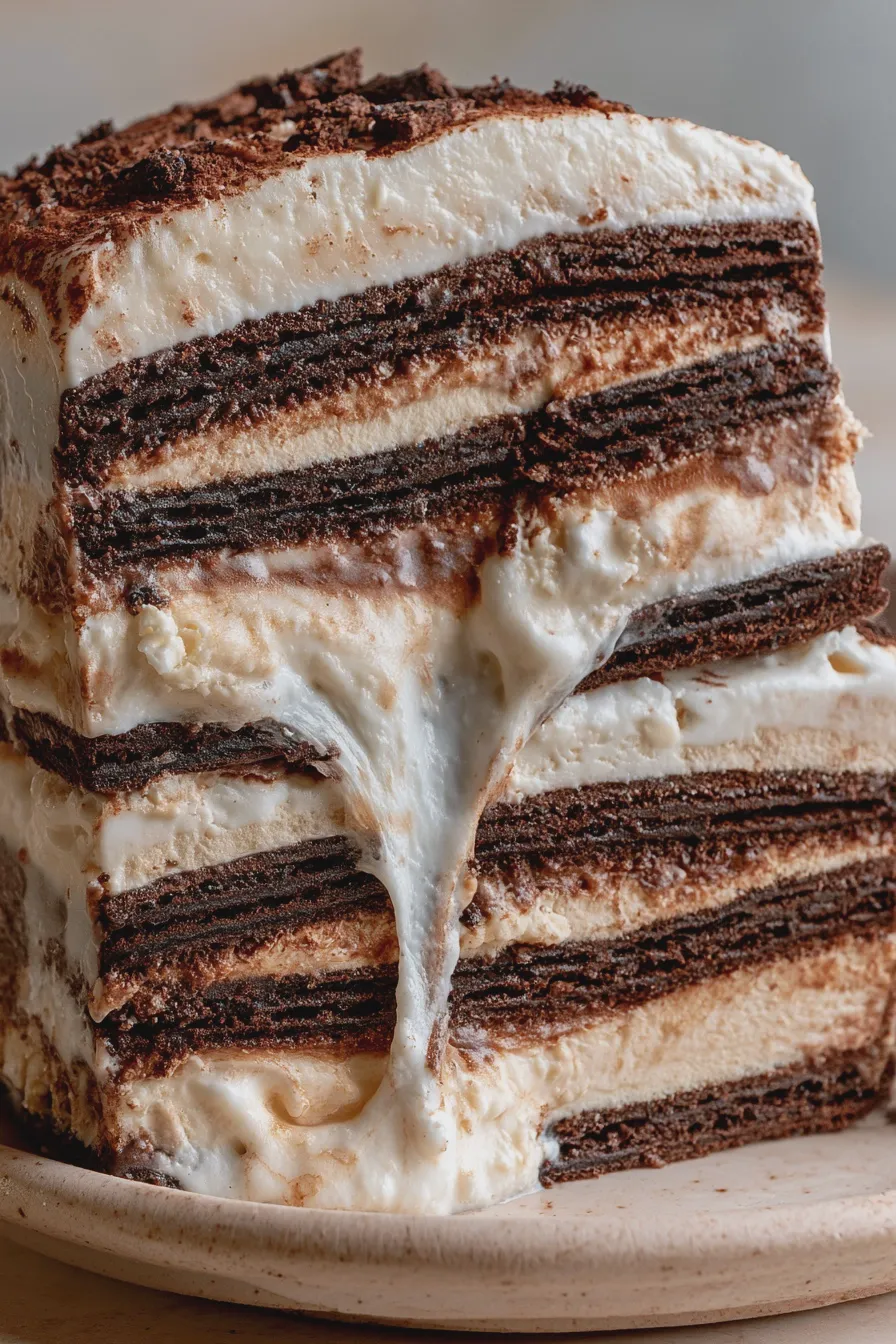
Achieving the ideal texture and appearance in your giant ice cream sandwich relies on a few key techniques, especially when dealing with multiple frozen layers. A little patience during tempering and freezing pays off significantly when serving this treat.
Controlling Ice Cream Texture
Always work quickly when spreading the ice cream; if it melts too much, the layers will bleed together, ruining the distinct look of this layered ice cream cake recipe. If you find your ice cream is too hard to spread even after tempering, try mixing in a tablespoon of vodka or a splash of liqueur, which lowers the freezing point slightly and makes it easier to manage, similar to how you might treat dense batters like those in sweet potato brownies.
Serving Suggestions and Storage
For the cleanest slices, remove the entire cake from the freezer about 10 to 15 minutes before you plan to serve it, allowing it to temper slightly; use a long, sharp knife dipped in hot water and wiped dry between each cut. Store any leftovers tightly covered in the freezer, where this no-churn ice cream cake will keep well for up to two weeks. For a fun variation, consider using different cookie flavors, perhaps even a crumb made from chocolate mango cake scraps if you have any!
Print
ice cream sandwich cake Easy Recipe
- Total Time: PT5H
- Yield: 8 servings 1x
- Diet: Vegetarian
Description
This No-Bake Ice Cream Sandwich Cake is the perfect summer dessert or birthday centerpiece. It requires zero oven time and comes together quickly using store-bought ice cream sandwiches, making it incredibly simple yet undeniably delicious. Layered, frozen perfection!
Ingredients
- 12 standard-sized vanilla ice cream sandwiches
- 1.5 quarts (about 6 cups) vanilla ice cream, softened slightly
- 1 cup heavy whipping cream
- 1/4 cup powdered sugar
- 1 teaspoon vanilla extract
- 1/2 cup crushed chocolate sandwich cookies (like Oreos), for topping
- 2 tablespoons chocolate syrup (optional, for drizzling)
Instructions
- Prepare the Pan: Line a standard 9×5 inch loaf pan with plastic wrap, leaving an overhang on the sides for easy removal later.
- Layer the Bottom: Arrange 6 of the ice cream sandwiches tightly against the bottom of the prepared pan, cutting them in half if necessary to fit snugly.
- First Ice Cream Layer: Spread half of the slightly softened vanilla ice cream evenly over the layer of sandwiches.
- Second Sandwich Layer: Place the remaining 6 ice cream sandwiches on top of the first layer of ice cream.
- Second Ice Cream Layer: Top with the remaining vanilla ice cream, smoothing the top surface.
- Freeze: Cover the pan tightly with the plastic wrap overhang and freeze for at least 4 hours, or until completely firm.
- Prepare Whipped Topping: In a medium bowl, beat the heavy whipping cream, powdered sugar, and vanilla extract until stiff peaks form.
- Frost: Once the cake is firm, use the plastic wrap overhang to carefully lift the cake out of the loaf pan and place it on a serving plate. Remove the plastic wrap. Spread the homemade whipped cream evenly over the top and sides of the frozen cake.
- Decorate and Final Freeze: Sprinkle the crushed chocolate sandwich cookies over the top and drizzle with chocolate syrup, if desired. Return the cake to the freezer for at least 1 hour to set the topping before slicing and serving.
Notes
- For easier slicing, run a large knife under hot water and wipe dry between each cut.
- Feel free to substitute the vanilla ice cream with flavors like chocolate, strawberry, or coffee.
- To make this recipe dairy-free, use vegan ice cream sandwiches and non-dairy whipped topping alternatives.
- Prep Time: PT20M
- Cook Time: 0 minutes (No Bake)
- Category: Ice Cream Cakes
- Method: No-Bake
- Cuisine: American
Nutrition
- Serving Size: 1 slice
- Calories: 350
- Sugar: 35g
- Sodium: 250mg
- Fat: 18g
- Saturated Fat: 10g
- Carbohydrates: 45g
- Fiber: 1g
- Protein: 6g
- Cholesterol: 40mg







