
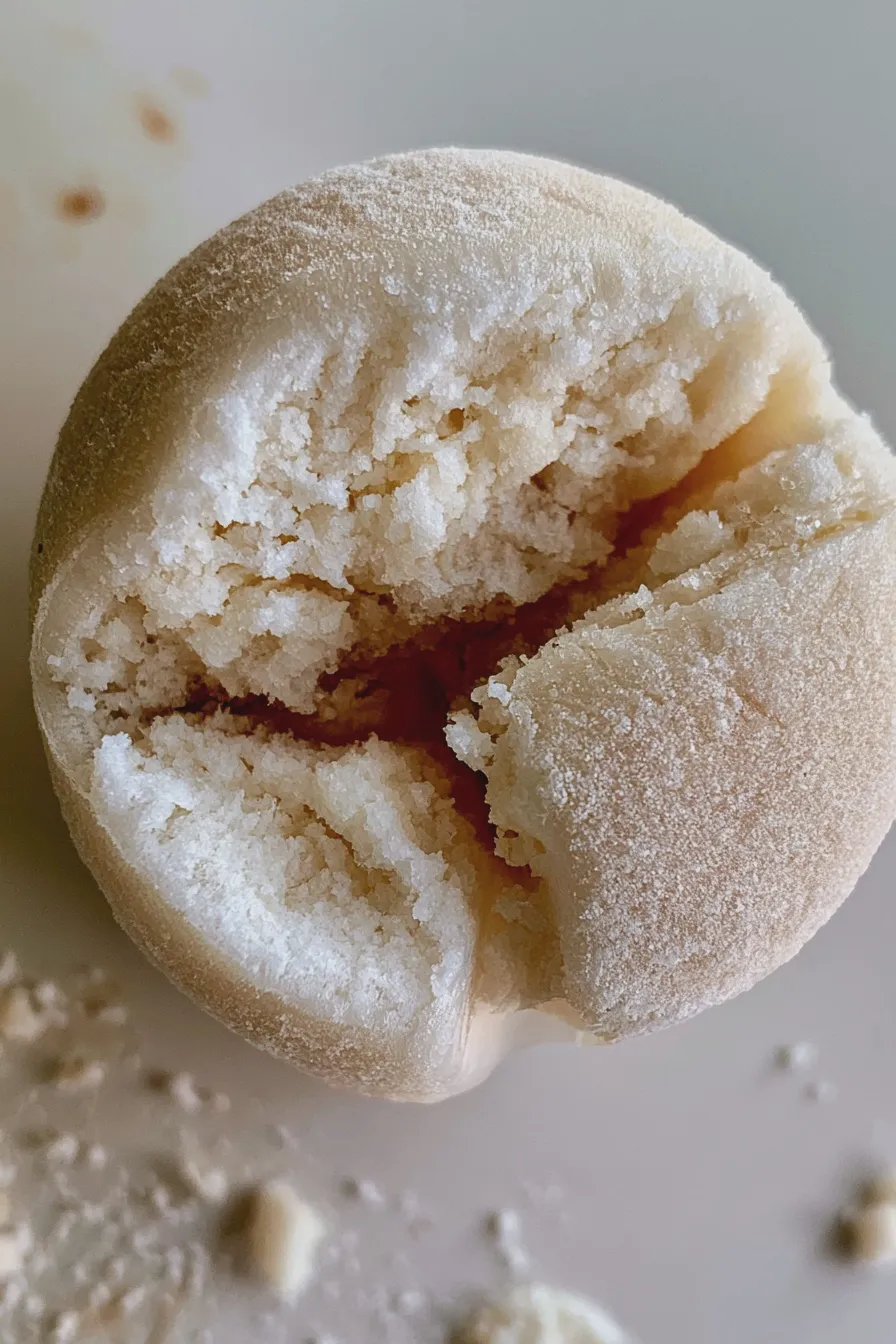
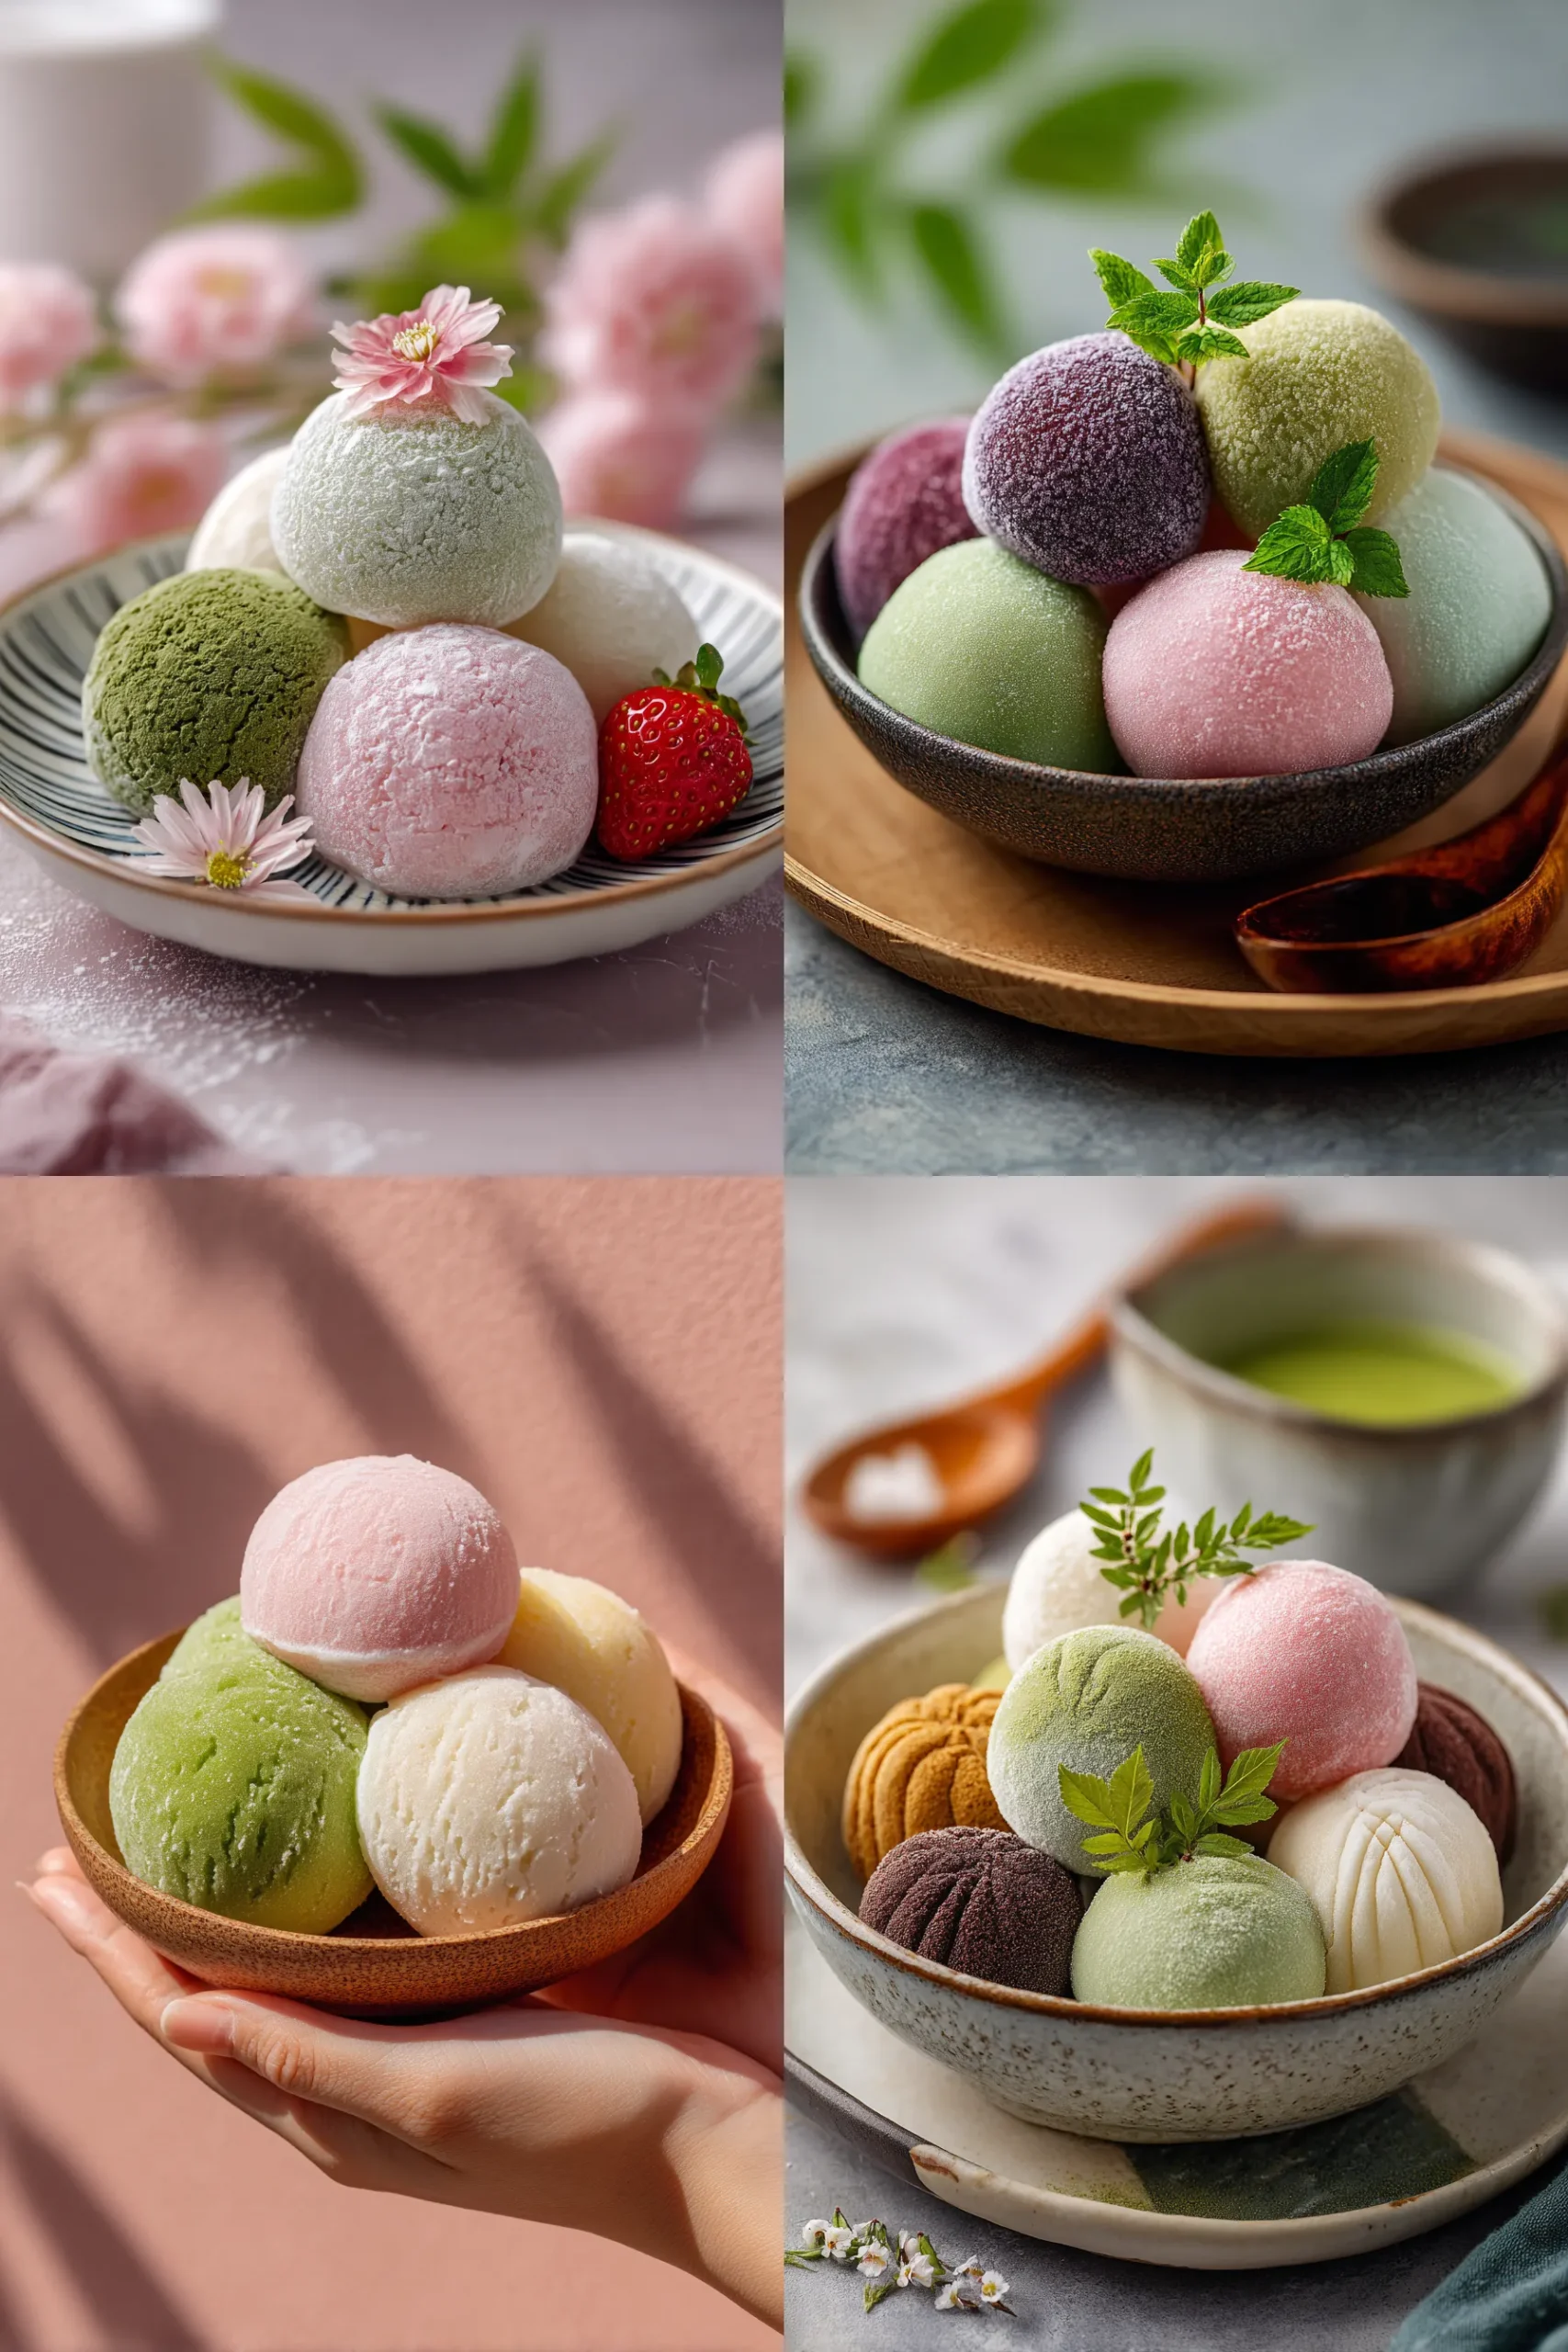
This recipe demystifies the process of creating homemade mochi ice cream, delivering perfectly chewy, sweet rice dough wrapped around your favorite frozen centers. These delightful frozen mochi treats are easier to master at home than most people expect, offering a fun, customizable alternative to store-bought versions.
Welcome to the wonderful world of homemade frozen desserts! If you’ve ever admired the soft, slightly elastic exterior surrounding a scoop of cold ice cream, you’ve been eyeing the magic of this popular treat, and learning how to make mochi ice cream is surprisingly accessible. We are going to focus on creating that signature soft and chewy mochi dough that perfectly complements creamy fillings, resulting in a truly satisfying bite of japanese desserts.
Making your own mochi ice cream recipe at home allows you complete control over the ice cream flavor and the sweetness of the outer layer, leading to a superior dessert experience. For those looking for other impressive yet simple homemade sweets, you might enjoy exploring how to make no-bake strawberry cheesecake or perhaps some rich caramel brownies for contrast.
Essential Ingredients for Homemade Mochi
The success of this dessert hinges entirely on using the correct flour, which provides the necessary stretchiness and chewiness defining the outer layer. When gathering your supplies for this mochi wrapper recipe, make sure you have high-quality components for the best results.
Mochi Dough Components
The dough itself requires very few ingredients, but precision matters greatly when working with glutinous rice flour sweets.
- 1 cup Glutinous Rice Flour (Sweet Rice Flour, Mochiko)
- 1/4 cup Granulated Sugar
- 3/4 cup Water (or milk for a richer dough)
- 1/2 teaspoon Vanilla Extract (optional, for flavor)
- Cornstarch or Potato Starch, for dusting (do not substitute with regular flour)
Ice Cream Filling Ideas for Mochi
While the dough chills, you need perfectly portioned scoops of ice cream ready to be wrapped; this is where you can get creative with the best mochi ice cream flavors.
- 3 cups Pre-scooped Ice Cream (Ensure it is slightly softened but still firm)
- Optional Flavorings: 1 tablespoon Matcha powder or cocoa powder mixed into soft vanilla ice cream
When selecting your ice cream, remember that it needs to be firm enough to handle but soft enough to wrap without cracking the dough; for inspiration on other creamy bases, you might look at rich recipes like chocolate raspberry cake frosting ideas.
How to Make Mochi Ice Cream
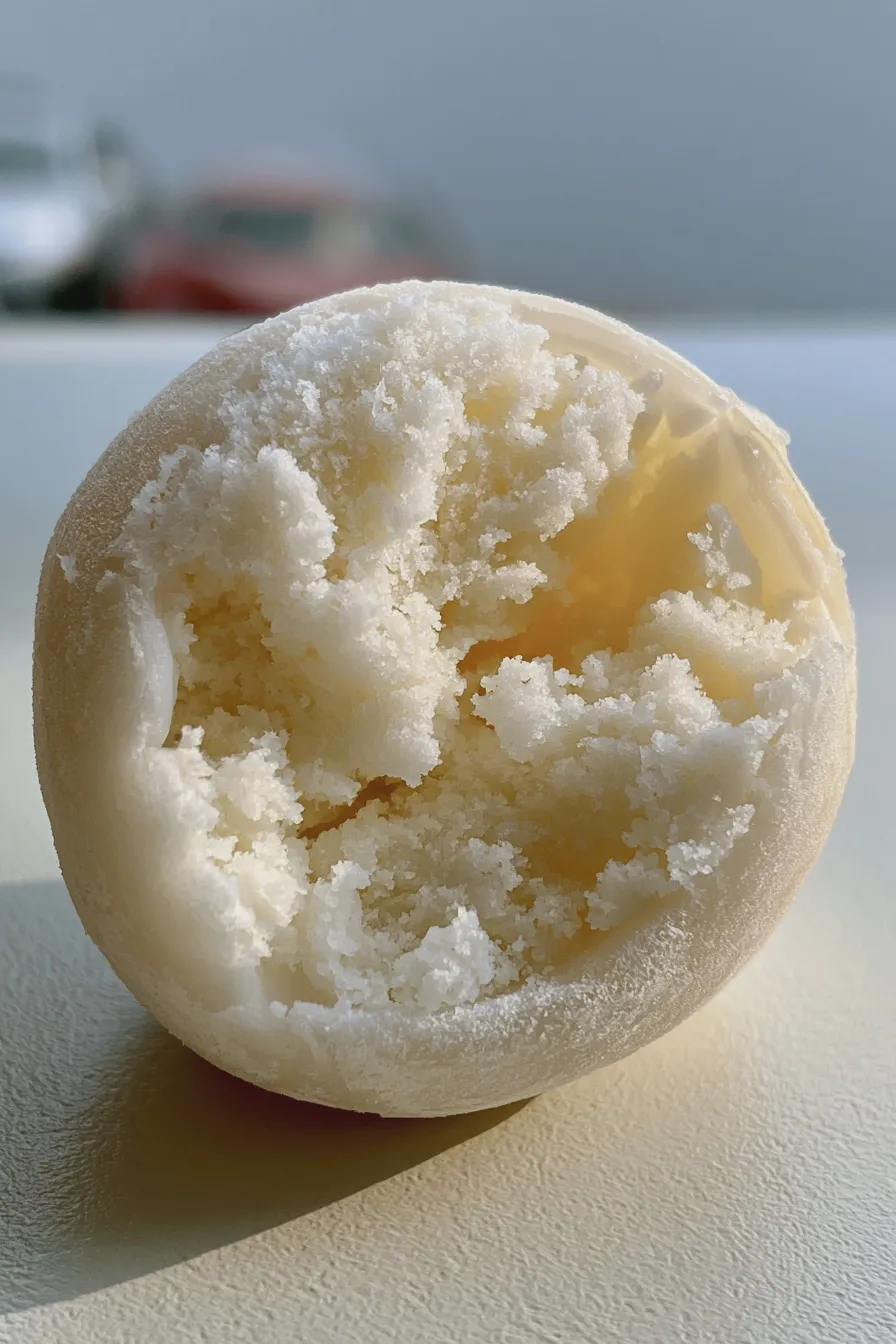
This section walks you through the key stages: preparing the filling, cooking the dough, and finally assembling these delightful frozen mochi treats.
Preparing the Ice Cream Centers
Line a small baking sheet with parchment paper and use a small cookie scoop (about 1.5 tablespoons) to portion your ice cream into neat balls.
Place these scoops onto the prepared sheet and freeze them solid for at least 3 to 4 hours, or preferably overnight, ensuring they are completely firm before you start wrapping them in the chewy mochi dough.
Cooking the Glutinous Rice Flour Mixture
In a microwave-safe bowl, whisk together the glutinous rice flour, sugar, and water until the mixture is completely smooth and there are no lumps remaining.
Cover the bowl loosely with plastic wrap, leaving a small vent, and microwave on high for 1 minute, stir thoroughly, then microwave for another minute, stir again, and repeat until the dough is translucent and very sticky; this process activates the starches central to the mochi texture guide.
Kneading and Coloring the Dough (Optional)
Generously dust a clean work surface with cornstarch, then carefully scrape the hot, sticky dough onto the surface.
Dust the top of the dough lightly with more cornstarch, then gently knead it a few times just until it forms a smooth ball, being careful not to overwork it; if you are making matcha mochi ice cream, this is where you would knead in your coloring or flavoring.
Rolling Out the Dough Sheets
Using a rolling pin dusted with cornstarch, roll the dough into a large, thin rectangle, aiming for about 1/8-inch thickness, keeping the dough moving often so it doesn’t stick.
Use a round cookie cutter (about 3.5 to 4 inches in diameter) to cut out circles, re-gathering the scraps, dusting them, and re-rolling until all the dough is used for your mochi balls recipe.
Assembling and Sealing the Mochi
Place one frozen ice cream ball in the center of a dough circle, ensuring the dough doesn’t warm up too much in your hands.
Quickly gather the edges of the dough up and over the ice cream, pinching firmly at the top to seal the seam completely, then twist the pinched dough lightly to create a neat closure; if you’re having trouble getting good lift, reviewing techniques for how to whip egg whites to stiff peaks can sometimes translate to understanding structure building in doughs.
Final Freeze and Serving
Place the newly assembled sweets seam-side down onto a cornstarch-dusted tray, ensuring they don’t touch one another.
Return them immediately to the freezer for at least 2 hours to firm up completely before serving; for a simple flavor variation, consider how well these complement a bright dessert like my recipe for lemon brownies.
Tips for Perfect Texture and Customization
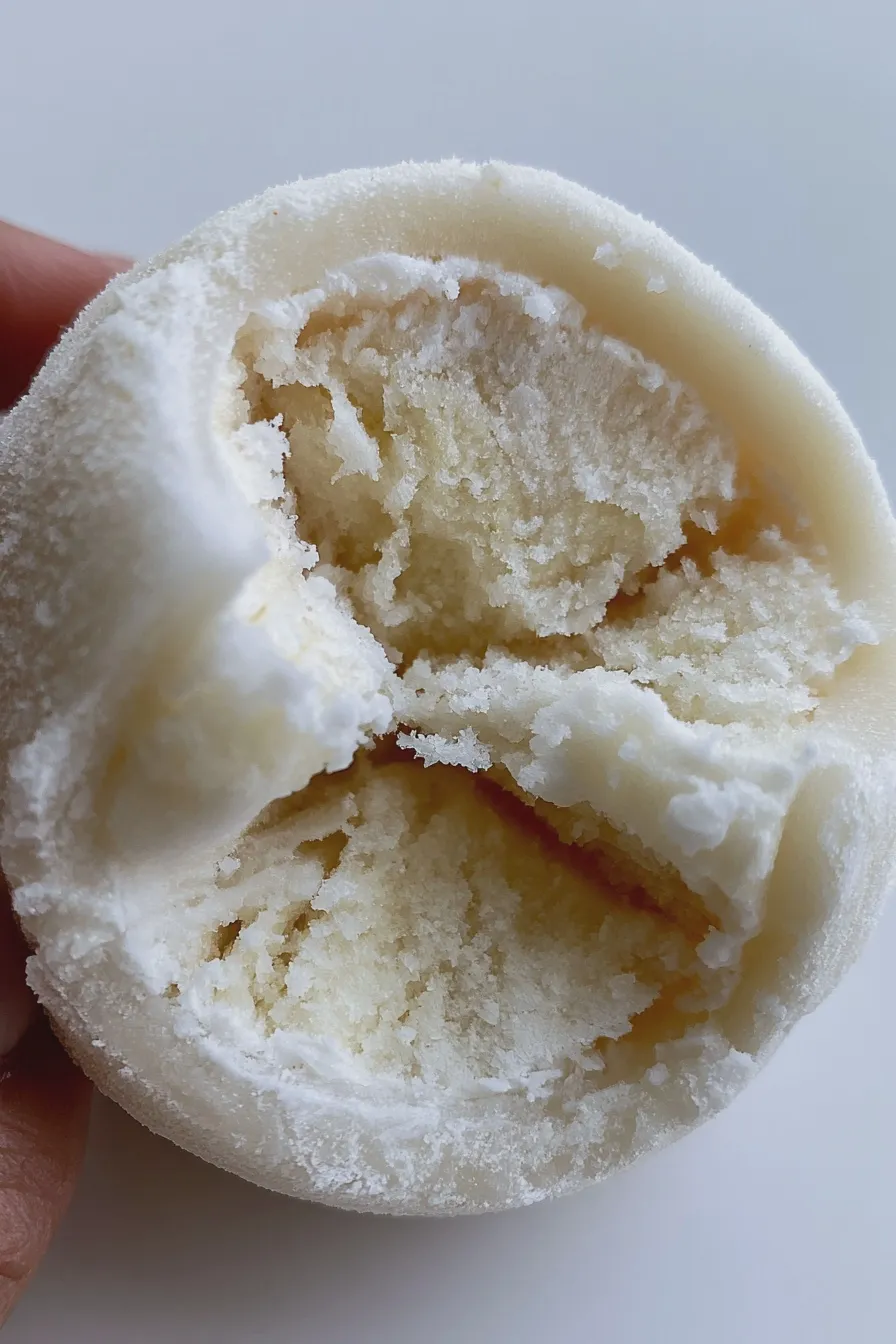
Achieving that signature soft and pliable texture is the main goal when learning how to make mochi ice cream successfully, and it all comes down to the flour choice and microwave handling.
Controlling the Dough Consistency
If your dough feels too stiff after cooking, you can try adding a tablespoon of water while kneading (using heavily cornstarched hands) to bring back some pliability; remember that this dough firms up significantly once it hits the cold ice cream.
Conversely, if the dough seems too wet or soupy after microwaving, sprinkle in another tablespoon of glutinous rice flour and knead it in carefully before rolling, avoiding the temptation to add too much dry starch, which ruins the mochi texture guide.
Flavor Variations Beyond Vanilla
When exploring ice cream filling ideas for mochi, consider making a simple chocolate base by whisking cocoa powder into softened vanilla ice cream before refreezing, much like the base for brownie cookies.
For a vibrant choice, try making strawberry mochi ice cream by using strawberry ice cream or folding freeze-dried strawberry powder into the cooked dough before rolling it out thinly.
Making Vegan Mochi Ice Cream
To create vegan mochi ice cream, simply substitute the water in the dough recipe with a plant-based milk like oat or almond milk, which often yields an even creamier dough.
For the filling, use your favorite non-dairy frozen dessert, ensuring it is firm enough to handle during the wrapping process.
Storage and Serving Suggestions
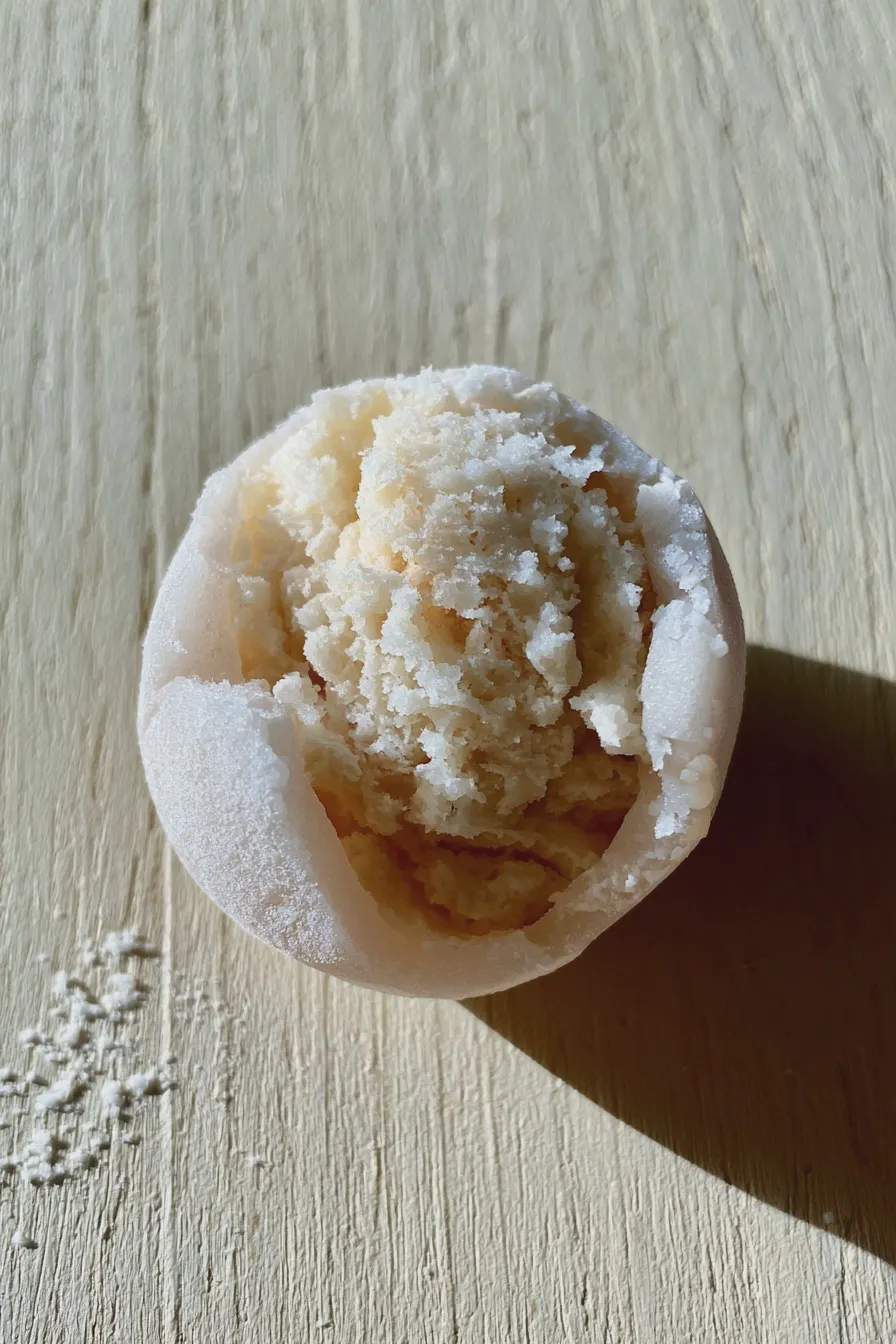
Proper storage is crucial for maintaining the delicate balance between the frozen filling and the soft, chewy exterior.
Freezing Homemade Mochi
Once fully assembled and firm, the best practice is to transfer the sweets into an airtight container separated by sheets of parchment paper to prevent sticking.
They can be stored successfully in the deep freezer for up to one month, though the texture is generally best enjoyed within the first two weeks.
Thawing for Optimal Enjoyment
Unlike many frozen desserts, these require a short resting period before serving to achieve the signature soft bite.
Take the mochi balls recipe out of the freezer about 5 to 10 minutes before you plan to serve them; this slight softening allows the wrapper to become pliable again without letting the ice cream melt completely.
Print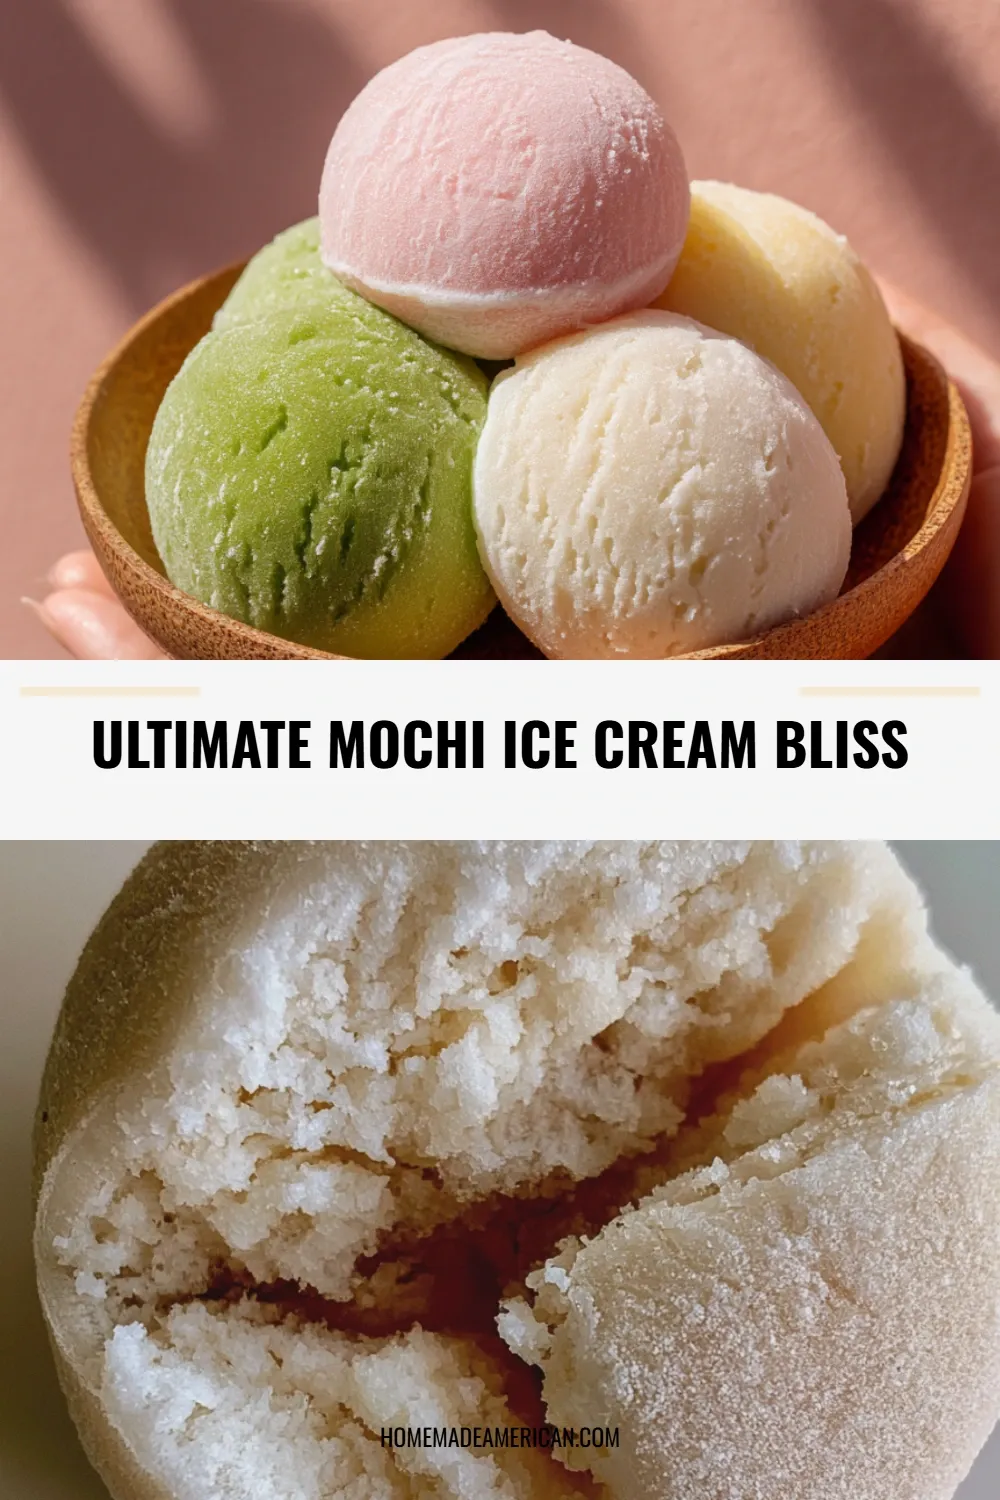
Mochi Ice Cream Recipe Homemade Easy
- Total Time: PT3H23M
- Yield: 12 Mochi 1x
- Diet: Gluten-Free
Description
Learn how to make homemade Mochi Ice Cream! These delightfully chewy, sweet rice cakes filled with your favorite ice cream are easier to make than you think. Perfect for a unique, gluten-free dessert.
Ingredients
- 1 cup sweet rice flour (Mochiko or Shiratamako)
- 1/4 cup granulated sugar
- 3/4 cup water
- 1–2 drops pink or blue food coloring (optional)
- 1 tablespoon cornstarch (for dusting)
- 1.5 cups store-bought or homemade ice cream (slightly softened)
Instructions
- Prepare the Ice Cream: Scoop the slightly softened ice cream into 12 small, uniform balls using a small cookie scoop or spoon. Place them on a parchment-lined baking sheet and freeze for at least 3 hours, or until completely solid.
- Make the Mochi Dough: In a microwave-safe bowl, whisk together the sweet rice flour, sugar, and water until smooth. If using food coloring, mix it in now.
- Cook the Dough: Cover the bowl loosely with plastic wrap (leaving a small vent) and microwave on high for 1 minute. Stir well. Re-cover and microwave for another 1 minute. Stir again. The dough should be thick and sticky. Microwave for a final 30-60 seconds until the dough is translucent and pliable.
- Cool and Prepare Surface: Dust a clean work surface generously with cornstarch. Carefully scrape the hot mochi dough onto the cornstarch. Dust the top of the dough lightly with more cornstarch.
- Roll Out the Dough: Using a rolling pin dusted with cornstarch, roll the dough out to about 1/8 inch thickness.
- Cut the Wrappers: Use a 3-inch round cookie cutter to cut out 12 circles from the dough. Reroll any scraps and cut more circles as needed.
- Assemble the Mochi: Take one dough circle and place it in the palm of your hand (dusting your hand with cornstarch if sticky). Place one frozen ice cream ball in the center. Quickly gather the edges of the dough up and around the ice cream, pinching firmly at the top to seal completely. Trim off any excess dough if necessary.
- Final Freeze: Place the assembled mochi seam-side down on a parchment-lined tray. Freeze for at least 1 hour before serving.
Notes
- For easier handling, dust your hands and tools frequently with cornstarch.
- If the ice cream melts while assembling, pop the wrapped mochi back into the freezer immediately.
- Mochi is best eaten within 2-3 days of assembly; store tightly sealed in the freezer.
- Prep Time: PT20M
- Cook Time: PT3M
- Category: Japanese Desserts
- Method: Microwave and Assembly
- Cuisine: Japanese
Nutrition
- Serving Size: 1 Mochi
- Calories: 150
- Sugar: 15g
- Sodium: 5mg
- Fat: 3g
- Saturated Fat: 2g
- Protein: 2g
- Cholesterol: 10mg







