
This ultimate homemade ice cream cake birthday recipe delivers a show-stopping, multi-layered frozen dessert cake perfect for celebrations, featuring a crunchy cookie crust, creamy filling layers, and rich whipped topping. It’s a fantastic, customizable centerpiece that beats store-bought versions, especially when you want a truly memorable easy birthday desserts experience.
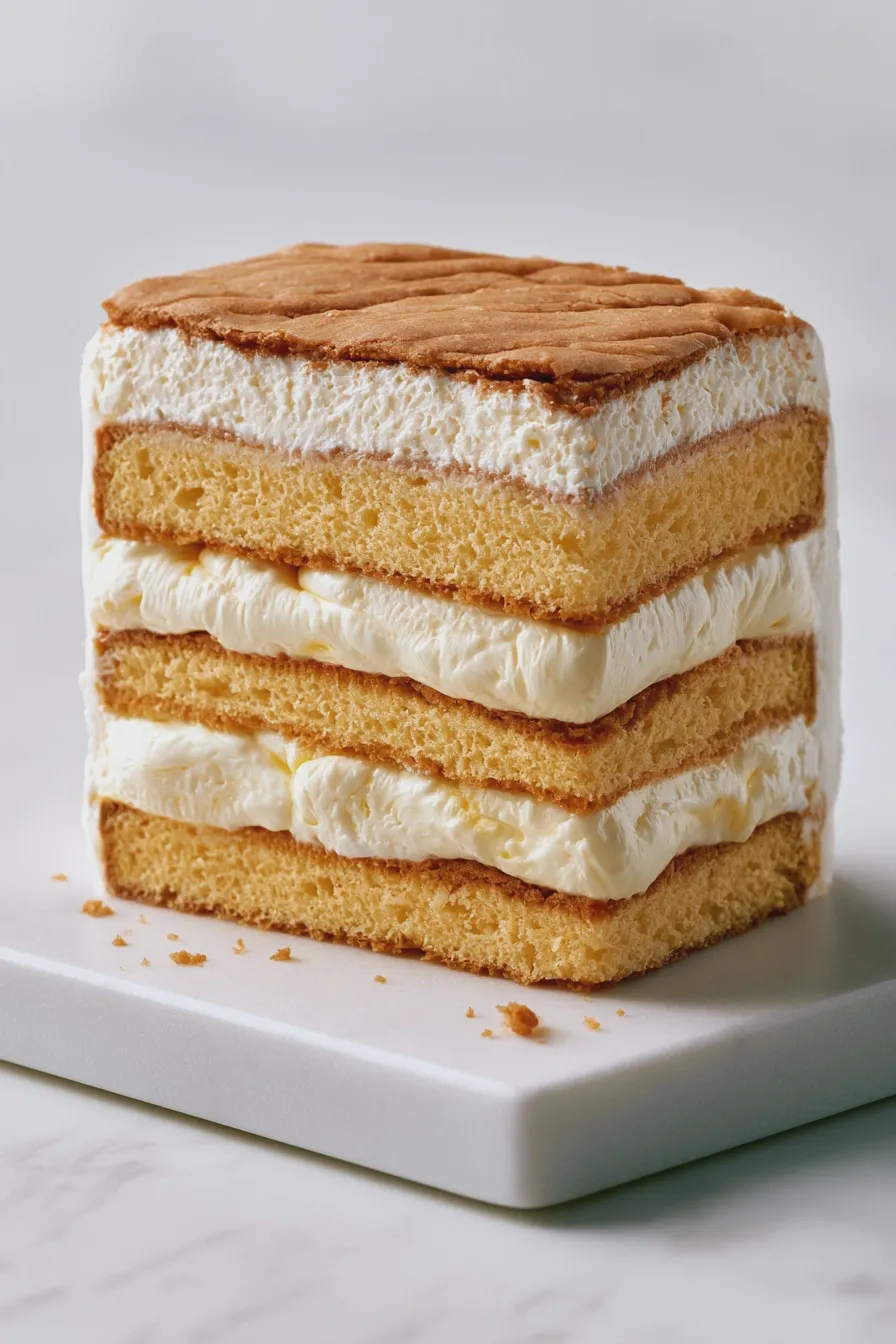
When planning a special celebration, nothing quite captures the fun and excitement like a giant slice of homemade ice cream cake. This guide walks you through creating a stunning layers ice cream cake that is surprisingly simple to assemble, even if you are new to making frozen dessert cake masterpieces. We’ll focus on achieving that perfect, sliceable texture every time, ensuring your next birthday gathering is a huge hit with this incredible ice cream cake recipe.
Essential Ingredients for Your Ultimate Ice Cream Cake
Gathering your components before you start assembling is key to a smooth process when dealing with frozen elements, which is crucial for any successful homemade ice cream cake. Having everything measured and ready minimizes the time the ice cream sits out, preventing unnecessary melting while you prepare the next component of this frozen birthday cake.
For the crunchiest base, which anchors our layers ice cream cake beautifully, we rely on classic chocolate sandwich cookies, but feel free to experiment with other crisp cookies if you prefer a different flavor profile for your ice cream cake ideas.
Crust Ingredients
- 1 1/2 cups chocolate cookie crumbs (about 30 cookies)
- 1/4 cup granulated sugar
- 6 tablespoons unsalted butter, melted
Ice Cream Layers
- 1.5 quarts of vanilla ice cream, softened slightly (not melted)
- 1.5 quarts of chocolate ice cream, softened slightly (ensure both are good quality for the best texture)
- Optional: 1/2 cup crushed candy bars or sprinkles for texture
Whipped Topping and Garnish
- 2 cups heavy whipping cream, cold
- 1/2 cup powdered sugar
- 1 teaspoon vanilla extract
- Optional Garnish: Hot fudge sauce, chopped nuts, or chocolate shavings
If you are looking for inspiration on pairing flavors, remember that classic combinations work wonderfully, much like the pairing in a chocolate raspberry cake, but in a frozen format.
How to Make ice cream cake birthday
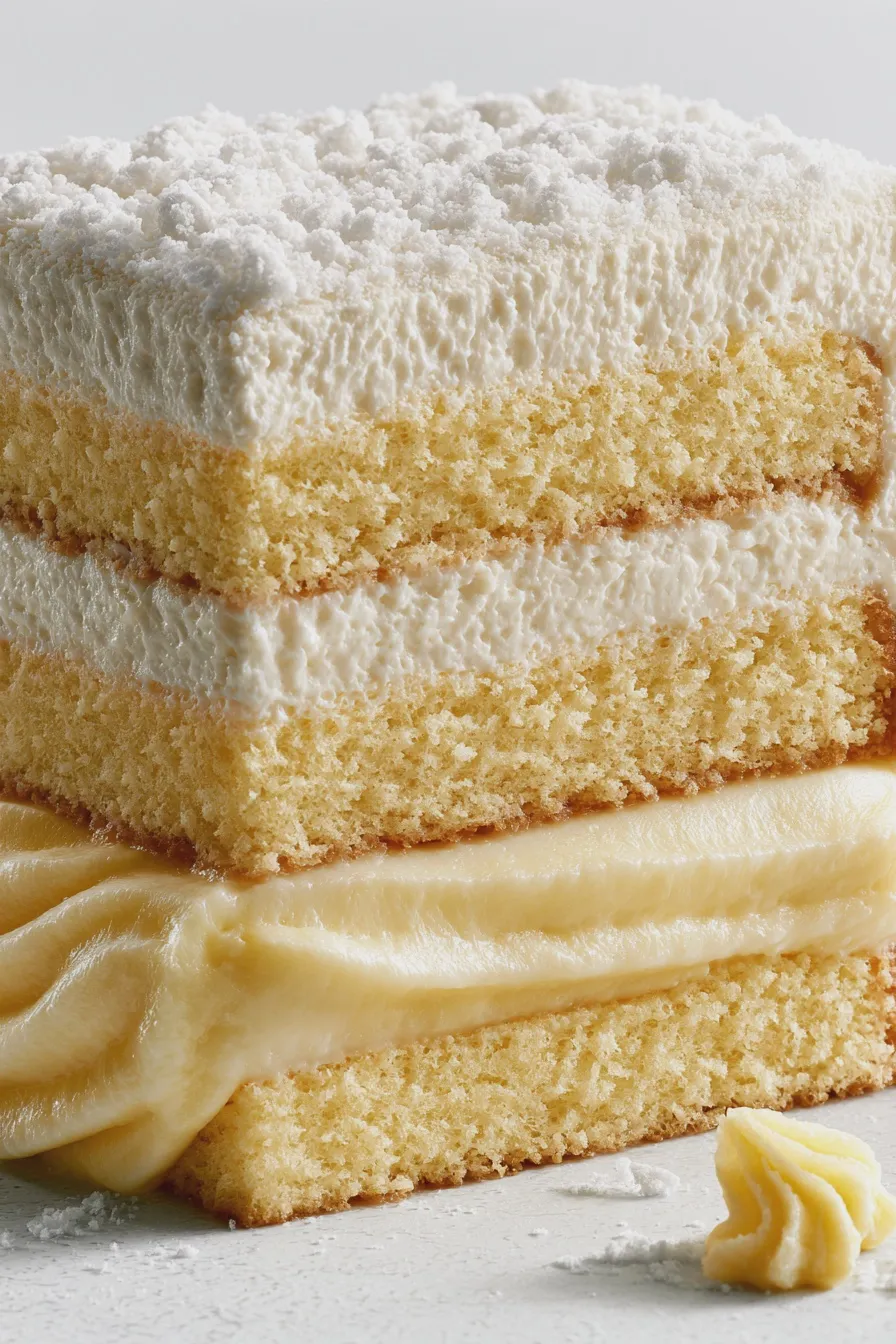
Creating this show-stopping dessert requires patience between freezing stages, so plan to dedicate a full day or two for the best results in your DIY ice cream cake project. Working quickly when handling the softened ice cream is the secret to maintaining clean layers and sharp edges on your frozen dessert cake.
Preparing the Springform Pan
Line the bottom of a 9-inch springform pan with parchment paper, which helps immensely with easy release once the ice cream cake is fully frozen. If you don’t have a springform pan, you can use a standard 9-inch round cake pan, but you will need to line it thoroughly with plastic wrap, leaving an overhang for lifting later; this is a great tip for any no-bake ice cream cake.
Forming the Cookie Crust
Combine the chocolate cookie crumbs, sugar, and melted butter thoroughly in a medium bowl until the mixture resembles wet sand. Press this mixture firmly and evenly into the bottom of your prepared pan, ensuring you compact it tightly for a solid base for the ice cream layer cake.
First Freeze and Ice Cream Layering
Place the crust into the freezer to chill for at least 30 minutes while you prepare the first ice cream layer. Spread the slightly softened vanilla ice cream evenly over the chilled crust, using an offset spatula to create a smooth, level surface.
Tip: To get the ice cream perfectly spreadable without melting it completely, let it sit on the counter for about 10–15 minutes until it’s pliable, much like spreading thick frosting on a chocolate birthday cake.
Adding the Second Layer and Second Freeze
Return the pan to the freezer for at least one hour until the vanilla layer is firm to the touch, which prevents the next layer from mixing in. Once firm, spread the softened chocolate ice cream evenly over the vanilla layer, incorporating any optional mix-ins like crushed candies now if you desire extra texture.
For those who love a richer base, you can research how to make a brownie layer, similar to what you might find in an almond flour brownies recipe, though for this simple ice cream cake recipe, we are sticking to the classic cookie base.
Freezing Until Solid
Cover the pan tightly with plastic wrap and freeze the entire layers ice cream cake assembly for a minimum of 6 hours, though overnight is highly recommended for the best results. This long freeze time is essential to ensure your finished product holds its shape beautifully when sliced, creating that desired frozen dessert cake structure.
Making the Whipped Topping
Just before you are ready to decorate, beat the cold heavy cream, powdered sugar, and vanilla extract in a large, chilled bowl using an electric mixer on medium-high speed. Continue beating until stiff peaks form, which means the cream holds its shape firmly when the whisk is lifted; this creates a lighter alternative to traditional buttercream.
Decorating the Ice Cream Cake
Remove the cake from the freezer and carefully run a thin knife dipped in hot water around the edge before releasing the springform side—this prevents sticking and preserves those clean sides. Frost the entire top and sides of the frozen cake with your freshly whipped cream, using an offset spatula for a smooth finish or a piping bag for decorative swirls, depending on your ice cream cake decorating ambitions.
If you want to add extra flair, consider topping with a drizzle of hot fudge or perhaps some fresh berries, similar to garnishes used on strawberry shortcake easter egg balls, for a burst of color.
Final Chill and Serving
Return the decorated ice cream cake to the freezer for at least 30 more minutes to allow the whipped topping to set firm against the cold ice cream layers. When ready to serve this birthday cake ice cream creation, let it sit at room temperature for about 5–10 minutes to slightly soften the edges for easier slicing.
Tips for the Best Homemade Ice Cream Cake
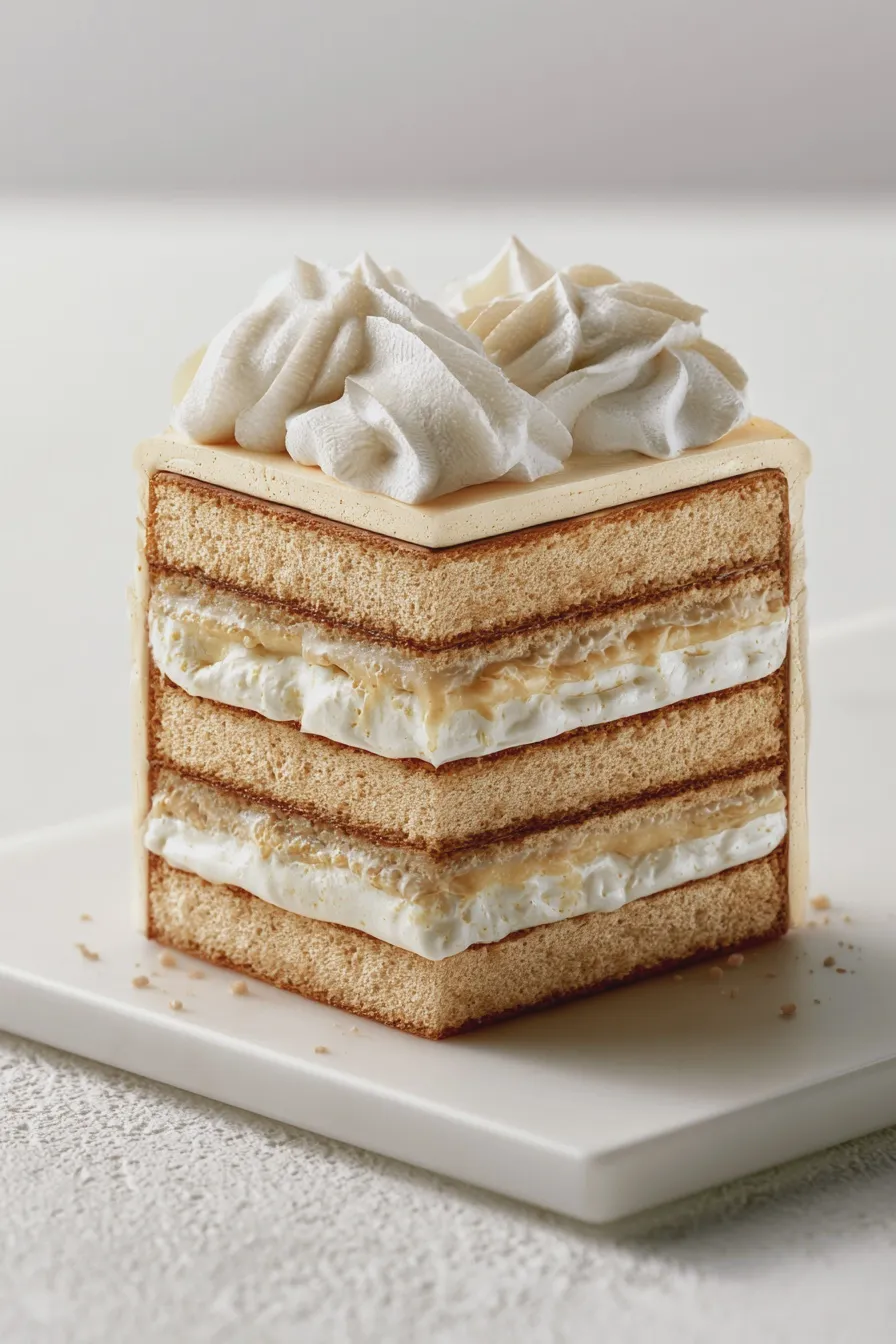
Achieving the best ice cream cake recipe often comes down to temperature control and knowing how to manage the softness of the ice cream, which is the main challenge with any DIY ice cream cake. Proper layering technique ensures you get distinct, beautiful layers when you finally cut into your masterpiece.
Temperature Control is Everything
The secret to clean layers is ensuring each ice cream layer is fully set before adding the next, which prevents the colors and flavors from bleeding together. If your kitchen is warm, work quickly and place the pan back in the freezer frequently, even for short 15-minute breaks, to maintain optimal firmness.
Flavor Variations and Substitutions
This template is incredibly versatile; swap the vanilla and chocolate for coffee and mint chip, or use a full chocolate ice cream cake theme by using chocolate ice cream and brownies in the crust, much like you might see in recipes for churro cruffins if you swap the filling entirely. For a different texture, instead of cookies, you could use crushed pretzels for a salty-sweet crust, or even use crumbled shortbread cookies, similar to what you might use for a strawberry cheesecake cookies crust.
Making Ahead and Storage Advice
This ultimate ice cream cake is actually best made a day or two in advance, as the long freezing time allows it to solidify completely, making it an ideal make-ahead dessert. Store leftovers tightly wrapped in plastic wrap and foil in the freezer for up to two weeks; the foil helps prevent freezer burn on the whipped topping.
Print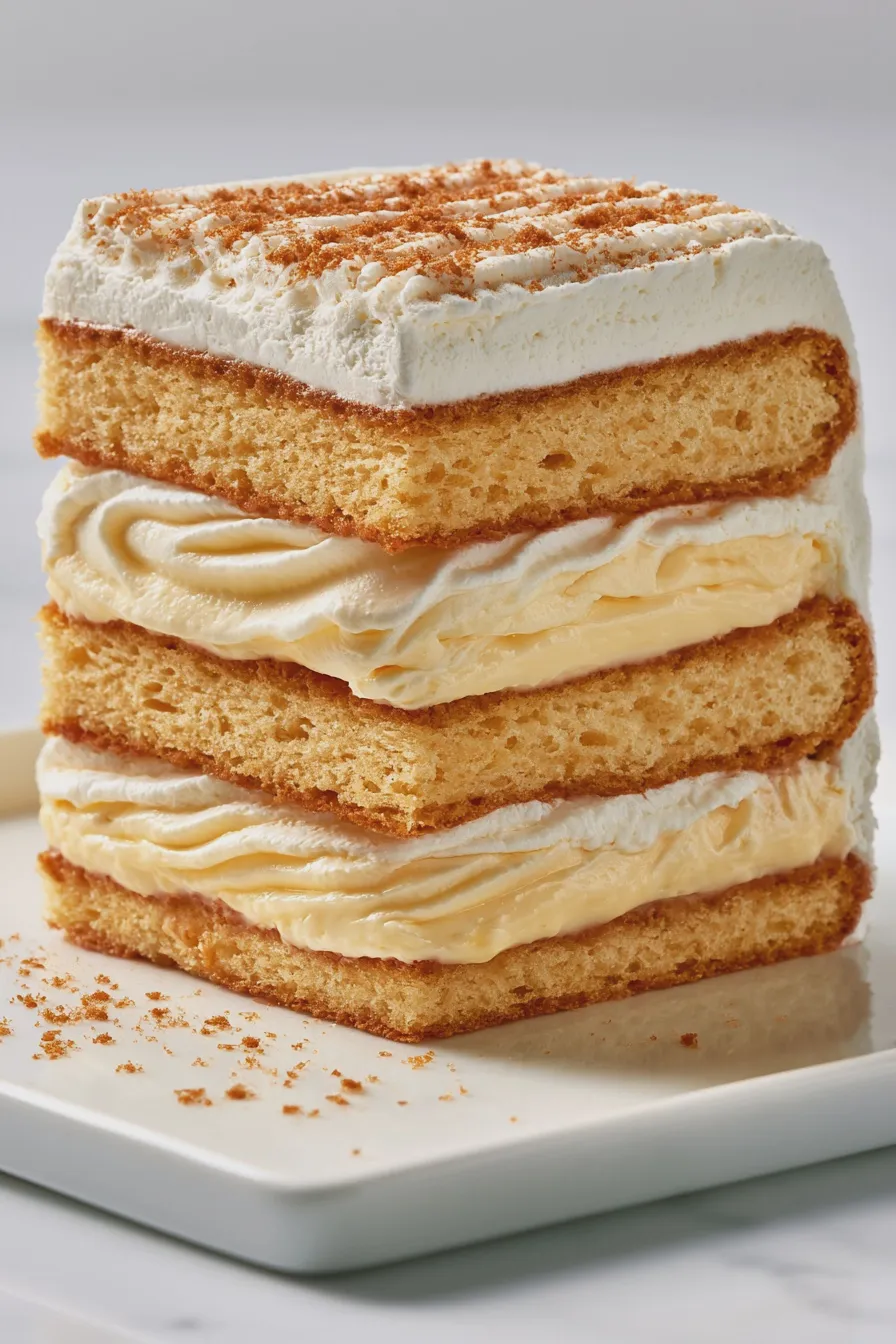
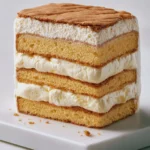
ice cream cake birthday Easy Homemade Recipe
- Total Time: PT4H35M
- Yield: 10 servings 1x
- Diet: Vegetarian
Description
Celebrate any milestone with this ultimate, show-stopping No-Bake Chocolate Peanut Butter Ice Cream Cake. Layers of crushed cookies, creamy peanut butter ice cream, and rich chocolate fudge make this the perfect easy-to-assemble birthday dessert.
Ingredients
- 1 ½ cups crushed chocolate sandwich cookies (about 20 cookies)
- ¼ cup unsalted butter, melted
- 1 (1.5 quart) container chocolate ice cream, slightly softened
- 1 (1.5 quart) container peanut butter swirl ice cream, slightly softened
- 1 cup heavy whipping cream
- ¼ cup powdered sugar
- ½ teaspoon vanilla extract
- ½ cup chocolate fudge sauce (store-bought or homemade)
- ¼ cup chopped salted peanuts (for garnish)
Instructions
- Prepare a 9-inch springform pan by lining the bottom with parchment paper.
- In a medium bowl, combine the crushed chocolate sandwich cookies and melted butter until evenly moistened. Press this mixture firmly and evenly into the bottom of the prepared springform pan. Freeze for 15 minutes.
- Remove the chocolate ice cream from the freezer and let it soften slightly (about 5-7 minutes). Spread the chocolate ice cream evenly over the frozen crust. Return the pan to the freezer for at least 1 hour, or until firm.
- Once the chocolate layer is firm, slightly soften the peanut butter ice cream. Spread the peanut butter ice cream evenly over the chocolate layer. Smooth the top with an offset spatula. Freeze for a minimum of 4 hours, or preferably overnight, until completely solid.
- Prepare the whipped topping: In a chilled bowl, beat the heavy whipping cream, powdered sugar, and vanilla extract on high speed until stiff peaks form (about 3-5 minutes).
- Once the cake is fully frozen, carefully remove the springform ring. Transfer the cake to a serving platter.
- Frost the top and sides of the cake generously with the prepared whipped cream.
- Drizzle the chocolate fudge sauce over the top of the cake in decorative swirls. Sprinkle with chopped salted peanuts.
- Slice with a sharp, warm knife and serve immediately. Store leftovers tightly covered in the freezer.
Notes
- For easier slicing, remove the cake from the freezer 10 minutes before serving.
- If you don’t have two separate ice cream flavors, you can use two containers of the same flavor, or substitute the second layer with brownie batter or caramel swirl ice cream.
- To make a homemade crust, use Oreos or any chocolate wafer cookie.
- Prep Time: PT20M
- Cook Time: 0 minutes (No Bake)
- Category: Ice Cream Cake
- Method: No-Bake
- Cuisine: American
Nutrition
- Serving Size: 1 slice
- Calories: 450
- Sugar: 35g
- Sodium: 250mg
- Fat: 28g
- Saturated Fat: 16g
- Unsaturated Fat: 12g
- Trans Fat: 0.5g
- Carbohydrates: 45g
- Fiber: 2g
- Protein: 6g
- Cholesterol: 75mg







