
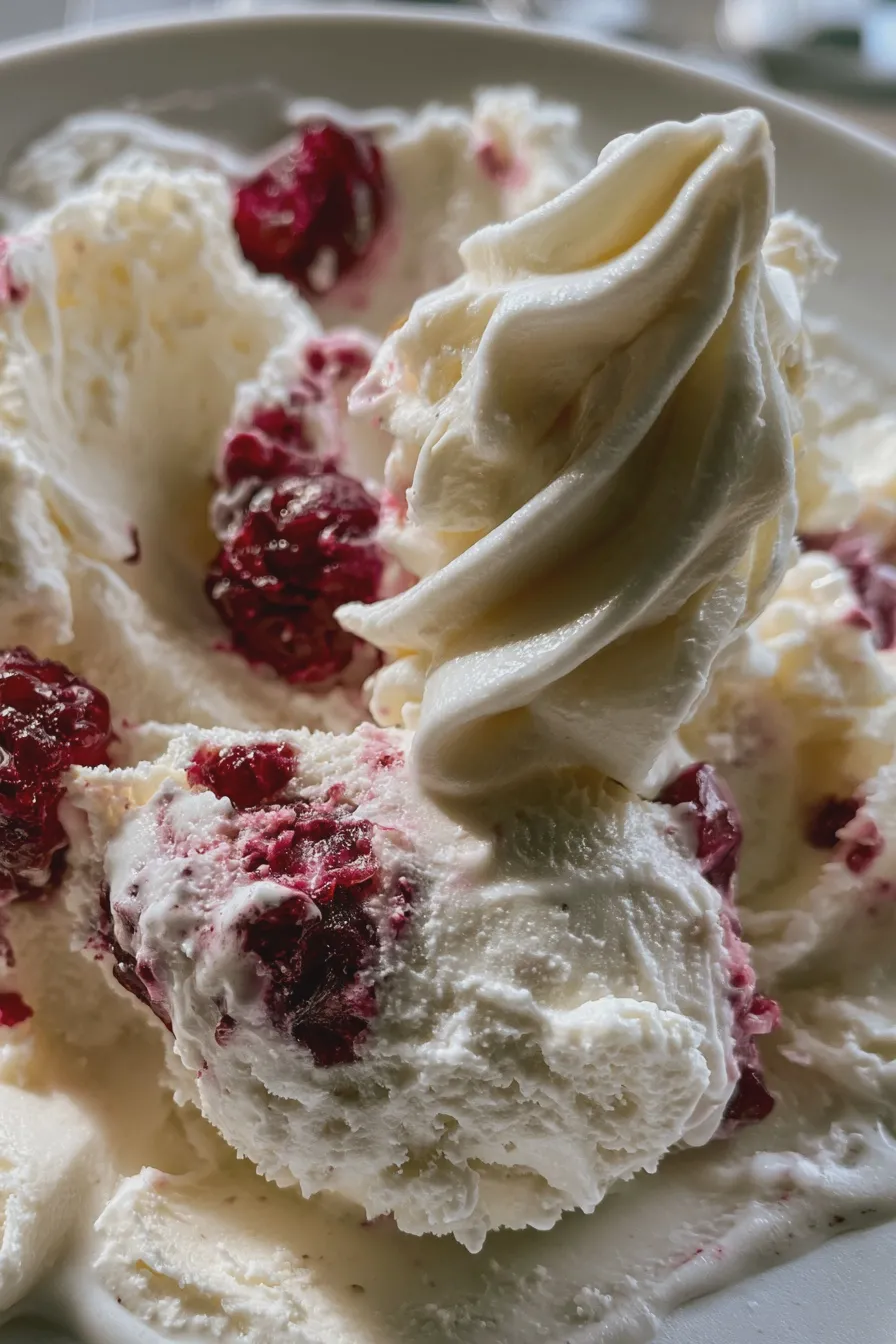
This simple no churn ice cream recipe uses just two primary ingredients—sweetened condensed milk and heavy cream—to create a wonderfully smooth and rich frozen dessert without needing an ice cream maker, making it the perfect quick fix for a summer craving.
Welcome to the world of impossibly easy homemade frozen treats! If you’ve ever dreamed of scooping up creamy perfection on a warm evening but dreaded the churning process, you are in the right place, as we are diving deep into making the best no churn ice cream.
This method bypasses the need for eggs or a dedicated machine, delivering a satisfyingly creamy texture that rivals traditional ice cream, proving that truly delicious frozen dessert recipes don’t have to be complicated.
Why Home Cooks Love No Churn Ice Cream Recipes
The magic behind these recipes lies in their simplicity and reliability, which is why they have become so popular among busy home cooks looking for an easy no churn ice cream solution. Traditional ice cream requires careful custard making and constant machine churning to prevent large ice crystals from forming, but this alternative leverages the high sugar content of condensed milk to keep the mixture soft and scoopable right out of the freezer.
For those who don’t own an ice cream machine or simply want a faster route to a frozen delight, this technique is the ultimate kitchen hack; you can find more inspiration on simple ice cream recipes by looking at Serious Eats for general guidance.
The Science Behind the Creaminess
The secret to achieving that beautiful, creamy no churn ice cream texture rests primarily on the foundation of heavy whipping cream and sweetened condensed milk. When you whip the heavy cream to stiff peaks, you incorporate a significant amount of air, which acts as your churning mechanism, preventing the mixture from freezing into a solid block of ice.
Meanwhile, the condensed milk, which is milk with most of the water removed and sugar added, lowers the freezing point of the mixture, ensuring that even when fully frozen, the final product remains soft enough to scoop easily, leading to the best no churn ice cream experience.
Essential Ingredients for Homemade No Churn Ice Cream
While this base recipe is incredibly simple, utilizing high-quality ingredients ensures the most flavorful result for your homemade no churn ice cream. We are aiming for that rich mouthfeel you expect from a premium scoop, so don’t skimp on the fat content in your dairy.
- 2 cups (1 pint) Heavy Whipping Cream, very cold
- 1 (14-ounce) can Sweetened Condensed Milk, chilled
- 1 teaspoon Pure Vanilla Extract (essential for the classic flavor)
- Pinch of Fine Sea Salt (to balance the sweetness)
For substitutions, if you are looking for a healthy no churn ice cream variation, you might try using coconut cream instead of heavy cream, though the texture will be slightly different; however, for the classic, rich result, stick to the heavy cream.
How to Make no churn ice cream recipes
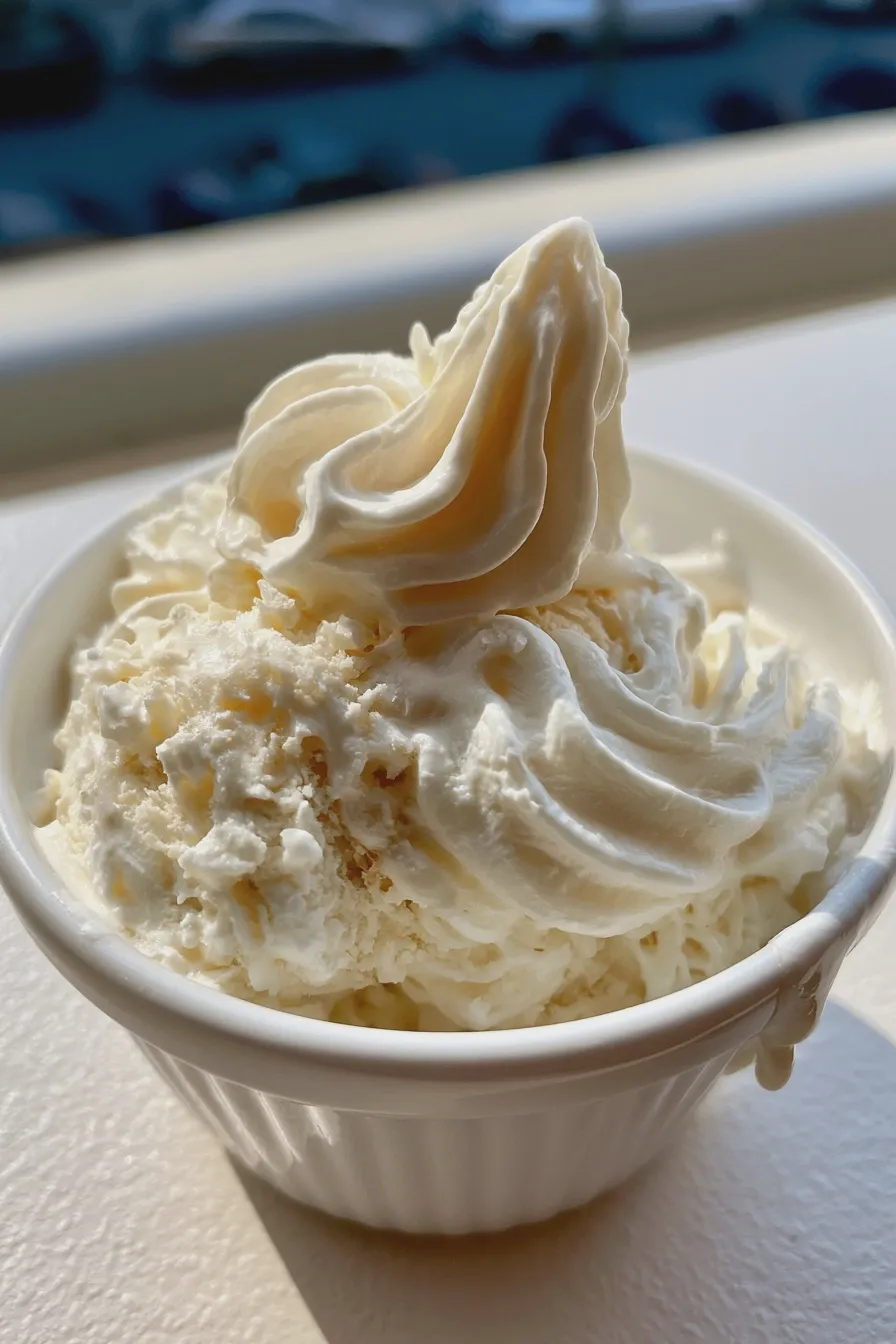
This section details the straightforward process for creating what many consider the best ice cream maker alternative available right on your countertop. Remember, the key to success with this condensed milk no churn ice cream method is ensuring your ingredients are cold and your whipping is thorough.
Whipping the Cream Base
Place your very cold heavy whipping cream into a large, chilled mixing bowl, preferably one you have placed in the freezer for 15 minutes beforehand for optimal results. Using an electric mixer fitted with the whisk attachment, begin whipping the cream on medium speed until soft peaks begin to form.
Increase the speed to medium-high and continue beating until stiff peaks form; at this stage, the cream should hold its shape firmly when the whisk is lifted—a crucial step for achieving a light texture in your frozen dessert recipes.
Folding in the Sweetened Base
In a separate bowl, gently whisk together the chilled sweetened condensed milk, vanilla extract, and the pinch of salt until they are just combined. Do not over-mix this base, as we want to keep the flavors marrying without incorporating too much air yet.
Take about one-third of the whipped cream and gently fold it into the condensed milk mixture using a rubber spatula to lighten the base before adding the rest of the cream. This initial folding prevents the denser condensed milk from deflating all the air you just worked so hard to incorporate.
Final Combination and Flavoring
Now, gently fold the remaining whipped cream into the lightened base in two additions, using slow, deliberate strokes, making sure to scrape down the sides of the bowl frequently. Stop folding immediately once no white streaks remain, as over-mixing will deflate the volume, resulting in a denser, less airy final product.
This is the perfect point to add your mix-ins for a flavored version, such as chocolate chips for a no churn chocolate ice cream, or fresh fruit purees for a wonderful fruit no churn ice cream; for rich chocolate flavors, you might want to check out how to make a chocolate truffle cake for inspiration.
Freezing for the Perfect Scoop
Pour the combined mixture into a freezer-safe, airtight container, like a loaf pan lined with plastic wrap or parchment paper for easy removal later. If you are using mix-ins, swirl them gently on top for a beautiful marbled effect before covering the container tightly.
Place the container in the back of your freezer where the temperature is most consistent, and allow it to freeze undisturbed for at least 6 hours, though overnight is best for the firmest, most satisfying texture for your quick no churn ice cream.
Flavor Variations and Mix-Ins
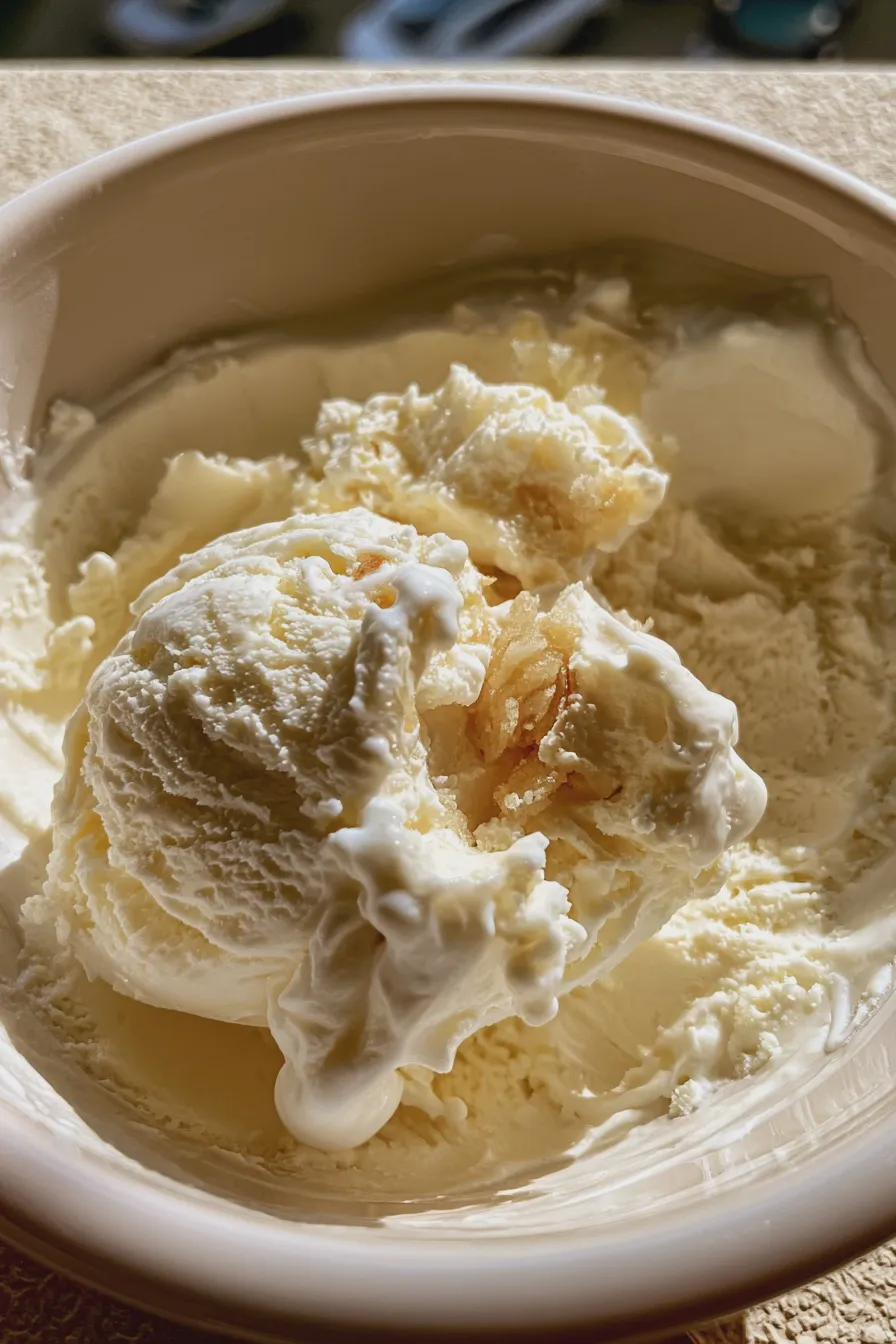
Once you master the basic no churn vanilla ice cream, the possibilities for customization are truly endless, allowing you to create endless variations of this simple ice cream recipe right at home. Experimenting with different extracts, swirls, and crunchy additions is part of the fun of making your own frozen delights.
Swirls and Sauces
To create a beautiful swirl, reserve about half a cup of your base mixture before adding any mix-ins and flavor it separately—for example, melt down some caramel sauce or a rich fudge swirl. After pouring the main base into the pan, drizzle the flavored portion on top and use a knife to gently cut through the layers once or twice to create ribbons.
For a richer experience, you can incorporate crumbled baked goods; for instance, crushed pieces of a rich brownie, similar to what you might use in German chocolate brownies, add fantastic texture and deep flavor.
Incorporating Textures and Crunch
When adding solid mix-ins like chopped nuts, cookie pieces, or candy, ensure they are cut into small, manageable pieces so they don’t freeze rock-hard and become difficult to chew. It is best practice to fold these crunchy elements in during the final moments of mixing, right before transferring the mixture to the freezer pan.
If you are planning a large batch or want to prepare ahead, these ice creams freeze beautifully, and you can even prepare components like homemade fudge sauce or candied pecans a day or two in advance; for another baked inspiration, consider how a chocolate bundt cake recipe can inspire dessert toppings.
Exploring Fruit Options
Creating a vibrant fruit no churn ice cream requires a slight adjustment to manage excess moisture, which can lead to iciness. If using fresh or frozen berries, gently cook them down with a little sugar until they form a thick, jam-like consistency, then cool completely before folding them in.
For a lighter, brighter profile, consider using a tart fruit like lemon or raspberry, which cuts through the richness of the condensed milk base perfectly; if you enjoy baked fruit desserts, you might find inspiration in recipes like blueberry crumble cheesecake for flavor pairing ideas.
Tips for the Smoothest Homemade No Churn Ice Cream
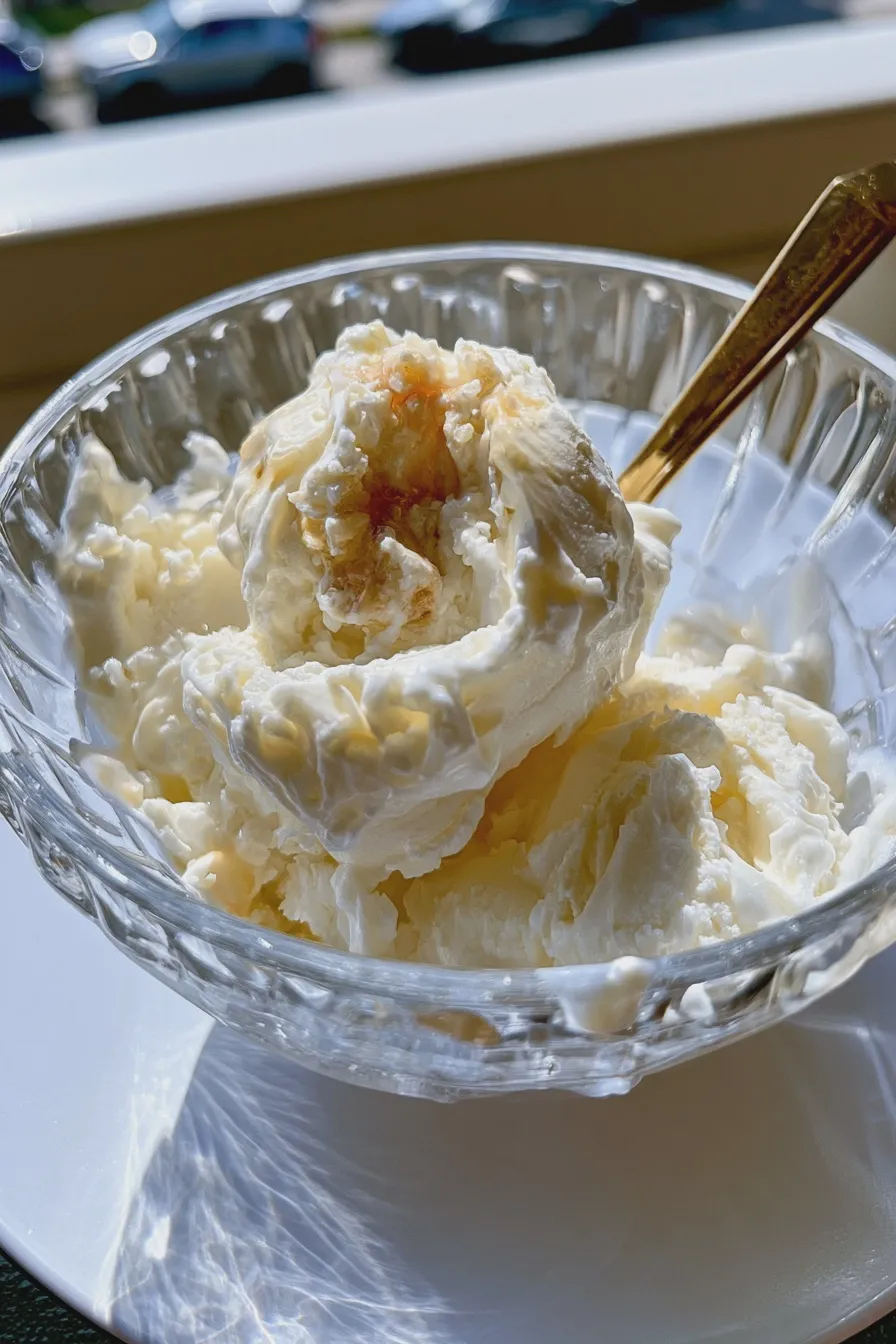
Even with this easy method, a few expert tips can elevate your frozen dessert from good to absolutely phenomenal, ensuring every spoonful is smooth and luxurious. Avoiding ice crystallization is the ultimate goal when making any frozen treat without a machine.
Temperature Control is Key
Ensure both your heavy cream and your sweetened condensed milk are thoroughly chilled before you begin whipping and mixing, as cold ingredients whip up faster and hold air better. If your equipment used for whipping, like the bowl and whisk attachment, is also chilled, you will achieve maximum volume and stability in your cream.
When storing the finished product, always press a piece of plastic wrap or parchment paper directly onto the surface of the ice cream before sealing the lid; this barrier prevents freezer burn and ice crystal formation on the exposed top layer.
Managing Add-Ins and Alcohol
If you decide to incorporate liquids or flavor extracts beyond vanilla, use them sparingly, as too much liquid will compromise the texture, making your result more icy than creamy. For example, if you want to try a boozy flavor, use less than one tablespoon of extract or liqueur, as alcohol significantly lowers the freezing point.
For those interested in exploring alternative flavor bases, even when making something like Dr. Pepper brownies, remember that the high sugar content in the soda concentrate acts similarly to condensed milk, but for this base recipe, stick to the core ingredients for the most reliable outcome.
Print
no churn ice cream recipes Easy Homemade
- Total Time: PT6H15M
- Yield: About 1.5 quarts 1x
- Diet: Vegetarian
Ingredients
- 2 cups (480ml) cold heavy whipping cream (at least 35% fat)
- 1 (14-ounce) can sweetened condensed milk, chilled
- 1 tablespoon vanilla bean paste (or 2 teaspoons pure vanilla extract)
- Pinch of salt (optional, to enhance flavor)
Instructions
- In a large bowl, use an electric mixer (handheld or stand mixer fitted with the whisk attachment) to whip the cold heavy whipping cream until stiff peaks form. This usually takes 3-5 minutes, depending on your mixer speed. The cream should hold its shape when the whisk is lifted.
- In a separate medium bowl, whisk together the chilled sweetened condensed milk, vanilla bean paste, and optional pinch of salt until thoroughly combined.
- Gently fold about one-third of the whipped cream into the condensed milk mixture using a rubber spatula. This lightens the base mixture.
- Carefully fold the remaining whipped cream into the lightened base in two additions, being careful not to deflate the air you whipped into the cream. Fold just until no streaks of plain condensed milk remain.
- Pour the mixture into a freezer-safe container, such as a loaf pan (8×4 or 9×5 inches), lined with plastic wrap or parchment paper for easy removal.
- Cover the surface directly with plastic wrap, pressing out any air bubbles, and then seal the container with a lid or foil.
- Freeze for a minimum of 6 hours, or preferably overnight, until firm.
- Before serving, let the ice cream sit on the counter for 5-10 minutes to soften slightly for easier scooping. Enjoy!
Notes
- For a richer flavor, add 1/2 teaspoon of almond extract along with the vanilla.
- To make chocolate no-churn ice cream, sift 1/2 cup of unsweetened cocoa powder into the condensed milk mixture before folding in the whipped cream.
- If you don’t have vanilla bean paste, use a real vanilla bean pod: scrape the seeds out and mix them directly into the condensed milk.
- Prep Time: PT15M
- Cook Time: 0 minutes
- Category: No-Churn Ice Cream
- Method: Whipping and Freezing
- Cuisine: American
Nutrition
- Serving Size: 1/2 cup
- Calories: 320
- Sugar: 35g
- Sodium: 85mg
- Fat: 18g
- Saturated Fat: 11g
- Unsaturated Fat: 7g
- Trans Fat: 0.5g
- Carbohydrates: 37g
- Fiber: 0g
- Protein: 5g
- Cholesterol: 55mg







