
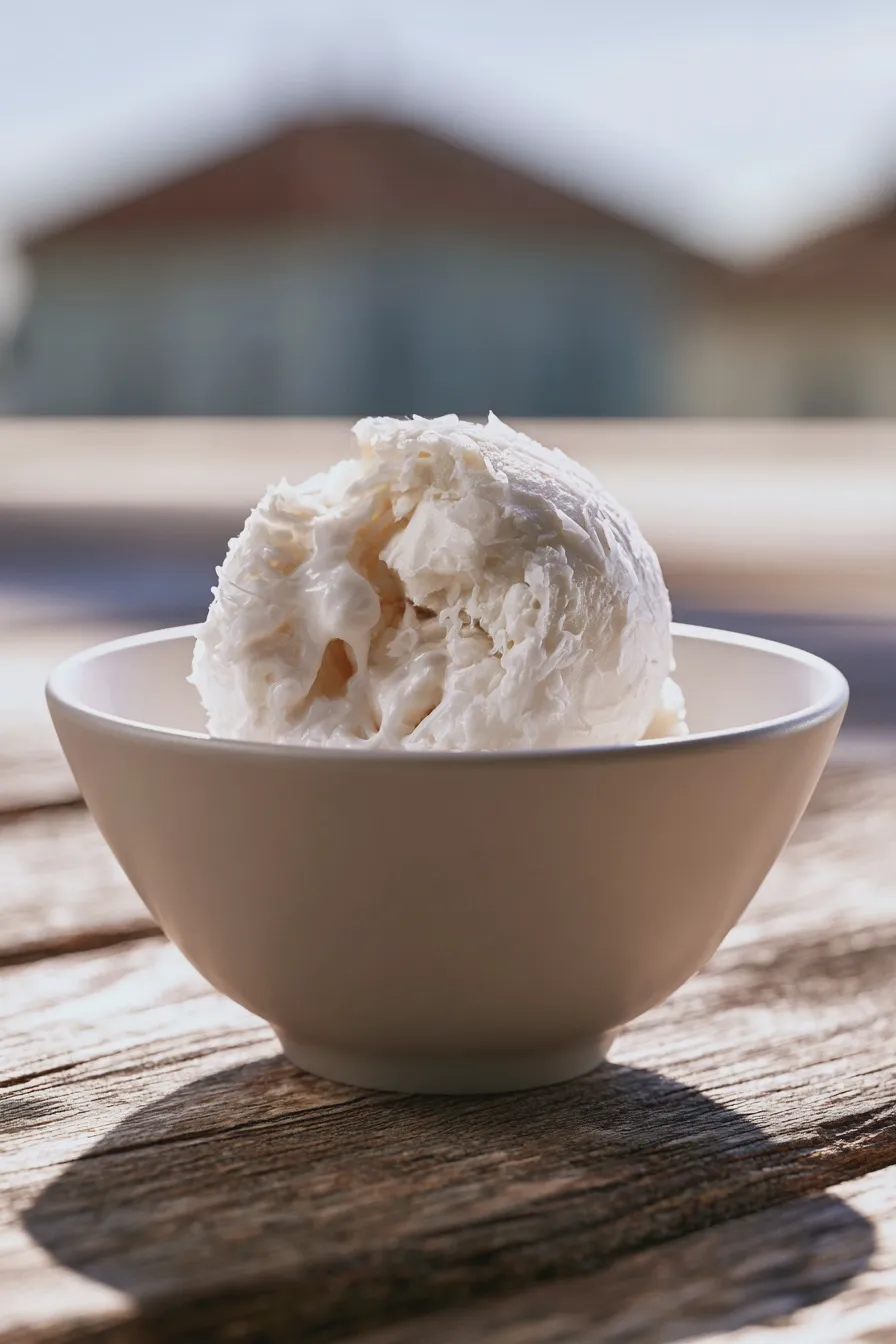
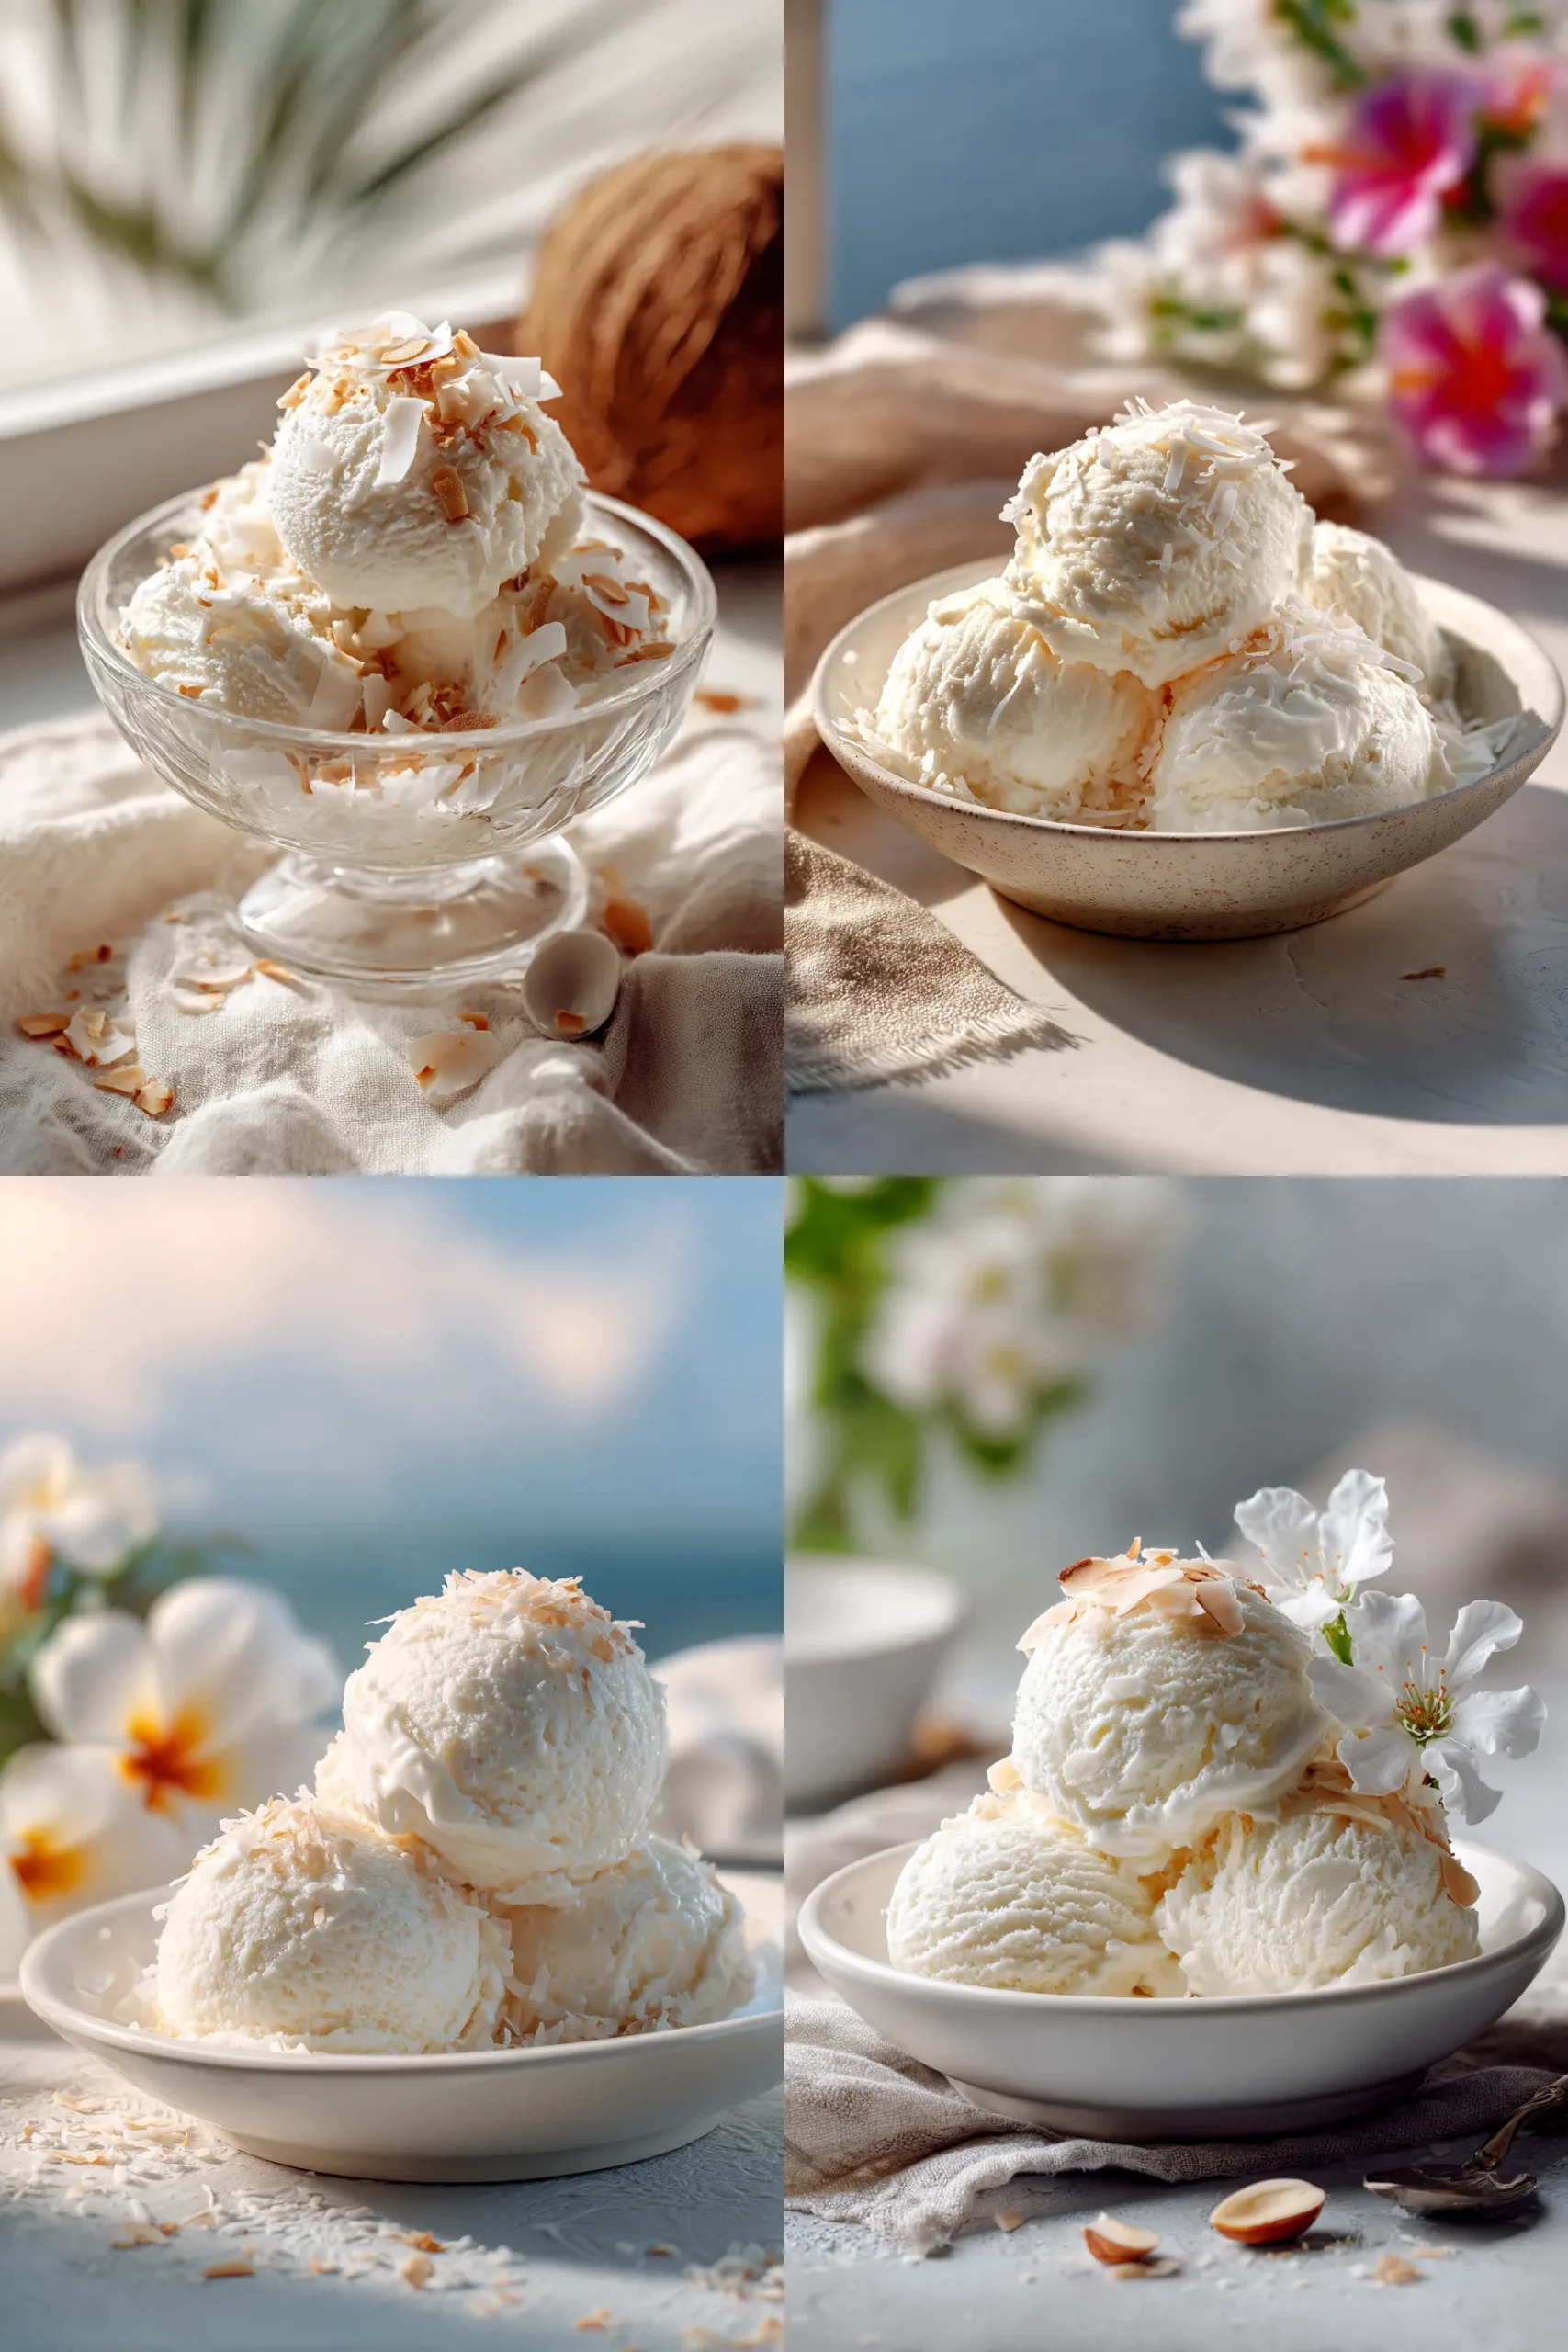
This rich and creamy homemade coconut ice cream is wonderfully refreshing, perfect for a warm summer evening or when you crave a taste of the tropics without leaving your kitchen. Using full-fat coconut milk yields a luscious texture that rivals traditional dairy versions, making this the best coconut ice cream recipe for satisfying those frozen dessert cravings.
If you are looking for a truly decadent yet surprisingly simple frozen treat, look no further than this recipe for homemade coconut ice cream. The natural sweetness of the coconut shines through, creating a wonderfully smooth scoop that pairs beautifully with fruit toppings or warm sauces.
Quick Answer
This recipe delivers a wonderfully creamy, rich homemade coconut ice cream that relies on full-fat coconut milk for its luxurious texture, making it an excellent tropical dessert recipes staple. It can be made easily with or without an ice cream maker, providing a fantastic dairy-free ice cream option for everyone to enjoy.
Introduction to Creamy Homemade Coconut Ice Cream
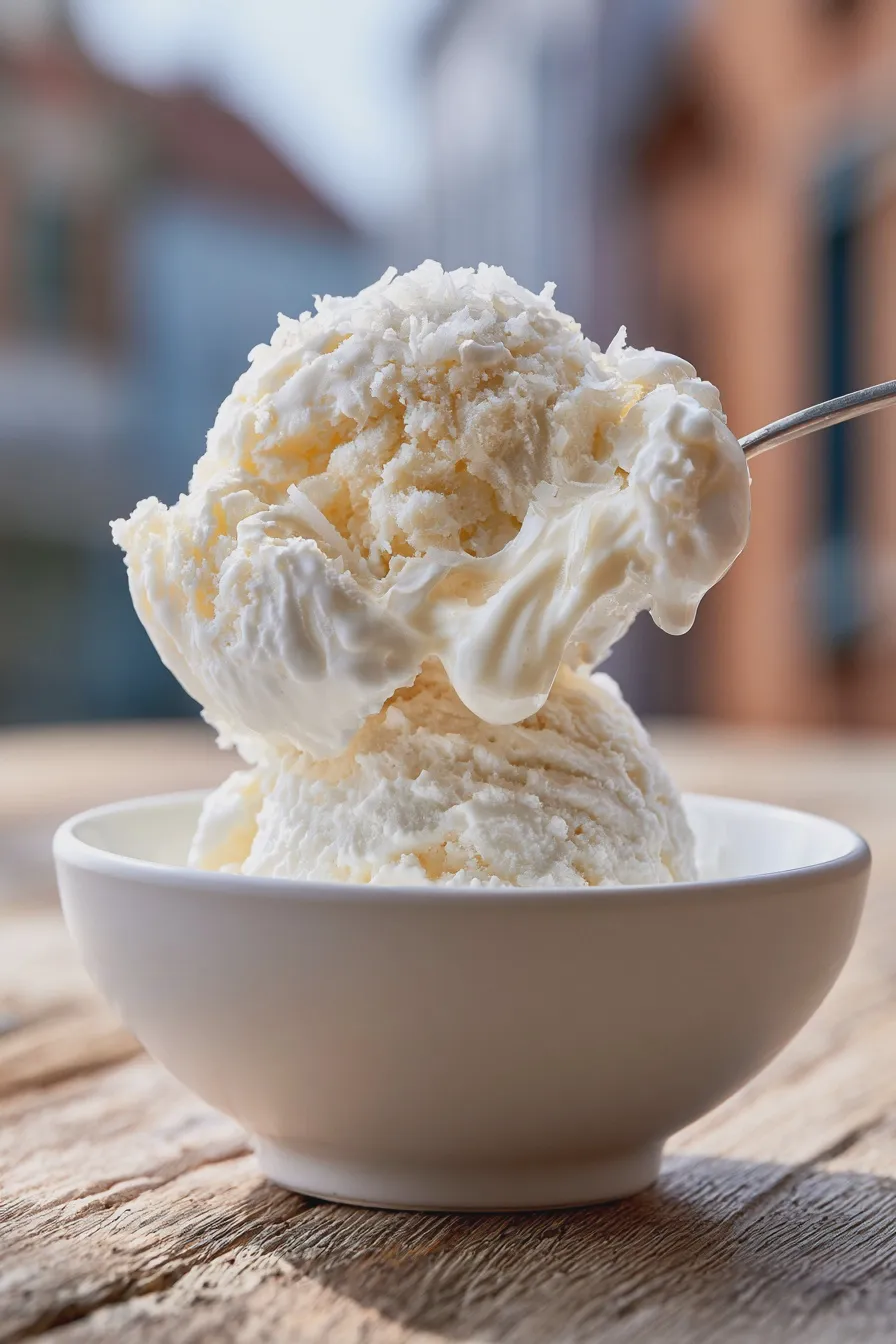
There is something uniquely satisfying about scooping perfectly frozen, intensely flavored homemade coconut ice cream right from the freezer, especially when it carries that distinct, sweet tropical essence. Many people seek out this particular flavor profile because it offers a fantastic alternative to traditional bases, and I’m happy to share my go-to method for achieving that perfect, scoopable texture.
We are going to focus on building deep coconut flavor while ensuring the final product is wonderfully smooth, avoiding any icy crystals, which is the hallmark of great homemade frozen dessert. If you are exploring options beyond classic flavors, you might also appreciate how easily this base can be adapted, perhaps even looking into something like no churn coconut ice cream methods if you are short on time.
Ingredients for the Best Coconut Ice Cream Recipe
Gathering your ingredients is the first step toward creating this amazing tropical frozen treat; quality matters significantly when the flavor is this focused.
Essential Base Ingredients
- 2 (13.5 ounce) cans full-fat coconut milk (Do not use “lite” versions; chilling these cans overnight is highly recommended)
- 1 cup granulated sugar (For a keto coconut ice cream variation, substitute with your preferred granular keto sweetener)
- 1/2 cup unsweetened shredded coconut, toasted (optional, for texture)
- 1 teaspoon pure vanilla extract
- Pinch of fine sea salt
Optional Flavor Enhancers
- 1/2 cup coconut cream (the thick part from the top of a very cold can of full-fat coconut milk)
- 1 tablespoon lime zest (for brightness)
- 1/4 cup finely chopped toasted macadamia nuts (for crunch)
If you find yourself wanting to make this a vegan coconut ice cream recipe, rest assured that this base is naturally plant-based, provided you use a vegan sugar source if that is a concern for you.
Preparation: Chilling and Toasting
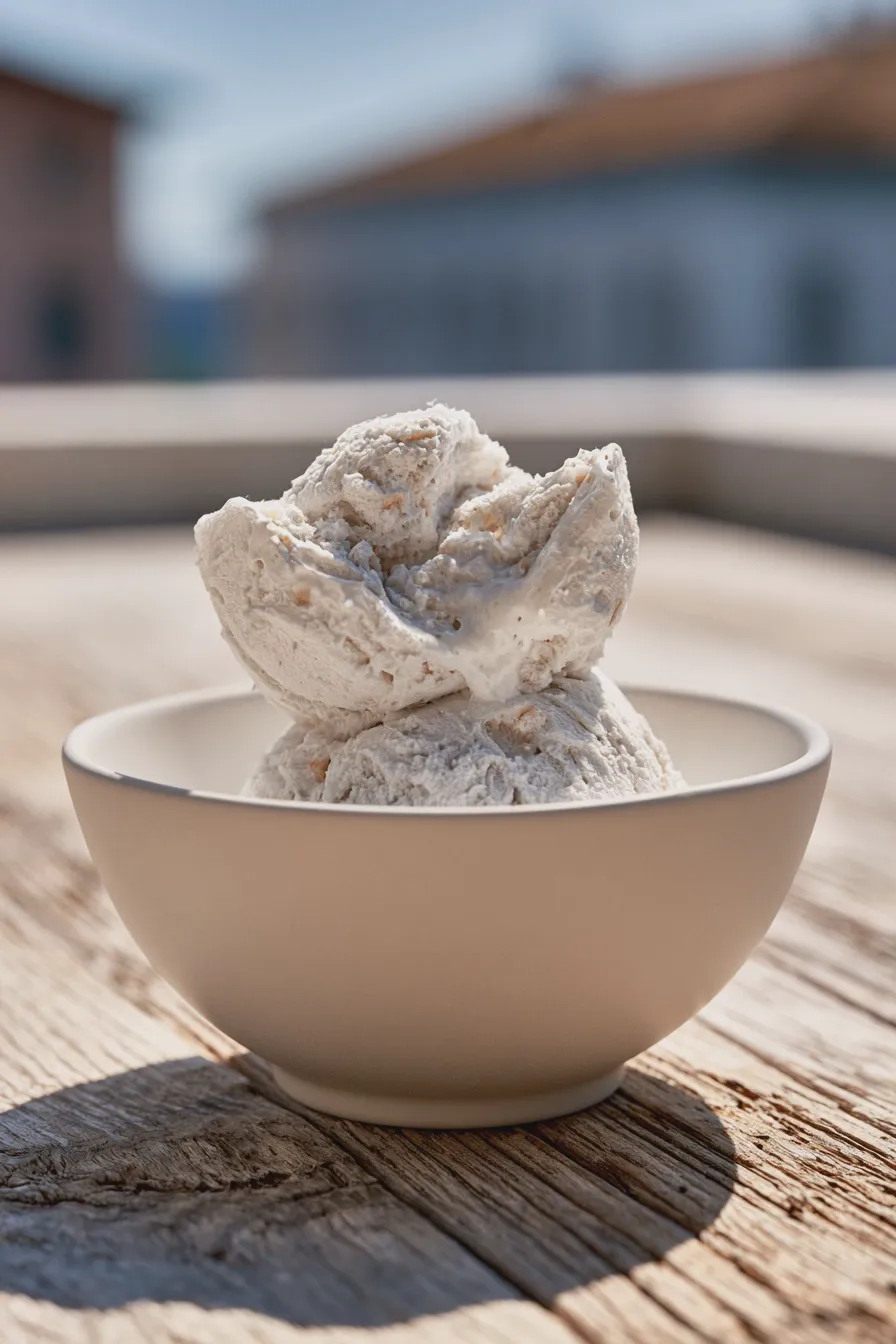
Proper preparation, especially chilling, is critical for achieving the smooth texture we are aiming for in this creamy coconut ice cream.
Chilling the Coconut Milk
Open your cans of full-fat coconut milk without shaking them and carefully scoop out the thick cream layer that has risen to the top into a separate bowl; reserve the thinner liquid underneath. This separation step is crucial because the high fat content in the cream is what delivers that luscious mouthfeel associated with the best homemade frozen dessert.
Toasting the Shredded Coconut (Optional)
If you are including shredded coconut for added texture, spread it thinly on a dry skillet over medium-low heat and stir constantly until golden brown and fragrant. Watch this closely, as shredded coconut burns very quickly, and once it achieves a light golden hue, immediately transfer it to a plate to cool completely.
How to Make Coconut Ice Cream (Machine Churn Method)
Using an ice cream maker yields the most consistently smooth results, mimicking the texture you find in commercial premium scoops.
Creating the Sweetened Base
In a medium saucepan, combine the reserved coconut liquid, sugar, and salt, heating over medium heat while whisking until the sugar is completely dissolved, ensuring no graininess remains in your mixture. Once dissolved, remove the pan from the heat and stir in the vanilla extract and any optional liquid flavorings like lime juice, allowing this mixture to cool slightly.
Combining and Chilling the Mixture
Whisk the cooled sugar syrup mixture thoroughly into the reserved thick coconut cream until everything is homogenous and smooth, then gently fold in the toasted coconut shreds or nuts if using them as inclusions. Cover the entire base and chill it in the refrigerator for at least four hours, or preferably overnight; this thorough chilling ensures the base freezes evenly and results in truly creamy coconut ice cream.
Churning the Base
Pour the well-chilled base into your pre-frozen ice cream maker bowl and churn according to the manufacturer’s directions, usually taking between 20 to 30 minutes until it reaches a soft-serve consistency. If you are interested in exploring other ways to make frozen confections, reviewing guides on homemade ice cream maker recipes might offer helpful general churning tips.
Ripening and Hardening
Transfer the churned soft mixture into an airtight, freezer-safe container, pressing a piece of plastic wrap directly onto the surface to prevent ice crystals from forming on top. Freeze the container for at least four hours to allow the dessert to firm up to a scoopable consistency, which is known as ripening, making it ready to serve alongside desserts like mango strawberry sunset cupcakes.
Making No Churn Coconut Ice Cream
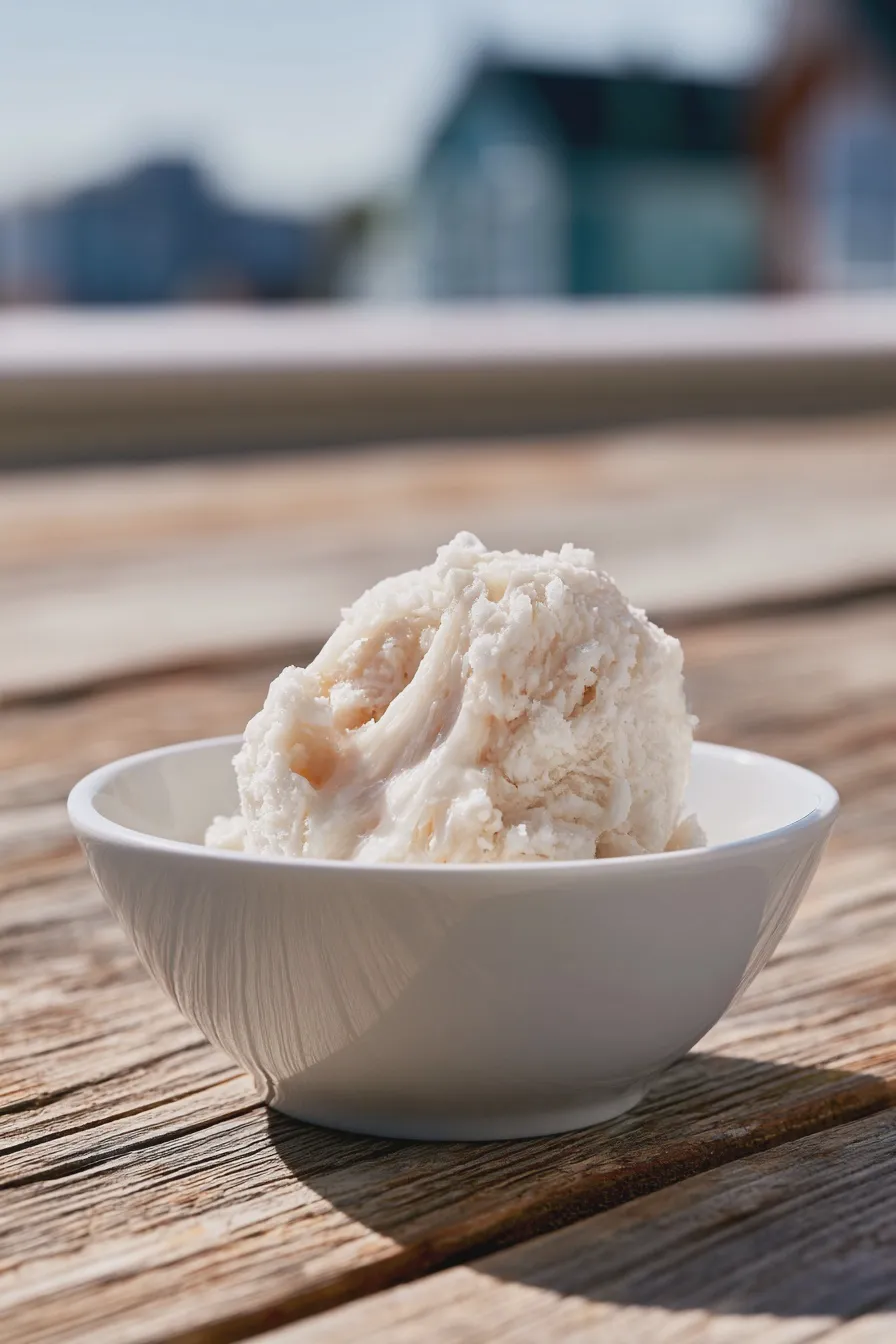
If you don’t own an ice cream maker, this method still produces a surprisingly smooth, rich coconut cream dessert using slightly different techniques.
Whipping the Coconut Cream
Ensure your full-fat coconut milk cans have been chilled completely, then scoop only the thick cream solids into a large, chilled bowl. Using an electric mixer, whip the cream solids until they become light and fluffy, similar to stiff peaks, which incorporates necessary air for texture in this healthy coconut ice cream alternative.
Folding in Sweetener and Flavor
In a separate bowl, whisk together the sugar (or sweetener), vanilla, salt, and the thinner coconut liquid until the sugar dissolves completely, creating a thick syrup. Gently fold this cooled syrup mixture into the whipped coconut cream, mixing only until just combined; overmixing will deflate the air you just whipped in, which is essential for a lighter texture.
Freezing the No Churn Base
Pour the entire mixture into a loaf pan or freezer-safe container, cover it tightly with plastic wrap pressed onto the surface, and freeze for at least six hours until firm. For the smoothest results with this homemade frozen dessert, stir the mixture vigorously every 60 to 90 minutes for the first three hours of freezing to break up ice crystals.
Tips for Perfect Texture and Flavor
Achieving that signature creamy texture in a dairy-free base requires attention to fat content and sugar levels.
The Importance of Full-Fat Coconut Milk
Always use full-fat coconut milk because the high fat content is what mimics the richness of heavy cream, preventing the final product from becoming icy or brittle when frozen solid. If you are aiming for a truly decadent experience similar to making cream cheese brownies but in frozen form, using the thick cream layer is non-negotiable.
Controlling Sweetness and Ice Crystals
Sugar acts as an antifreeze in ice cream, lowering the freezing point and keeping the final product softer and more scoopable; reducing the sugar too much will result in a hard block of ice. For a variation closer to a coconut sorbet recipe, you would need to increase the liquid content and decrease the fat, but for this recipe, keep the sugar ratio consistent.
Serving Suggestions for Tropical Frozen Treats
This versatile dessert shines when served simply, perhaps drizzled with dark chocolate sauce or topped with fresh raspberries, reminiscent of flavors found in raspberry brownies. For an authentic tropical flair, try topping it with toasted coconut flakes, grilled pineapple slices, or a spoonful of passion fruit puree.
Storage and Make-Ahead Advice
Proper storage ensures your homemade creation retains its ideal texture for future enjoyment.
Storing Homemade Ice Cream
Store your finished ice cream in a shallow, airtight container in the coldest part of your freezer, which is usually toward the back and away from the door. If you notice it becoming too hard after several days, let it sit on the counter for 5 to 10 minutes before attempting to scoop, or try adding a tablespoon of clear alcohol (like vodka) to the base before churning to slightly lower the freezing point.
Making Ahead for Gatherings
This recipe is excellent for making ahead, as the flavors deepen slightly overnight, and the texture sets nicely after a full freeze cycle. You can safely prepare this dessert up to two weeks in advance, making it a wonderful component for larger menus, such as when you are serving something like mini lemon blueberry cheesecakes.
Print
coconut ice cream Homemade Easy Recipe
- Total Time: PT6H
- Yield: About 1.5 quarts 1x
- Diet: Vegetarian
Description
This recipe delivers incredibly rich and creamy coconut ice cream, perfect for tropical dessert lovers. We provide instructions for both traditional churning and a simple no-churn method using sweetened condensed milk.
Ingredients
- 2 cans (13.5 oz each) full-fat coconut milk, chilled overnight in the refrigerator
- 1 can (14 oz) sweetened condensed milk (or use full-fat coconut cream + maple syrup for vegan option)
- 1 teaspoon vanilla extract
- 1/2 teaspoon coconut extract (optional, for intense flavor)
- Pinch of salt
- Optional Mix-ins: 1/2 cup toasted coconut flakes or chopped macadamia nuts
Instructions
- Prepare the Coconut Cream: Open the chilled cans of coconut milk without shaking them. Scoop out the thick, solidified cream from the top into a large mixing bowl. Reserve the watery liquid underneath for smoothies or discard if not needed for the recipe.
- Combine Base Ingredients: To the coconut cream, add the sweetened condensed milk, vanilla extract, coconut extract (if using), and a pinch of salt.
- Churn Method (Recommended): Whisk the mixture until smooth and well combined. Pour the mixture into your pre-frozen ice cream maker bowl and churn according to the manufacturer’s directions (usually 20–30 minutes) until it reaches a soft-serve consistency.
- No-Churn Method: Whisk the mixture until smooth. If adding mix-ins, gently fold them in now. Pour the mixture into a freezer-safe container (like a loaf pan, lined with parchment paper for easy removal). Cover tightly with plastic wrap, pressing the wrap directly onto the surface of the ice cream to prevent ice crystals.
- Freeze: For both methods, transfer the ice cream to the freezer and freeze for at least 4–6 hours, or until firm. If using the no-churn method, allow it to soften for 10–15 minutes on the counter before scooping.
- Serve: Scoop and garnish with extra toasted coconut flakes.
Notes
- For the best results, ensure your coconut milk cans are full-fat and have been refrigerated for at least 12 hours.
- To make this recipe fully vegan, replace the dairy sweetened condensed milk with a homemade version using full-fat coconut cream and maple syrup, adjusting sweetness to taste.
- Toasting the coconut flakes beforehand significantly enhances the flavor profile.
- Prep Time: PT10M
- Cook Time: 0 minutes
- Category: Frozen Desserts
- Method: Churning or No-Churn
- Cuisine: American/Tropical
Nutrition
- Serving Size: 1/2 cup
- Calories: 320
- Sugar: 35g
- Sodium: 50mg
- Fat: 19g
- Saturated Fat: 17g
- Protein: 3g
- Cholesterol: 0mg







