
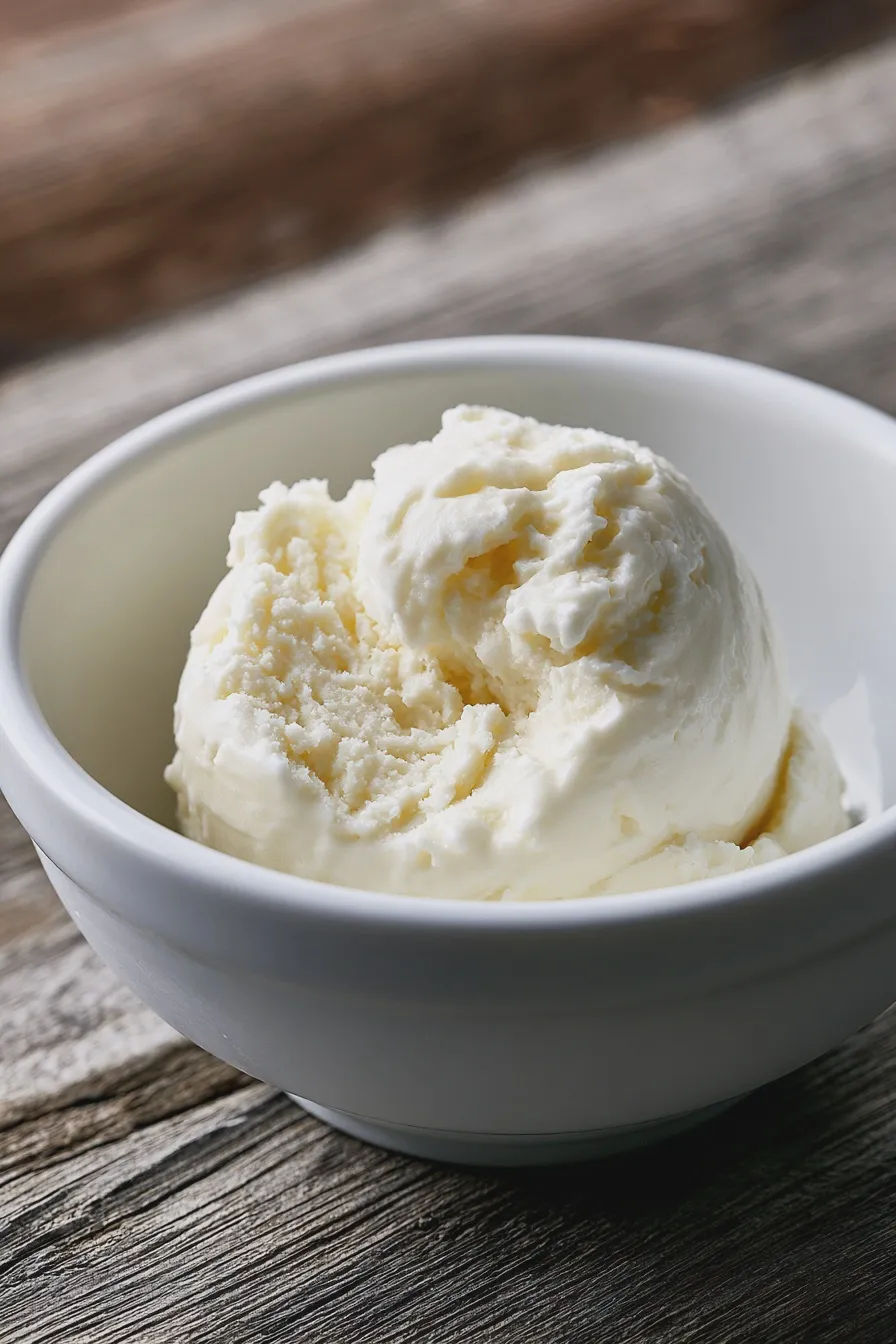
This quick recipe delivers a classic, rich, and creamy vanilla frozen dessert perfect for pairing with almost any baked good, like our red velvet cookies. By using the Ninja Creami machine, you achieve a surprisingly smooth texture without needing an ice cream maker, making this the ultimate quick Ninja Creami vanilla treat.
Welcome to your new favorite way to create a simple, decadent dessert right in your kitchen. If you’ve been searching for the best Ninja Creami vanilla base that tastes genuinely homemade, you’ve landed in the right spot. We are going to walk through the simple steps to ensure your first batch of this vanilla frozen dessert Ninja Creami turns out perfectly smooth every time.
Mastering the Ninja Creami Vanilla Ice Cream Recipe
Creating delicious homemade vanilla ice cream Ninja Creami requires only a few pantry staples and a little patience for the initial freeze time. This guide focuses on achieving that classic, pure vanilla flavor that serves as a fantastic foundation for countless other Ninja Creami recipes desserts. For more inspiration on freezing techniques outside of the Creami, check out what the experts at Serious Eats have to say about churning.
Gathering Your Ingredients for the Best Ninja Creami Vanilla Base
The quality of your ingredients directly impacts the final flavor profile of your homemade vanilla ice cream Ninja Creami, so choose wisely. We are aiming for a rich, full-bodied flavor that satisfies that craving for authentic ice cream.
- 2 cups Whole Milk (Using whole milk is key for the best texture; skim milk tends to result in a icier outcome.)
- 1 cup Heavy Cream (This provides the necessary fat content for a creamy mouthfeel.)
- 2/3 cup Granulated Sugar (Adjust slightly up or down based on your preference for sweetness.)
- 1 teaspoon Pure Vanilla Extract (Do not substitute with imitation vanilla if possible; the flavor difference is significant.)
- 1/4 teaspoon Salt (This small amount balances the sweetness and enhances the vanilla notes.)
If you are exploring options like low carb Ninja Creami vanilla or sugar free Ninja Creami vanilla, you will need to substitute the granulated sugar with your preferred zero-calorie sweetener, like erythritol or monk fruit blend, using a 1:1 ratio by volume.
Preparing and Freezing the Ninja Creami Base Mix Vanilla
The most important step before processing is ensuring your base is completely chilled, which significantly contributes to achieving the best texture Ninja Creami vanilla. Whisking the ingredients together thoroughly ensures the sugar dissolves completely, preventing a grainy result later.
- In a large bowl or measuring cup, gently whisk together the whole milk, heavy cream, granulated sugar, vanilla extract, and salt until the sugar is fully dissolved.
- Pour the mixture into a Ninja Creami pint container, ensuring you do not exceed the maximum fill line indicated on the side of the container.
- Secure the lid tightly onto the pint and place it in the freezer on a level surface for a minimum of 24 hours to ensure it is rock solid before processing.
A common mistake when making the ninja creami vanilla ice cream recipe is rushing the freezing time; if the base isn’t completely frozen solid, the machine will not process it correctly, often resulting in a soupy texture.
How to Make Ninja Creami Vanilla Ice Cream
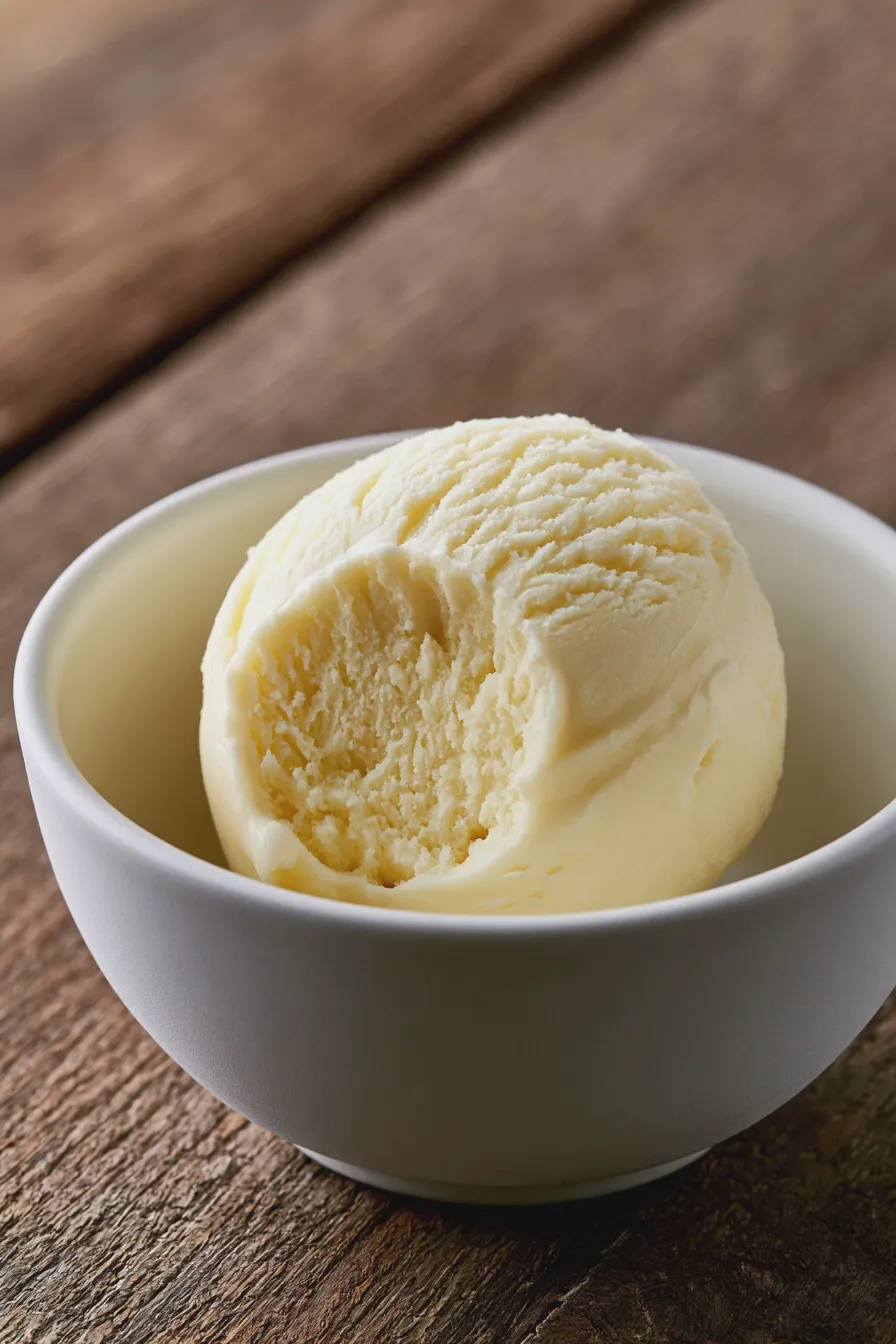
This section covers the actual processing step, which is where the magic happens in making vanilla ice cream in Ninja Creami. Remember that the success of making vanilla ice cream in Ninja Creami relies heavily on the initial thorough freeze mentioned above.
Processing the Fully Frozen Base
Once your base is frozen solid, remove the lid from the pint and place the container directly into the outer bowl, ensuring it clicks securely into place. Select the standard “Ice Cream” function on your Ninja Creami machine and press start to begin the initial spin cycle.
After the cycle finishes, check the texture; if the mixture appears crumbly or powdery, it simply needs a little more processing time, which is very common for homemade recipes like this one.
Re-spinning for Optimal Creaminess
If the first cycle resulted in a powdery consistency, add one to two teaspoons of whole milk or half-and-half directly to the surface of the mixture and secure the lid again. Run the machine again using the “Re-spin” function, which introduces a bit more liquid to break down the icy structure.
Continue adding small amounts of liquid (one teaspoon at a time) and re-spinning until the texture resembles soft-serve consistency, which is the hallmark of a truly great batch of quick Ninja Creami vanilla.
Flavor Variations and Texture Tips
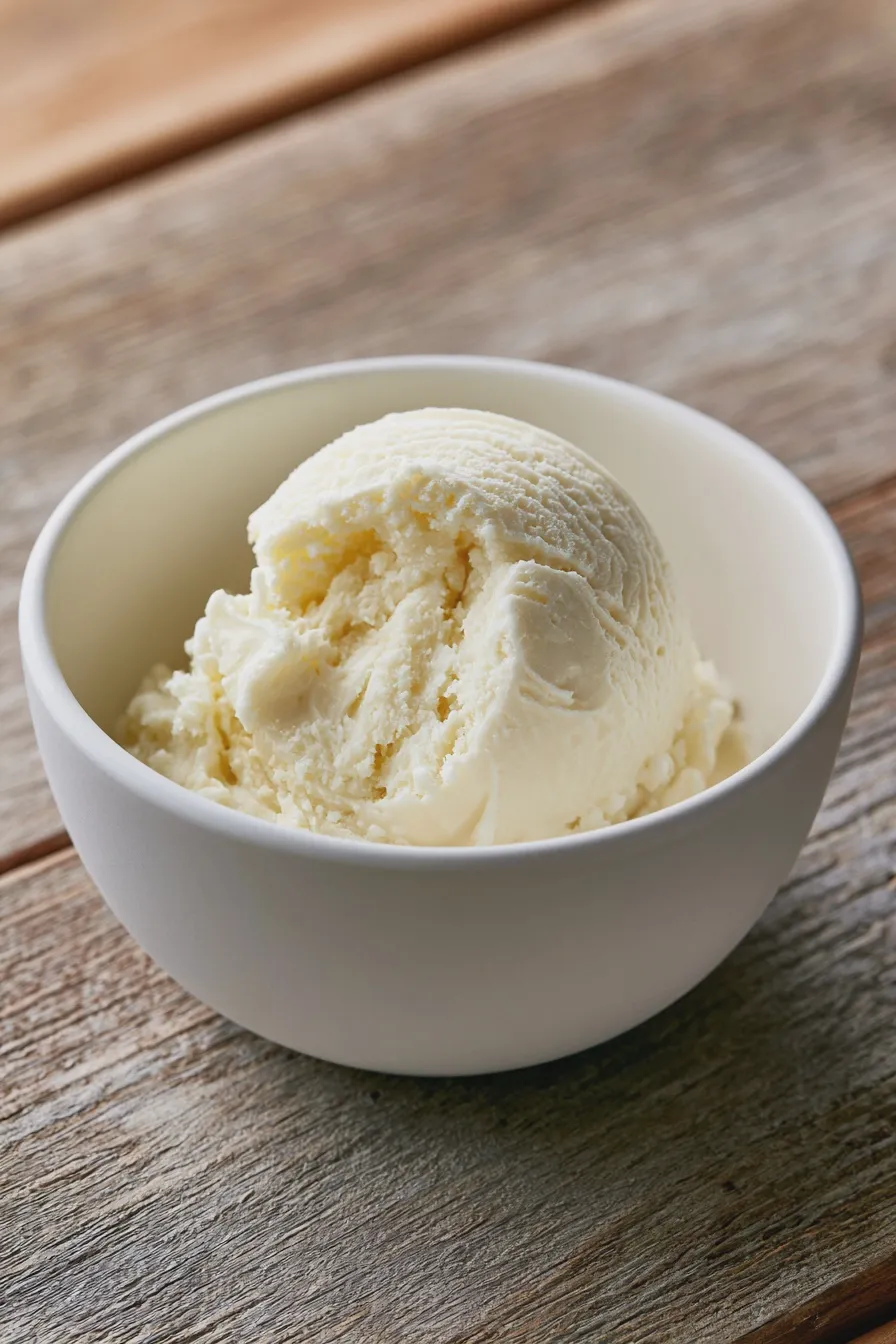
While this classic recipe is wonderful on its own, the beauty of the Creami system is how easily you can customize the flavor or boost the nutritional profile, such as aiming for high protein Ninja Creami vanilla.
Enhancing the Vanilla Flavor
To achieve a deeper, almost custard-like vanilla experience, consider steeping a whole vanilla bean in the milk and cream mixture overnight before chilling and freezing, which infuses a richer flavor that even rivals classic strawberry upside-down cake pairings.
Alternatively, for a quick flavor boost without steeping, you can add a few drops of high-quality Creami vanilla flavor shots right before the final re-spin, ensuring you mix them in well with a spoon first.
Tips for Dairy Free Ninja Creami Vanilla and Healthy Ninja Creami Vanilla
Creating a dairy free Ninja Creami vanilla version requires swapping the dairy components for rich plant-based alternatives like full-fat coconut cream or oat milk, which mimic the fat content well.
For those focused on a healthy Ninja Creami vanilla approach, you might substitute much of the heavy cream with cottage cheese or Greek yogurt blended until completely smooth, which naturally boosts the protein content for a high protein Ninja Creami vanilla option.
Serving and Storage Suggestions
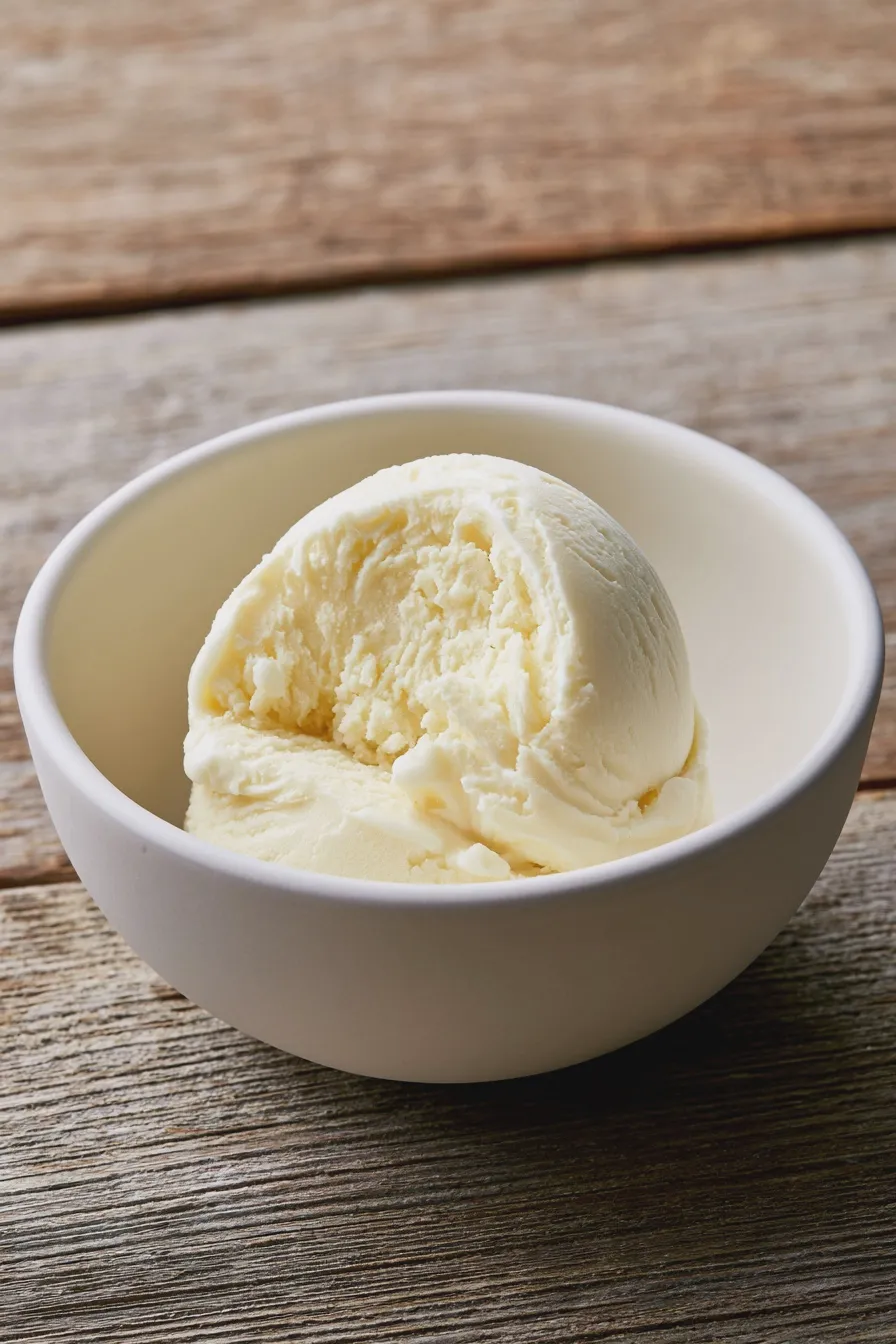
Once you have achieved that perfect, creamy consistency, you are ready to enjoy your creation, but knowing how to store leftovers ensures future enjoyment of your vanilla frozen dessert Ninja Creami.
Achieving the Best Texture Ninja Creami Vanilla Upon Serving
If your ice cream comes out slightly firmer than you prefer right after the final re-spin, let it sit on the counter for about 5 to 10 minutes to temper slightly before serving. This brief resting period allows the structure to relax just enough for that ideal scoopable texture, similar to how you might let fudgy brownies cool slightly before cutting.
For an extra decadent serving, try topping it with a drizzle of warm caramel sauce or some fresh berries, making for beautiful Ninja Creami dessert ideas.
Storage for Future Scoops
If you have leftovers, scrape the ice cream back into the pint, smooth the top, and place the lid on securely before returning it to the freezer for long-term storage. If the ice cream has been frozen for more than a few hours, you will almost certainly need to run it through one Re-spin cycle before serving again.
For general baking inspiration, you can find wonderful resources on recipe development over at Allrecipes.
Print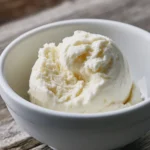
ninja creami vanilla ice cream Easy Recipe
- Total Time: PT24H5M
- Yield: Approximately 3–4 servings 1x
- Diet: Vegetarian
Ingredients
- 1 cup (240ml) Whole Milk (Full-fat recommended)
- 1 cup (240ml) Heavy Whipping Cream
- 2/3 cup (135g) Granulated Sugar
- 1 tablespoon Vanilla Extract (or 1 vanilla bean, scraped)
- 1/4 teaspoon Salt
Instructions
- Prepare the Base: In a medium bowl or directly into your Ninja Creami pint container, whisk together the whole milk, heavy cream, granulated sugar, vanilla extract, and salt until the sugar is completely dissolved. Stir until the mixture is uniform.
- Chill Thoroughly: Place the lid on the pint container and refrigerate the mixture for at least 4 hours, or preferably overnight. The base must be completely cold before freezing.
- Freeze: Once chilled, place the lid on the pint and freeze on a level surface for 24 hours. Do not use the ‘Lite Ice Cream’ setting if the base is not fully frozen rock solid.
- Process (First Spin): Remove the pint from the freezer, remove the outer bowl, and place the frozen base into the Ninja Creami machine. Select the ‘Ice Cream’ setting and process.
- Check Texture: After the initial cycle, the texture may look crumbly or powdery. This is normal. Scrape down the sides of the mixture using a spatula.
- Re-spin (If Necessary): Place the pint back into the machine. Use the ‘Re-spin’ function. If the texture is still not creamy enough, add 1-2 tablespoons of whole milk or a splash of cream and re-spin one more time until smooth and creamy.
- Serve: Serve immediately for a soft-serve consistency, or transfer to an airtight container and freeze for 1-2 hours for a firmer scoopable texture.
Notes
- For an even richer flavor, substitute 1/4 cup of the whole milk with 1/4 cup of cream cheese (softened and mixed in well) before freezing.
- If you prefer a lower-sugar option, you can substitute the granulated sugar with a granulated zero-calorie sweetener like erythritol or monk fruit blend, adjusting quantities to taste.
- Always ensure the base is completely frozen solid (24 hours minimum) before processing for the best results on the first spin.
- Prep Time: PT5M
- Cook Time: 0 minutes (No cooking required)
- Category: Ice Cream
- Method: Ninja Creami
- Cuisine: American
Nutrition
- Serving Size: 1/2 cup
- Calories: 310
- Sugar: 30g
- Sodium: 50mg
- Fat: 20g
- Saturated Fat: 12g
- Protein: 5g
- Cholesterol: 75mg







