
This classic, rich vanilla custard base yields incredibly smooth homemade ice cream recipes for ice cream maker users, perfect for enjoying on a warm summer evening. It relies on tempering egg yolks for that luxurious, dense texture characteristic of premium frozen dessert recipes, ensuring a satisfyingly creamy result every time you churn.
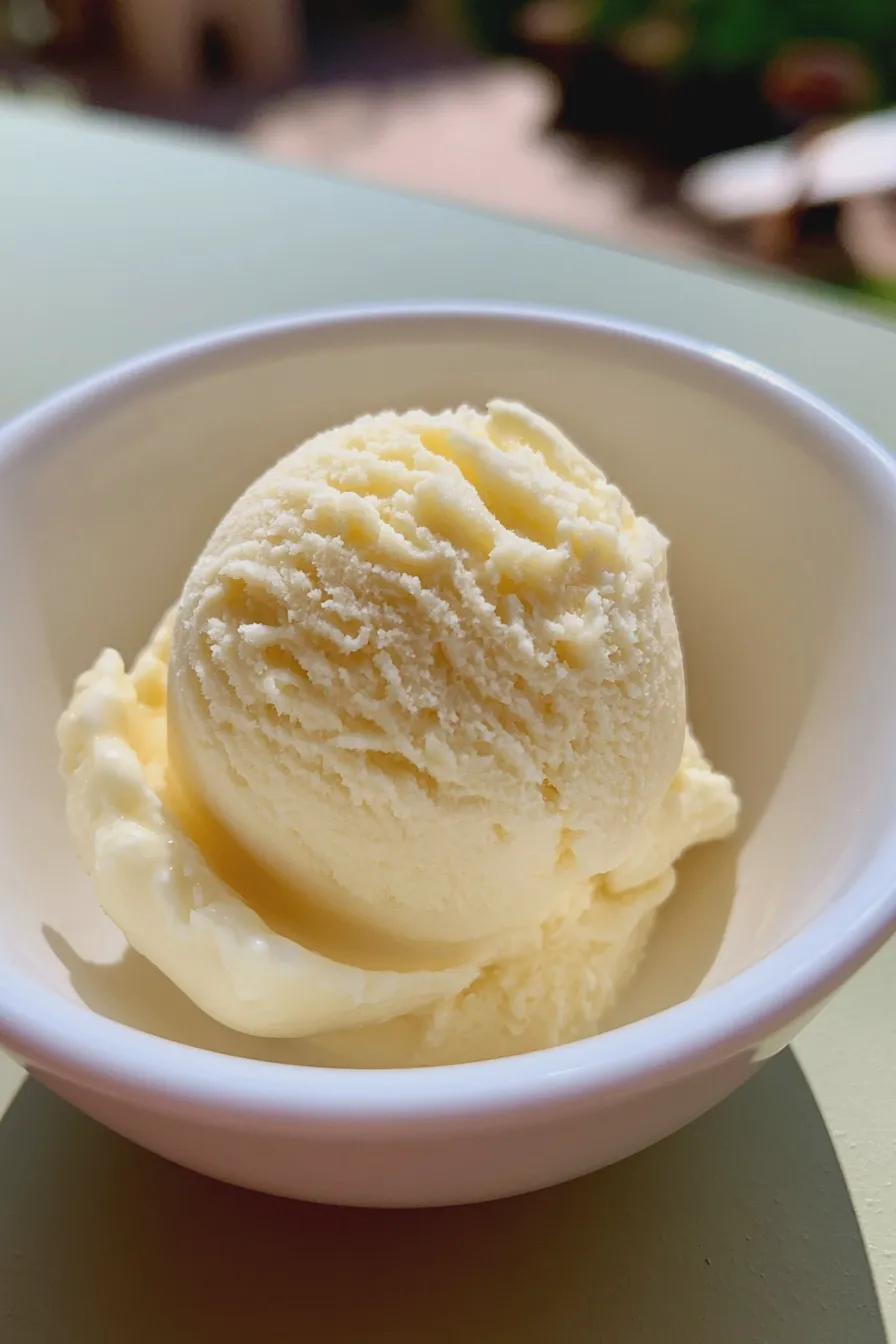
Welcome to the joy of making truly exceptional frozen treats right in your own kitchen! If you’ve been searching for the definitive guide to using your machine, you’ve found it, because mastering the best ice cream maker recipes is simpler than you think. We are diving deep into the foundational techniques that transform simple dairy into creamy perfection, starting with a foundational vanilla that pairs beautifully with almost any topping or mix-in you can imagine.
Why Homemade Ice Cream Tastes Better
There’s a distinct difference between store-bought options and what you can achieve at home, especially when following established methods for custard base ice cream. When you control the ingredients—the amount of heavy cream, the quality of the vanilla, and the sugar content—the resulting flavor profile is simply unmatched in depth and freshness.
Understanding the science behind a good frozen dessert enhances the experience, and knowing how ingredients interact is key to developing your own gourmet ice cream flavors down the line. For example, learning about how eggs affect desserts like this rich base helps you appreciate the stability and silkiness they provide, something often missing in simpler Philadelphia style ice cream versions.
The Importance of a Good Base
The base is the soul of any great ice cream, dictating both the final texture and the richness you experience with every spoonful. While many look for easy ice cream recipes, investing a little time in a proper custard base ensures a scoop that resists turning icy or grainy after a few days in the freezer.
A well-made base, often referred to as a French-style base, incorporates egg yolks which emulsify the fat and water content, leading to a smoother churn ice cream recipes outcome. If you prefer something lighter, you might explore frozen yogurt recipes next, but for true creaminess, the custard method reigns supreme.
Ingredients for Classic Homemade Vanilla Ice Cream
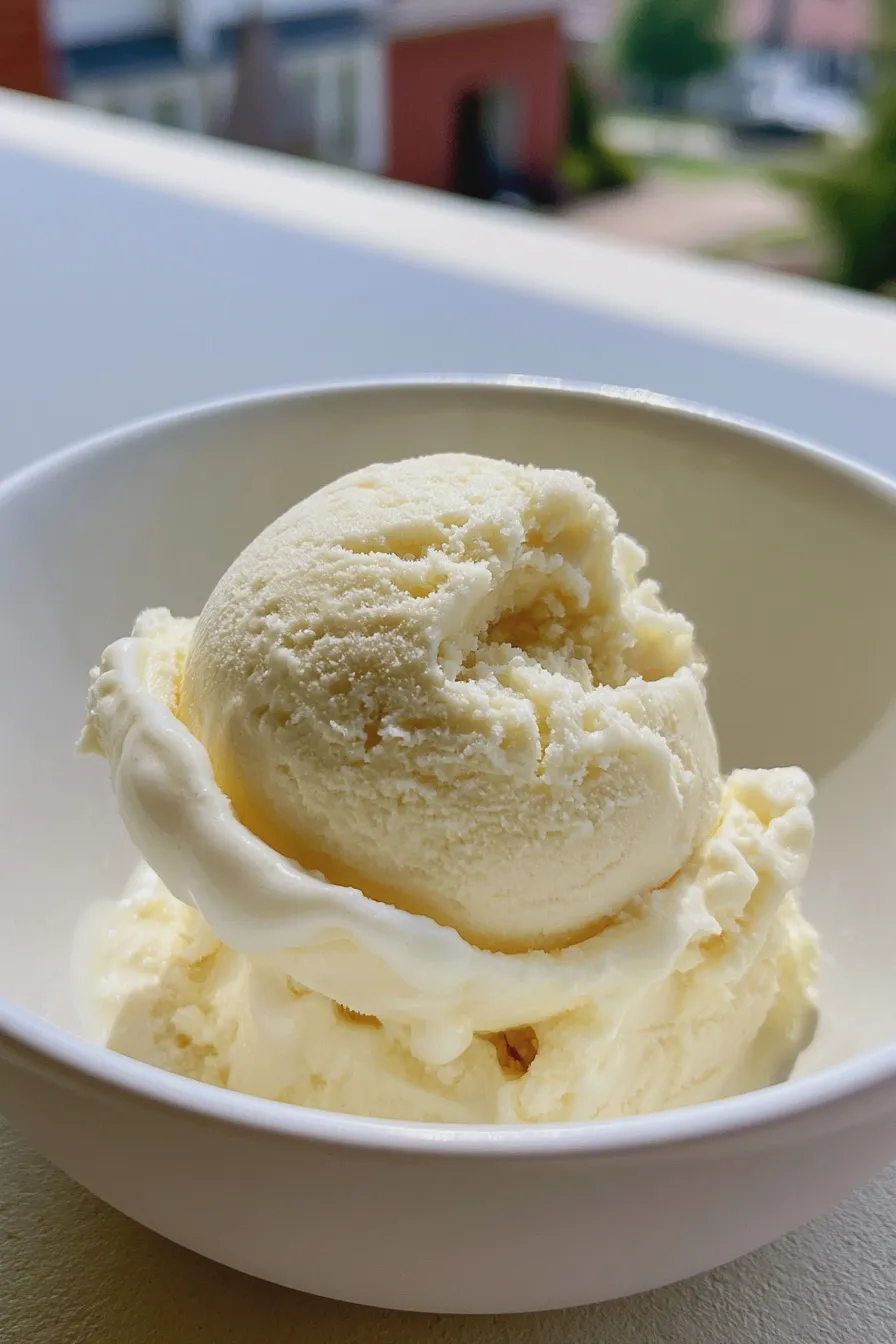
This particular recipe delivers a rich, traditional flavor profile, making it an excellent starting point before venturing into more complex additions like what you might find in our mango strawberry sunset cupcakes. Gather these components before you begin the cooking process so everything moves along smoothly.
- 2 cups Heavy Cream (high fat content is crucial for texture)
- 1 cup Whole Milk (do not substitute with low-fat milk for this recipe)
- 3/4 cup Granulated Sugar (adjust slightly if you prefer low sugar ice cream recipes)
- 5 large Egg Yolks (ensure they are fresh)
- 1 tablespoon Pure Vanilla Extract (use high quality for the best flavor)
- 1/4 teaspoon Kosher Salt (enhances sweetness and complexity)
Ingredient Notes and Substitutions
For the best results in how to make ice cream, avoid substituting the heavy cream, as its fat content is essential for preventing excessive ice crystal formation during freezing. If you are exploring dairy-free ice cream recipes or vegan ice cream recipes, you would need to swap these dairy items for full-fat coconut cream or cashew cream, though the texture will vary.
While this recipe is designed for a traditional churn ice cream maker, understanding substitutions is helpful if you ever decide to try no-churn ice cream recipes; however, those methods rely heavily on stabilizers like sweetened condensed milk.
How to Make ice cream recipes for ice cream maker
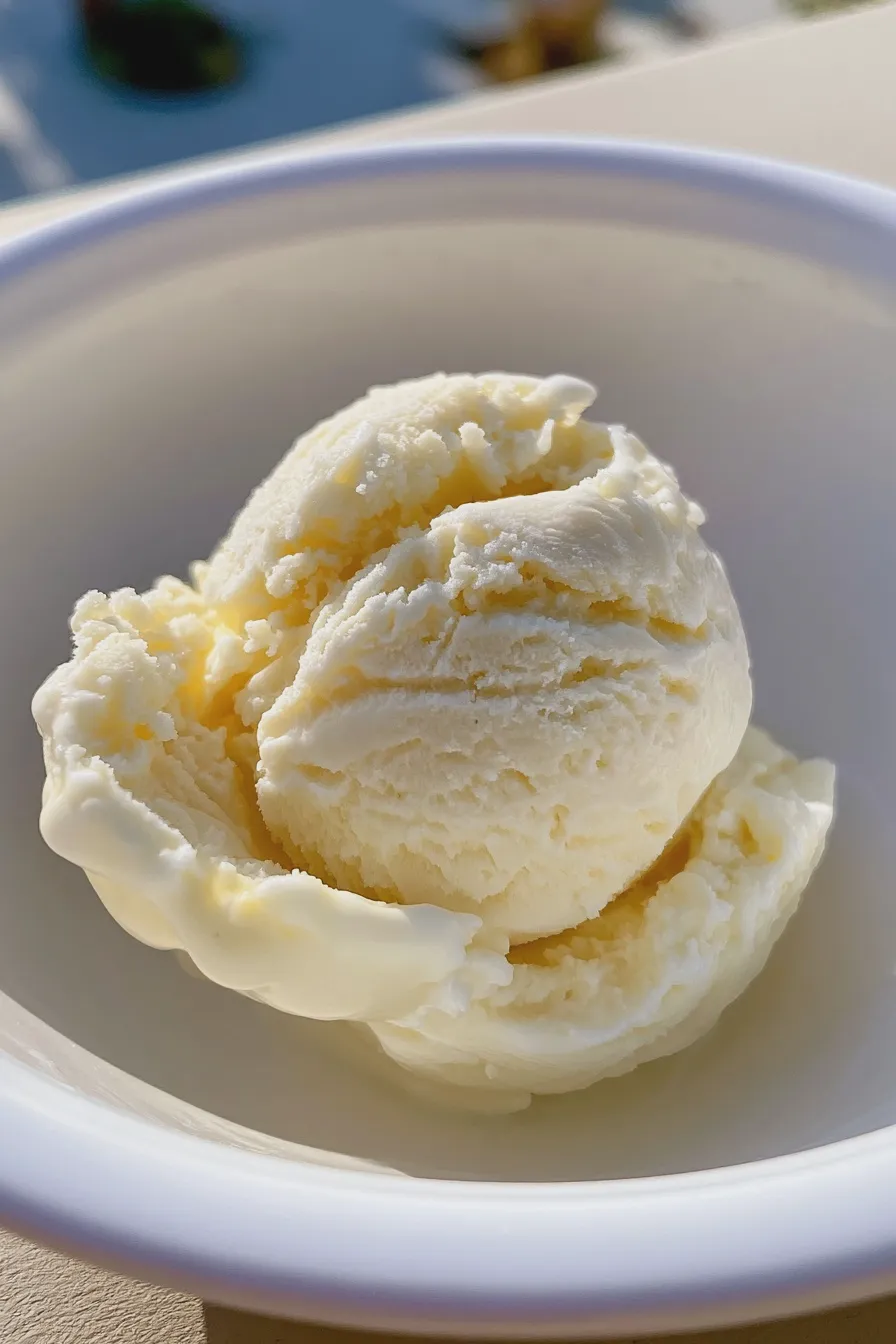
This section details the steps necessary to create the perfect custard base, which must be chilled thoroughly before it ever meets the churning bowl of your appliance.
Step 1: Tempering the Egg Yolks
In a medium bowl, whisk together the egg yolks and half of the sugar until the mixture becomes pale yellow and slightly thickened, which indicates proper aeration. Slowly drizzle about one cup of the warm milk/cream mixture into the yolks while whisking constantly to gently raise their temperature without scrambling them.
Tip: Tempering is the most crucial step; if you add the hot liquid too quickly, you’ll end up with sweet scrambled eggs instead of a smooth base.
Step 2: Cooking the Custard Base
Pour the tempered yolk mixture back into the saucepan containing the remaining milk and cream, and set the heat to medium-low, stirring continually with a rubber spatula. Continue cooking until the mixture thickens enough to coat the back of the spatula, reaching approximately 170°F on an instant-read thermometer.
Doneness Cue: If you run your finger across the coated spatula, the line should hold clearly without the mixture running back together; this indicates you have achieved the right consistency for a proper custard base ice cream.
Step 3: Chilling and Flavor Infusion
Immediately strain the hot custard through a fine-mesh sieve into a clean bowl set over an ice bath to halt the cooking process rapidly, which prevents curdling. Once cooled slightly, stir in the remaining sugar, salt, and vanilla extract, ensuring everything dissolves completely before proceeding.
For the best texture in your churn ice cream recipes, cover the bowl tightly with plastic wrap pressed directly onto the surface of the base to prevent a skin from forming, and chill in the refrigerator for at least 6 hours, or preferably overnight.
Step 4: Churning the Mixture
Ensure your ice cream maker bowl is completely frozen according to the manufacturer’s instructions—this is non-negotiable for achieving the right texture in the best ice cream maker recipes. Pour the thoroughly chilled base into the frozen canister and churn according to your machine’s directions, usually taking between 20 to 30 minutes.
Tip: The mixture will resemble soft-serve when done; if you prefer a firmer scoop, plan for an additional freezing time later.
Step 5: Hardening the Ice Cream
Transfer the freshly churned soft ice cream into an airtight, freezer-safe container, pressing a piece of parchment paper directly onto the surface before sealing the lid. Place the container in the coldest part of your freezer for at least 4 hours to allow it to firm up to a scoopable, traditional consistency for homemade vanilla ice cream.
If you are planning to add mix-ins like cookie pieces or nuts, fold them in during the last five minutes of churning or just before transferring to the final container.
Variations Beyond Basic Vanilla
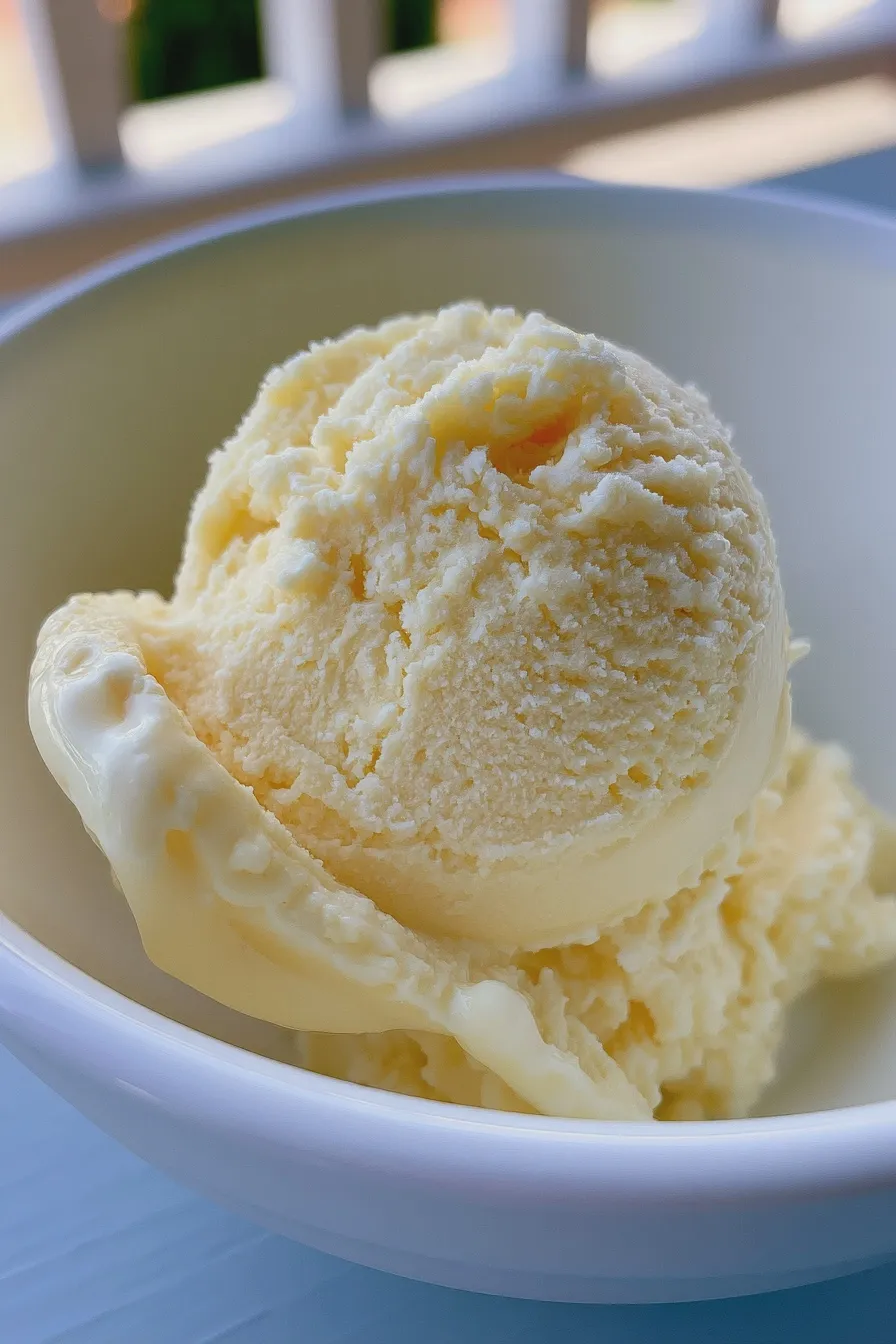
Once you have mastered the technique for this classic base, you can easily adapt it to create a wide array of frozen dessert recipes, opening up a world of flavor possibilities.
Making Chocolate Ice Cream Recipe
To create a decadent chocolate ice cream recipe, gently melt 4 ounces of finely chopped bittersweet chocolate with the milk and cream mixture over low heat until smooth before adding the egg yolks for tempering. Alternatively, you can whisk in 1/2 cup of high-quality unsweetened cocoa powder along with the sugar, ensuring it is fully dissolved before proceeding to the tempering stage.
This variation creates a deeply satisfying flavor that rivals any bakery treat; for more rich, dark desserts, exploring recipes like black bean brownies can give you inspiration for deep, earthy sweetness.
Exploring Sorbet Recipes for Ice Cream Maker
For a lighter, dairy-free option, you can shift gears entirely and explore sorbet recipes for ice cream maker use, which omit the dairy and egg components entirely. These rely on a simple syrup base mixed with fruit purée, such as lemon or raspberry, and often require a slightly higher sugar ratio to keep them from freezing rock-hard.
When making fruit sorbet recipes, using fresh, ripe fruit is paramount to achieving intense flavor; for a tangy treat, consider researching recipes similar to our lemon crumb bars for flavor inspiration.
Tips for Perfect Texture Every Time
Texture is the ultimate goal when making ice cream at home, and maintaining the correct balance of fat, sugar, and water is key to preventing an overly hard final product. If your ice cream freezes too hard, it usually means you need to increase the sugar slightly or ensure you are using enough heavy cream in your best ice cream base.
For those who prefer a slightly less rich texture than custard, consider looking into Philadelphia style ice cream recipes, which skip the eggs entirely and rely on high-fat dairy and aeration for a lighter mouthfeel, similar to how we approach lighter baked goods like oatmeal cookies versus cake.
Troubleshooting and Storage
Even with a great recipe, sometimes issues can arise, but most texture problems are easily corrected with a small adjustment to the process or storage method.
Fixing Icy or Grainy Ice Cream
If your final product is icy, it usually means there wasn’t enough fat or sugar to interfere with water crystallization, or the churning process wasn’t long enough to incorporate sufficient air. To fix existing icy batches, you can try gently warming a small portion and re-mixing it with a splash of extra cream before re-churning, though this is often easier said than done.
For future batches, ensure your ice cream maker bowl is fully frozen and that you are using the full measure of heavy cream specified in the best ice cream recipes; remember that recipes like pumpkin cookies rely on specific ratios, and ice cream is no different.
Best Practices for Storing Homemade Frozen Desserts
Proper storage is essential to preserving that freshly churned texture, so avoid storing your ice cream in the freezer door, as temperature fluctuations cause thawing and refreezing, leading to ice crystals. Always use a shallow, airtight container, and press a layer of wax or parchment paper directly against the surface before sealing to minimize air exposure.
If you find your homemade ice cream is rock-hard after a few days, let it temper on the counter for 10 to 15 minutes before attempting to scoop, as this allows the fats and sugars to soften slightly for easier serving.
Print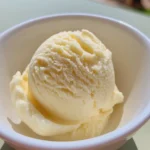
ice cream recipes for ice cream maker Made Easy
- Total Time: PT4H35M
- Yield: About 1 quart 1x
- Diet: Vegetarian
Description
Indulge in the rich, creamy perfection of homemade classic Vanilla Bean Ice Cream made effortlessly in your ice cream maker. This recipe captures the authentic flavor of real vanilla.
Ingredients
- 2 cups heavy cream
- 1 cup whole milk
- 3/4 cup granulated sugar
- 1/4 teaspoon salt
- 1 vanilla bean, split lengthwise, seeds scraped (or 2 teaspoons pure vanilla extract)
- 5 large egg yolks (optional, for a richer custard base)
Instructions
- If using a custard base: In a medium saucepan, whisk together the heavy cream, milk, sugar, and salt. Heat over medium heat until the mixture is steaming and sugar is dissolved (do not boil).
- In a separate bowl, whisk the egg yolks. Slowly temper the hot milk mixture into the yolks, whisking constantly. Pour the mixture back into the saucepan.
- Cook over low heat, stirring constantly with a wooden spoon, until the mixture thickens enough to coat the back of the spoon (reaches 175°F/80°C). Do not boil.
- Remove from heat. Stir in the vanilla bean seeds and scraped pod (or vanilla extract).
- If using a custard base, strain the mixture through a fine-mesh sieve into a clean bowl.
- Cover the surface of the custard directly with plastic wrap to prevent a skin from forming. Chill in the refrigerator for at least 4 hours, or preferably overnight, until thoroughly cold (40°F/4°C or below).
- Churn the chilled base in your ice cream maker according to the manufacturer’s instructions. This usually takes 20–30 minutes.
- The ice cream will resemble soft-serve. Transfer the ice cream to an airtight freezer-safe container. Freeze for an additional 2–4 hours for a firmer consistency.
- Remove from the freezer 5–10 minutes before serving to allow it to soften slightly.
Notes
- For an even richer flavor, steep the vanilla bean pod in the cream mixture for 30 minutes before heating, then remove the pod before tempering the eggs.
- If you prefer a simpler, non-custard base (Philadelphia style), skip the egg yolks and simply heat the cream, milk, sugar, and salt until the sugar dissolves, then chill thoroughly before churning.
- Ensure your ice cream maker’s freezer bowl is completely frozen before starting the churning process.
- Prep Time: PT20M
- Cook Time: PT15M
- Category: Ice Cream
- Method: Ice Cream Maker
- Cuisine: American
Nutrition
- Serving Size: 1/2 cup (approx.)
- Calories: 320
- Sugar: 28g
- Sodium: 65mg
- Fat: 22g
- Saturated Fat: 13g
- Protein: 5g
- Cholesterol: 105mg







