
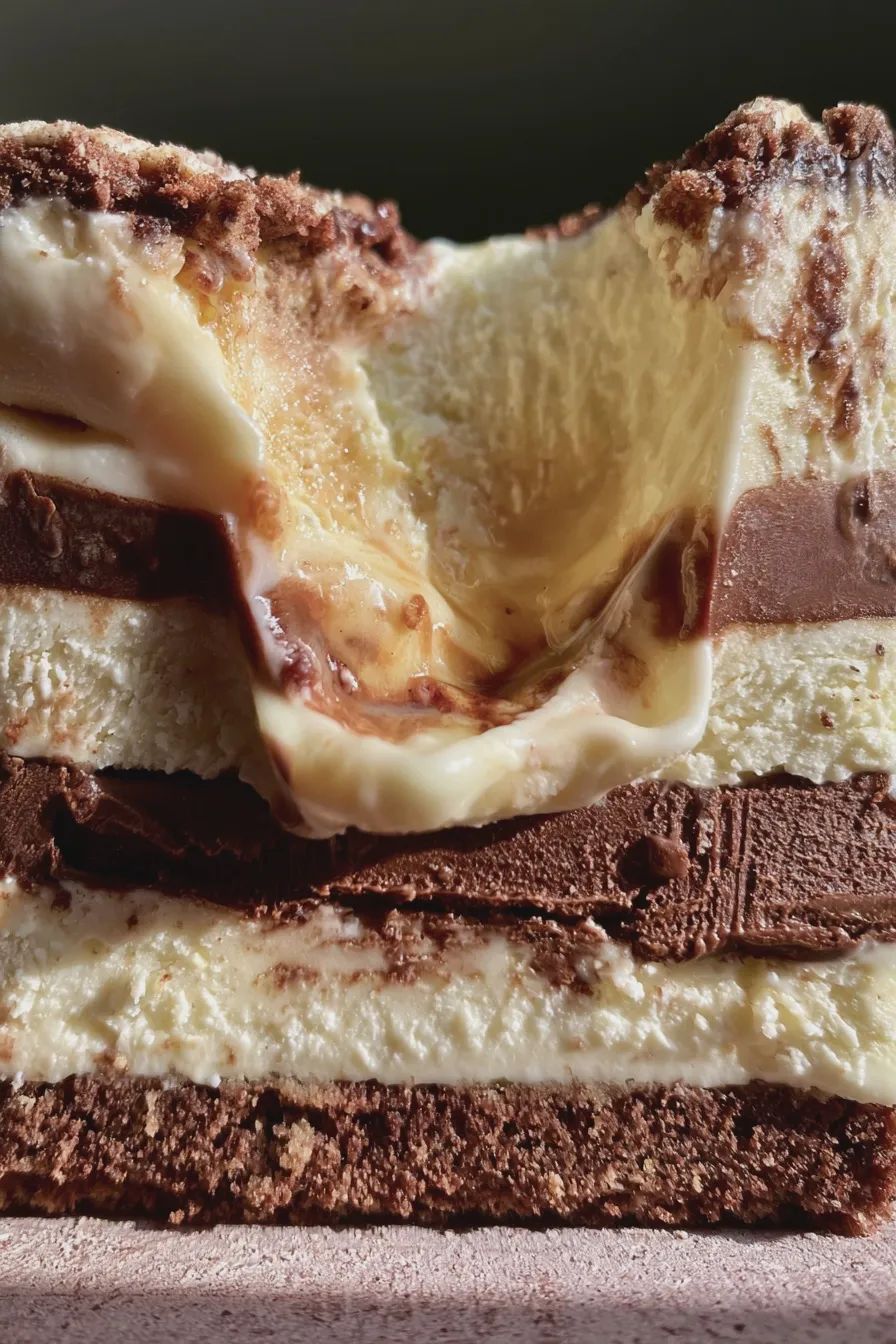
This ultimate diy ice cream cake features alternating layers of crunchy cookie crust, creamy homemade ice cream, and rich fudge, perfect for making a show-stopping, personalized frozen dessert without needing a professional bakery.
If you are looking for a show-stopping centerpiece for a celebration that tastes infinitely better than store-bought versions, mastering the diy ice cream cake is a rewarding project.
This layered frozen dessert requires very little actual baking—mostly just assembly and freezing time—making it one of the most accessible yet impressive frozen dessert recipes you can tackle this summer.
Essential Ingredients for Your Homemade Ice Cream Cake
Gathering the right components is the first key step to a successful easy ice cream cake recipe; think about texture contrast, as that’s what separates a good cake from a truly memorable one.
For this foundational recipe, we are building a classic chocolate and vanilla structure, but feel free to substitute your favorite flavors; for instance, if you love nutty flavors, you might consider swapping the base layer for crushed peanut butter cookies instead of the standard chocolate wafer.
For the Crunchy Crust Layer
The crust provides necessary structure and a satisfying crunch against the soft ice cream layers, which is crucial for a great ice cream cake assembly guide.
- 1 ½ cups chocolate wafer crumbs (about 30 cookies)
- ¼ cup unsalted butter, melted
- 2 tablespoons granulated sugar
Tip: If you prefer a cleaner, slightly buttery base, you could use crushed shortbread cookies and slightly reduce the added sugar.
For the Ice Cream Layers
While you can certainly use store-bought ice cream for a true no-bake ice cream cake, making your own allows for superior flavor control and texture.
- 1 quart high-quality vanilla ice cream, slightly softened
- 1 quart high-quality chocolate ice cream, slightly softened (or substitute another flavor like strawberry for a fun variation)
If you are aiming for a completely homemade experience, consider making an ice cream cake no-churn base, though this requires a little more planning ahead.
For the Fudge Ripple and Filling
The fudge ripple adds that signature gooey texture and rich chocolate flavor that defines a great chocolate ice cream cake DIY.
- ½ cup fudge sauce (store-bought or homemade hot fudge)
- ½ cup chopped dark chocolate or semi-sweet chocolate chips
- 1 cup heavy whipping cream, cold
- ¼ cup powdered sugar
- ½ teaspoon vanilla extract
For a delightful textural element similar to what you find in some salted caramel pretzel cheesecake balls, consider adding a thin layer of crushed pretzels alongside the fudge.
How to Make diy ice cream cake
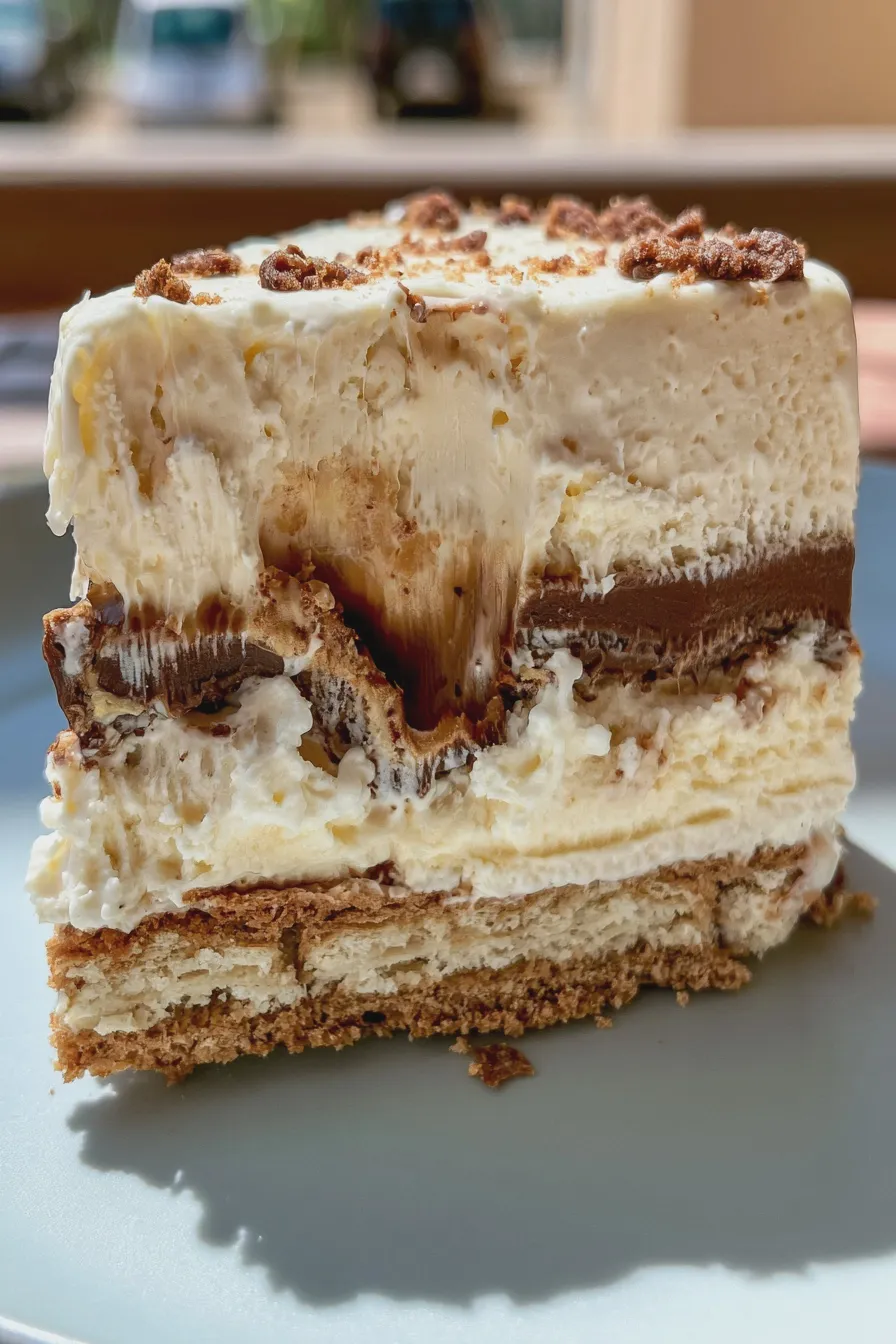
The secret to a successful layered dessert like this is patience between freezing stages; rushing the process leads to messy layers that blend together instead of staying crisp and distinct.
We will be using a standard 9-inch springform pan for this recipe, as the removable sides make unmolding the finished layered ice cream desserts significantly easier.
Prepare the Pan and Crust
Line the bottom and sides of your springform pan with plastic wrap, leaving an overhang that will help you lift the cake out later.
Combine the cookie crumbs, melted butter, and sugar until the mixture resembles wet sand, then press it firmly and evenly into the bottom of the prepared pan, ensuring you pack it tightly for a sturdy base.
First Freezing Stage: Setting the Base
Place the crust-lined pan into the freezer for at least 30 minutes until it is completely firm to the touch.
This crucial hardening step prevents the first layer of ice cream from mixing into the crust when you spread it, which is a common pitfall when learning how to make ice cream cake at home.
Layering the First Ice Cream
Take the slightly softened vanilla ice cream and spread it evenly over the chilled crust using an offset spatula, smoothing the top as best you can.
Return the pan to the freezer immediately and allow this layer to freeze solid, which usually takes about 1 to 2 hours, depending on your freezer’s temperature.
Adding the Fudge Ripple and Second Layer
Once the vanilla layer is rock solid, warm your fudge sauce slightly so it drizzles easily, and pour about half of it over the frozen vanilla layer in thin ribbons.
Gently spread the softened chocolate ice cream over the fudge layer, taking care not to disturb the ribbons underneath, and then return the entire assembly to the freezer for another setting period.
Creating the Whipped Topping and Final Freeze
While the cake freezes, whip the cold heavy cream, powdered sugar, and vanilla extract until stiff peaks form, creating a light and airy topping that works well for ice cream cake decorating tips.
Spread this homemade whipped cream evenly over the hardened chocolate layer, drizzle the remaining fudge sauce over the top, and cover the pan loosely with foil before freezing it for a minimum of 6 hours, or preferably overnight, to ensure the entire homemade ice cream cake layers are perfectly set.
Finishing Touches and Serving Your Masterpiece
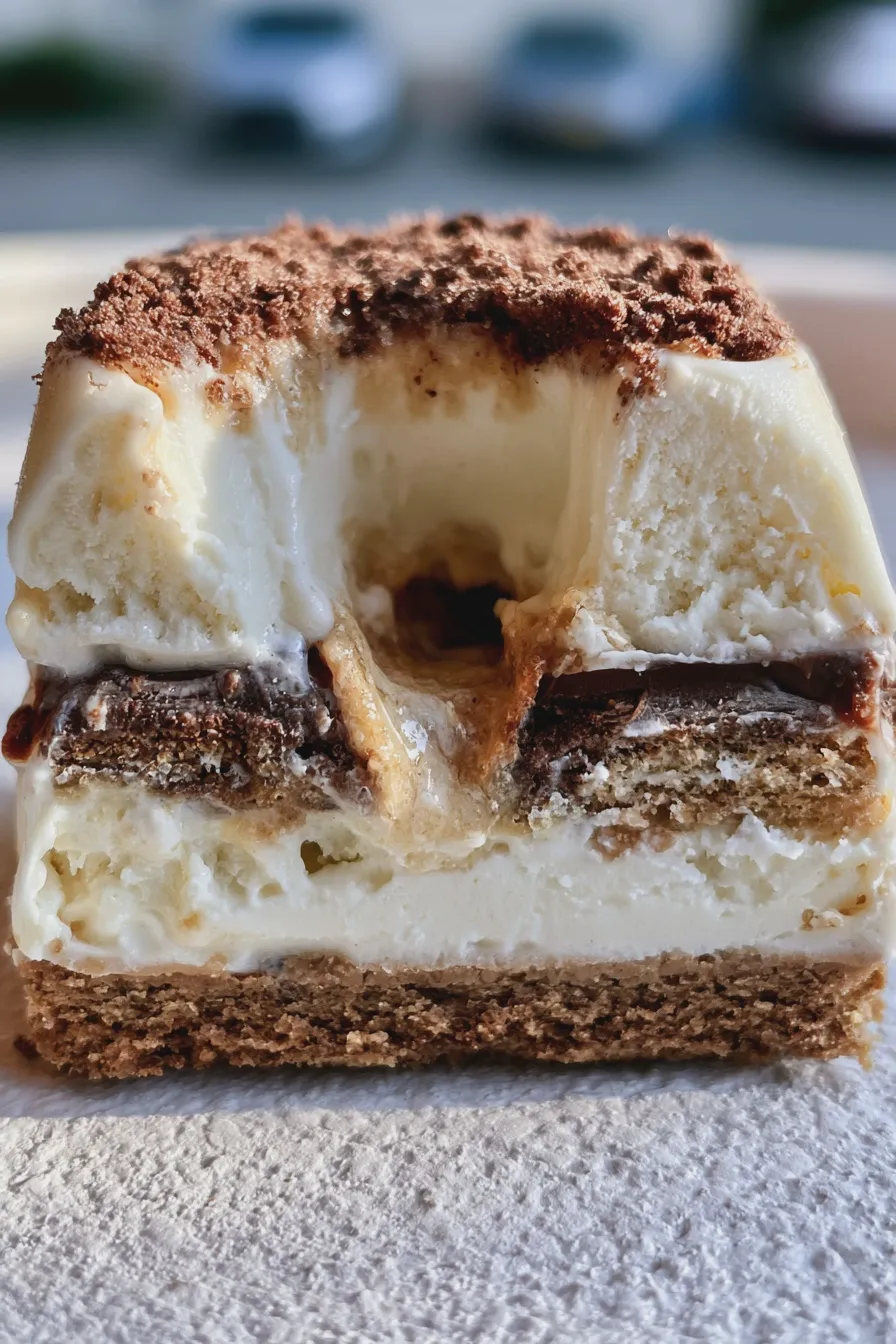
Getting the cake out of the pan requires a little finesse, especially when dealing with frozen desserts; the goal is a clean release that showcases your careful layering.
For celebrations, thinking about birthday ice cream cake ideas often involves adding colorful sprinkles or rich sauces on top, making the presentation as fun as the flavor.
Unmolding the Cake
To release the cake, run a thin, sharp knife dipped in hot water around the inside edge of the springform pan before carefully unclipping and removing the ring.
If you struggle with the plastic wrap overhang, you can gently warm the outside of the pan with a warm, damp towel for about 30 seconds to help it release cleanly.
Choosing the Best Ice Cream Cake Toppings
The final flourish elevates this from a simple treat to a spectacular dessert, and exploring different best ice cream cake toppings can transform the flavor profile.
- Chopped nuts (pecans or walnuts)
- Hot fudge or caramel sauce drizzle
- Whipped cream rosettes
- Maraschino cherries or fresh berries
If you are looking for more intense chocolate flavor, consider adding a ganache drip instead of just fudge, similar to what you might use on a rich chocolate raspberry cake.
Storage and Make-Ahead Advice
This type of cake stores wonderfully in the freezer, making it an ideal make-ahead dessert for busy weeks or large gatherings.
Keep the finished cake tightly wrapped in plastic wrap, and then covered again with foil, to prevent freezer burn and odor absorption; it will keep well for up to two weeks, ensuring you always have a ready homemade ice cream cake on hand.
Tips for Customizing Your Simple Ice Cream Cake
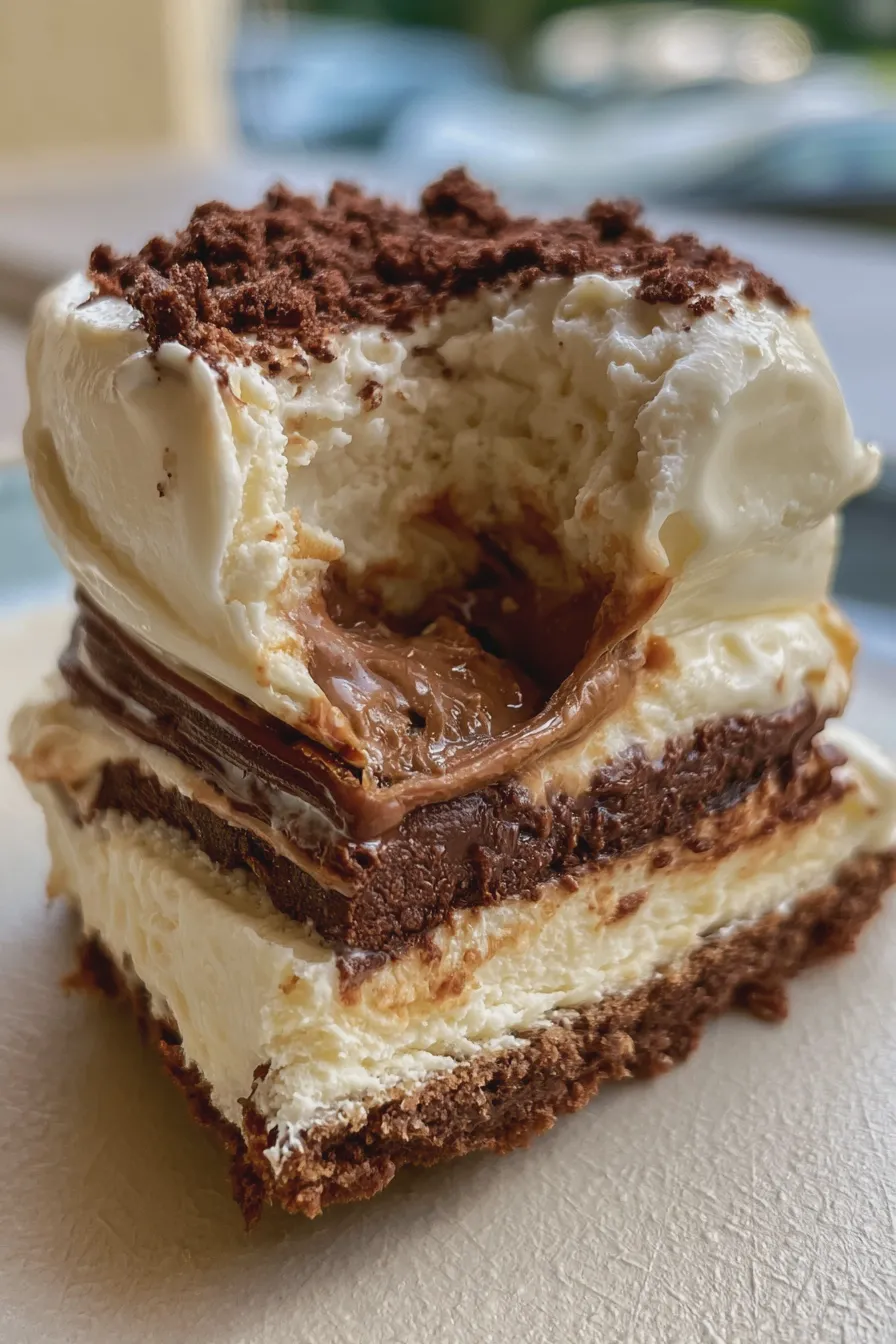
Customization is where the real fun of making your own dessert comes in, allowing you to cater exactly to your family’s favorite flavors and dietary needs.
For those looking for alternatives, adapting this structure for a gluten-free ice cream cake simply means swapping the wafer crust for a nut-based crust or using gluten-free cookies.
Flavor Swaps and Variations
If vanilla and chocolate feel too traditional, try using coffee ice cream paired with a caramel ripple, or perhaps a bright lemon ice cream if you prefer something lighter, much like a lemon blueberry cake flavor profile.
For a more decadent experience, you can substitute the fudge ripple with a thick layer of peanut butter filling or a homemade salted caramel sauce, increasing the richness of these ice cream cake frosting ideas.
Handling Dietary Restrictions
Creating a dairy-free ice cream cake is straightforward now with the excellent non-dairy ice cream options available in most grocery stores today.
Remember that if you use non-dairy ice cream, you must also ensure your crust ingredients (like butter) and your whipped topping ingredients are also compliant with the dietary requirements you are trying to meet.
Print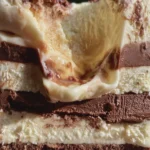
diy ice cream cake Recipe Homemade
- Total Time: Overnight (including freezing)
- Yield: 10–12 servings 1x
- Diet: Vegetarian
Description
This DIY No-Bake Chocolate Chip Cookie Dough Ice Cream Cake is the ultimate dessert mashup! It features layers of crushed cookies, creamy vanilla ice cream, chunks of edible cookie dough, and a rich chocolate fudge shell. It requires no oven time, just freezer time!
Ingredients
- For the Cookie Crust:
- 1 ½ cups (about 180g) crushed chocolate sandwich cookies (like Oreos)
- 6 tablespoons (85g) unsalted butter, melted
- For the Cookie Dough Layer:
- ½ cup (113g) unsalted butter, softened
- ¾ cup (150g) packed light brown sugar
- ¼ cup (50g) granulated sugar
- 1 teaspoon vanilla extract
- 2 tablespoons milk (any kind)
- 1 ½ cups (180g) all-purpose flour, heat-treated (see notes)
- ½ teaspoon salt
- ½ cup (85g) mini chocolate chips
- For the Ice Cream Layer:
- 1.5 quarts (about 1.4L) good quality vanilla ice cream, slightly softened
- For the Chocolate Shell Topping:
- 1 cup (170g) semi-sweet chocolate chips
- ¼ cup (60ml) coconut oil (or vegetable shortening)
- Optional Garnish: More cookie dough pieces, whipped cream, sprinkles
Instructions
- Prepare the Pan: Line a 9-inch springform pan with plastic wrap, leaving an overhang on the sides for easy removal later.
- Make the Cookie Crust: In a bowl, mix the crushed sandwich cookies and melted butter until fully combined. Press the mixture evenly into the bottom of the prepared springform pan. Freeze for 15 minutes.
- Make the Edible Cookie Dough: In a large bowl, cream together the softened butter, brown sugar, and granulated sugar until light and fluffy. Beat in the vanilla extract and milk. In a separate bowl, whisk together the heat-treated flour and salt. Gradually add the dry ingredients to the wet ingredients, mixing until just combined. Stir in the mini chocolate chips.
- Assemble the Layers: Remove the crust from the freezer. Spread half of the edible cookie dough evenly over the crust. Freeze for 30 minutes until firm.
- Layer the Ice Cream: Scoop the slightly softened vanilla ice cream over the cookie dough layer. Use an offset spatula to spread it into an even layer, pressing down gently. Freeze for at least 3 hours, or until completely firm.
- Add Final Cookie Dough Layer: Once the ice cream is firm, spread the remaining half of the edible cookie dough over the top of the ice cream layer. Freeze for another 1 hour.
- Prepare the Chocolate Shell: In a microwave-safe bowl, combine the semi-sweet chocolate chips and coconut oil. Microwave in 30-second intervals, stirring well after each, until completely smooth and melted. Let it cool slightly (about 5 minutes) so it doesn’t melt the ice cream immediately.
- Top and Chill: Pour the slightly cooled chocolate shell mixture evenly over the frozen cake. Quickly spread it to cover the top and let it drip down the sides. Return the cake to the freezer immediately for at least 4 hours, or preferably overnight, until the chocolate shell is hard and the cake is fully set.
- Serve: Before serving, remove the cake from the freezer, remove the springform ring and plastic wrap. Let it sit at room temperature for 5-10 minutes before slicing with a hot, dry knife. Garnish as desired.
Notes
- Heat-Treating Flour: To make the flour safe for raw consumption, spread the flour on a baking sheet and bake at 350°F (175°C) for 5 minutes, or microwave in 30-second bursts until it reaches 165°F (74°C) internally. Let it cool completely before using.
- Ice Cream Softening: Ice cream should be soft enough to spread easily, but not melted. Leave it on the counter for 10-15 minutes before spreading.
- Storage: Store leftovers tightly wrapped in plastic wrap in the freezer for up to 2 weeks.
- Prep Time: PT45M
- Cook Time: PT5M
- Category: Ice Cream Cakes
- Method: No Bake
- Cuisine: American
Nutrition
- Serving Size: 1 slice
- Calories: 480
- Sugar: 45g
- Sodium: 250mg
- Fat: 30g
- Saturated Fat: 18g
- Unsaturated Fat: 12g
- Trans Fat: 0g
- Carbohydrates: 50g
- Fiber: 2g
- Protein: 6g
- Cholesterol: 75mg







