
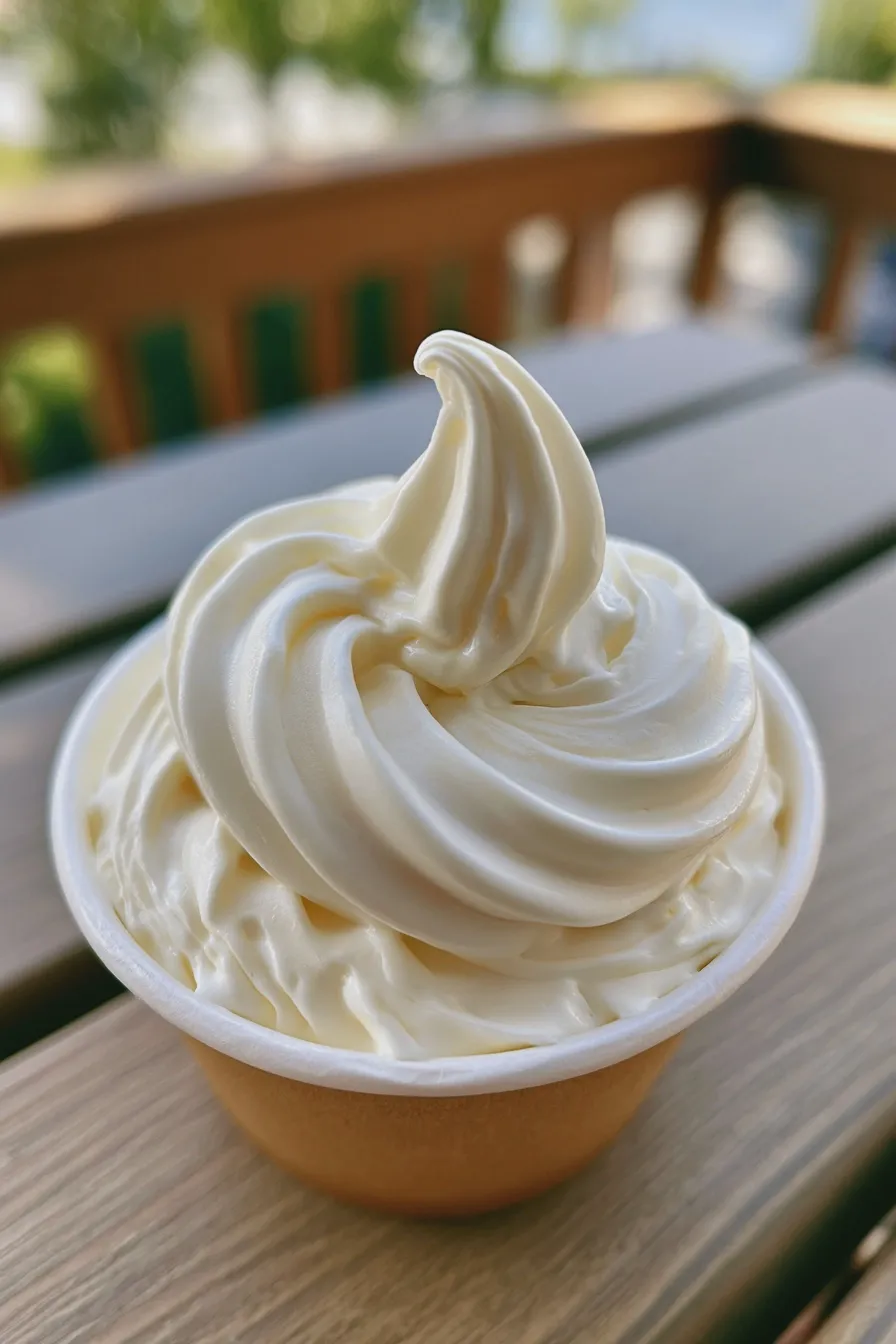
Achieving rich, creamy homemade ice cream without specialized equipment is simpler than most people think, especially with this straightforward, no-churn method that yields incredible results every time. This recipe focuses on creating a luxurious texture reminiscent of high-end parlor scoops using common pantry staples, making it one of the most satisfying easy frozen desserts you can master this summer.
Welcome to the wonderful world of making your own frozen treats right in your kitchen! If you’ve ever dreamed of scooping up a perfectly smooth, intensely flavored dessert on a warm evening, you’re in the right place to learn the secrets behind successful homemade ice cream recipes. We are going to dive deep into crafting a truly decadent experience that rivals anything you can buy.
Essential Ingredients for Rich Creamy Ice Cream
The magic behind this particular dessert lies in using just a few high-quality components to achieve that coveted rich creamy ice cream texture without churning. We rely on the high fat content of heavy cream and the stabilizing sweetness of sweetened condensed milk to prevent large ice crystals from forming, which is the key to success when attempting how to make ice cream without machine.
For those who might be considering investing in equipment, knowing the fundamentals of the ice cream base recipe is still crucial; however, for this method, we keep things incredibly streamlined. If you are looking for more advanced techniques involving churning, you might want to research the custard based ice cream fundamentals later.
Heavy Whipping Cream
- 2 cups heavy whipping cream, very cold
This ingredient provides the necessary fat content and volume, as whipping air into it creates the light, fluffy structure we want in our finished product. Make sure your cream is straight from the refrigerator for the best whipping results.
Sweetened Condensed Milk
- 1 (14-ounce) can sweetened condensed milk, full fat
This is non-negotiable for no churn ice cream as it adds sugar and milk solids, lowering the freezing point so the mixture stays scoopable rather than turning into a solid block of ice. Do not substitute this with evaporated milk; the sugar content is essential here.
Flavor Extracts and Add-ins
- 2 teaspoons pure vanilla extract (adjust for flavor variations)
- Pinch of fine sea salt
- Optional additions: 1/2 cup mix-ins like chocolate chips or crushed cookies
Vanilla is the classic starting point, but this is where you can begin experimenting with gourmet ice cream flavors, perhaps adding espresso powder or citrus zest to the base. The tiny pinch of salt helps balance the sweetness and deepens the overall flavor profile.
Preparing the Simple Dessert Base
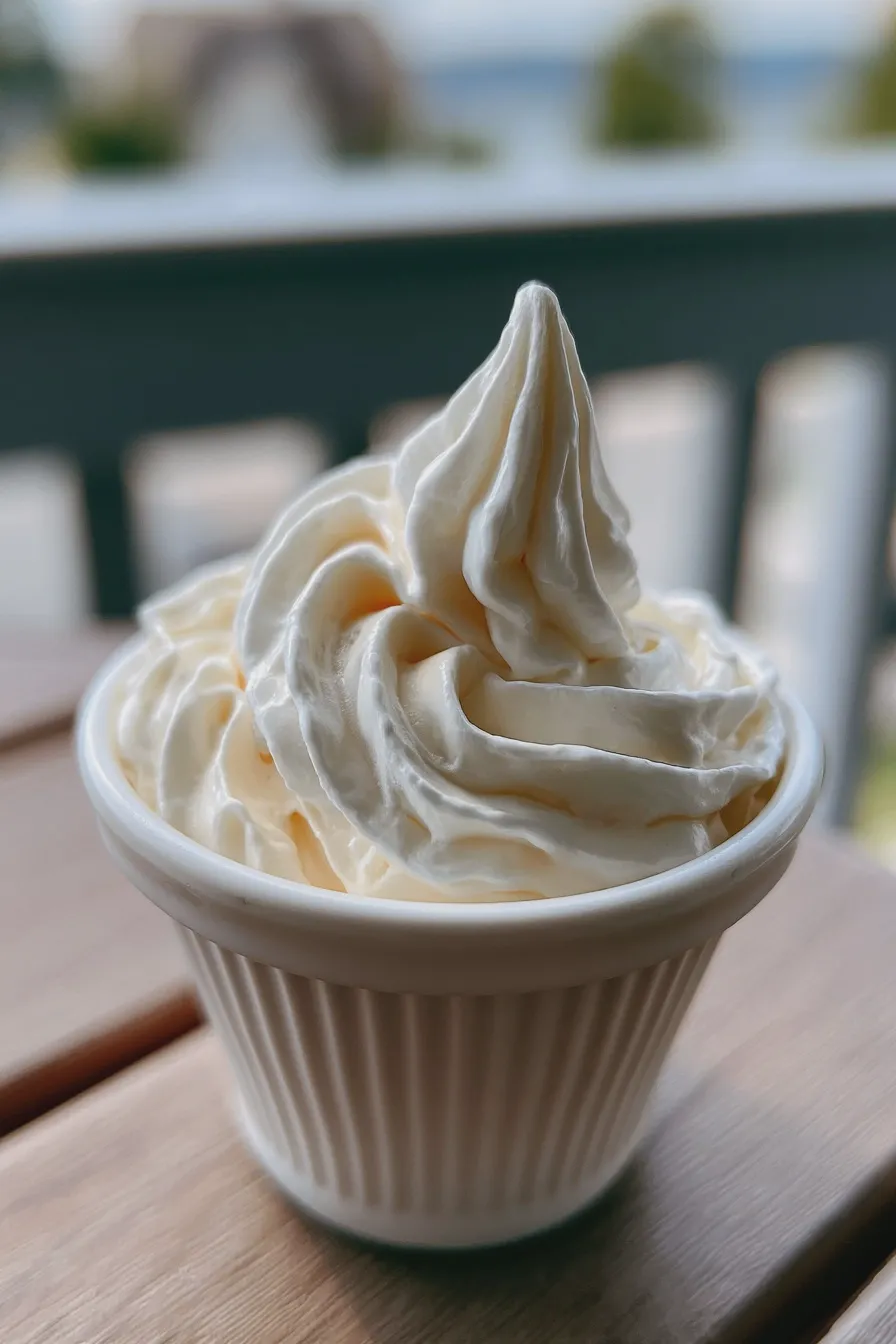
This stage involves combining the liquid components and preparing the cream for aeration, ensuring everything is ready before we introduce the air that creates the texture. A well-combined base ensures that when you fold in the whipped cream later, you maintain maximum volume.
Sweetening and Flavoring the Condensed Milk
- In a medium bowl, whisk together the sweetened condensed milk, vanilla extract, and salt until fully incorporated.
- If you are using any liquid flavoring, like a liqueur or extract other than vanilla, stir it in now to ensure even distribution throughout the base.
If you are planning on making a swirl, like a caramel or fudge ribbon, prepare that separately now so it is ready to layer later in the freezing process. This simple dessert recipes approach means you are barely doing any actual cooking.
Whipping the Cream to Stiff Peaks
- Using a stand mixer fitted with the whisk attachment or a hand mixer, beat the cold heavy cream on medium-high speed until stiff peaks form.
- You should be able to turn the bowl upside down without the cream sliding out; be careful not to overbeat into butter, which is a common mistake when whipping cream.
This step incorporates the air necessary to give the final product its light structure; stiff peaks are crucial for achieving a texture similar to that made with a best ice cream maker. If your cream isn’t whipping up well, ensure your bowl and whisk attachment were chilled beforehand.
How to Make diy ice cream: Assembly and Freezing
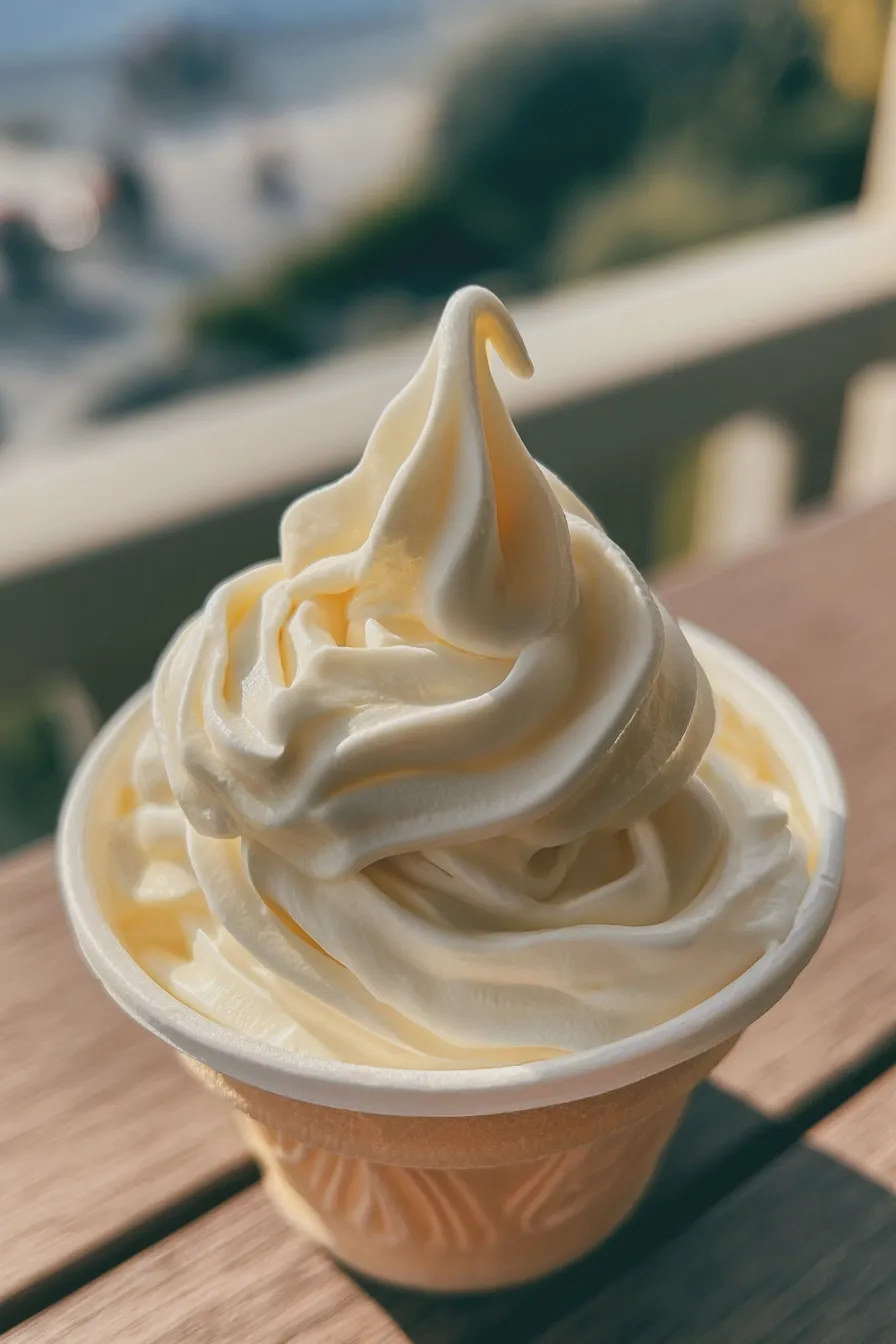
Now we gently combine the airy whipped cream with the dense, sweet base, a process that requires a light hand to preserve the volume we just worked hard to create. This folding technique is what separates a fluffy frozen dessert from a dense, icy block.
Folding the Base into the Whipped Cream
- Take about one-third of the whipped cream and gently fold it into the sweetened condensed milk mixture until just combined, which lightens the base mixture.
- Carefully add the remaining whipped cream and fold using a large spatula until no white streaks remain, taking care not to deflate the air bubbles.
The goal here is homogeneity without losing the volume; use broad, sweeping motions, cutting down the middle and folding up and over. This technique is important whether you are aiming for a basic flavor or something more complex like a chocolate raspberry cake swirl in your ice cream.
Incorporating Mix-Ins and Layering
- If you are adding mix-ins like crushed nuts, candies, or pieces of baked goods (perhaps some leftover slices of lemon pound cake), gently fold them in right at the end.
- Transfer the mixture to a freezer-safe container, such as a loaf pan or an airtight plastic container, smoothing the top surface.
If you desire a layered look, alternate spoonfuls of the ice cream mixture with ribbons of caramel or chocolate sauce before covering. For the best results, avoid using a container that is too shallow, as this can encourage faster freezing on the edges.
The Freezing Process for Firming
- Cover the container tightly with plastic wrap, pressing the wrap directly onto the surface of the ice cream mixture to prevent ice crystal formation.
- Freeze for a minimum of 6 hours, though overnight is always best, to allow the mixture to fully firm up into a scoopable texture.
If you are concerned about achieving a truly firm texture without a kitchenaid ice cream attachment, placing the container in the coldest part of your freezer helps immensely. Remember, this style is naturally softer than traditional custard recipes, offering a delightful texture similar to homemade ice cream recipes that utilize stabilizers.
Flavor Variations and Serving Suggestions
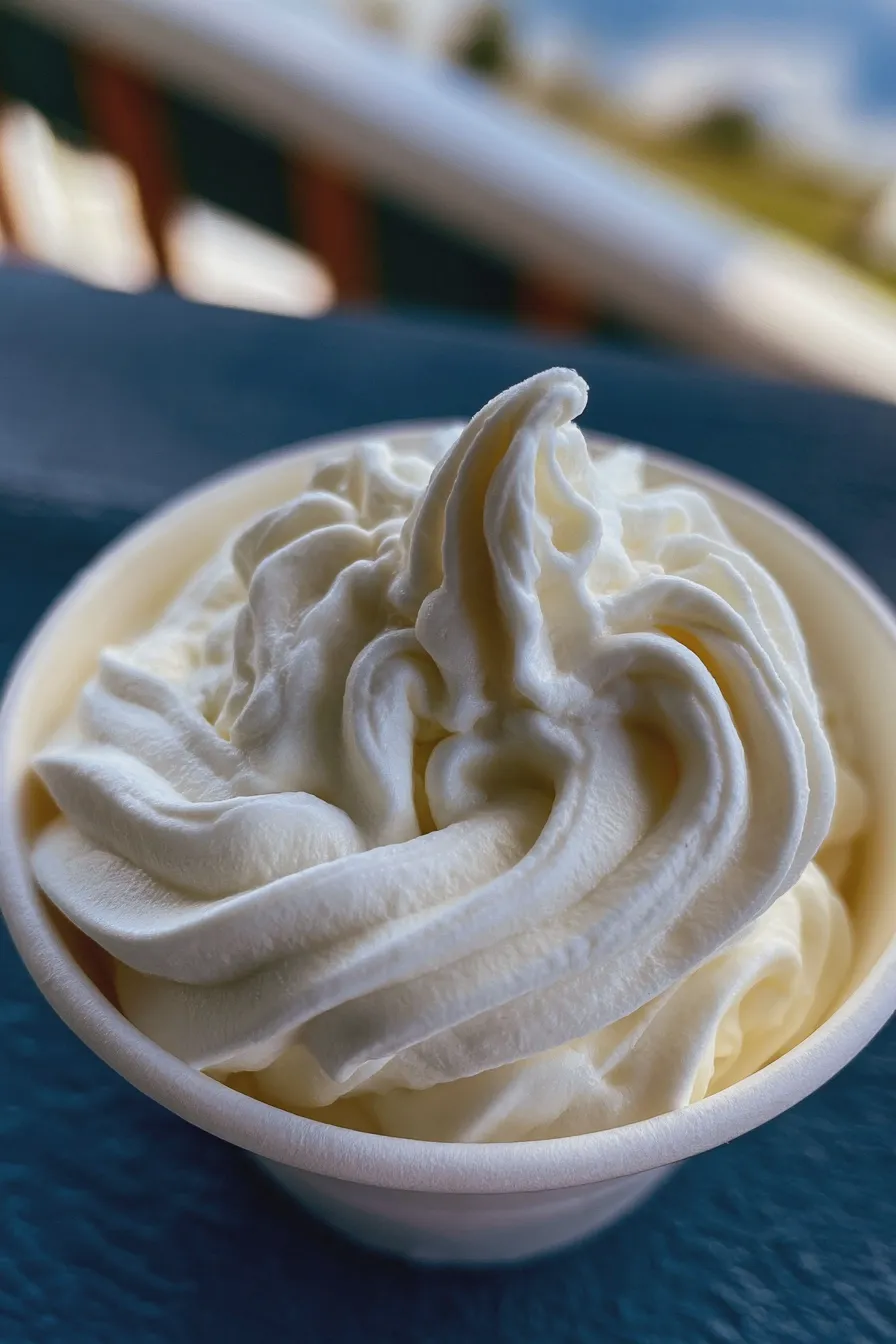
Once you master this simple base, the flavor possibilities for your easy frozen desserts are nearly endless, allowing you to elevate your dessert game significantly. Consider how different textures, like those found in oatmeal cookies, can be incorporated for a delightful crunch.
Gourmet Flavor Twists
To move beyond vanilla, try infusing your heavy cream with herbs like mint or lavender before whipping, or dissolve instant coffee granules into the condensed milk for a rich mocha flavor. For a chocolate version, whisk in 1/4 cup of high-quality cocoa powder into the condensed milk mixture before folding in the cream. If you’re feeling adventurous, you can even try adapting this base for a raspberry tiramisu recipe inspired flavor.
Serving and Storage Tips
Allow the container to sit on the counter for 5 to 10 minutes before attempting to scoop, as this brief tempering time ensures the best texture for serving. Store leftovers tightly sealed in the freezer for up to two weeks for optimal freshness, though it rarely lasts that long!
For an elevated presentation, serve scoops alongside warm brownies (perhaps even some brownies aesthetic style squares) or fresh berries. While this isn’t a air fryer brownies recipe, the contrast between warm baked goods and cold frozen cream is always a winner.
Print
diy ice cream Made Easy Recipe
- Total Time: PT4H35M
- Yield: About 1 quart 1x
- Diet: Vegetarian
Description
Learn how to make incredibly creamy, classic vanilla bean ice cream right in your kitchen without an ice cream maker! This recipe uses a simple custard base that yields rich flavor and perfect texture.
Ingredients
- 2 cups heavy cream
- 1 cup whole milk
- 3/4 cup granulated sugar
- 1/4 teaspoon salt
- 5 large egg yolks
- 1 vanilla bean, split lengthwise, or 2 teaspoons pure vanilla extract
Instructions
- In a medium saucepan, combine the heavy cream, whole milk, sugar, and salt. If using a vanilla bean, scrape the seeds into the mixture and add the pod as well. Heat over medium heat until steaming but not boiling, stirring occasionally until the sugar dissolves.
- In a separate bowl, whisk the egg yolks until pale yellow.
- Temper the egg yolks by slowly ladling about 1 cup of the hot cream mixture into the yolks while whisking constantly.
- Pour the tempered egg mixture back into the saucepan with the remaining cream mixture.
- Cook over medium-low heat, stirring constantly with a wooden spoon or spatula, until the custard thickens enough to coat the back of the spoon (it should register 175°F/80°C). Do not boil.
- Remove from heat. If using a vanilla bean pod, remove it now. Stir in the vanilla extract if using instead of the bean.
- Strain the custard through a fine-mesh sieve into a clean bowl set over an ice bath. Stir occasionally until cooled down.
- Cover the custard tightly and chill in the refrigerator for at least 4 hours, or preferably overnight, until completely cold.
- Churn the custard in your ice cream maker according to the manufacturer’s instructions.
- Transfer the soft ice cream to an airtight container and freeze for at least 2-4 hours to firm up before serving.
Notes
- For the richest flavor, ensure the custard base is thoroughly chilled before churning.
- If you don’t have an ice cream maker, you can pour the chilled base into a shallow metal pan, place it in the freezer, and scrape/stir vigorously every 30 minutes for the first 3 hours until firm.
- A pinch of cornstarch added to the custard can help prevent iciness, though it’s optional with this rich base.
- Prep Time: PT20M
- Cook Time: PT15M
- Category: Frozen Dessert
- Method: Custard Base/Churning
- Cuisine: American
Nutrition
- Serving Size: 1/2 cup
- Calories: 320
- Sugar: 28g
- Sodium: 65mg
- Fat: 20g
- Saturated Fat: 12g
- Carbohydrates: 28g
- Fiber: 0g
- Protein: 6g
- Cholesterol: 150mg







