Halloween is a magical time for baking, and what better way to celebrate than with some delightfully spooky and utterly delicious halloween mousse cups? These individual desserts are perfect for parties, trick-or-treaters, or just a fun family activity. They’re versatile, can be made ahead of time, and offer endless possibilities for creative decoration. From rich chocolate creations to lighter, fruit-infused options, there’s a mousse cup for every taste. Let’s dive into the enchanting world of making these festive treats and discover how easy it is to create impressive no bake halloween desserts that will have everyone cheering. For more inspiration on seasonal baking, check out these Halloween desserts.
Why Halloween Mousse Cups Are a Perfect Choice
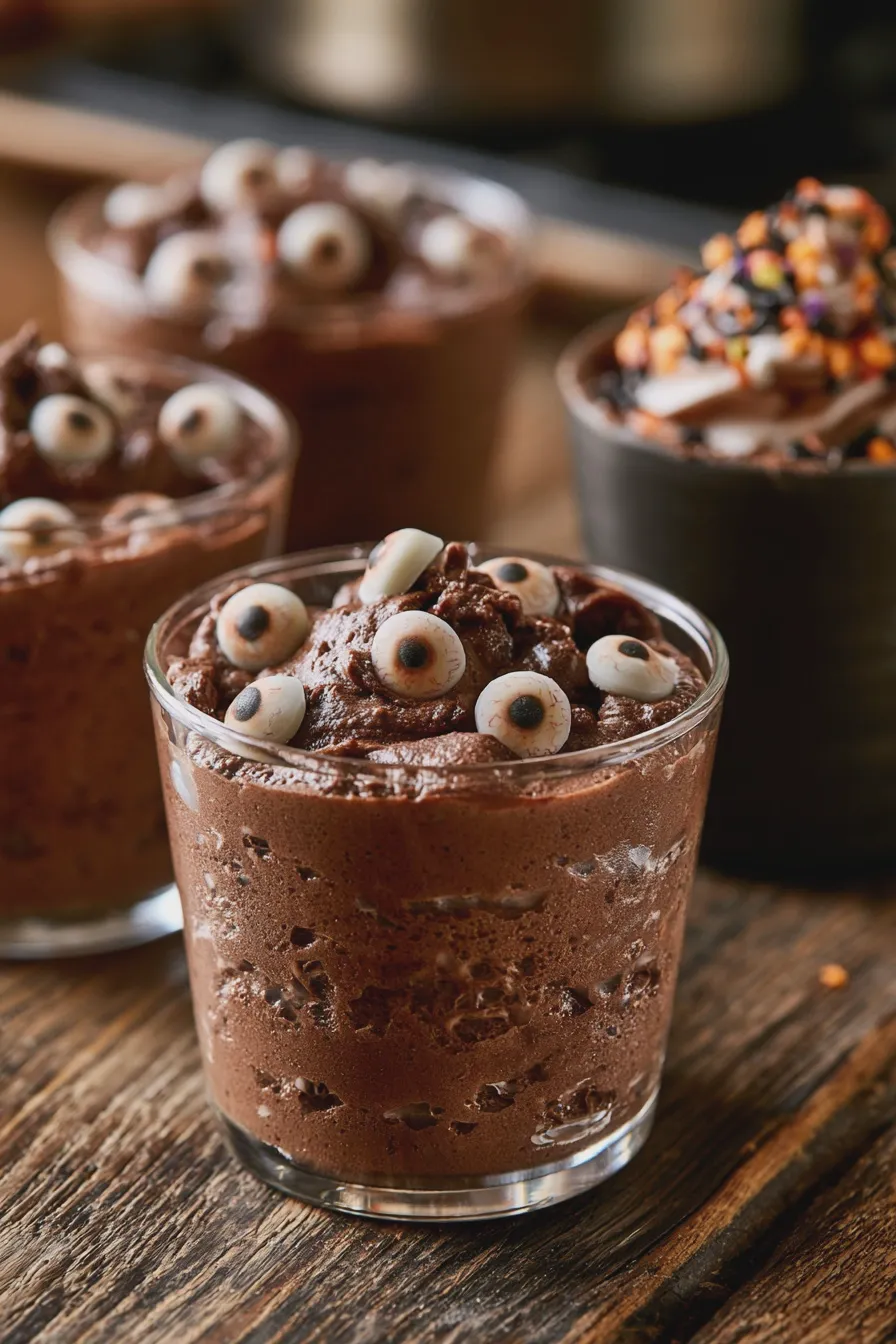
Mousse cups are a fantastic option for several reasons, especially when it comes to holiday entertaining. They offer a sophisticated yet simple dessert that feels special. Their individual serving size makes them incredibly convenient for parties, eliminating the need for slicing and serving a large cake or pie. Plus, they are a dream for dietary considerations, allowing for easy customization. The creamy texture of mousse is also incredibly satisfying, and it serves as a perfect canvas for a wide array of flavors and decorations, making them ideal for halloween party desserts.
One of the biggest advantages is their make-ahead potential. You can prepare the mousse base a day or two in advance and then focus on the fun decorating just before serving. This takes a lot of the stress out of party planning. They are also inherently adaptable. Whether you’re craving a deep, dark chocolate halloween mousse or a lighter, brighter flavor, mousse can accommodate. This adaptability makes them a top contender for creative halloween dessert ideas.
Furthermore, mousse cups are incredibly forgiving. Unlike cakes that can sink or cookies that can spread too much, mousse is generally quite stable once chilled. This means even beginner bakers can achieve beautiful and delicious results. They are also a wonderful way to incorporate seasonal flavors like pumpkin spice, apple, or, of course, classic chocolate. For a deeper dive into the science behind creamy textures, understanding how to properly incorporate air is key, much like when you learn how to fold ingredients without deflating, which is crucial for a light and airy mousse.
Don’t miss out on our guide to How To Make Ice Cream At Home.
Classic Chocolate Mousse Cups: A Spooky Staple
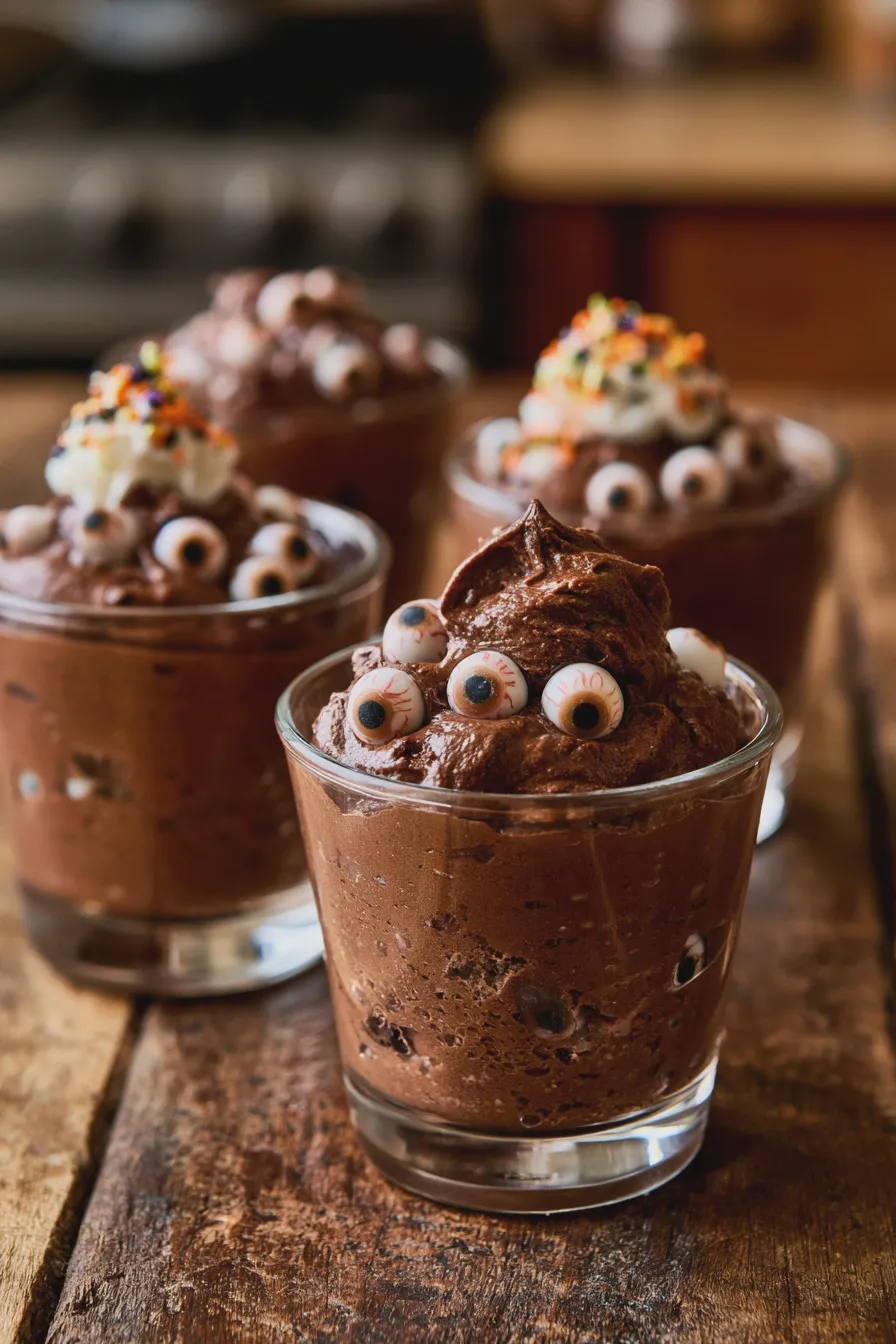
When you think of halloween mousse cups, a rich chocolate version often comes to mind. It’s a crowd-pleaser and the perfect base for all sorts of spooky embellishments. This recipe focuses on a deep, dark chocolate flavor that’s both decadent and satisfying.
Ingredients for Classic Chocolate Mousse
- 8 ounces good quality dark chocolate (60-70% cacao), finely chopped
- 4 large eggs, separated
- 1/4 cup granulated sugar
- 1 teaspoon vanilla extract
- Pinch of salt
- 1 cup heavy cream, cold
Instructions
- Melt the Chocolate: Place the chopped dark chocolate in a heatproof bowl. You can melt it gently over a double boiler (a bowl set over a saucepan of simmering water, ensuring the bowl doesn’t touch the water) or in the microwave in 30-second intervals, stirring in between, until smooth. Set aside to cool slightly.
- Prepare the Egg Yolks: In a separate bowl, whisk the egg yolks with the granulated sugar until pale and slightly thickened. This process is similar to how you would start a custard.
- Combine Chocolate and Yolks: Gradually whisk the slightly cooled melted chocolate into the egg yolk mixture until well combined. Stir in the vanilla extract and a pinch of salt.
- Whip the Cream: In a clean, cold bowl, whip the heavy cream until medium peaks form. Be careful not to over-whip, or you’ll end up with butter.
- Whip the Egg Whites: In another impeccably clean bowl (any trace of fat will prevent them from whipping), beat the egg whites until stiff peaks form. This is where you incorporate air for lightness.
- Fold Gently: This is a crucial step for a light mousse. Gently fold about one-third of the whipped cream into the chocolate mixture to lighten it. Then, carefully fold in the remaining whipped cream, followed by the whipped egg whites. The goal is to combine everything without losing the air you’ve incorporated. For more on this technique, explore how to fold ingredients without deflating.
- Chill: Spoon the mousse into individual serving cups or glasses. Cover with plastic wrap and refrigerate for at least 4 hours, or preferably overnight, to allow it to set.
Tips for Perfect Chocolate Mousse
- Quality Chocolate Matters: Use the best quality dark chocolate you can find. It significantly impacts the flavor.
- Tempering Eggs (Optional but Recommended): To ensure food safety and a smoother texture, you can temper the egg yolks. Whisk the yolks and sugar, then slowly drizzle in about half of the warm melted chocolate while whisking constantly. Then, pour this mixture back into the remaining chocolate.
- Don’t Overmix: When folding, be gentle. Overmixing will deflate the mousse, resulting in a denser texture.
- Proper Chilling: Allow ample time for the mousse to chill and set. This is non-negotiable for the right consistency.
Common Chocolate Mousse Mistakes to Avoid
- Grainy Texture: This can happen if the chocolate seizes (hardens) when combined with liquids, or if the eggs aren’t fully incorporated. Ensure your chocolate is not too hot when mixing with yolks, and whisk thoroughly.
- Not Setting Properly: Insufficient chilling time is the main culprit. Also, ensure you used enough fat (heavy cream) and didn’t over-whip it to butter.
- Deflated Mousse: Aggressive folding or over-whipped cream can lead to a flat mousse.
Creative Halloween Mousse Cup Decorations
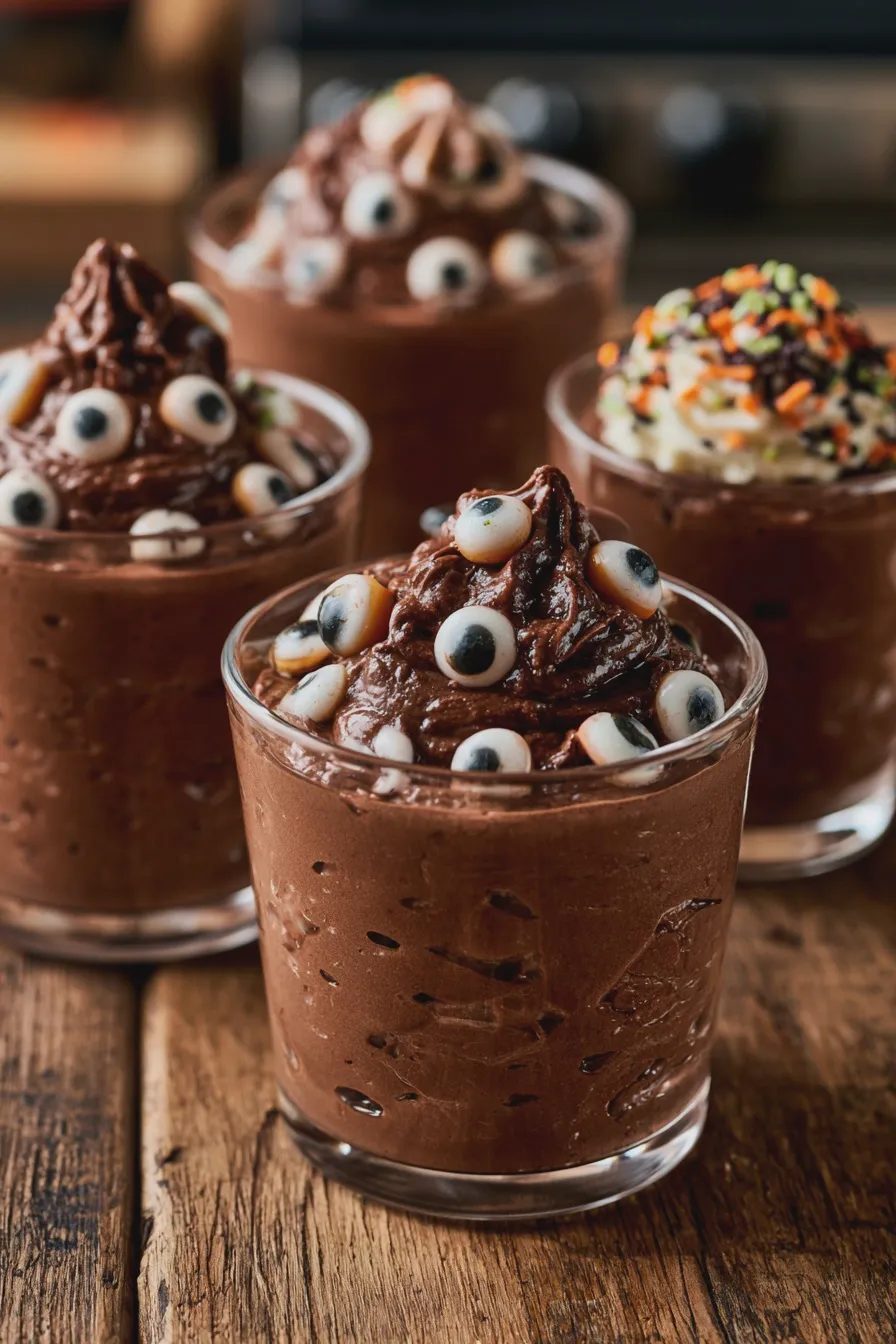
The real fun of halloween mousse cups lies in their decoration! This is where you can let your creativity run wild and transform simple mousse into spooky mousse cups.
Ghost Mousse Cups
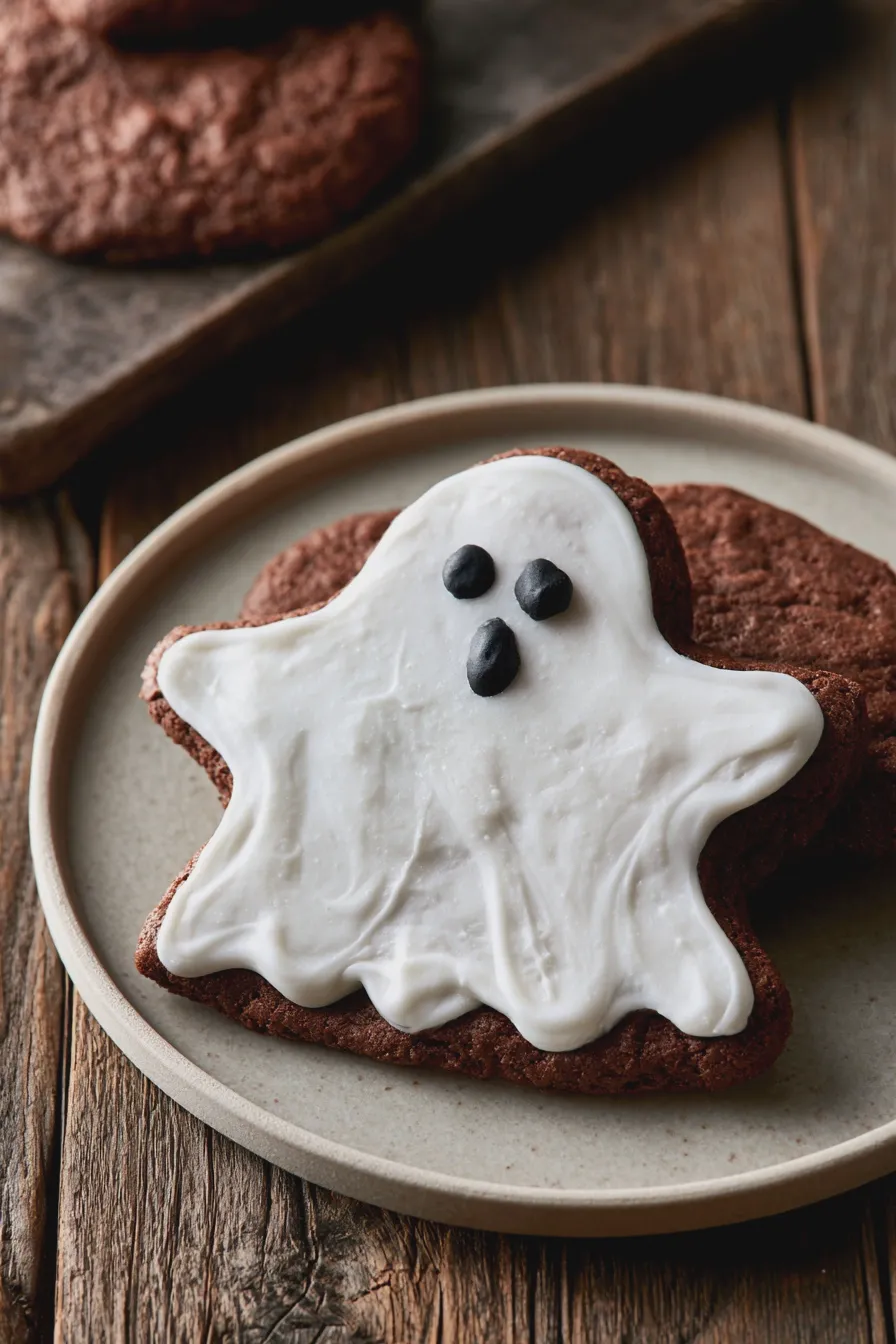
Pipe a dollop of whipped cream on top of your chilled mousse. Use mini chocolate chips to create eyes and a mouth. Alternatively, you can carefully shape a ghost using excess mousse or a contrasting colored frosting.
Looking for more? Try this delicious How To Cream Butter And Sugar next.
Spiderweb Mousse Cups
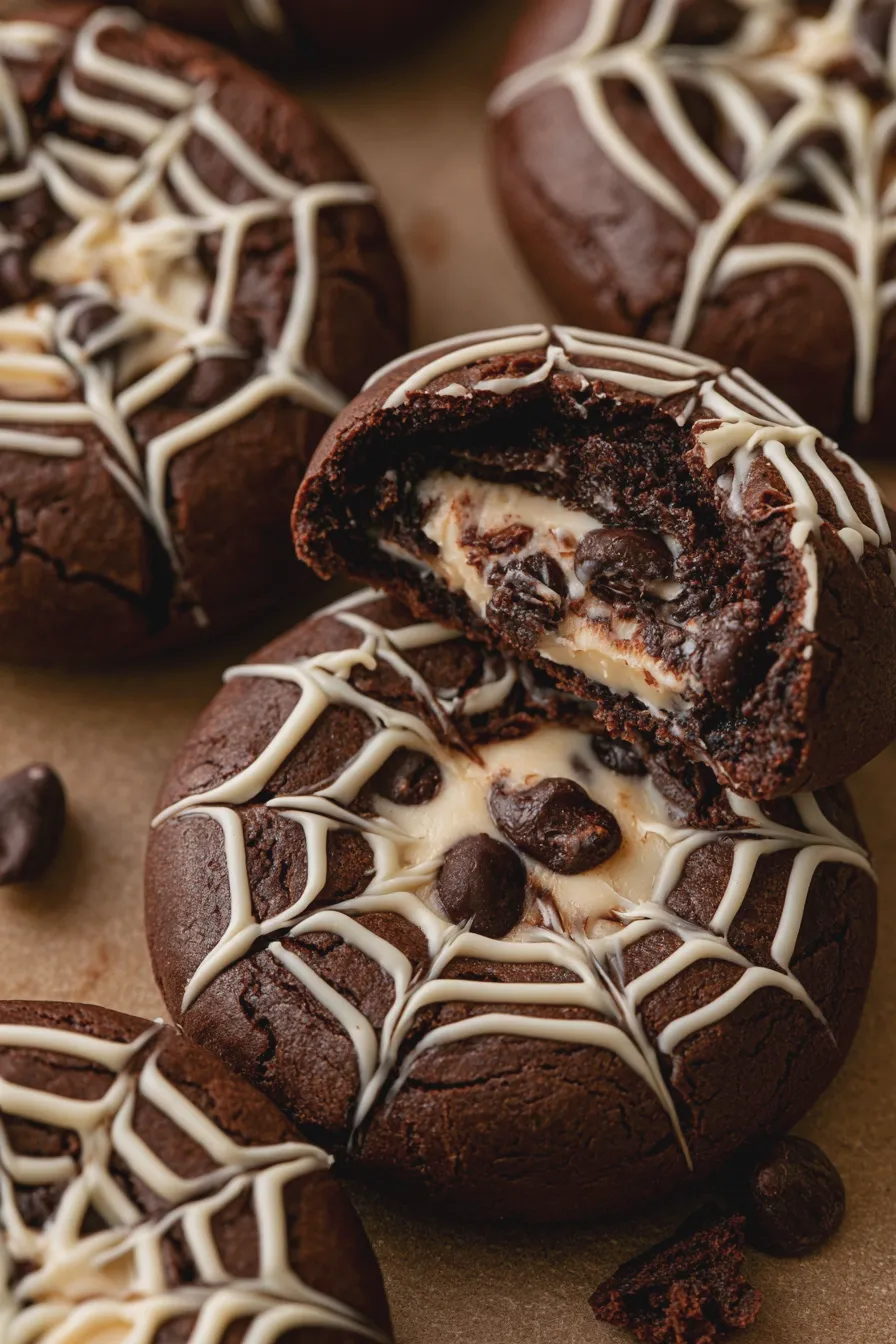
For a spiderweb mousse cups effect, melt some white chocolate. Drizzle it onto the surface of your chilled chocolate mousse in concentric circles. Then, using a toothpick, drag lines from the center outwards to create a web. You can also add a plastic spider for an extra creepy touch.
Pumpkin Mousse Cups
If you’re making a pumpkin-flavored mousse (see variations below), you can decorate the top with whipped cream tinted orange, piped to resemble a pumpkin. A small piece of green candy or frosting can serve as the stem. You can also use a bit of melted chocolate to draw a Jack-o’-lantern face.
Vampire Mousse Cups
Drizzle a bit of raspberry or strawberry coulis (a fancy word for a fruit sauce) over the top of the chocolate mousse to mimic “blood.” You can also add a small dollop of whipped cream at the base and attach edible googly eyes.
Another favorite of ours is the How To Prepare A Cake Pan To Prevent Sticking.
Witch Finger Mousse
For a truly gruesome effect, create witch finger mousse by shaping some green-tinted whipped cream or frosting into a finger shape on top of the mousse. Use an almond sliver for a fingernail and draw knuckle lines with a toothpick dipped in black food coloring.
Flavor Variations for Your Halloween Mousse
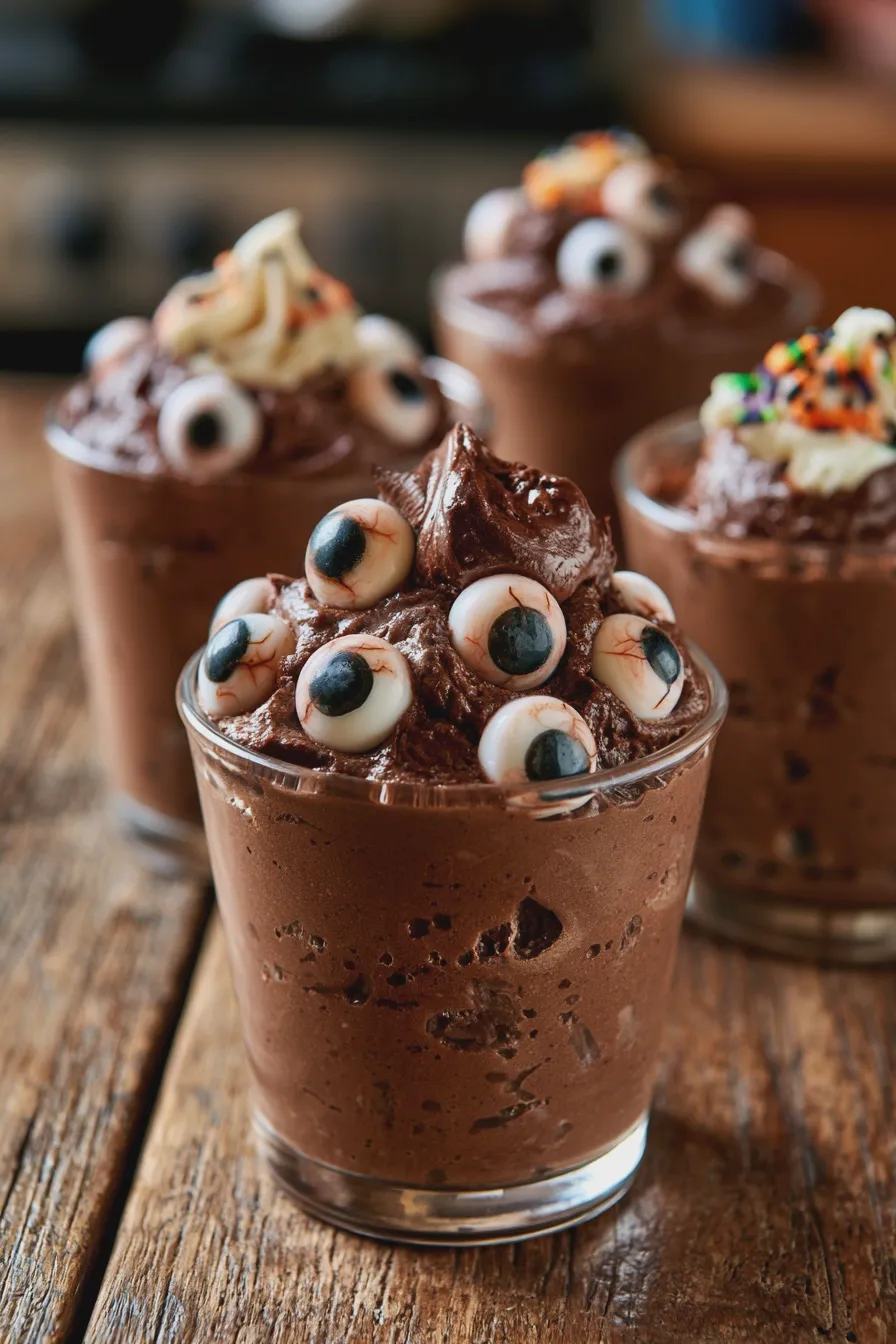
While chocolate is a classic, don’t be afraid to experiment with other flavors to create unique easy halloween mousse treats.
Pumpkin Spice Mousse
Incorporate about 1/2 cup of pumpkin puree and 1 teaspoon of pumpkin pie spice into the chocolate mixture (step 3 of the classic recipe). You might need to slightly increase the sugar depending on your preference. This makes for delightful pumpkin mousse cups.
Looking for more? Try this delicious Creaming Method For Cakes And Cookies next.
Oreo Mousse Halloween
Crush about 1 cup of Oreo cookies (filling included) and fold them into the mousse mixture after the whipped cream and egg whites have been incorporated. This creates a rich, cookies-and-cream delight, perfect for oreo mousse halloween creations.
Red Velvet Mousse
Add a few tablespoons of red food coloring and a tablespoon of unsweetened cocoa powder to the chocolate mixture. You can also add a touch of vinegar to enhance the red color. Top with a cream cheese frosting swirl for a true red velvet experience.
Peanut Butter Mousse
Melt 1/2 cup of peanut butter with 2 tablespoons of butter. Gently fold this into the chocolate mixture before adding the whipped cream and egg whites. This is a fantastic option for those who love the combination of chocolate and peanut butter, making for wonderfully creepy mousse delights.
If you enjoyed this, you might also love our Why Did My Cake Sink In The Middle recipe.
Tips for Assembling and Serving
Presentation is key for dessert cups for halloween. Think about the vessels you use.
- Glassware: Small martini glasses, shot glasses, or even small jam jars work beautifully.
- Plastic Cups: For casual parties or younger crowds, sturdy plastic cups are a practical choice.
- Garnishes: Beyond the decorating ideas above, consider adding a sprinkle of cocoa powder, shaved chocolate, or a fresh berry.
- Serving Temperature: Mousse is best served chilled. Take them out of the refrigerator about 15-20 minutes before serving for optimal texture.