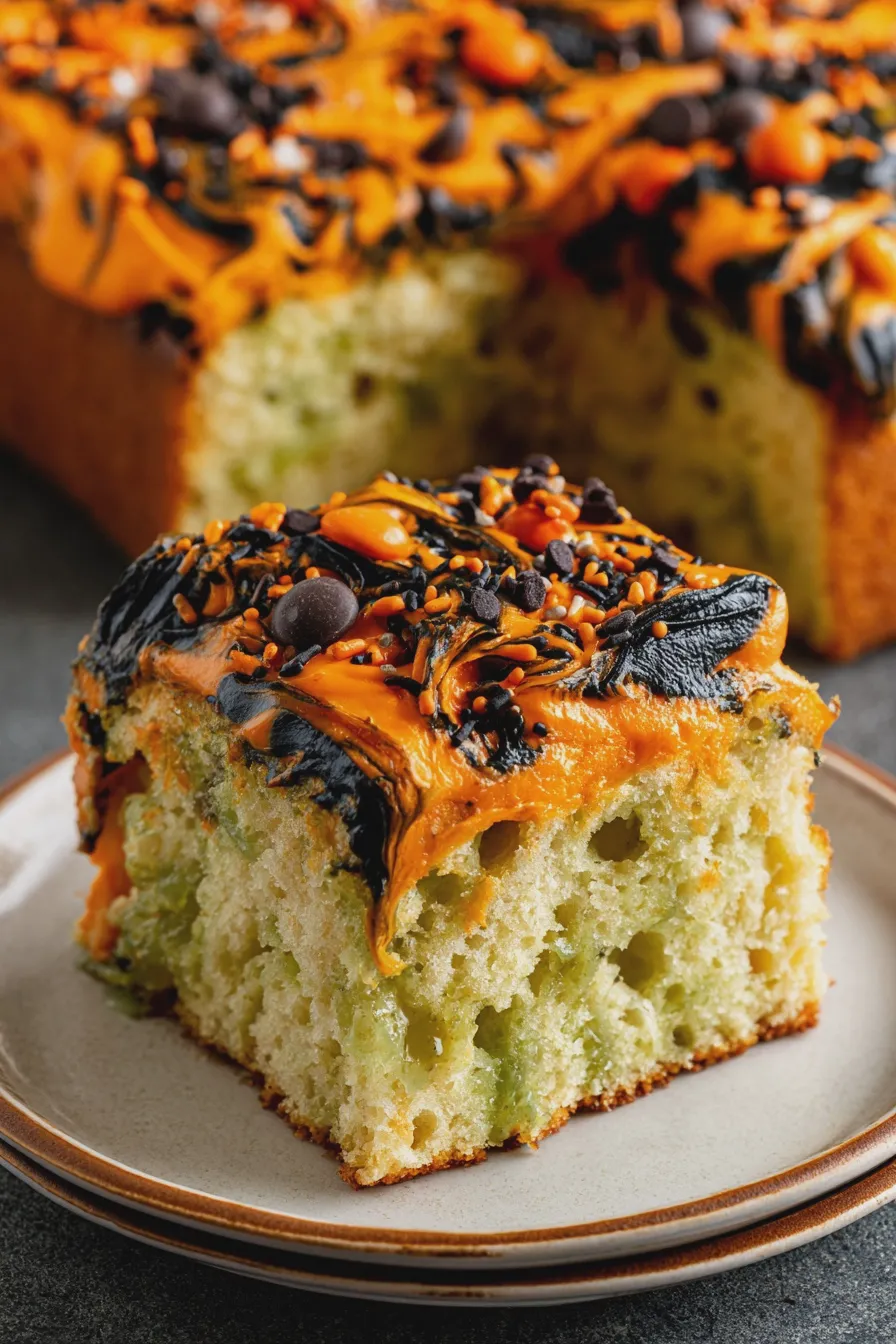
Halloween is a time for spooky fun, festive decorations, and of course, delicious treats! If you’re looking for a way to impress your guests with minimal fuss, look no further than halloween dessert cups. These individual portions are not only adorable and thematic, but they also offer a delightful variety of flavors and textures. From creepy crawlies to ghostly apparitions, there’s a halloween dessert cup to suit every taste and skill level. Let’s dive into some fantastic ideas for your next haunted gathering. For more inspiration on festive treats, check out these Halloween desserts.
Why Choose Halloween Dessert Cups?
Halloween dessert cups are a fantastic choice for several reasons. Firstly, they offer perfect portion control, making serving a breeze at any party. No more cutting cakes or slicing pies! Each guest gets their own charming creation.
Secondly, the individual nature of dessert cups allows for incredible creativity. You can design them to be as simple or as elaborate as you wish, incorporating various layers, toppings, and edible decorations that scream “Halloween.” They are also incredibly versatile, lending themselves well to both no bake halloween dessert cups and more involved baked creations.
Finally, they are inherently fun! The element of surprise and delight when a guest discovers the layered goodness within their cup is unmatched. They are a guaranteed hit for both children and adults, making them ideal for all your halloween party desserts.
Getting Started: Essential Tips for Halloween Dessert Cups
Before we jump into specific recipes, let’s cover some essential tips to ensure your halloween dessert cups are a smashing success. These practical pieces of advice will help you avoid common pitfalls and elevate your creations.
Choosing Your Vessels
The container is just as important as the dessert itself! You can use a variety of cups for your halloween treat cups:
- Clear plastic or glass cups: These are excellent for showcasing layered desserts, like parfaits or trifles.
- Small mason jars: They offer a rustic charm and are perfect for layered treats.
- Paper or plastic Halloween-themed cups: These add an instant festive touch without extra decorating effort.
- Small ramekins or dessert bowls: Ideal for more solid desserts like mousses or puddings.
Ensure your chosen cups are food-safe and a suitable size for individual servings. For some tips on preparing baking dishes, even though we are focusing on cups, understanding the basics of how to prepare a cake pan to prevent sticking can offer transferable knowledge about preventing desserts from adhering to containers.
Layering Like a Pro
The magic of many dessert cups lies in their layers. Aim for a balance of textures and flavors. Consider these combinations:
- Crumb base: Crushed cookies (like Oreos for a spooky look!), graham crackers, or even crumbled cake.
- Creamy layer: Pudding, mousse, whipped cream, cream cheese frosting, or yogurt.
- Fruity element: Fresh berries, compotes, or fruit sauces.
- Crunchy bits: Nuts, chocolate chips, or candy pieces.
When layering, ensure each component is slightly cooled before adding the next to prevent melting or sogginess. For delicate mixtures, learning how to fold ingredients without deflating is crucial for maintaining airy textures.
Don’t miss out on our guide to Labor Day Dessert Cups.
Decorating for Maximum Spookiness
This is where the halloween dessert cups truly come alive! Think about your theme:
- Ghostly: Top with whipped cream or meringue and add edible candy eyes.
- Mummy: Drizzle white frosting in mummy-like strips over a chocolate base, leaving a gap for candy eyes.
- Graveyard: Use chocolate pudding, crushed Oreos for dirt, and a Milano cookie or graham cracker “tombstone.”
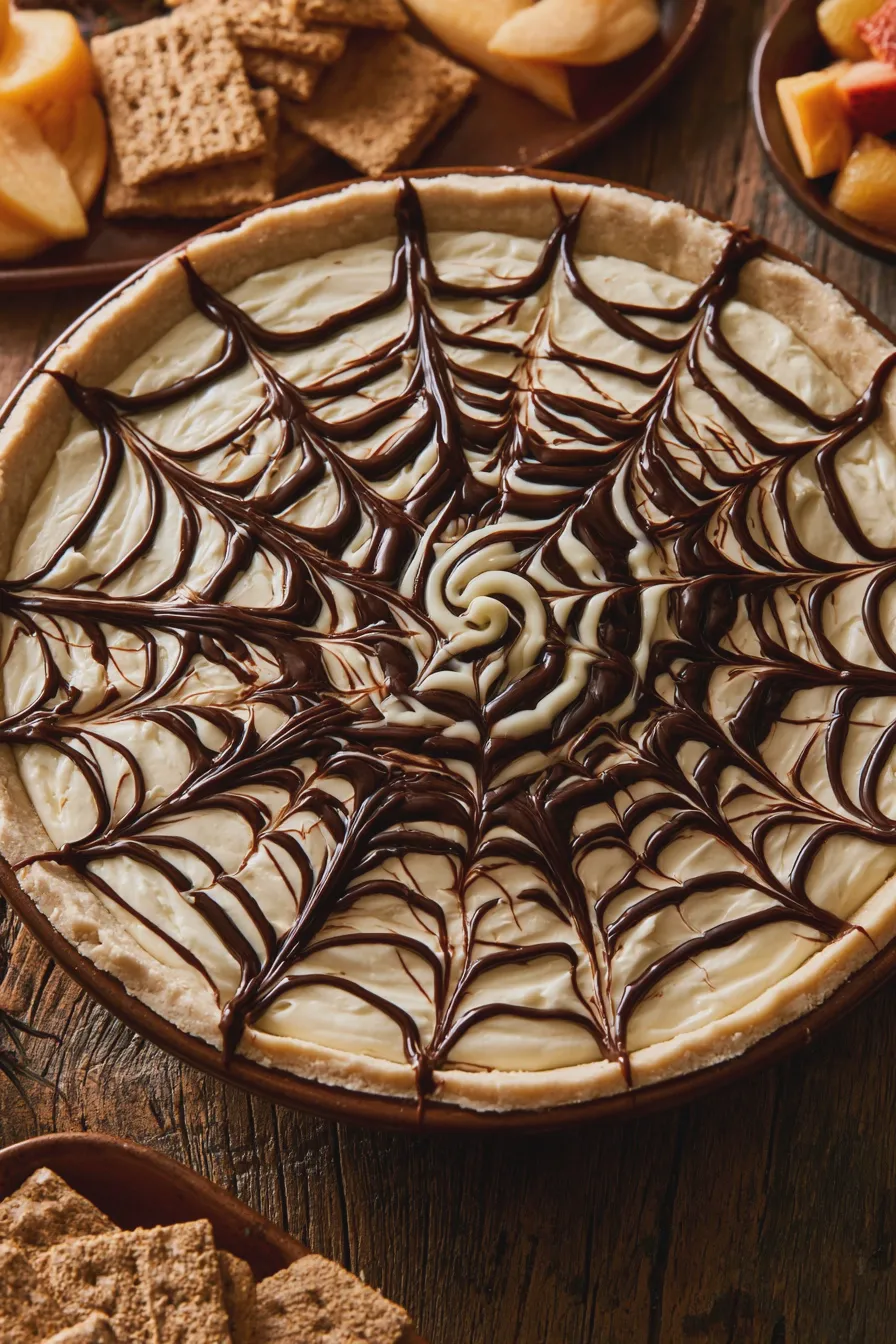
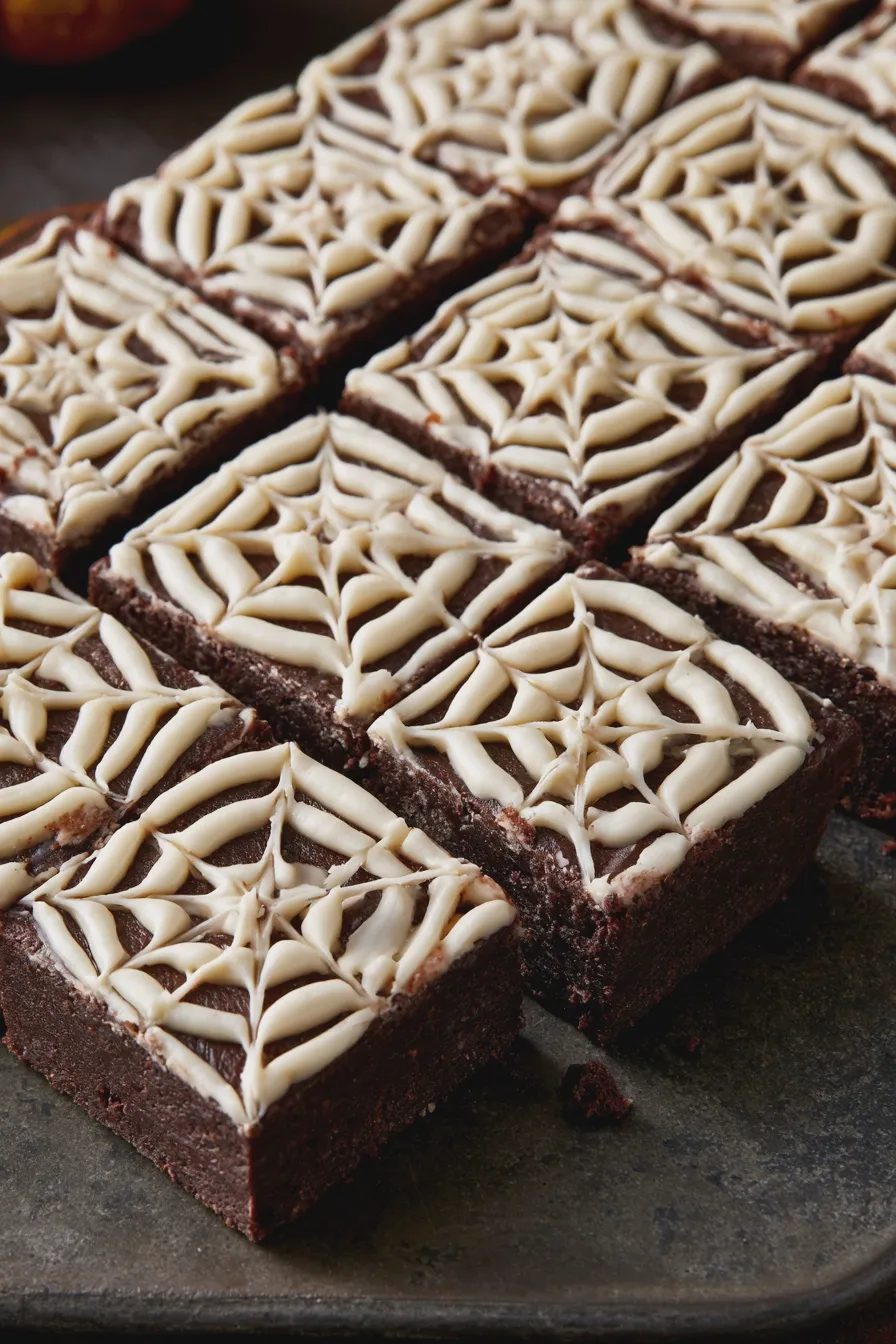
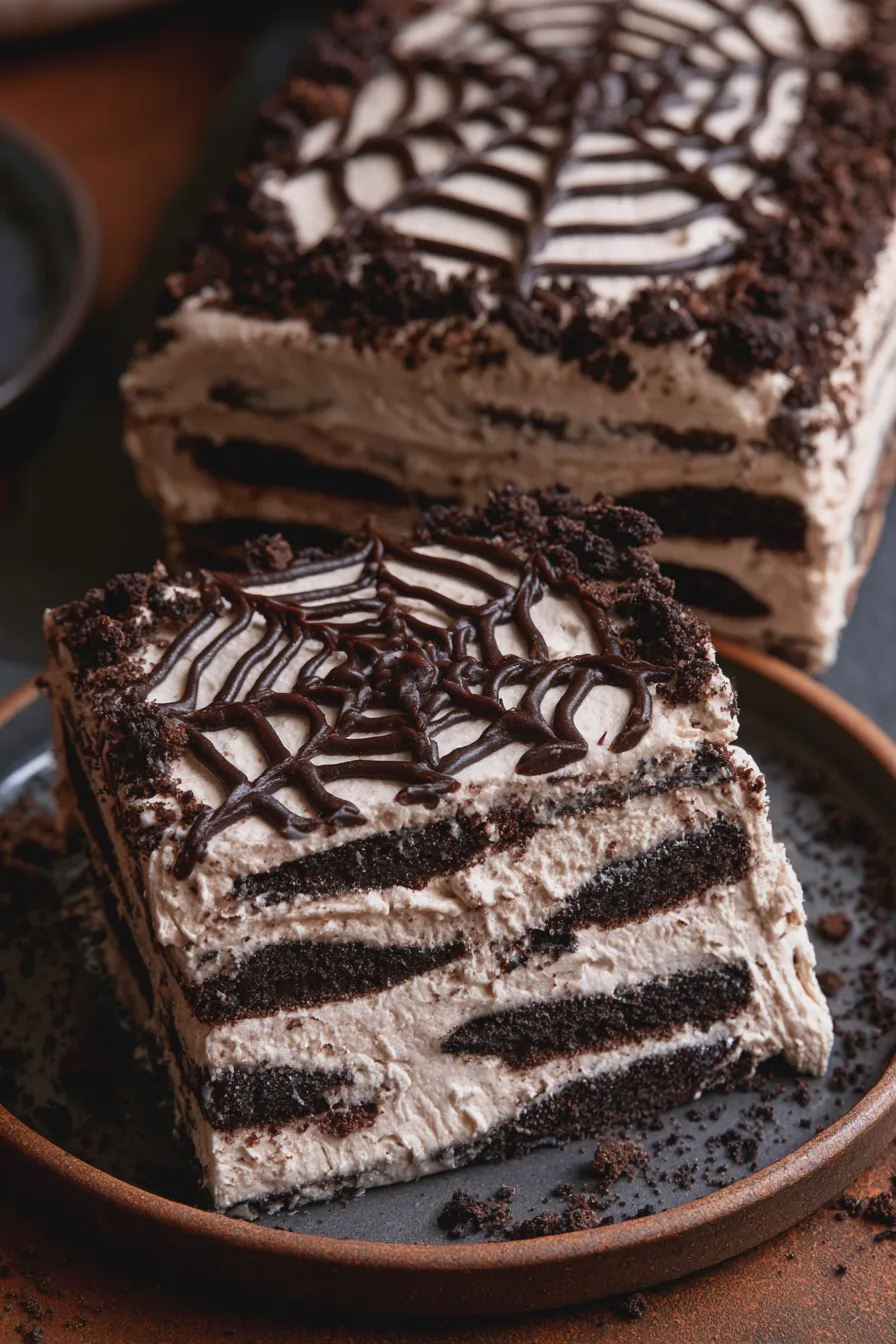
- Spiderweb: Pipe melted chocolate or white icing in concentric circles on a dark surface, then drag a toothpick from the center outwards.
- Monster: Use colorful frosting, candy eyes, and edible sprinkles to create various monster faces.
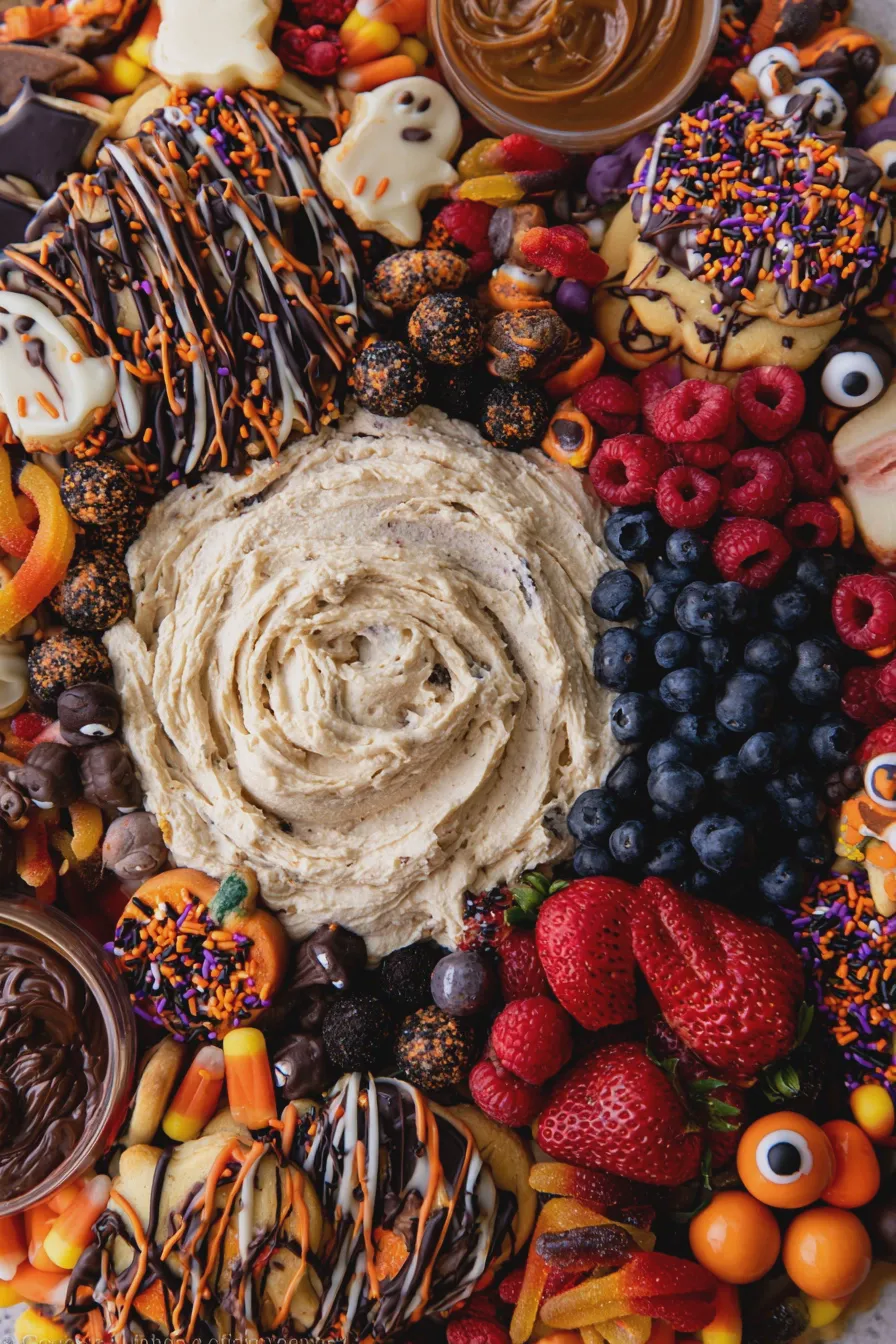
Don’t be afraid to use Halloween candy, edible glitter, and food coloring to enhance the festive feel.
Easy Halloween Dessert Cups: Quick & Spooky Ideas
For those times when you need delicious halloween dessert ideas without a lot of fuss, these simple recipes are perfect. They are some of the best easy halloween dessert cups you can whip up.
1. Spooky Spiderweb Chocolate Mousse Cups
These are elegant yet incredibly simple chocolate halloween dessert cups.
- Base: Crushed chocolate cookies mixed with a little melted butter.
- Filling: Store-bought or homemade chocolate mousse. If making your own, a simple recipe using melted chocolate, whipped cream, and a touch of sugar works wonderfully.
- Decoration: Melted white chocolate or vanilla frosting piped into concentric circles over the mousse. Use a toothpick to drag lines from the center outward, creating a spiderweb effect. Add a candy spider for an extra touch.
Mistake to Avoid: Don’t try to pipe the web while the mousse is still too soft, or the lines will sink. Let the mousse set slightly first.
2. Ghostly No-Bake Cheesecake Cups
A crowd-pleasing, no-bake option that’s perfect for no bake halloween dessert cups.
- Base: Graham cracker crumbs mixed with a little sugar and melted butter.
- Filling: A no-bake cheesecake mixture made from cream cheese, powdered sugar, vanilla extract, and whipped cream.
- Decoration: Top each cup with a dollop of whipped cream or a meringue kiss. Use mini chocolate chips or edible marker to create ghost eyes and a mouth.
These are fantastic examples of simple halloween dessert cups that look impressive.
3. Graveyard Pudding Cups
These are a classic for a reason, offering a fun and slightly eerie presentation. They are quintessential graveyard dessert cups.
Another favorite of ours is the How To Make Ice Cream At Home.
- Base: Chocolate pudding (store-bought or homemade).
- “Dirt”: Crushed chocolate sandwich cookies (like Oreos).
- “Tombstones”: Milano cookies, Nutter Butter cookies, or graham crackers. You can write “RIP” on them with edible marker or black icing.
- Decoration: Spoon pudding into cups, then top generously with crushed cookies. Stick a “tombstone” into the “dirt.” Add a gummy worm or candy spider for extra creepiness.
4. Mummy Pudding Cups
These are incredibly fun and easy to make, perfect for mummy dessert cups.
- Base: Vanilla or chocolate pudding.
- Decoration: Use white frosting or melted white chocolate. Pipe thin strips of frosting across the top of the pudding, mimicking mummy bandages. Leave a small gap for the “eyes.” Place two mini chocolate chips or candy eyes in the gap.
These are excellent halloween pudding cups that kids will love.
More Advanced Halloween Dessert Cups: For the Dedicated Baker
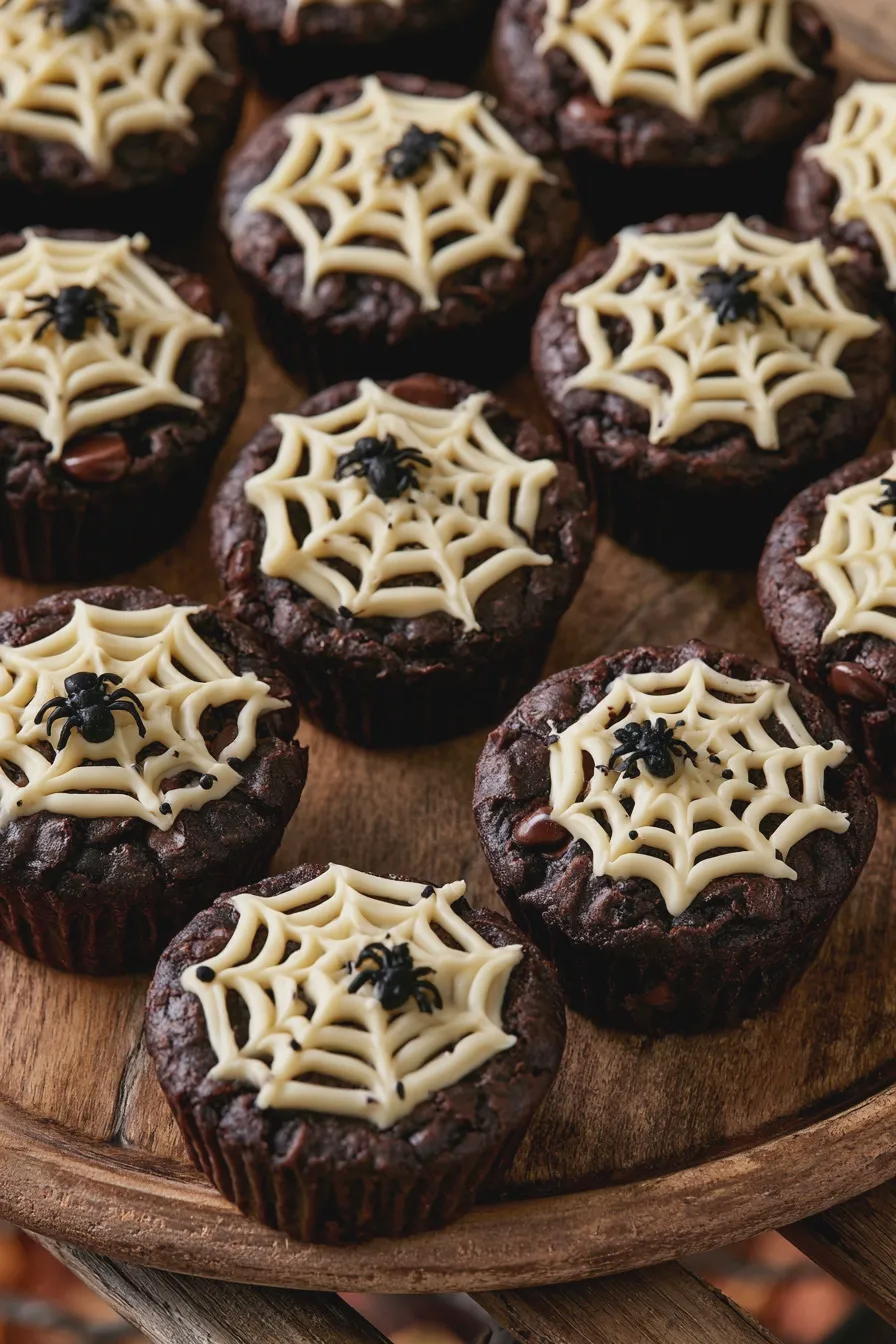
If you enjoy a bit more baking and assembly, these ideas offer more depth and flavor complexity, pushing the boundaries of typical halloween treat cups.
1. Witch’s Brew Cauldron Cups
These are visually striking and delicious, embodying witch dessert cups.
- Base: A dark chocolate cake or brownie base, crumbled.
- Filling: A rich dark chocolate ganache or a deep green matcha-flavored pudding/mousse.
- Decoration: Use a black candy melt or dark chocolate frosting to create the “cauldron” effect around the rim of the cup. Add edible glitter for a magical shimmer. You can also add a small candy witch hat or a gummy worm “bubbling” out.
For a cake base, understanding creaming method for cakes and cookies can greatly improve the texture of your cake layers.
2. Pumpkin Patch Cream Cheese Cups
These vibrant cups are perfect for celebrating all things pumpkin, embodying pumpkin dessert cups.
- Base: Gingersnap cookie crumbs mixed with melted butter.
- Filling: A spiced cream cheese filling with pumpkin puree, cinnamon, nutmeg, and a touch of brown sugar.
- Decoration: Top with a swirl of whipped cream, a sprinkle of cinnamon, and a small candy pumpkin or a piped green stem.
These are wonderful halloween party desserts that offer a warm, spiced flavor.
3. Monster Eye Surprise Cups
These are fun, playful, and full of surprises, fitting the monster dessert cups theme.
Don’t miss out on our guide to How To Cream Butter And Sugar.
- Base: Chocolate cake crumbles or brownie bits.
- Filling: A brightly colored pudding or mousse (e.g., lime green, electric blue, or vibrant purple).
- Decoration: Top with a generous swirl of contrasting colored frosting. Then, arrange several large candy eyeballs on top to create a “monster” effect. You could also add small edible horns made from candy melts.
These are fantastic halloween candy cups that kids will adore.
4. Spooky Spider Infested Cups
A slightly more intense take on the spiderweb theme, these are definitely spooky dessert cups.
- Base: Chocolate cake or brownie crumbles.
- Filling: Dark chocolate pudding or a rich chocolate ganache.
- Decoration: Use black licorice laces or fondant to create spider legs crawling out from the pudding. You can also add plastic spiders or gummy spiders. For an extra creepy touch, embed a few candy eyes within the pudding layers.
These are excellent halloween oreo dessert cups if you use crushed Oreos for the base and topping.
Print
Halloween Dessert Cups Quick and Easy Recipe
- Total Time: PT40M
- Yield: 24 cups 1x
- Diet: Vegetarian
Description
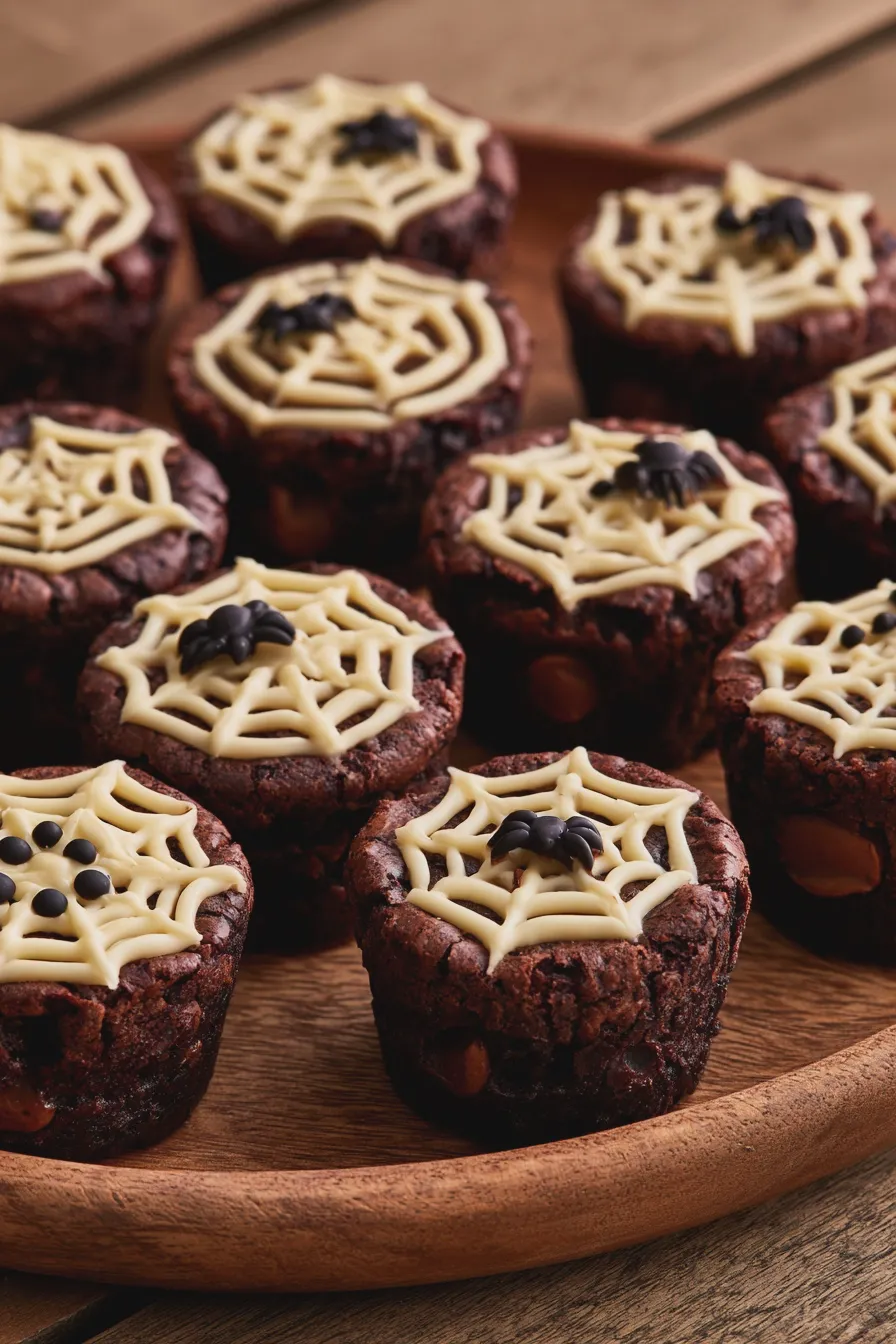
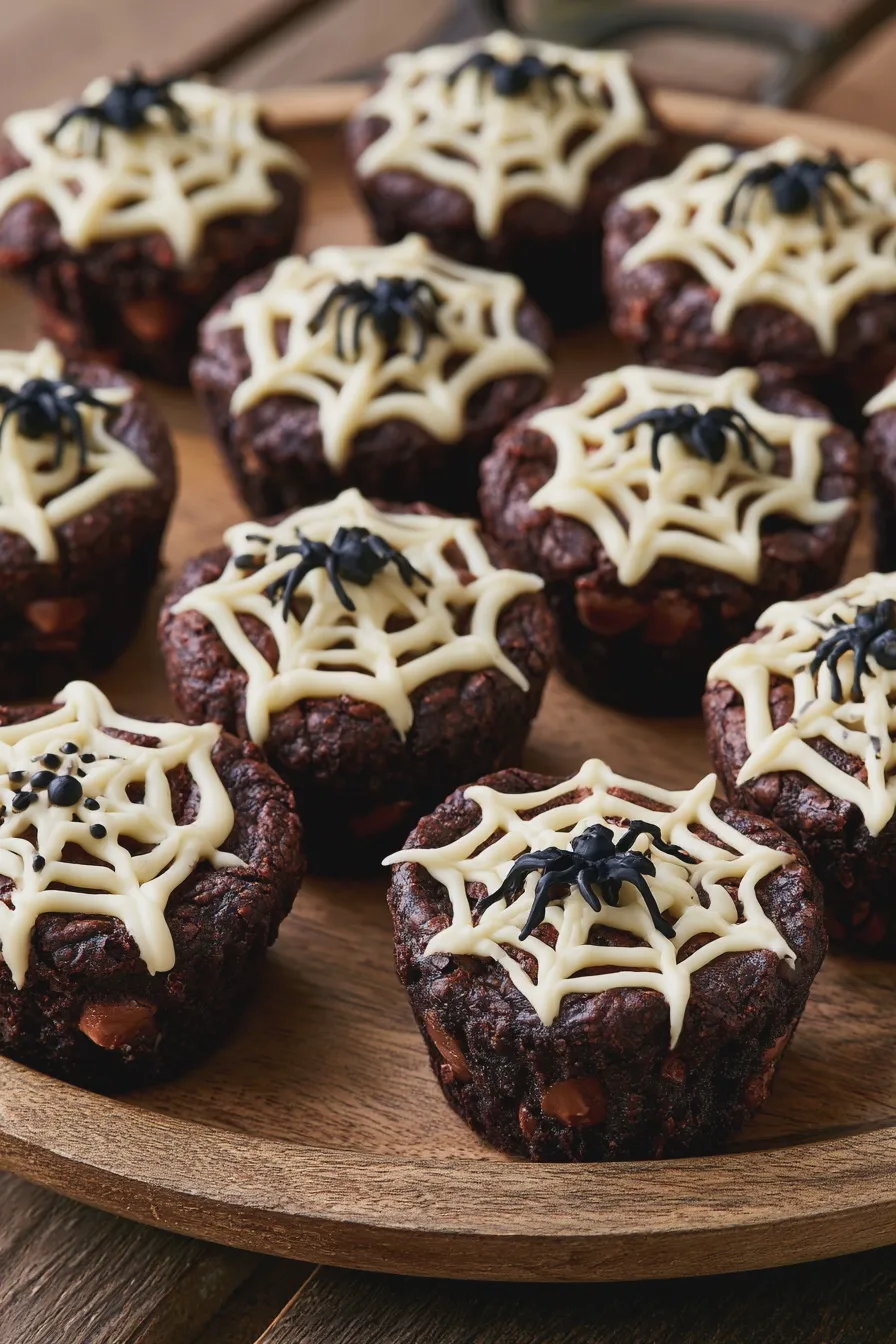
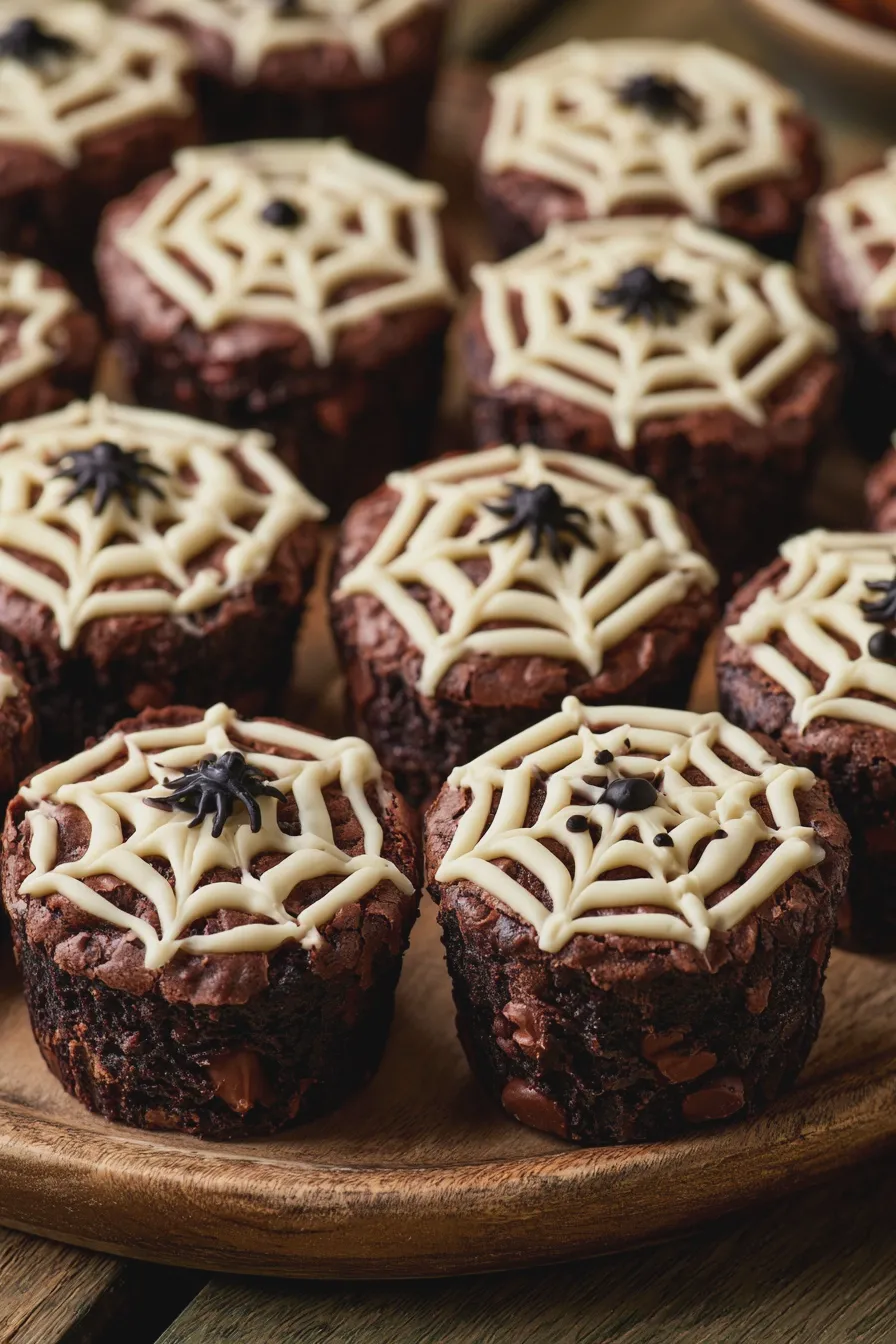
Get ready for a frightfully delicious treat with these Spooky Spiderweb Brownie Cups! These individual brownie cups are topped with a charming spiderweb made from white chocolate, making them the perfect addition to your Halloween party spread. They’re surprisingly simple to make and are sure to be a hit with both kids and adults!
Ingredients
- 1 (18.25 ounce) package devil’s food cake mix
- 3 large eggs
- 1/2 cup vegetable oil
- 1 cup water
- 1 cup (6 ounces) semi-sweet chocolate chips
- 1 cup (6 ounces) white chocolate chips
- 1 tablespoon vegetable shortening
- Black edible food coloring marker or melted black candy melts
Instructions
- Preheat oven to 350°F (175°C). Grease and flour 24 muffin cups, or line with paper liners.
- In a large bowl, combine the devil’s food cake mix, eggs, vegetable oil, and water. Beat with an electric mixer on low speed until just combined. Then, beat on medium speed for 2 minutes.
- Stir in the semi-sweet chocolate chips.
- Spoon the batter evenly into the prepared muffin cups, filling each about two-thirds full.
- Bake for 18-22 minutes, or until a wooden skewer inserted into the center comes out clean. Let cool in the muffin tin for 10 minutes before transferring to a wire rack to cool completely.
- Once the brownie cups are completely cool, prepare the spiderweb topping. In a microwave-safe bowl, combine the white chocolate chips and vegetable shortening. Microwave in 30-second intervals, stirring in between, until smooth and melted.
- Transfer the melted white chocolate to a small zip-top bag. Snip off a tiny corner of the bag.
- On a piece of parchment paper, pipe concentric circles of white chocolate onto each brownie cup.
- Using a toothpick or skewer, drag lines from the center outwards to create a spiderweb effect.
- Once the white chocolate webs are set, use a black edible food coloring marker or melted black candy melts to draw a spider on each web, or simply draw a few small black dots around the edge of the web for a spooky touch.
Notes
- For an extra rich brownie flavor, you can use a fudgy brownie mix instead of a devil’s food cake mix.
- Ensure the brownie cups are completely cool before adding the white chocolate topping, otherwise, the white chocolate will melt and spread too much.
- If you don’t have a black edible marker, you can melt a small amount of black candy melts and pipe the spider details with a toothpick.
- These can be stored in an airtight container at room temperature for up to 3 days.
- Prep Time: PT20M
- Cook Time: PT20M
- Category: Desserts
- Method: Baking
- Cuisine: American
Nutrition
- Serving Size: 1 cup
- Calories: 350
- Sugar: 35g
- Sodium: 200mg
- Fat: 18g
- Saturated Fat: 6g
- Carbohydrates: 45g
- Fiber: 2g
- Protein: 3g
- Cholesterol: 20mg