As the leaves turn golden and a crisp chill fills the air, our thoughts naturally drift towards cozy evenings and festive gatherings. And what’s more fitting for this magical season than a delightful dessert that requires minimal fuss but delivers maximum “wow” factor? Enter the halloween icebox cake! This no-bake wonder is a lifesaver for busy hosts and a guaranteed crowd-pleaser. Imagine layers of creamy goodness and crunchy textures, all coming together in a spooky, delicious masterpiece. Whether you’re looking for a simple yet elegant treat or a playful, themed creation, the icebox cake is your perfect companion for a memorable Halloween. For more inspiration on creating stunning desserts, check out these Halloween desserts.
What Exactly is a Halloween Icebox Cake?
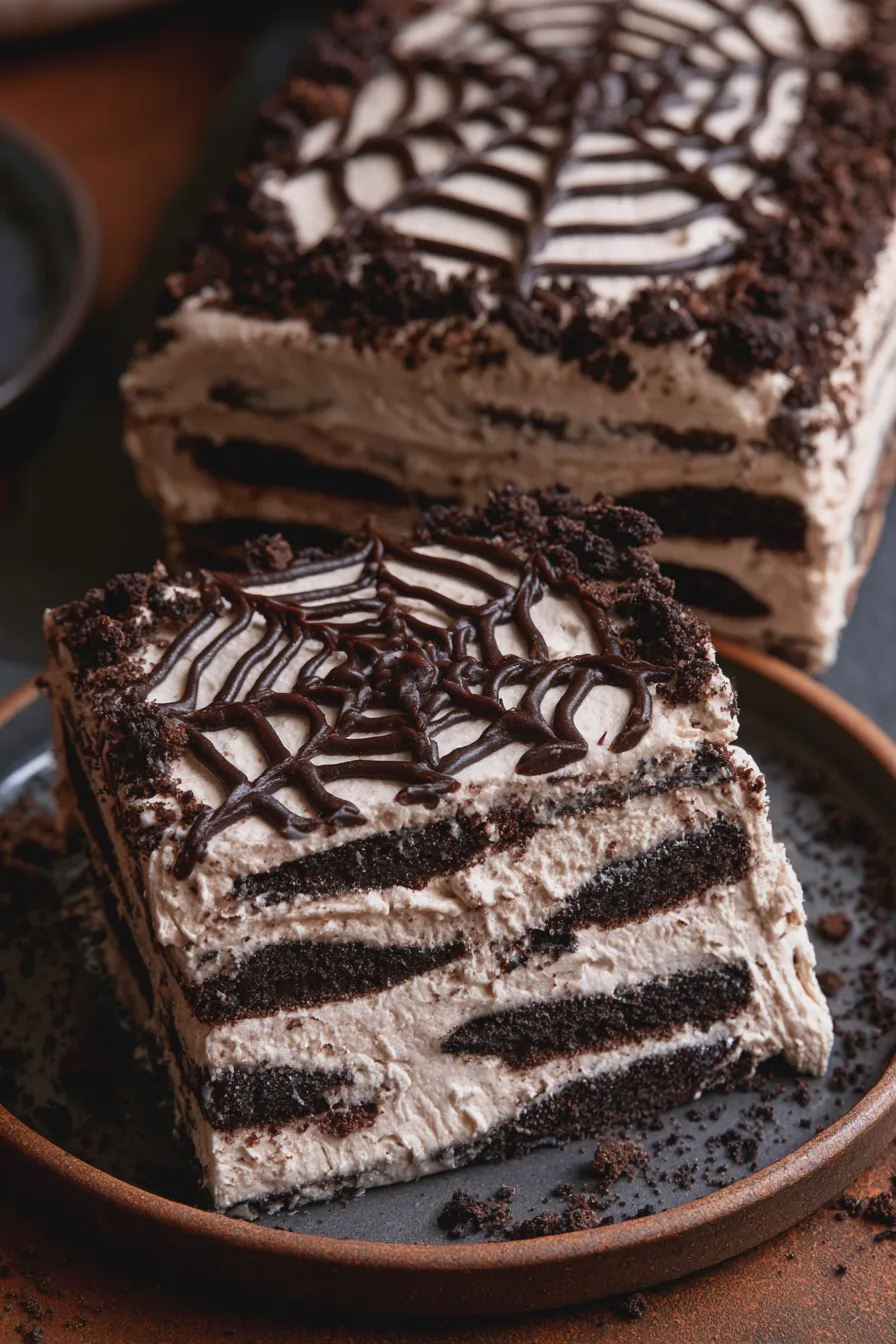
At its heart, an icebox cake is a chilled dessert that relies on refrigeration to set, rather than baking. Traditionally, it involves layering cookies or wafers with whipped cream or pudding, allowing the moisture from the creamy filling to soften the cookies into a cake-like consistency. For a halloween icebox cake, we take this simple concept and infuse it with all the spooky spirit of the season!
Think of it as a magical transformation. When you assemble an icebox cake, the cookies start out crisp, but as they sit in the refrigerator, they absorb moisture from the whipped cream or pudding. This process turns them wonderfully soft and tender, giving the entire dessert a texture remarkably similar to a traditional baked cake, but without ever turning on the oven. It’s a brilliant culinary trick that makes it incredibly easy to achieve impressive results.
The beauty of the icebox cake is its versatility. It’s the perfect canvas for a variety of flavors and decorations. This makes it an ideal candidate for transforming into a festive halloween no bake cake. We can play with colors, add themed toppings, and even incorporate spooky shapes to make it a true showstopper. It’s a fantastic way to get creative in the kitchen and produce a truly festive halloween dessert.
For those curious about the science behind why cakes rise or sink, understanding moisture and structure is key. You can learn more about why cakes sink in the middle, which can offer some insights into how moisture affects baked goods, though icebox cakes achieve their texture through a different, no-bake method.
Looking for more? Try this delicious Banana Icebox Cake next.
Why Choose an Icebox Cake for Halloween?
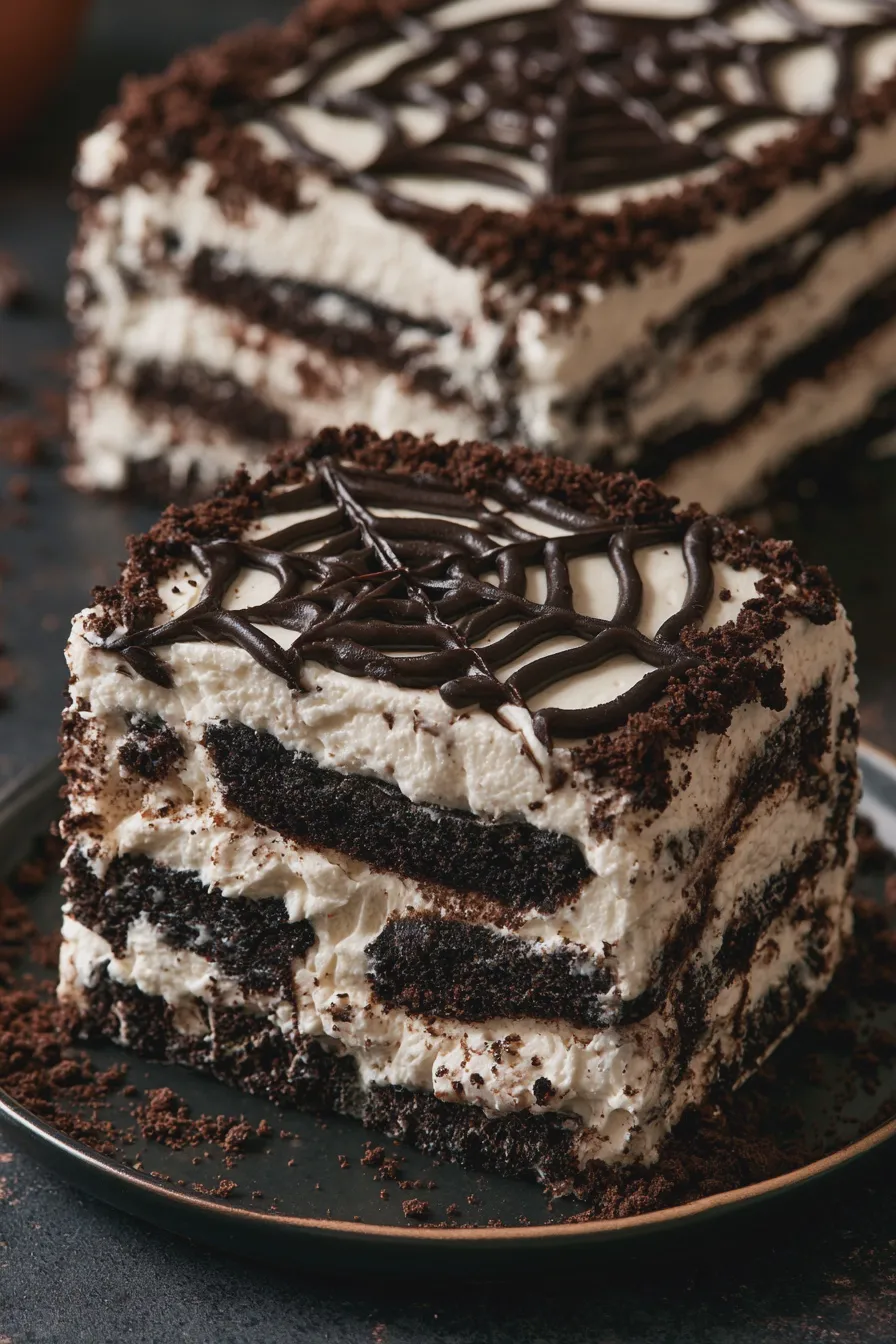
When it comes to hosting or contributing to a Halloween party, time is often of the essence. Many of us are juggling costumes, decorations, and planning the main meal. This is where the halloween icebox cake truly shines. Its primary advantage is that it requires absolutely no baking, saving you precious oven space and time. Plus, it’s a dessert that can be made entirely ahead of time, allowing you to relax and enjoy the festivities when your guests arrive.
The no-bake nature also makes it a fantastic option for those who might not feel entirely confident in their baking skills. There’s no risk of over-baking, under-baking, or dealing with collapsed cakes. The process is straightforward: assemble, chill, and serve. This ease of preparation makes it an ideal choice for a quick halloween dessert or a last-minute addition to your halloween dessert ideas no bake spread.
Furthermore, the structure of an icebox cake lends itself beautifully to creative Halloween themes. The smooth surfaces are perfect for frosting and decorating, and the layered nature makes it easy to create visually striking effects. Whether you aim for a spooky layered dessert with dark colors or a playful ghost icebox cake, the possibilities are endless. It’s a fantastic way to create a festive halloween dessert that looks as good as it tastes.
Essential Ingredients for Your Halloween Icebox Cake
The magic of an icebox cake lies in its simplicity, and the ingredients are generally pantry staples. However, for a halloween icebox cake, we can add a few special touches to enhance the theme and flavor.
If you enjoyed this, you might also love our How To Prepare A Cake Pan To Prevent Sticking recipe.
- Cookies or Wafers: These are the backbone of your icebox cake. Chocolate wafers, graham crackers, Oreos, or even shortbread cookies work wonderfully. For a chocolate halloween icebox cake, chocolate wafers or Oreos are a natural choice. An oreo halloween icebox cake is a classic for a reason!
- Creamy Filling: This is typically whipped cream, pudding, or a combination. For a richer flavor, consider cream cheese or mascarpone. For a Halloween twist, you can tint your whipped cream with food coloring – think black, orange, or purple.
- Flavorings: Vanilla extract is standard, but consider adding extracts like peppermint for a wintery feel, or a touch of coffee to enhance chocolate flavors. Spices like cinnamon or pumpkin spice are perfect for a pumpkin icebox cake halloween.
- Sweetener: Powdered sugar is ideal for stabilizing whipped cream. Granulated sugar can also be used, but dissolve it completely to avoid a grainy texture.
- Halloween Decorations: This is where the fun really begins! Sprinkles in Halloween colors, candy eyeballs, chocolate syrup for drawing spooky faces, gummy worms, crushed cookies for “dirt,” or even strategically placed candy to resemble spiders or webs.
For a truly festive caramel apple icebox cake halloween, you might want to incorporate elements like crushed graham crackers for a “crust,” a caramel sauce, and thinly sliced apples layered within. The possibilities for a festive icebox cake are truly limitless.
Popular Halloween Icebox Cake Variations
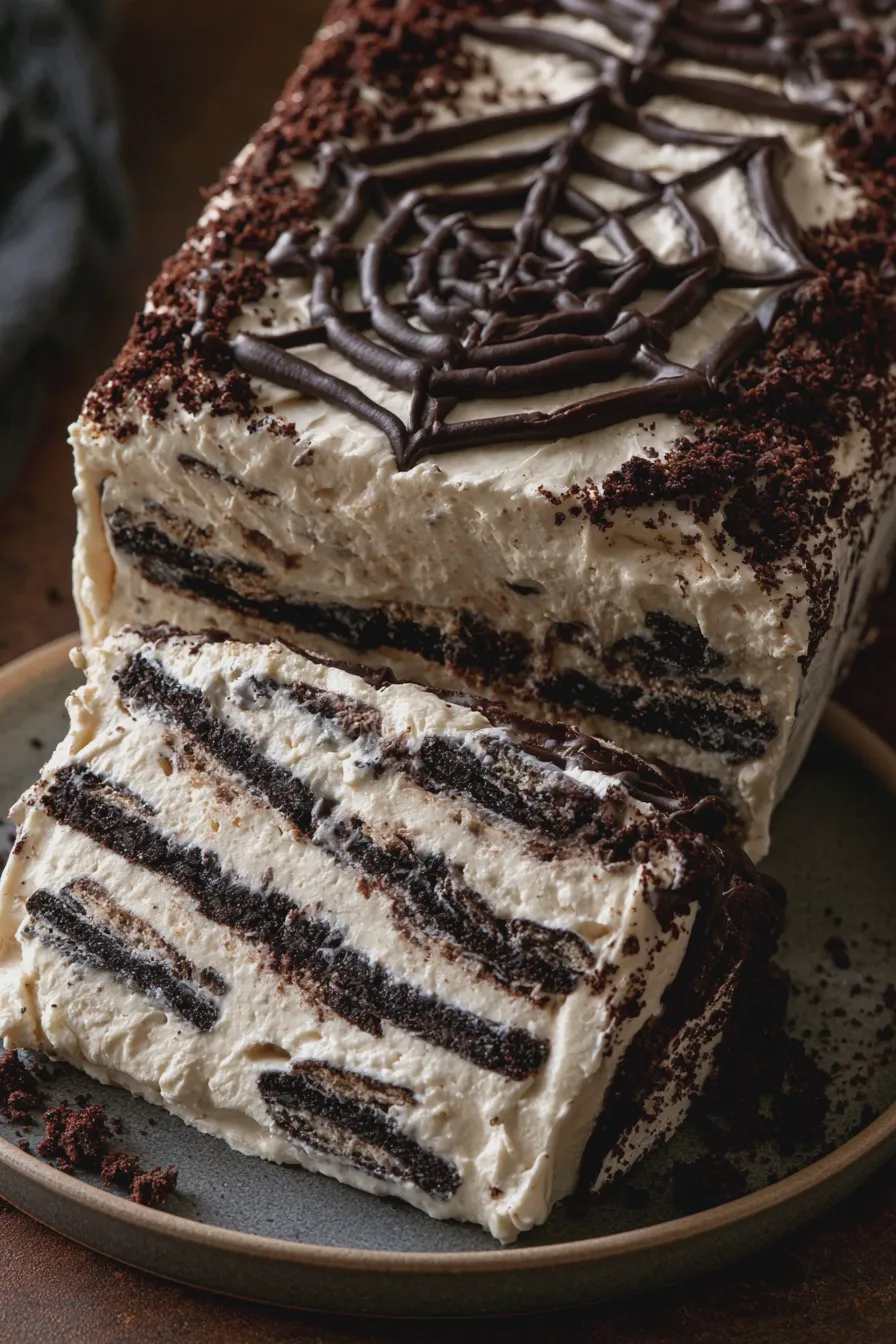
The beauty of the halloween icebox cake is its adaptability. Here are some popular and spooktacular variations to inspire your creation:
The Classic Chocolate Halloween Icebox Cake
This is a timeless favorite. Layers of chocolate wafers (like Nabisco Famous Chocolate Wafers) and sweetened whipped cream. For an extra chocolatey punch, you can fold in some melted chocolate or cocoa powder into the whipped cream. Decorate with chocolate shavings or a drizzle of chocolate ganache for a rich, decadent treat. This is a fantastic base for any spooky chocolate creation.
Oreo Halloween Icebox Cake
A crowd-pleaser that’s almost as easy as it is delicious. Use whole Oreos (or their filling removed and crushed for texture) and a creamy filling. You can make a cookies-and-cream filling by crushing some Oreos and folding them into whipped cream or pudding. For a Halloween twist, use orange or black colored whipped cream, or top with Halloween-themed sprinkles and candy eyeballs.
Another favorite of ours is the Why Did My Cake Sink In The Middle.
Pumpkin Icebox Cake Halloween
Embrace fall flavors with this delightful variation. Use graham crackers or vanilla wafers. The filling would be a spiced pumpkin cream cheese mixture – think pumpkin puree, cream cheese, sugar, cinnamon, nutmeg, and ginger, all whipped together with some heavy cream. This creates a wonderfully festive and flavorful pumpkin icebox cake. Garnish with whipped cream and a sprinkle of cinnamon.
Ghost Icebox Cake
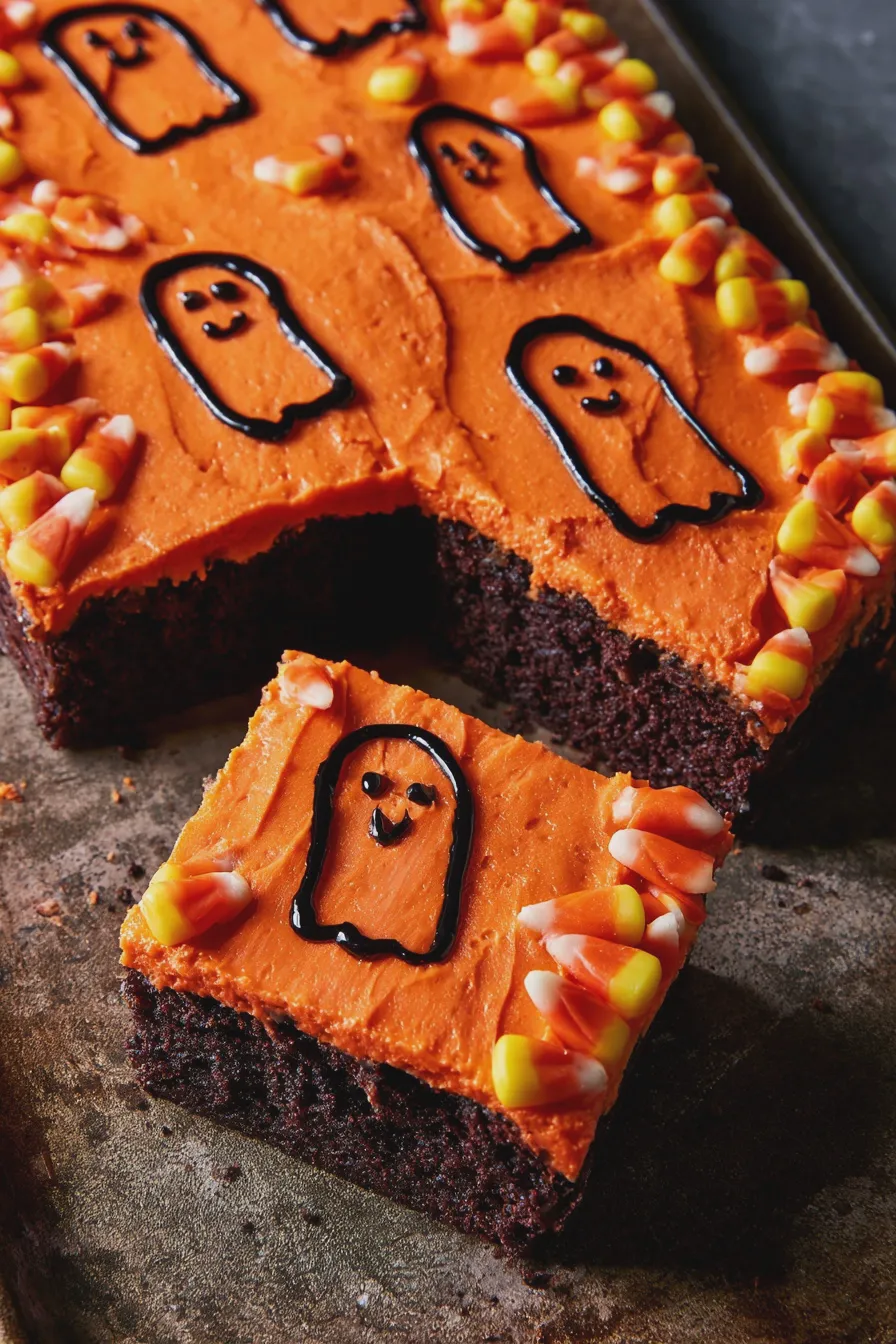
This is a fun and playful option, perfect for parties with children. Make a standard vanilla or chocolate icebox cake. Once chilled and set, frost the entire cake with white whipped cream. Then, use black edible marker or melted dark chocolate to draw ghost faces on the white frosting. You can also use mini marshmallows or dollops of white frosting to create ghostly shapes.
Mummy Icebox Cake
Another visually engaging option. Prepare your icebox cake as usual. Once chilled, frost it with a thin layer of white frosting. Then, use a piping bag with a small round tip (or a Ziploc bag with a corner snipped off) to pipe thin, wavy strips of white frosting across the cake, mimicking mummy bandages. Leave a small gap for “eyes” and place two candy eyeballs in the gap. This creates a charming mummy icebox cake.
These are just a few ideas to get you started. You can also explore a witch finger icebox cake by shaping the frosting, or a spooky layered dessert by using different colored fillings and toppings. The key is to have fun and let your creativity guide you!
Looking for more? Try this delicious Zucchini Cake With Cream Cheese Frosting next.
Tips for Making the Perfect Halloween Icebox Cake
Creating a delicious and visually appealing halloween icebox cake is surprisingly simple, but a few expert tips can elevate your dessert from good to unforgettable.
- Don’t Over-Whip Your Cream: When making whipped cream, stop once it forms stiff peaks. Over-whipping can lead to a grainy texture or even a buttery consistency, which isn’t ideal for the smooth layers of an icebox cake.
- Ensure Cookies are Fully Covered: When assembling, make sure each cookie layer is adequately covered with the creamy filling. This is crucial for the cookies to soften properly. Any exposed edges might remain crisp.
- Chill Time is Crucial: Don’t rush the chilling process. Most icebox cakes require at least 6-8 hours, or preferably overnight, in the refrigerator for the cookies to soften to the perfect cake-like texture. This is what truly makes it an “icebox” cake.
- Use a Springform Pan: For easier removal and cleaner slices, a springform pan is highly recommended. It allows you to release the sides of the pan without disturbing the delicate layers. If you don’t have one, a regular cake pan lined with parchment paper (with overhang) can also work.
- Flavor Infusion: If using pudding, consider using a pudding mix and preparing it according to package directions, then letting it cool completely before layering. For extra flavor, you can add extracts or spices to your pudding or whipped cream.
- Decoration Strategy: For intricate decorations, it’s often best to add them just before serving. Softened whipped cream or delicate sprinkles can lose their appeal if they sit too long.
- Cookie Choice Matters: Thinner, more delicate cookies will soften faster than thicker, sturdier ones. Adjust your chilling time accordingly. For example, a chocolate halloween icebox cake made with chocolate wafers will likely soften quicker than one made with graham crackers.
By following these tips, you’ll be well on your way to creating a show-stopping halloween icebox cake that is as delightful to eat as it is to look at. It’s one of the easiest ways to create a festive and delicious halloween dessert.
Common Mistakes to Avoid
Even with a simple dessert like an icebox cake, a few common pitfalls can lead to less-than-ideal results. Being aware of these can help you avoid disappointment.
- Insufficient Chilling: This is the most common mistake. If you don’t let the cake chill long enough, you’ll end up with distinct layers of cookies and cream, not a cohesive cake-like texture. Patience is key!
- Watery Whipped Cream: If your whipped cream is too loose, it can make the cake soggy or cause the layers to slide. Ensure your cream is well-chilled and whipped to stiff peaks. Adding a stabilizer like a bit of cornstarch or gelatin can help if you live in a warm climate.
- Over-Sweetening: Taste your filling as you go. It’s easy to add too much sugar, which can make the dessert cloying. Remember that the cookies also contribute sweetness.
- Skipping the Parchment Paper (if not using a springform pan): If you’re using a regular cake pan, failing to line it with parchment paper can make removal a nightmare, potentially ruining the appearance of your layered halloween cake.
- Adding Decorations Too Early: Delicate decorations like sprinkles or edible glitter can sometimes bleed color or lose their crispness if added too far in advance, especially if the cake is very moist.
Avoiding these simple mistakes will ensure your halloween icebox cake turns out perfectly every time, making it a reliable go-to for your no bake halloween treats collection.
If you enjoyed this, you might also love our Carrot Cake With Cream Cheese Frosting recipe.
Print
Halloween Icebox Cake Quick and Easy Dessert
- Total Time: PT6H20M
- Yield: 8–10 servings 1x
- Diet: Vegetarian
Description
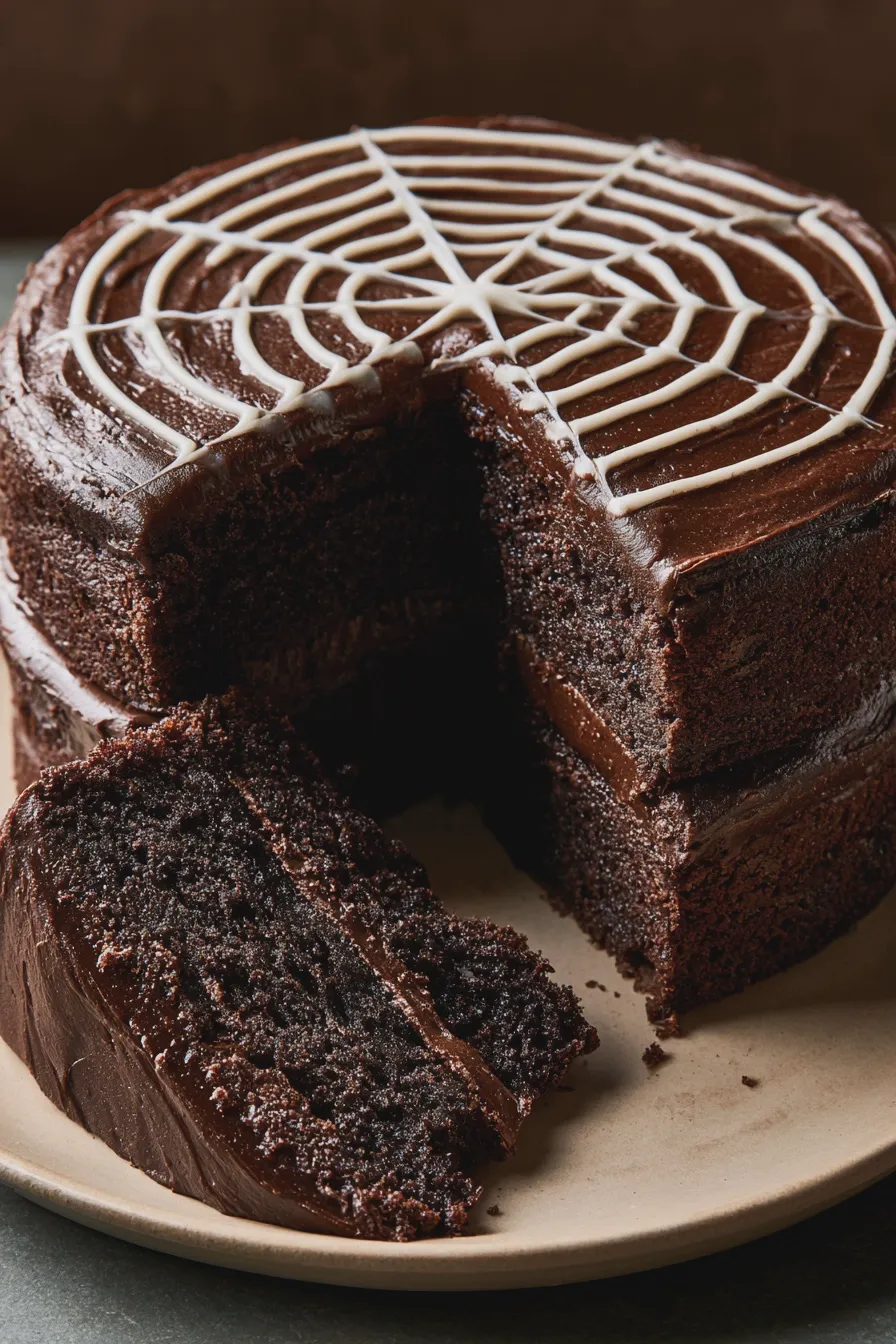
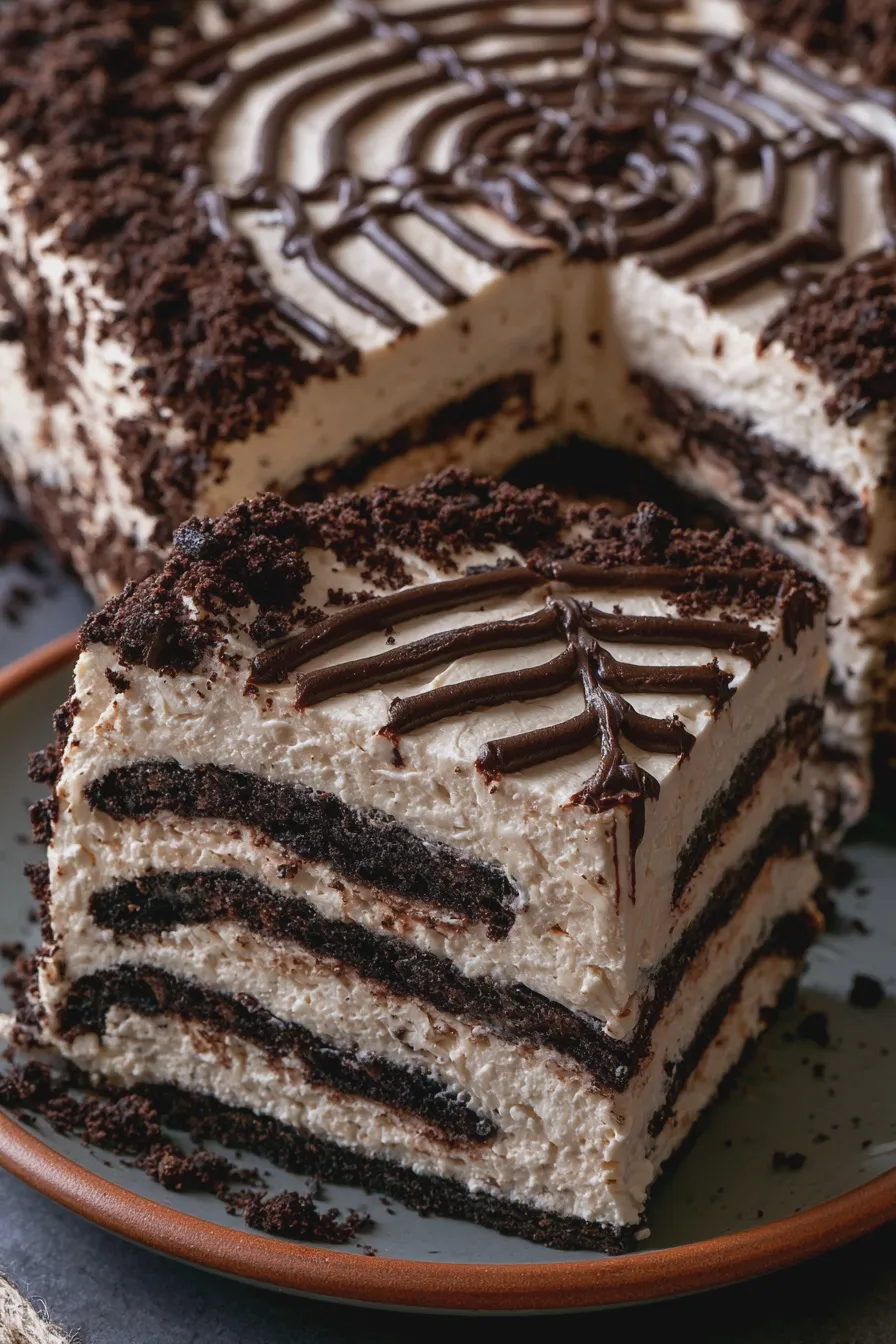
A no-bake, creamy, and chocolatey Halloween icebox cake decorated with a spooky spiderweb. Perfect for a festive and easy dessert!
Ingredients
- 2 cups heavy whipping cream
- 1/2 cup powdered sugar
- 1 teaspoon vanilla extract
- 1 (8 ounce) package cream cheese, softened
- 1/4 cup cocoa powder
- 1/4 cup granulated sugar
- 1 teaspoon hot water
- 24 chocolate wafer cookies
- 1/2 cup semi-sweet chocolate chips, melted (for drizzling)
Instructions
- In a large bowl, whip the heavy cream, powdered sugar, and vanilla extract until stiff peaks form. Set aside.
- In a separate bowl, beat the softened cream cheese until smooth.
- In a small bowl, whisk together the cocoa powder, granulated sugar, and hot water until a smooth paste forms. Add this paste to the cream cheese and beat until well combined and smooth.
- Gently fold the whipped cream mixture into the cream cheese and cocoa mixture until just combined.
- Line the bottom of an 8×8 inch baking dish with 12 chocolate wafer cookies, breaking them to fit if necessary.
- Spread half of the chocolate cream cheese mixture evenly over the cookies.
- Layer the remaining 12 chocolate wafer cookies on top of the cream cheese mixture.
- Spread the remaining chocolate cream cheese mixture evenly over the top layer of cookies.
- Cover the dish tightly with plastic wrap and refrigerate for at least 6 hours, or preferably overnight, to allow the cookies to soften and the cake to set.
- Before serving, drizzle the melted semi-sweet chocolate chips over the top of the cake in a spiderweb pattern. You can use a piping bag with a fine tip or a fork for this.
Notes
- For a cleaner spiderweb, let the melted chocolate cool slightly before drizzling.
- You can substitute chocolate graham crackers for chocolate wafer cookies if preferred.
- Add a few drops of orange or purple food coloring to the cream cheese mixture for extra Halloween flair!
- Prep Time: PT20M
- Cook Time: PT0M
- Category: Desserts
- Method: No-Bake
- Cuisine: American
Nutrition
- Serving Size: 1 slice
- Calories: 350
- Sugar: 30g
- Sodium: 150mg
- Fat: 22g
- Saturated Fat: 14g
- Carbohydrates: 35g
- Fiber: 2g
- Protein: 4g
- Cholesterol: 60mg