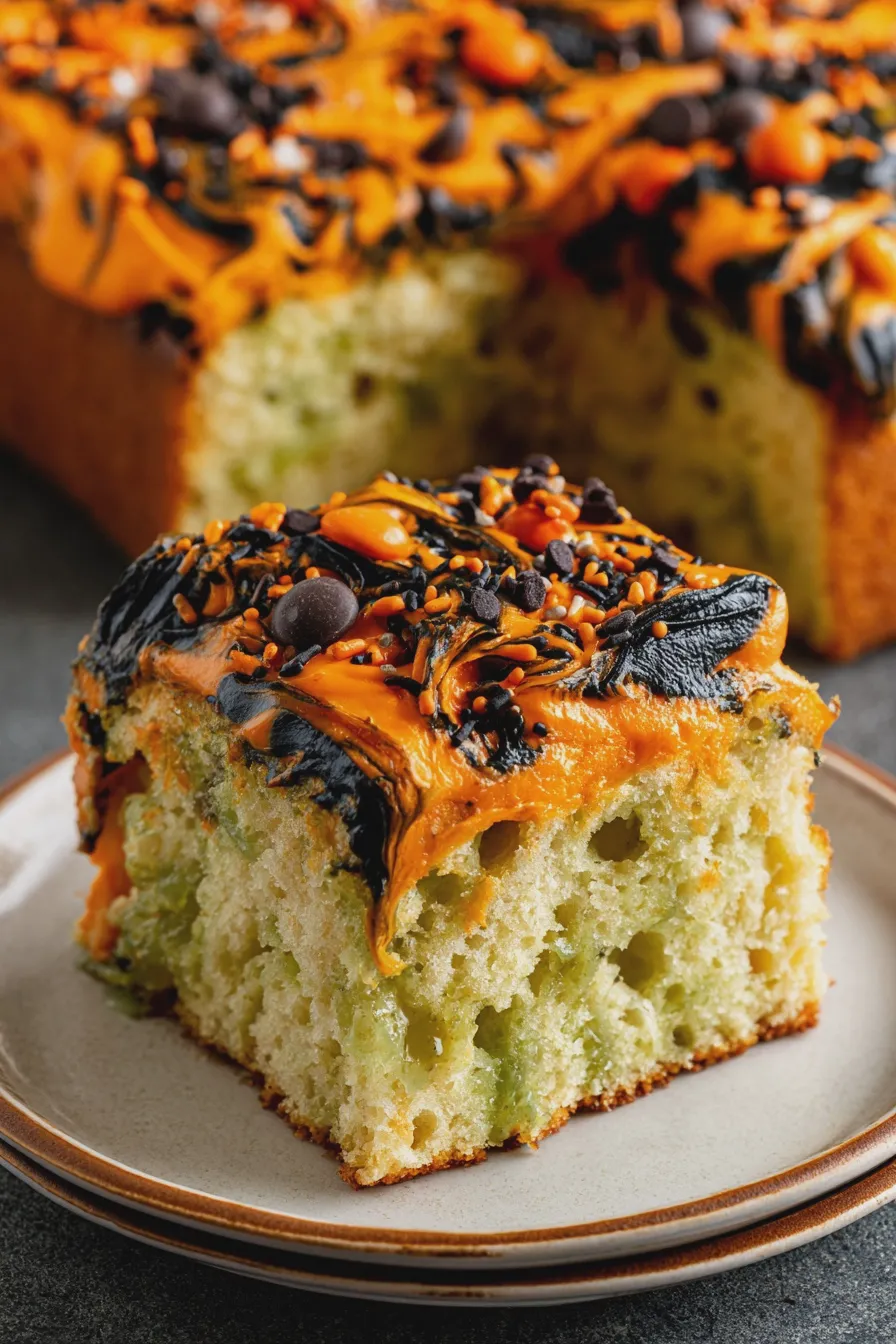
Get ready to spook and delight your guests with a magnificent halloween charcuterie dessert board! Forget the same old candy bowls; this year, we’re elevating your Halloween party fare with a visually stunning and incredibly delicious spread. A dessert charcuterie board is essentially a curated collection of sweet treats, artfully arranged on a board or platter. It’s the perfect way to offer variety, cater to different tastes, and create a truly memorable centerpiece. Think of it as a sweet, edible masterpiece that’s as fun to build as it is to devour. For more inspiration on creating impressive dessert displays, you might find these tips for dessert charcuterie boards helpful.
What Exactly is a Halloween Charcuterie Dessert Board?
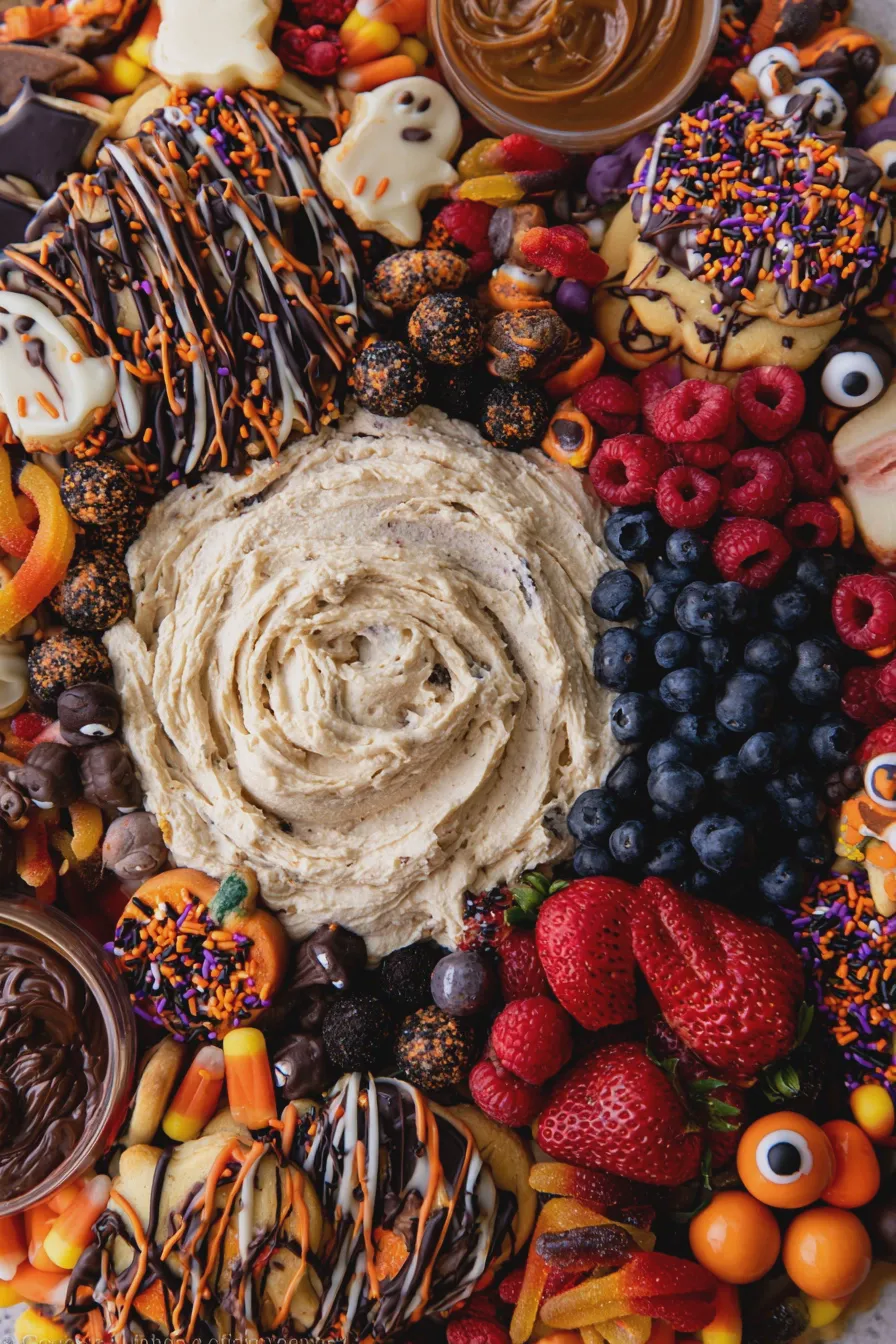
A halloween charcuterie dessert board takes the concept of a traditional charcuterie board—usually featuring meats, cheeses, and crackers—and transforms it into a sweet celebration. Instead of savory bites, we focus on all things sugary, chocolaty, and delightfully spooky. The goal is to create a feast for the eyes as well as the palate, incorporating a variety of textures, flavors, and colors that scream Halloween. This isn’t just about piling candy; it’s about thoughtful arrangement and a curated selection of halloween sweets board components.
Consider the elements that make a traditional charcuterie board appealing: variety, balance, and visual appeal. We’ll apply these same principles to our dessert version. This means including a mix of homemade and store-bought treats, different flavor profiles (sweet, a little tart, perhaps a hint of spice), and a range of textures from creamy to crunchy. When done right, your spooky charcuterie board will be the talk of your Halloween party.
Why Choose a Halloween Dessert Charcuterie Board?
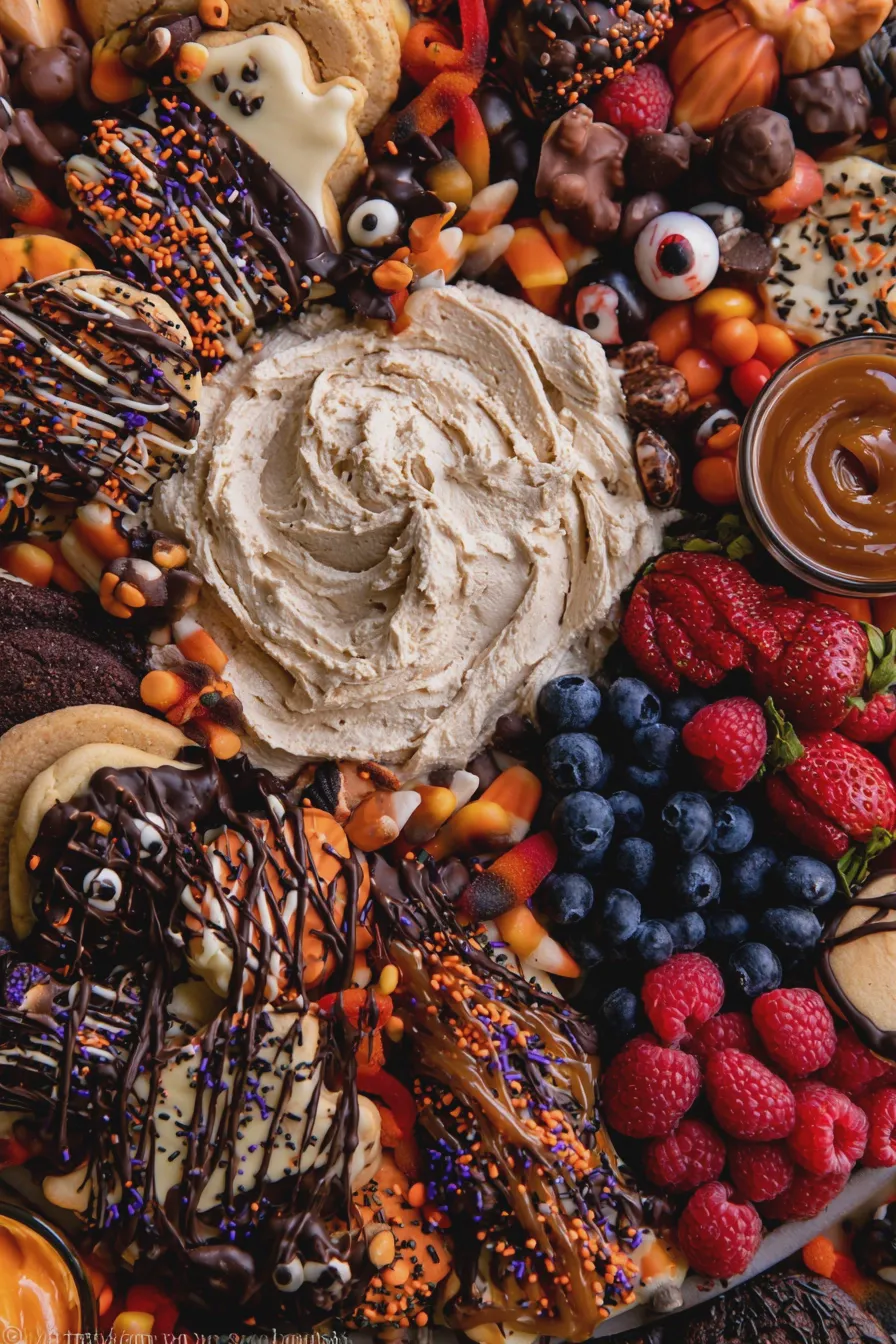
There are so many reasons to love this trend! Firstly, it’s incredibly versatile. You can tailor it to your guests, whether you’re catering to a crowd of kid-friendly Halloween treats or an adult Halloween dessert board. It’s also a fantastic way to showcase your baking skills if you’re feeling ambitious, or to simply assemble a stunning spread with minimal baking required. It’s a fantastic centerpiece that encourages guests to mingle and try a little bit of everything. Plus, the presentation is a huge part of the fun, making it a great activity for a girls’ night in or a family affair. This is a perfect example of DIY Halloween charcuterie at its finest.
Moreover, it simplifies party planning. Instead of making multiple, separate desserts, you can create one cohesive and impressive display. It’s also budget-friendly, as you can control the types and quantities of items you include. For more ideas on creating eye-catching dessert spreads, check out these Halloween dessert ideas.
Don’t miss out on our guide to How Eggs Affect Desserts.
Essential Components for Your Halloween Sweets Board
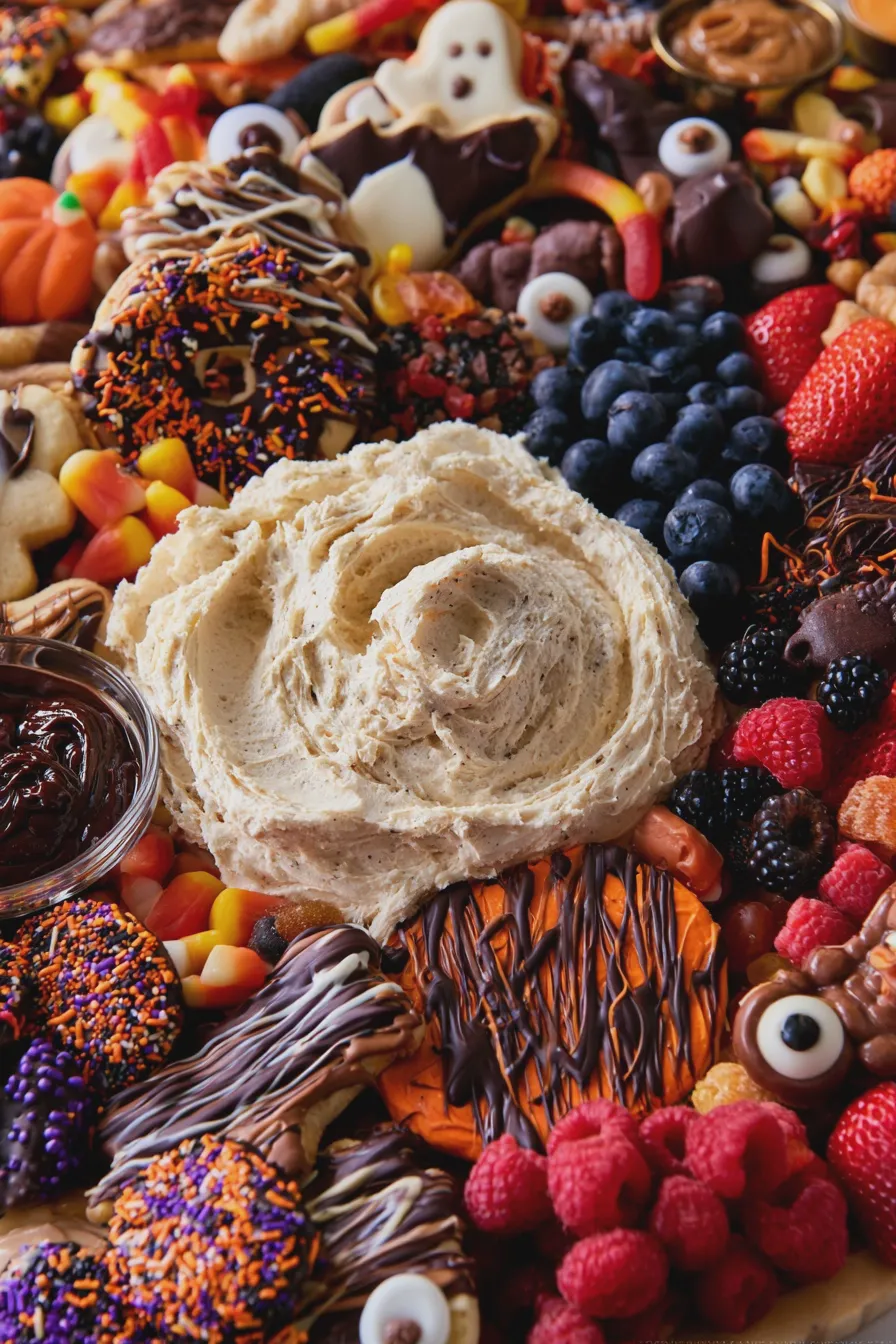
Building the perfect Halloween sweets board involves selecting a variety of treats that not only taste great but also look the part. Think about incorporating different shapes, sizes, and colors to create visual interest. Here’s a breakdown of what you’ll want to consider:
Baked Goods
These form the foundation of many dessert boards. Consider:
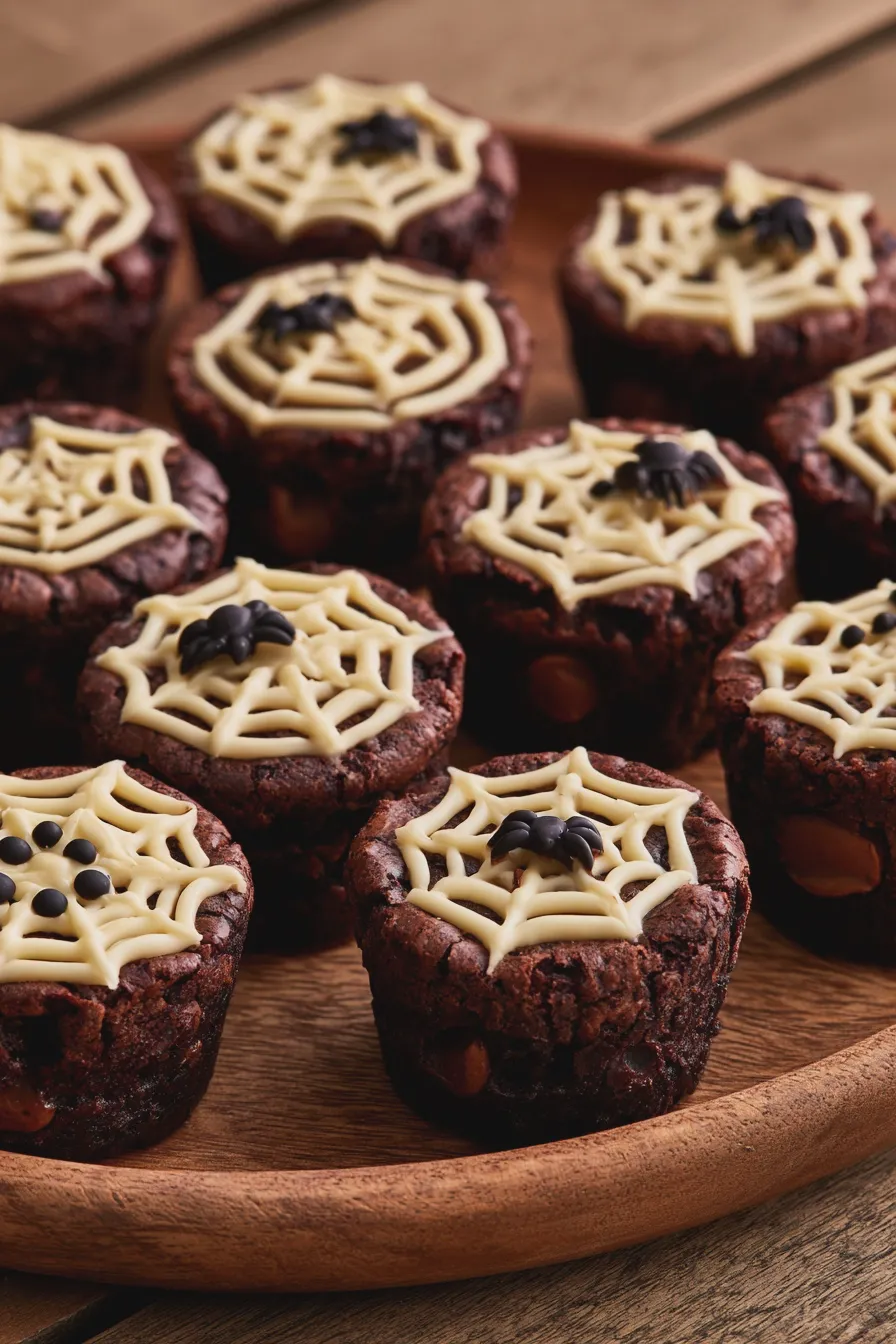
- Mini Cupcakes: Decorate them with Halloween-themed frosting (ghosts, pumpkins, webs).
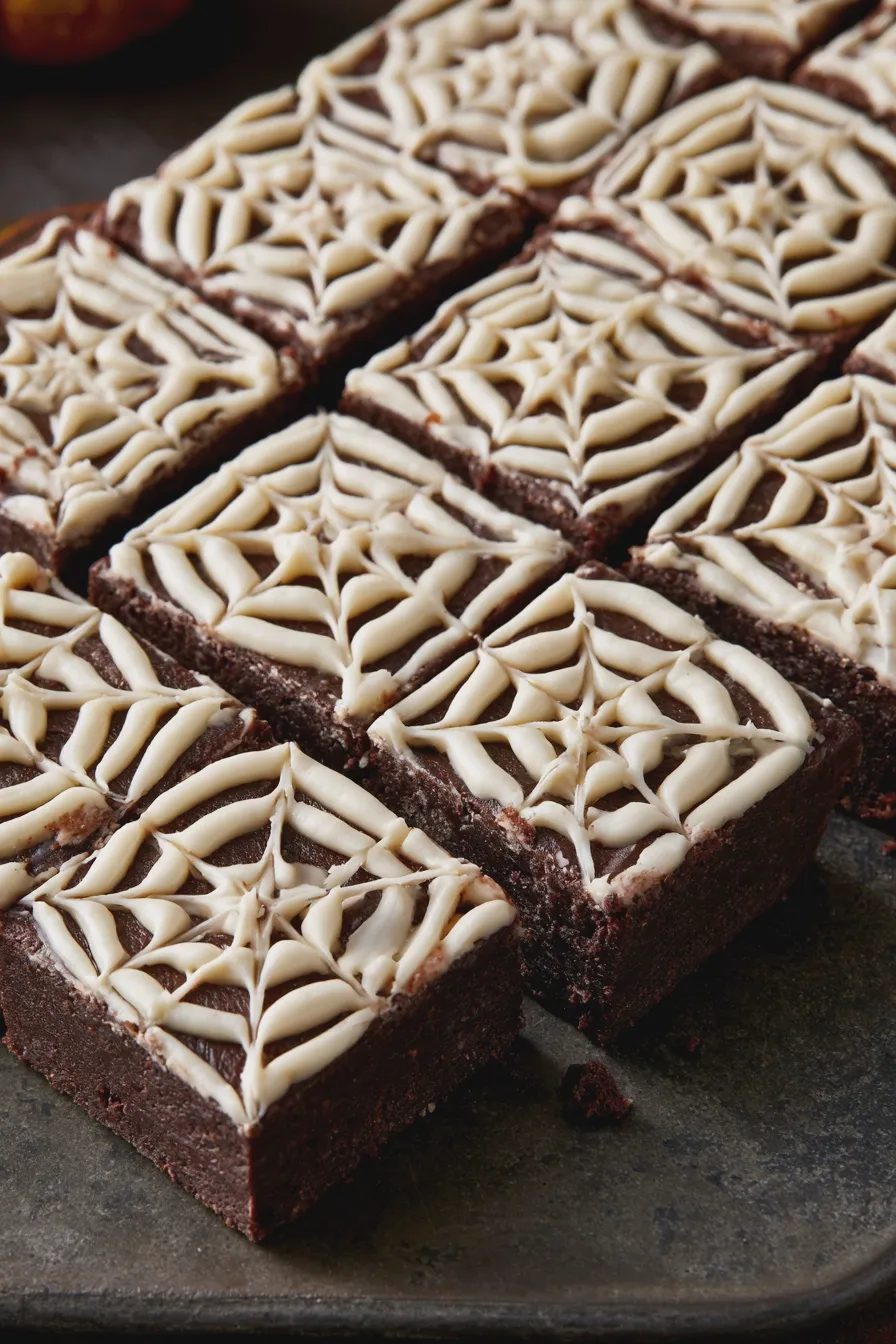
- Brownie Bites: Cut brownies into small squares or spooky shapes like bats or ghosts.
- Cookies: Think classic chocolate chip, sugar cookies cut into Halloween shapes (pumpkins, ghosts, bats), or intricately decorated gingerbread cookies.
- Mini Pies or Tarts: Individual portions are perfect for a board.
- Cake Pops: These are always a hit and can be decorated in endless Halloween themes.
Baking Tip: When making cookies for a board, aim for a slightly thicker cookie that holds its shape well. This prevents them from crumbling when handled. For cupcakes, consider using a stable buttercream frosting that won’t melt easily.
Candies and Chocolates
This is where you can really lean into the “sweet” part of the board. Choose a mix of:
Looking for more? Try this delicious Easy Homemade Ice Cream next.
- Halloween-themed candies: Candy corn, pumpkin-shaped gummies, chocolate bats, spooky-colored M&Ms.
- Chocolate bars: Break them into pieces or arrange whole mini bars.
- Chocolate-covered pretzels: Offer a salty-sweet crunch.
- Gummy worms or spiders: Great for a creepy touch.
- White chocolate-covered Oreos: Decorate them with edible markers or icing for a spooky effect.
Mistake to Avoid: Don’t overcrowd the board with only small, loose candies. They can roll off and make the board look messy. Use them to fill in gaps rather than as primary components.
Fruit & Dippers
Adding some freshness can balance the richness of the baked goods and chocolates. Consider:
- Fruit skewers: Alternate grapes, melon balls (cut with mini cookie cutters into shapes), and berries.
- Apple slices: A classic pairing with caramel or chocolate.
- Orange segments: For a burst of citrus and color.
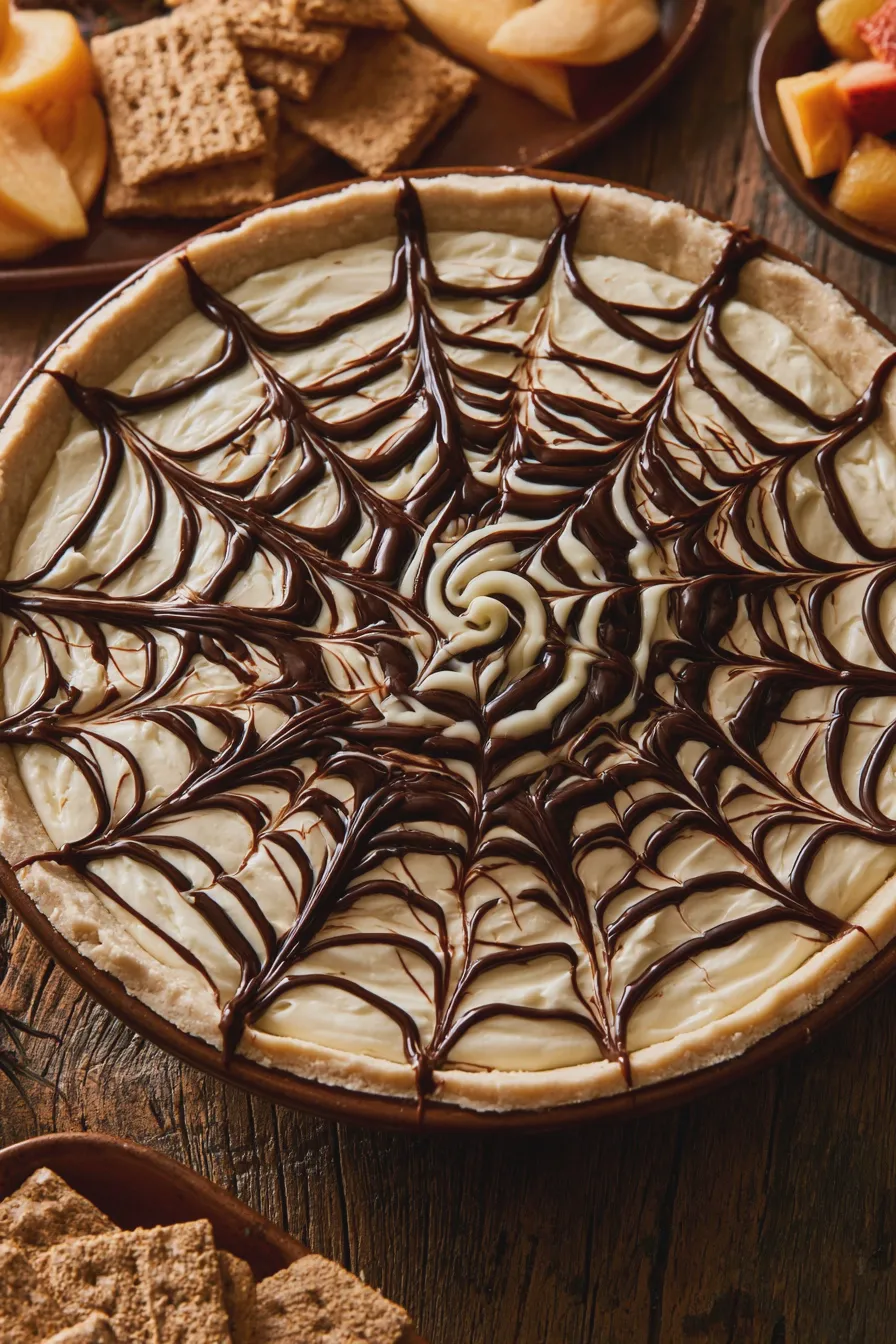
- Dips: A bowl of chocolate ganache, caramel sauce, or a cream cheese dip can be a great addition.
Example: A bowl of vibrant orange segments can mimic mini pumpkins, and green grapes can represent creepy eyeballs when paired with a tiny dot of edible marker.
“Spooky” Accents
These are the details that really bring your spooky charcuterie board to life:
Another favorite of ours is the Easy Homemade Ice Cream Recipe.
- Edible Eyes: Available at most craft stores, these are perfect for topping cupcakes or cookies.
- Candy Melts: Melted and drizzled over cookies or used to create shapes.
- Edible Glitter or Sprinkles: For a touch of sparkle.
- Small Halloween figurines (non-edible): Used for decoration only, placed strategically.
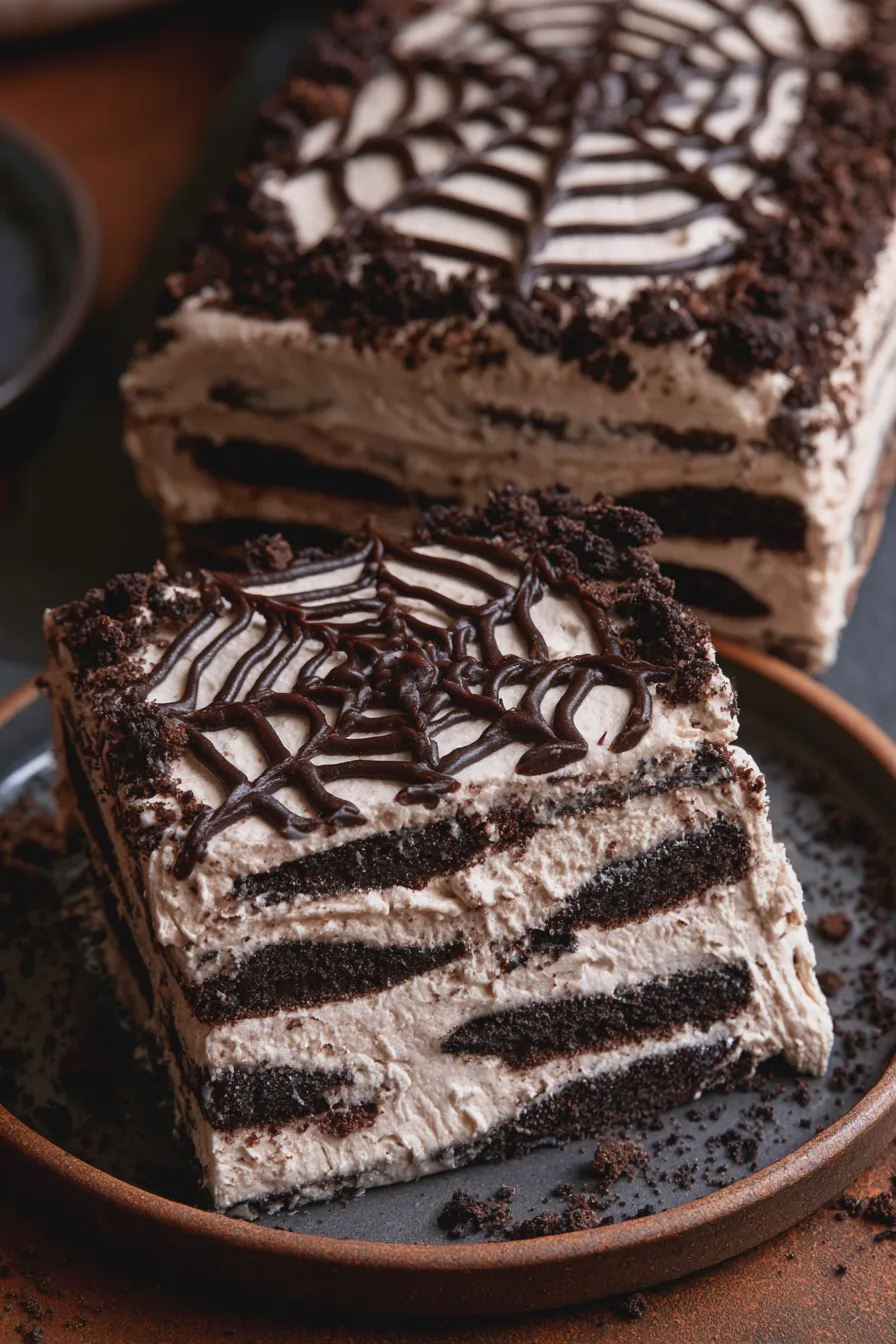
- Dark Chocolate Drizzle: Over white chocolate items for a spiderweb effect.
Halloween Dessert Board Tip: Think about your color palette – oranges, blacks, purples, and greens are classic Halloween colors. Aim to incorporate these throughout your selection.
Assembling Your Halloween Charcuterie Dessert Board
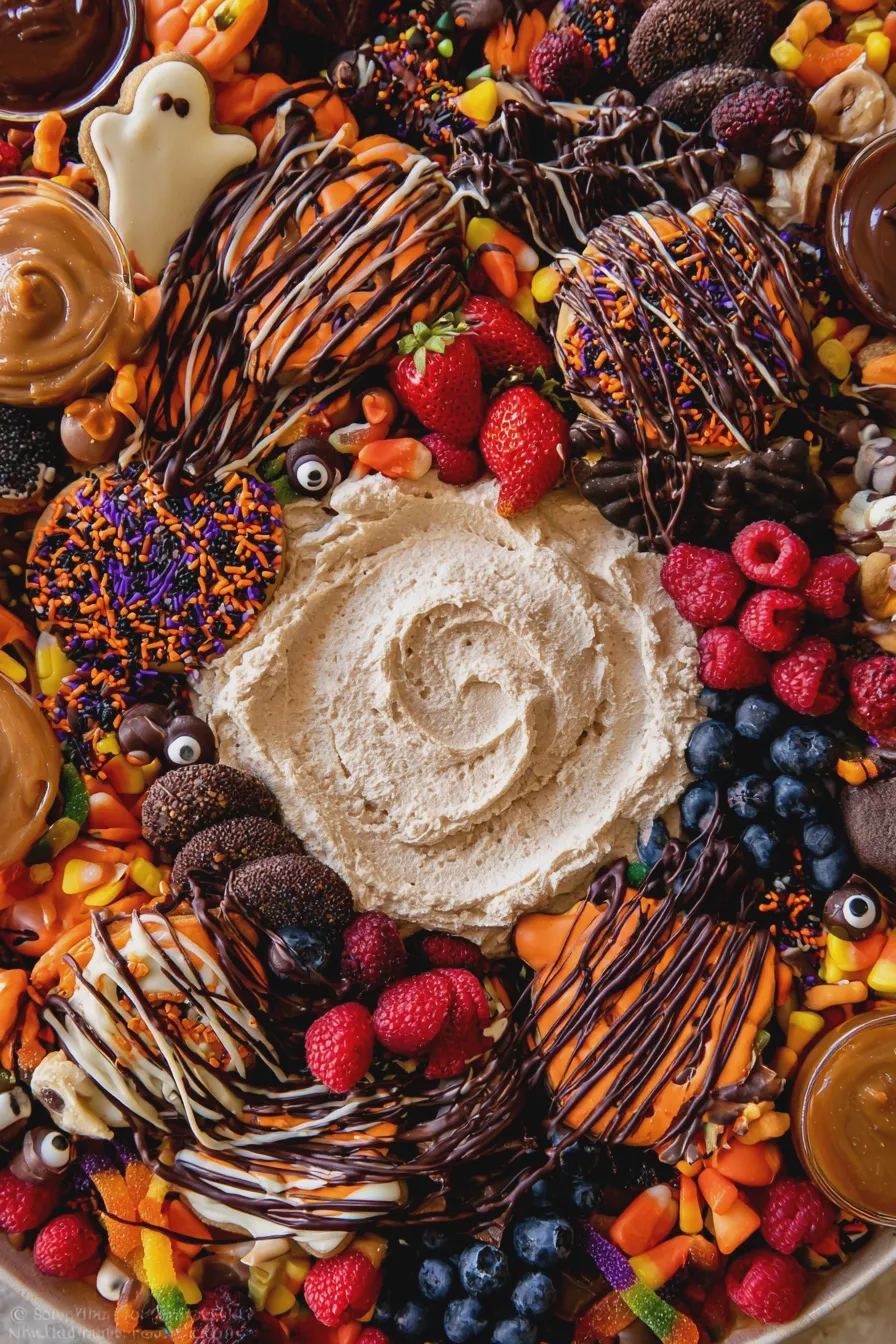
The art of assembling your dessert charcuterie board is where the magic happens. It’s about creating a visually appealing and balanced arrangement. Here’s a step-by-step guide:
Step 1: Choose Your Board
Select a large cutting board, a wooden platter, a slate tile, or even a clean baking sheet. The size of your board will dictate how many items you can include. For a truly impressive Halloween treat platter, go big!
Step 2: Place Your Anchors
Start by placing your larger items or any bowls you’re using for dips or small candies. These act as anchors and help define sections of the board. Think about placing a bowl of caramel sauce or a cluster of mini cupcakes first.
Another favorite of ours is the Homemade Ice Cream Guide.
Step 3: Arrange Baked Goods
Group similar items together, but don’t be afraid to overlap them slightly. Place your cookies, brownies, and mini cakes strategically around your anchor items. Think about creating visual pathways and different heights on the board.
Step 4: Add Candies and Chocolates
Fill in the spaces between the baked goods with your candies and chocolates. Use a variety of colors and textures. This is where you can add those smaller, loose candies to fill any remaining gaps.
Baking Explanation: When arranging, consider the “rule of threes.” Grouping items in odd numbers often creates a more visually pleasing composition.
Step 5: Incorporate Fruit and Dippers
Add your fruit skewers, apple slices, or orange segments. Place them in areas where they can add color and break up the heavier sweets. If you have dips, ensure they are easily accessible.
Another favorite of ours is the How To Fold Ingredients Without Deflating.
Step 6: Add the “Spooky” Accents
This is the final flourish! Sprinkle edible glitter, strategically place edible eyes, or add small Halloween-themed toppers. These small details make a big impact and elevate your creepy dessert ideas.
Mistake to Avoid: Don’t leave large empty spaces. Fill in any gaps with smaller candies, nuts, or decorative elements to ensure a full and abundant look.
Themed Halloween Charcuterie Dessert Board Ideas
To make your board truly spectacular, consider a theme! Here are some popular halloween dessert board ideas to inspire you:
- The Classic Spooky Board: Focus on black, orange, and purple. Include chocolate-covered pretzels, ghost-shaped cookies, candy corn, and mini chocolate cupcakes with orange frosting. Add gummy worms and spiders for extra creepiness. This is a great all-around Halloween party desserts option.
- The Pumpkin Patch Board: This theme leans heavily on orange and brown hues. Feature pumpkin-shaped cookies, mini pumpkin pies, orange macarons, candy pumpkins, and perhaps some chocolate-covered apricots. You can even use orange candy melts to create pumpkin-shaped candies. This is a perfect pumpkin dessert board.
- The Ghostly Gathering Board: Think white, silver, and black. Include meringue ghosts, white chocolate-dipped cookies with ghost faces, white chocolate chips, and perhaps some black licorice or dark chocolate squares. You can even try a ghost charcuterie board with ghost-shaped meringues and cookies.
- The Witch’s Brew Board: Embrace dark, mysterious colors. Include green and purple candies, chocolate cauldrons, witch hat cookies, and perhaps some dark chocolate bark with spooky sprinkles. This is a fantastic take on a witch’s brew dessert.
- The Monster Mash Board: Go wild with colorful and quirky treats. Include monster-themed cupcakes, brightly colored candies, “eyeball” cake pops, and perhaps some green or purple fruit. This is great for a kid-friendly Halloween treats focus.
Halloween Sweets Board Tip: Don’t be afraid to mix and match elements from different themes to create your unique themed dessert board.
Don’t miss out on our guide to How To Cream Butter And Sugar.
Tips for Success
Here are a few extra tips to ensure your halloween charcuterie dessert board is a smashing success:
- Prep Ahead: Bake cookies and cupcakes a day or two in advance. Store them properly so they stay fresh.
- Variety is Key: Aim for a good mix of textures (crunchy, chewy, creamy), flavors (sweet, slightly tart), and types of treats (baked goods, candies, fruit).
- Consider Dietary Needs: If you have guests with allergies or dietary restrictions, consider including a few gluten-free or vegan options.
- Make it Interactive: If space allows, include a small bowl of toppings like extra sprinkles or chocolate chips for guests to add to their own creations.
- Don’t Forget Drinks: Complement your board with a “witch’s brew” punch or some spooky-themed cocktails for the adults.
- Think About Presentation: Use Halloween-themed serving dishes, napkins, or even small decorative pumpkins to enhance the overall look.
This approach turns a simple dessert offering into an engaging and festive experience, perfect for any fall dessert board or October dessert ideas list.
Print
halloween charcuterie dessert board recipe
- Total Time: PT20M
- Yield: Serves 8–10 1x
- Diet: Vegetarian
Description
Create a spooktacular Halloween dessert charcuterie board that’s as fun to assemble as it is to eat! Perfect for parties or a festive family night.
Ingredients
- 1 (8 ounce) package cream cheese, softened
- 1/4 cup powdered sugar
- 1 teaspoon vanilla extract
- Assorted Halloween-themed cookies (ghosts, pumpkins, bats)
- Assorted candies (gummy worms, candy corn, chocolate eyeballs)
- Fresh fruit (strawberries, blueberries, raspberries)
- Pretzels (sticks and twists)
- Chocolate dipping sauce
- Caramel dipping sauce
- Mini marshmallows
- Graham crackers
- Dark chocolate chips
- White chocolate chips
- Sprinkles (orange, black, purple)
Instructions
- In a medium bowl, beat together the softened cream cheese, powdered sugar, and vanilla extract until smooth and creamy. This will be your “graveyard dirt” dip.
- Arrange the assorted Halloween cookies, candies, and fresh fruit on a large platter or wooden board.
- Add bowls of chocolate and caramel dipping sauces.
- Fill in any gaps with pretzels, mini marshmallows, and graham crackers.
- Melt the dark and white chocolate chips separately in microwave-safe bowls, stirring every 30 seconds until smooth.
- Drizzle the melted chocolate over some of the cookies and pretzels for an extra festive touch.
- Top with Halloween sprinkles.
- Serve the “graveyard dirt” dip alongside the board for dipping.
Notes
- Get creative with your arrangement! Think about creating spooky scenes or patterns.
- Consider adding some DIY Halloween treats like chocolate-covered strawberries decorated as ghosts or pumpkins.
- For a savory element, you could include some cheese and crackers, but keep the focus on the sweet treats for a dessert board.
- Leftover dip can be stored in an airtight container in the refrigerator for up to 3 days.
- Prep Time: PT20M
- Cook Time: PT0M
- Category: Dessert
- Method: No-Bake
- Cuisine: American
Nutrition
- Serving Size: 1 board serving (approx.)
- Calories: 350
- Sugar: 40g
- Sodium: 150mg
- Fat: 20g
- Saturated Fat: 12g
- Unsaturated Fat: 8g
- Carbohydrates: 45g
- Fiber: 2g
- Protein: 4g
- Cholesterol: 40mg