
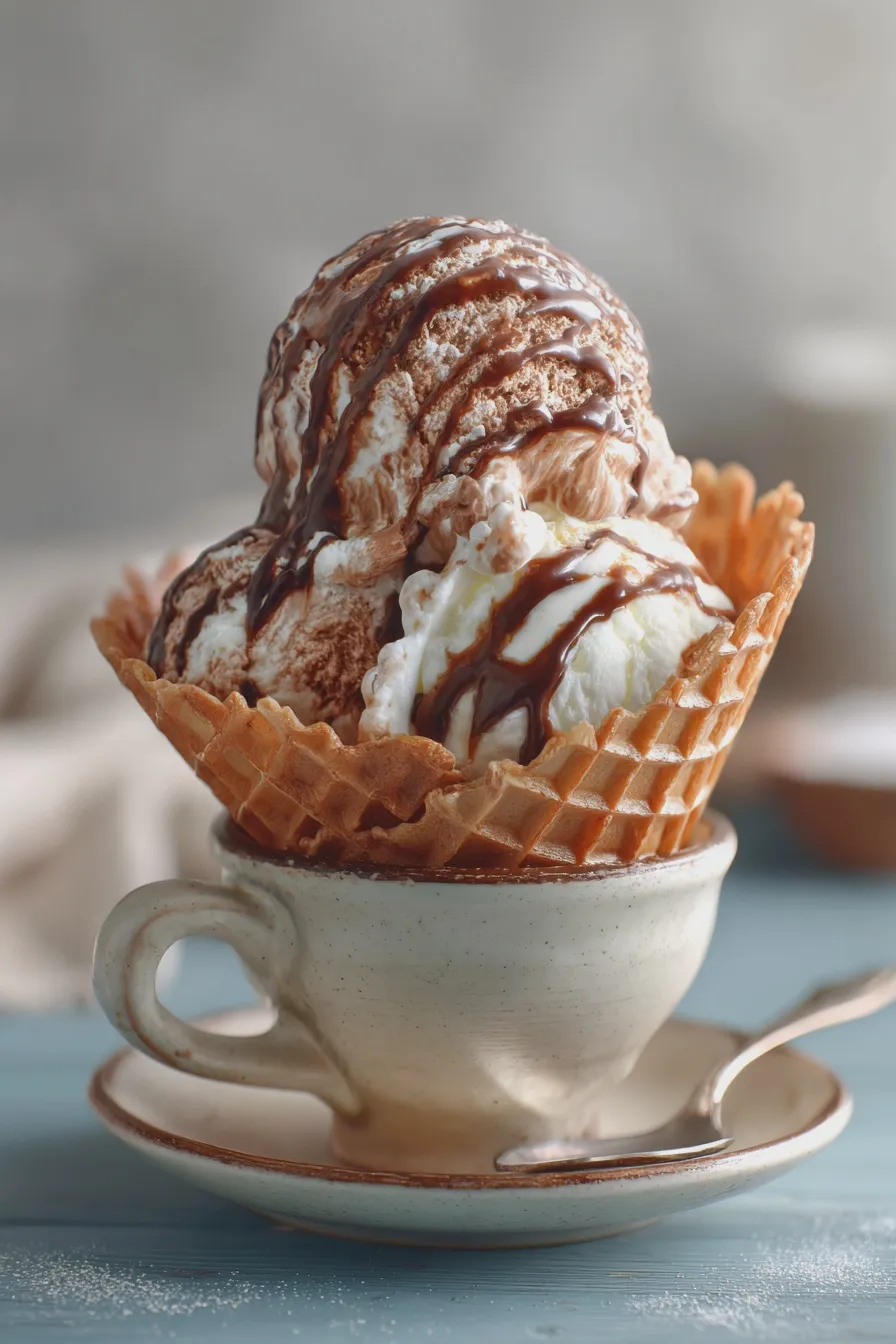
This classic vanilla recipe delivers rich, creamy homemade ice cream without any fuss, perfect for those seeking the best homemade ice cream recipe that sets a high standard for all other sweet frozen treats. It relies on a simple custard base churned slowly to achieve that signature velvety texture that rivals any store-bought pint.
When you master the fundamentals of making your own frozen desserts, you unlock a world of creative possibilities, moving far beyond simple scoops into gourmet ice cream territory. Learning how to make ice cream from scratch transforms a simple summer indulgence into an act of satisfying dessert preparation, yielding results far superior to quick fixes like no churn ice cream.
Why Homemade Vanilla Ice Cream is a Must-Try Dessert
There is simply no substitute for the deep, authentic flavor you achieve when making vanilla ice cream at home, especially when using high-quality ingredients. Many people find that even premium store brands lack the fresh, clean taste that comes from a properly tempered custard base, which is the secret to exceptional ice cream maker recipes.
This recipe provides a fantastic foundation, proving that sometimes the simplest recipes are the most rewarding; if you are looking for other simple delights, you might enjoy exploring strawberry pie variations for another classic flavor profile. Furthermore, mastering this technique means you can easily pivot to other favorites, like a rich chocolate ice cream recipe, just by adjusting the flavorings.
Essential Ingredients for the Best Texture
Achieving that perfect, scoopable texture hinges entirely on the quality and ratio of your dairy components and sweeteners. We aim for a high-fat content to minimize ice crystal formation, which is what makes store-bought products icy rather than smooth.
- Heavy Cream: 2 cups (Must be full-fat for richness)
- Whole Milk: 1 cup (Do not substitute with low-fat, as it compromises texture)
- Granulated Sugar: 3/4 cup (Adjust slightly based on desired sweetness)
- Egg Yolks: 5 large (These create the stable custard base)
- Vanilla Extract: 1 tablespoon (Use pure extract, not imitation, for the cleanest flavor)
- Pinch of Salt: Enhances the overall depth of flavor
Equipment Needed for Churning
While some modern methods bypass the need for specialized tools, the smoothest results for traditional frozen yogurt recipes and custard-based desserts are achieved with an ice cream machine. Ensure your machine’s freezer bowl is completely frozen solid—this usually takes at least 24 hours in the coldest part of your freezer.
- Ice Cream Maker: Ensure the freezer bowl is pre-chilled
- Medium Saucepan: For heating the dairy and tempering the eggs
- Whisk and Heatproof Spatula: For constant stirring
- Fine-Mesh Sieve: Essential for straining the finished custard
- Airtight Freezer Container: For the final hardening stage
Step-by-Step Custard Base Preparation
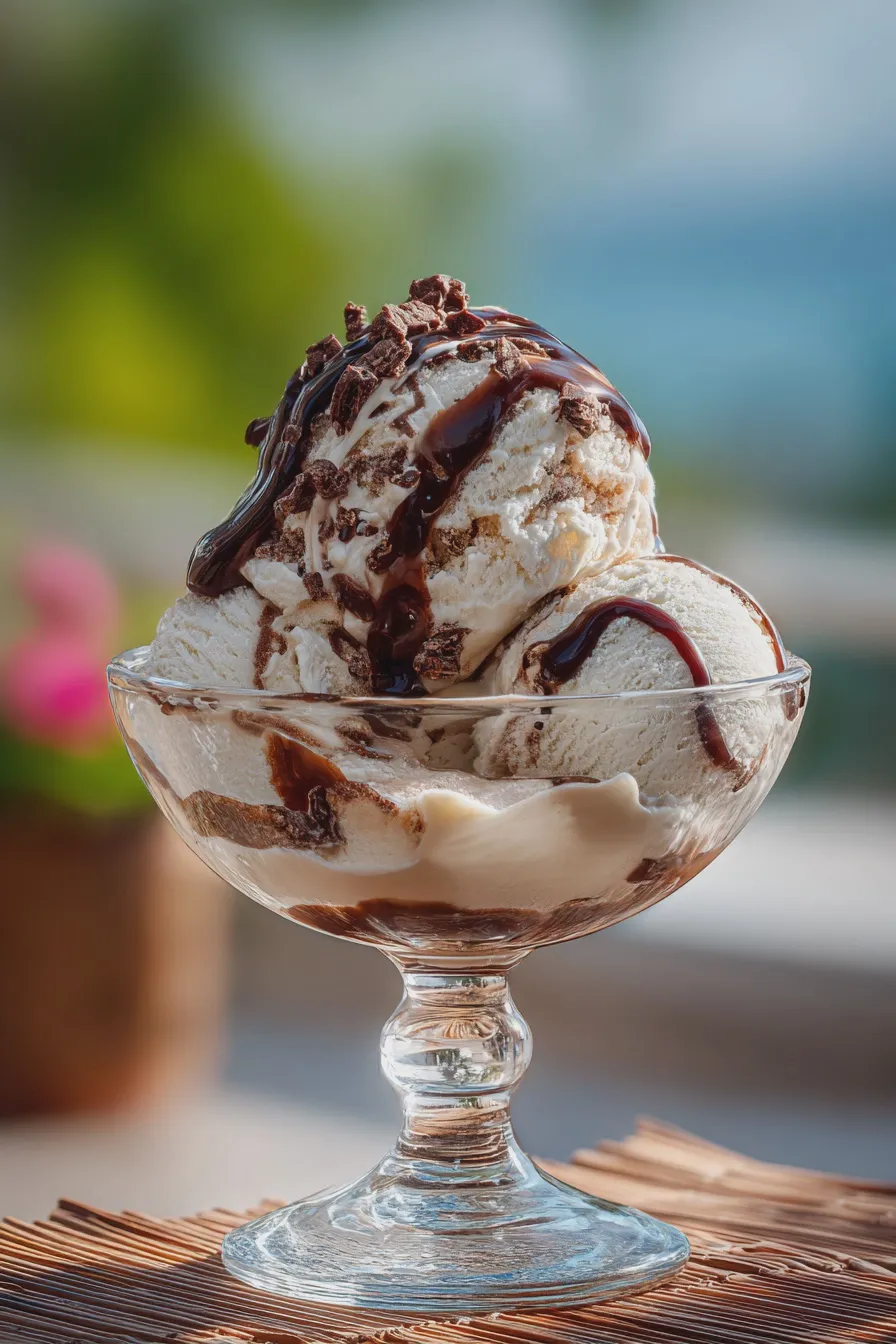
The key to this recipe, which distinguishes it from simpler no churn ice cream methods, is creating a stable, cooked egg yolk custard, often referred to as a French-style base. This process thickens the mixture naturally, preventing iciness and delivering a luxurious mouthfeel that defines gourmet ice cream.
Heating the Dairy
Combine the heavy cream, whole milk, and salt in your saucepan and heat over medium heat until small bubbles form around the edges, but do not let it boil. Remove the pan from the heat immediately once the edges begin to simmer, as overheating the dairy can scorch the milk solids.
Tempering the Egg Yolks
In a separate bowl, whisk your egg yolks and sugar together vigorously until the mixture lightens slightly in color and thickens—this process is called ribboning. While whisking constantly, slowly stream about one cup of the hot dairy mixture into the yolks to gently raise their temperature without scrambling them. This slow introduction is crucial for success when learning how to make ice cream.
Cooking the Vanilla Ice Cream Base
Pour the tempered egg mixture back into the saucepan with the remaining dairy and continue cooking over medium-low heat, stirring constantly with a spatula that scrapes the bottom of the pan. The custard is done when it thickens enough to coat the back of the spatula, reaching about 175°F; if you are unfamiliar with this technique, reviewing guides on how to whip egg whites to stiff peaks can help build confidence with egg handling.
Chilling and Flavoring
Immediately strain the finished custard through your fine-mesh sieve into a clean bowl set over an ice bath to stop the cooking process rapidly. Once slightly cooled, stir in the vanilla extract, cover the surface directly with plastic wrap to prevent a skin from forming, and chill in the refrigerator for at least 4 hours, or preferably overnight, until completely cold.
Churning and Freezing for Perfect Texture
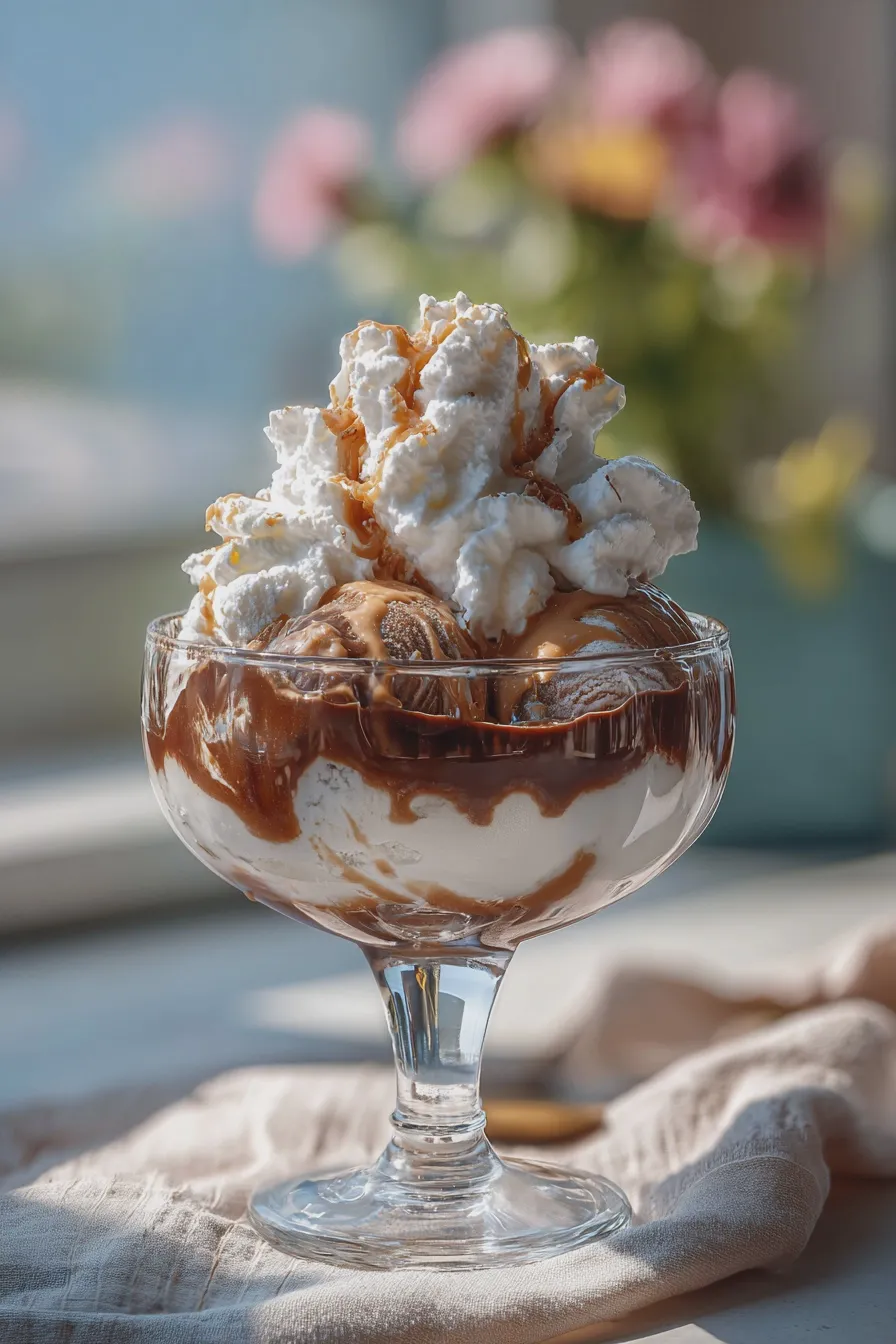
A properly chilled base is non-negotiable when aiming for the right consistency in your sweet frozen treats; warm custard will simply not freeze correctly in the machine. This stage transforms the liquid base into soft-serve consistency, which is the foundation for all great ice cream maker recipes.
The Churning Process
Pour the thoroughly chilled vanilla ice cream base into your ice cream maker and churn according to the manufacturer’s instructions, usually for 20 to 30 minutes. The mixture will thicken significantly, resembling thick soft-serve ice cream when it is ready to be removed from the machine.
Ripening and Hardening
Transfer the freshly churned product into your pre-chilled, airtight freezer container, pressing a piece of parchment paper directly onto the surface before sealing the lid. Allow the small batch ice cream to “ripen” in the coldest part of your freezer for at least 4 hours, which firms it up to a traditional scoopable texture, making it ready to serve.
Tips for Customizing Your Frozen Dessert
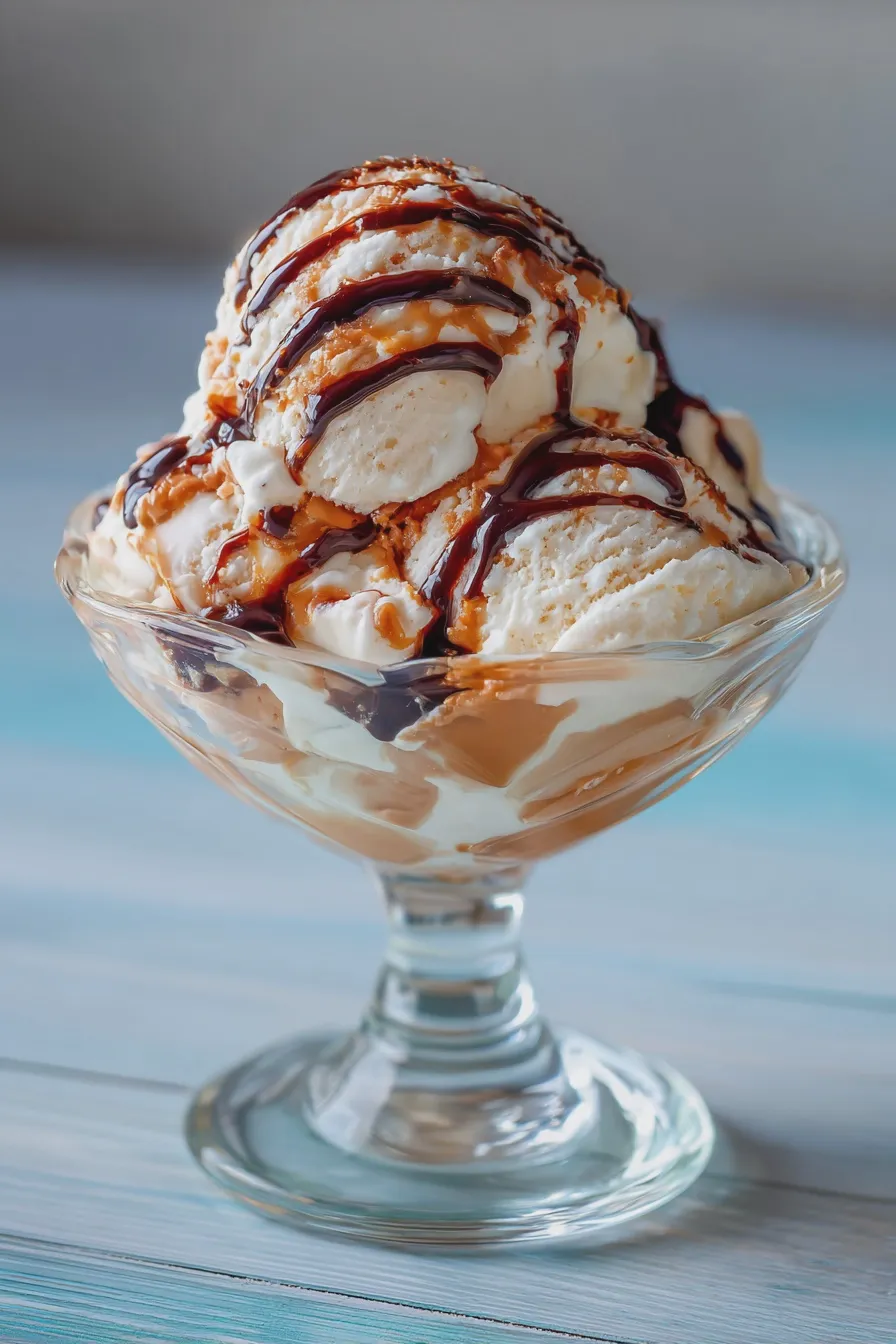
Once you master the classic vanilla ice cream base, you have the perfect canvas for endless creative variations, making this recipe versatile for any gathering. Think about pairing it with other homemade baked goods, perhaps some strawberry hand pies for a true American classic experience.
Flavor Variations and Mix-Ins
For chocolate ice cream recipe variations, you can whisk in 1/2 cup of sifted unsweetened cocoa powder along with the sugar before tempering the eggs. If you prefer fruit ice cream recipes, wait until the very end of the churning process to fold in your purees or chopped fruits, ensuring they are cold.
For mix-ins like chocolate chips, cookie pieces, or nuts, wait until the ice cream is nearly finished churning and fold them in during the last five minutes of churning time. Alternatively, if you are making a dessert like mini Oreo cheesecake bites, you can layer crushed cookies between the soft ice cream when transferring it to the freezer container for ripening.
Making Dairy-Free Ice Cream and Other Alternatives
While this specific recipe is rich in dairy, achieving a similar texture for dairy-free ice cream requires substituting the heavy cream and milk with full-fat coconut cream or a blend of cashew and coconut milk. If you are interested in lighter options, exploring frozen yogurt recipes often involves using Greek yogurt as a base, offering a tangier, slightly healthier ice cream alternative to the rich custard.
For a lighter, egg-free approach closer to sorbet recipes but creamier, you can explore recipes that use condensed milk, though the texture will be denser than this true custard base. Even when attempting vegan ice cream versions, the principle of cold churning remains key to avoiding large ice crystals.
Print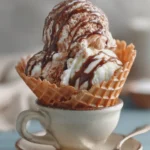
homemade ice cream Recipe Easy Vanilla
- Total Time: PT6H30M
- Yield: 8 servings 1x
- Diet: Vegetarian
Description
Indulge in the creamy, rich delight of homemade No-Churn Chocolate Peanut Butter Ice Cream. This recipe requires no special ice cream maker and delivers a perfect balance of deep chocolate and salty peanut butter swirls.
Ingredients
- 2 cups heavy whipping cream, cold
- 1 (14 ounce) can sweetened condensed milk, cold
- 1/2 cup unsweetened cocoa powder, sifted
- 1 teaspoon vanilla extract
- 1/4 teaspoon salt
- 1 cup creamy peanut butter (room temperature is best for drizzling)
Instructions
- In a large bowl, whip the cold heavy whipping cream using an electric mixer until stiff peaks form (about 3-5 minutes). Be careful not to over-whip into butter.
- In a separate medium bowl, whisk together the cold sweetened condensed milk, sifted cocoa powder, vanilla extract, and salt until completely smooth and uniform in color.
- Gently fold about one-third of the whipped cream into the chocolate mixture to lighten it.
- Carefully fold the remaining whipped cream into the chocolate mixture until just combined, ensuring you retain as much air as possible. Do not overmix.
- Spoon half of the ice cream base into a freezer-safe loaf pan (approx. 9×5 inches) lined with parchment paper.
- Warm the peanut butter slightly in the microwave (about 15-20 seconds) until it is easily drizzled. Drizzle half of the warm peanut butter over the first layer.
- Top with the remaining ice cream base and drizzle with the remaining peanut butter. Use a knife or skewer to gently swirl the peanut butter through the ice cream base once or twice.
- Cover the pan tightly with plastic wrap, pressing the wrap directly onto the surface of the ice cream to prevent ice crystals.
- Freeze for a minimum of 6 hours, or preferably overnight, until firm.
- Before serving, let the ice cream sit on the counter for 5-10 minutes to soften slightly for easier scooping.
Notes
- For a thicker swirl, use peanut butter that is slightly cooler, but still pourable.
- If you prefer a more intense chocolate flavor, add 1/4 teaspoon of espresso powder to the condensed milk mixture.
- Store leftovers tightly covered in an airtight container for the best texture.
- Prep Time: PT15M
- Cook Time: 0 minutes
- Category: Ice Cream
- Method: No-Churn
- Cuisine: American
Nutrition
- Serving Size: 1/8 recipe
- Calories: 450
- Sugar: 40g
- Sodium: 250mg
- Fat: 28g
- Saturated Fat: 15g
- Carbohydrates: 45g
- Fiber: 2g
- Protein: 10g
- Cholesterol: 90mg







