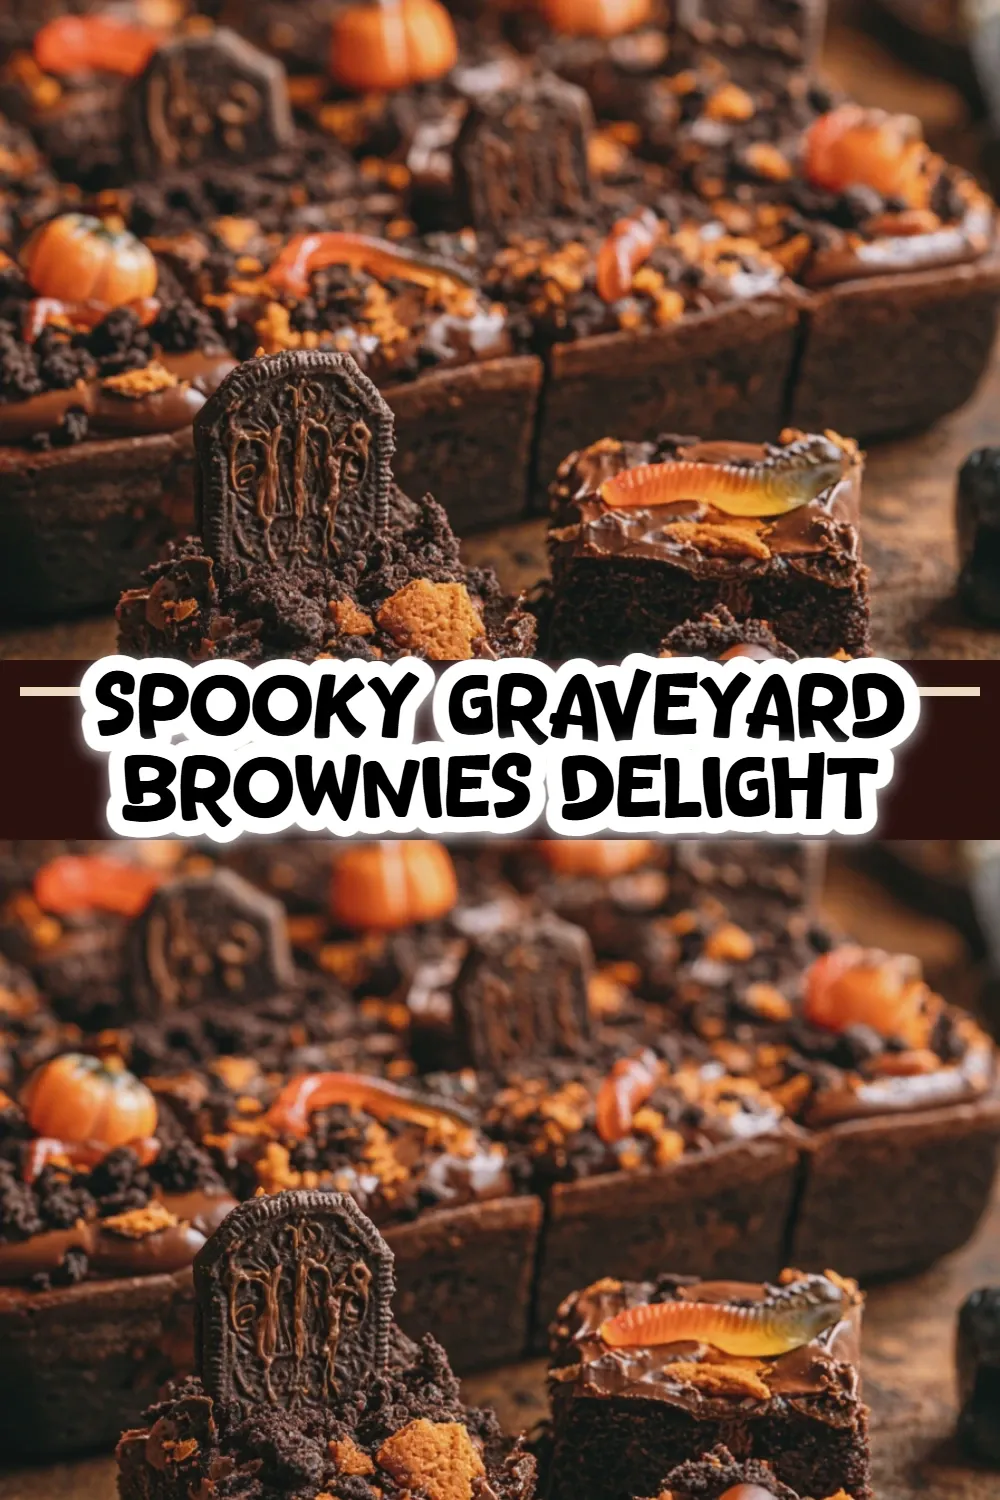
Get ready to spookify your kitchen with a dessert that’s as fun to make as it is to eat! Graveyard brownies are the ultimate treat for Halloween parties, bake sales, or just a fun weekend baking project. Imagine rich, fudgy brownies topped with creamy chocolate pudding, crushed cookie “dirt,” and edible tombstones. It’s a delightfully creepy and delicious centerpiece that will have everyone digging in for more. This recipe is perfect for bakers of all skill levels, and it’s a fantastic way to get creative with your Halloween dessert ideas.
What are Graveyard Brownies?
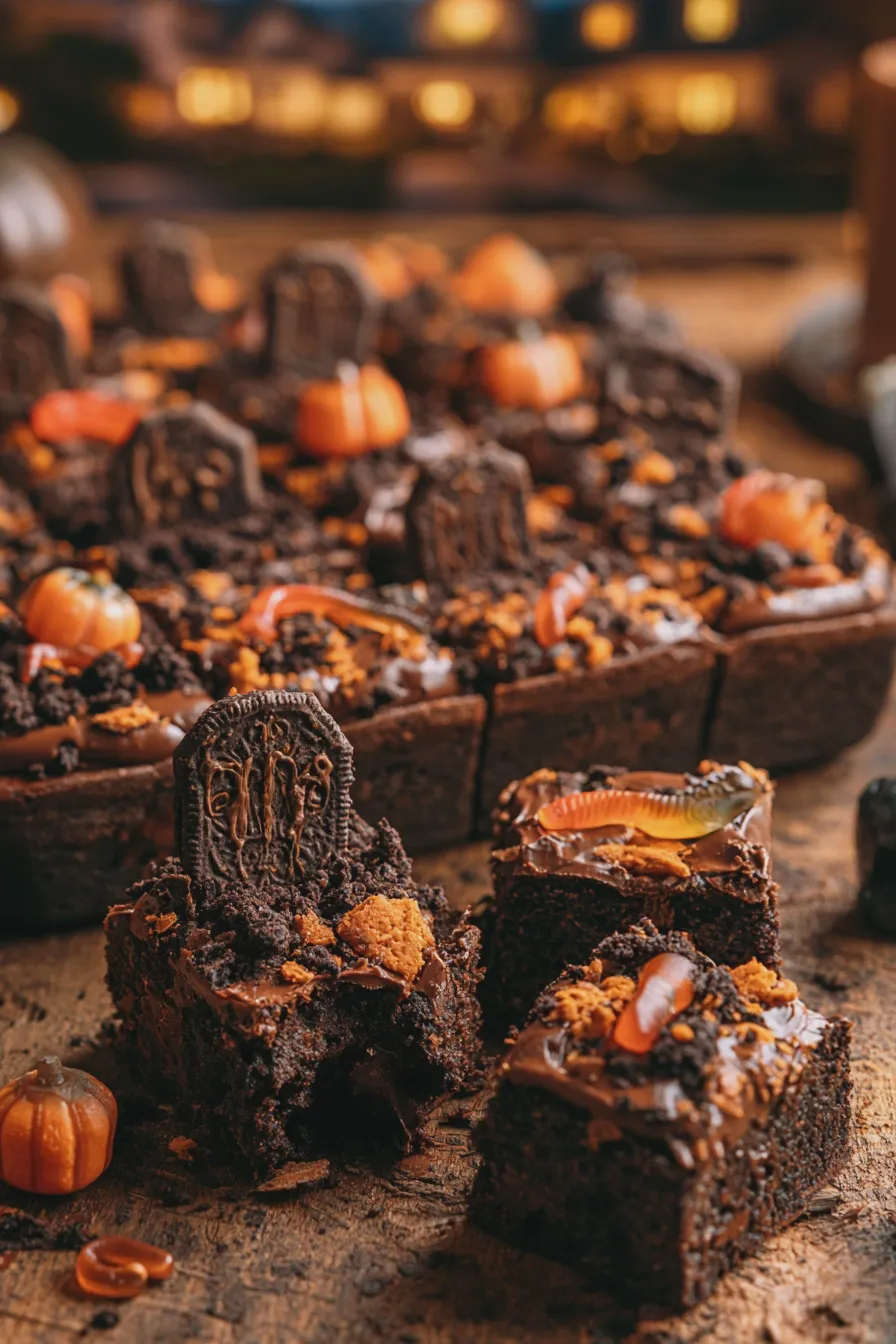
Graveyard brownies are a festive and spooky twist on a classic dessert. At their core, they are simply brownies, but the magic happens with the toppings! Typically, they involve a layer of rich chocolate brownies, followed by chocolate pudding or frosting to represent the “dirt,” and then decorated with crushed chocolate cookies, candy tombstones, and other edible spooky elements. They’re a playful and edible representation of a haunted graveyard, making them a hit for any Halloween gathering. This graveyard brownies recipe is designed to be straightforward and fun.
The beauty of graveyard brownies lies in their versatility. You can use your favorite brownie recipe or even a good quality store-bought mix to save time. The “graveyard” elements are where you can really let your imagination run wild. Think crushed Oreos for dirt, Milano cookies or graham crackers for tombstones, gummy worms, candy ghosts, and even candy pumpkins.
Why You’ll Love This Recipe
This recipe is a winner for so many reasons:
Looking for more? Try this delicious Zucchini Brownies With Frosting next.
- Impressive Presentation: They look incredibly festive and are sure to be a conversation starter at any Halloween party.
- Deliciously Fudgy: The base is a rich, chocolatey brownie that’s satisfying on its own.
- Customizable: You can easily adapt the decorations to your liking or what you have on hand.
- Kid-Friendly: Kids love helping to decorate these, making it a great family baking activity.
- Perfect for Halloween: They are the quintessential Halloween treat recipes that adults and children alike will adore.
Ingredients You’ll Need
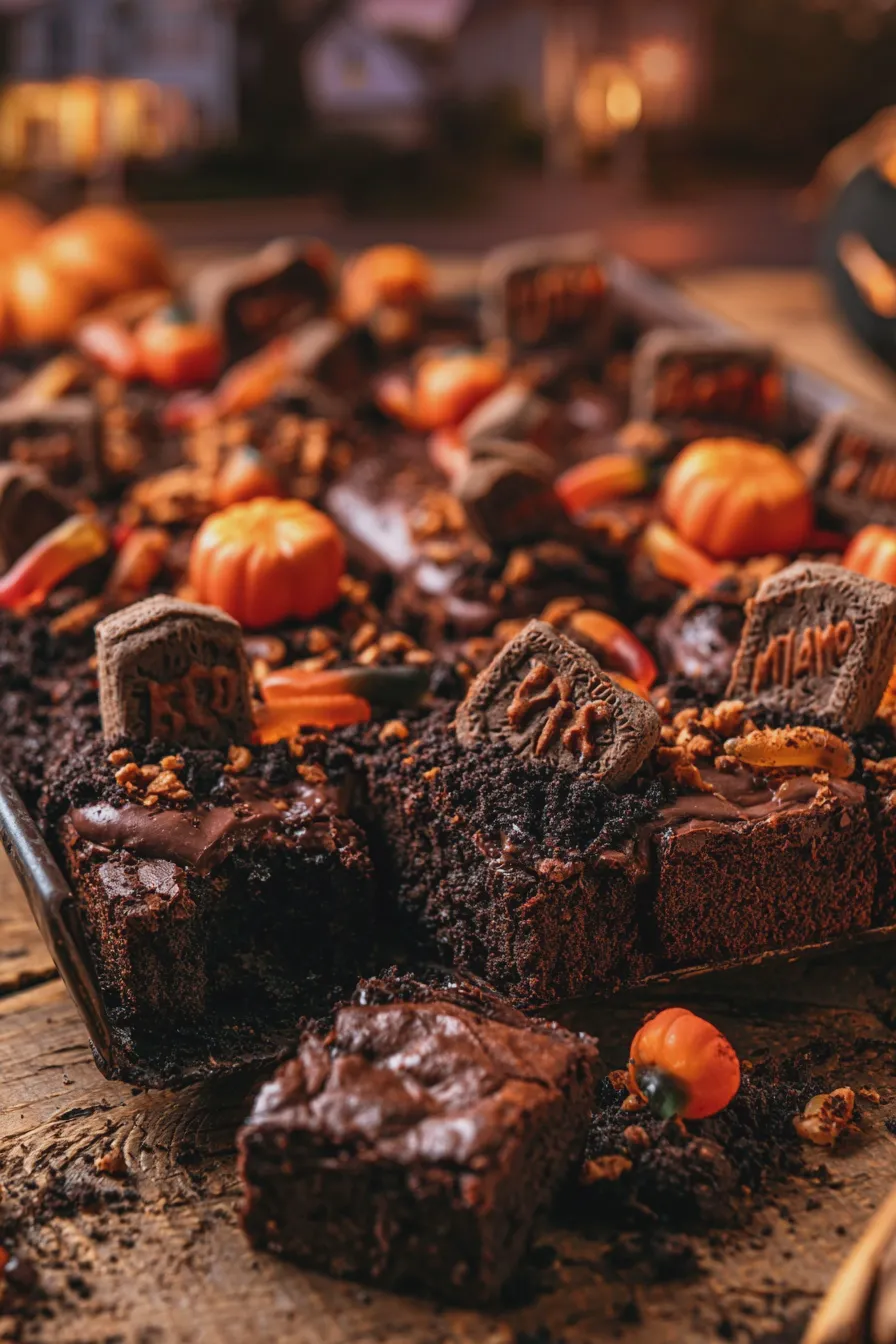
Here’s a breakdown of what you’ll need to create these spooky delights. We’ll cover the brownie base, the pudding “dirt” layer, and the graveyard decorations.
For the Brownie Base:
- Butter: Unsalted butter is best for controlling the salt content.
- Sugar: Granulated sugar for sweetness.
- Eggs: Large eggs at room temperature will incorporate better.
- Vanilla Extract: Pure vanilla extract for the best flavor.
- All-Purpose Flour: Just enough to bind everything together.
- Unsweetened Cocoa Powder: For that deep chocolate flavor.
- Salt: Enhances the chocolate flavor.
- Optional: Chocolate chips for extra gooeyness.
For the Chocolate Pudding “Dirt” Layer:
- Instant Chocolate Pudding Mix: The easiest way to achieve a smooth, creamy pudding layer.
- Milk: Whole milk will give the richest flavor and texture.
- Optional: Whipped cream or Cool Whip for an even lighter topping.
For the Graveyard Decorations:
- Chocolate Sandwich Cookies (like Oreos): Crushed to resemble dirt.
- Milano Cookies or Graham Crackers: For carving or writing tombstone messages.
- Candy Pumpkins, Gummy Worms, Candy Ghosts: For extra spooky fun.
- Edible Markers or Black Frosting: To write on the tombstones.
Baking the Perfect Brownie Base
The foundation of your graveyard brownies is, of course, the brownie itself. A good brownie should be fudgy, rich, and intensely chocolatey. We’re aiming for a bake that’s slightly underdone in the center to ensure that desirable chewy texture.
Tips for Perfect Brownies:
- Don’t Overmix: Overmixing the batter can develop the gluten in the flour, leading to tough brownies. Mix just until combined.
- Room Temperature Ingredients: Ensure your butter, eggs, and even milk (if using) are at room temperature for the best emulsion and texture. This is especially important when you cream butter and sugar, if your recipe calls for it.
- Proper Baking Time: Keep a close eye on your brownies. A toothpick inserted into the center should come out with moist crumbs, not wet batter.
- Cool Completely: Resist the urge to frost warm brownies! They need to cool completely to prevent the pudding layer from melting.
Common Brownie Mistakes to Avoid:
- Overbaking: This is the most common culprit for dry, cakey brownies.
- Using Low-Quality Cocoa: Good cocoa powder makes a big difference in flavor.
- Not Measuring Flour Correctly: Spoon flour into your measuring cup and level it off; don’t scoop directly from the bag.
For a truly decadent base, consider adding some melted chocolate to your batter. This extra step enhances the chocolate flavor and creates an even fudgier texture. You can find excellent brownie recipes on sites like Bon Appétit if you’re looking to experiment.
If you enjoyed this, you might also love our Brownie With Ice Cream recipe.
Assembling Your Graveyard Masterpiece

Once your brownies are baked and completely cooled, it’s time for the fun part – decorating! This is where your Halloween baking skills truly shine.
Step 1: Prepare the Pudding Layer
In a medium bowl, whisk together the instant chocolate pudding mix and milk according to the package directions. Let it sit for about 5 minutes to thicken. You want a spreadable consistency, not too runny. If it seems too thick, you can add a tablespoon or two more milk. For a lighter, airier topping, you can gently fold in some whipped cream or Cool Whip once the pudding has thickened.
Step 2: Apply the Pudding
Spread the chocolate pudding evenly over the cooled brownie base using an offset spatula or the back of a spoon. This layer represents the dark, rich soil of your graveyard.
Looking for more? Try this delicious How To Make Ice Cream At Home next.
Step 3: Create the “Dirt”
Take your chocolate sandwich cookies and crush them into coarse crumbs. You can do this in a food processor for a finer texture, or place them in a zip-top bag and crush them with a rolling pin for a more rustic look. Sprinkle these cookie crumbs generously over the pudding layer, pressing down lightly so they adhere. This creates the realistic “dirt” effect.
Step 4: Add the Tombstones
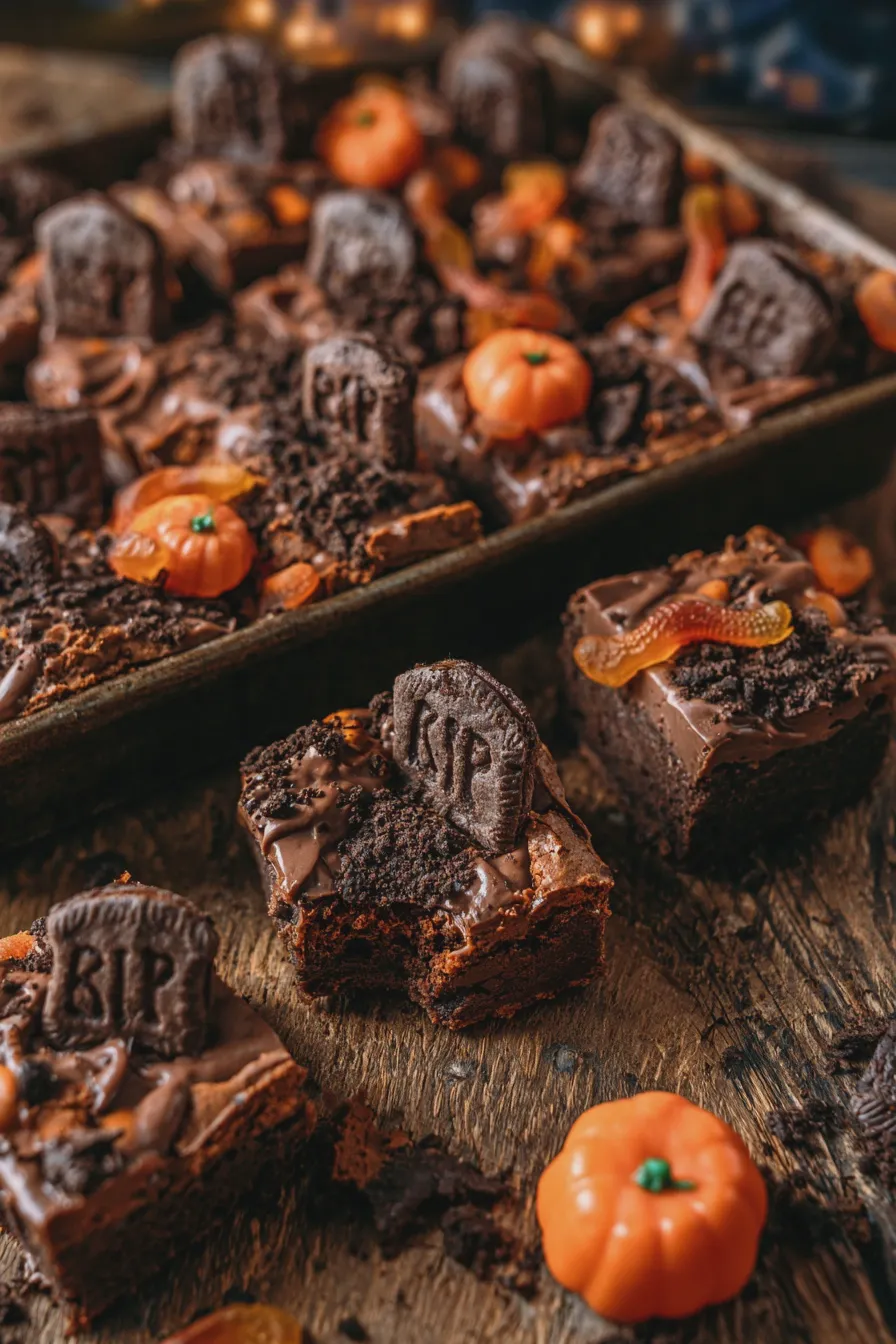
Now for the tombstones! Take your Milano cookies or graham crackers. You can leave them whole, or use a knife to gently shape them into tombstone forms. If using graham crackers, you might want to break them into more manageable pieces first. Use edible markers or black frosting to write spooky epitaphs like “R.I.P.,” “Here Lies,” or even funny names. Stick the tombstones upright into the brownie and cookie crumb layer. Don’t worry if they lean a bit; it adds to the haunted charm!
Step 5: Decorate with Spooky Accents
This is where you bring your Halloween graveyard to life! Add candy pumpkins peeking out of the dirt, gummy worms crawling around, or candy ghosts peeking from behind tombstones. You can even add a few candy spiders or create a simple spiderweb design with white frosting.
Don’t miss out on our guide to Rhubarb Bars With Oat Topping.
Variations and Creative Ideas
Graveyard brownies are incredibly adaptable. Here are a few ideas to make them your own:
- No-Bake Option: If you’re short on time or want a truly no-bake graveyard brownies, you can use store-bought brownies or even graham crackers as the base.
- Ghost Brownies: Instead of tombstones, pipe ghost shapes with white frosting or use marshmallow halves with edible marker eyes.
- Skeleton Brownies: Use candy bones or pipe skeleton shapes with white frosting.
- Spiderweb Brownies: After adding the dirt layer, pipe concentric circles of white frosting and then drag a toothpick from the center outwards to create a spiderweb effect.
- Creepy Desserts: For a more creepy desserts vibe, consider adding some green food coloring to a portion of the pudding or frosting for a mossy look.
- Dirt Cup Brownies: Layer brownie crumbles, pudding, and whipped cream in individual cups for a fun, single-serving dirt cup brownies experience.
Remember, the goal is to have fun and create something visually striking and delicious. These are perfect for any Halloween party food spread.
Tips for Storing Your Graveyard Brownies
Store your assembled graveyard brownies in an airtight container in the refrigerator. The pudding layer needs to be kept cool. They are best enjoyed within 2-3 days. If you are making them for a party, you can bake the brownies a day in advance and assemble them a few hours before serving to keep the decorations looking their best.
Looking for more? Try this delicious How To Fold Ingredients Without Deflating next.