
Get ready to unleash your inner baker and create some frightfully fun treats! Monster eye cake pops are the perfect addition to any Halloween party or spooky gathering. They’re surprisingly simple to make and are guaranteed to bring smiles (and maybe a few happy screams!) to your guests. This guide will walk you through every step, from baking the perfect cake to decorating these adorable, creepy confections. Let’s dive into the wonderfully weird world of [a href=”https://www.allrecipes.com/search?q=monster+cake+pops” target=”_blank” rel=”noopener”>monster eye cake pops!
The Foundation: Baking Your Cake
The secret to amazing cake pops, including our monster eye cake pops, starts with a delicious and moist cake. You don’t need anything overly complicated; a simple vanilla or chocolate cake recipe works wonderfully. The key is that the cake needs to be baked, cooled completely, and then crumbled.
Choosing Your Cake Flavor
Vanilla is a classic for a reason, providing a neutral base that pairs well with almost any frosting. Chocolate offers a richer flavor that many adore. For a fun twist, consider a funfetti cake for a pop of color inside, or even a red velvet for a truly eerie, blood-red interior. Whichever flavor you choose, ensure it’s a recipe you trust and that bakes up tender.
Baking Tips for Perfect Cake Pops
- Don’t overmix: Overmixing the batter can lead to a tough cake, which isn’t ideal for crumbling. Mix just until the ingredients are combined.
- Bake evenly: Ensure your oven is preheated accurately. An oven thermometer can be a baker’s best friend.
- Cool completely: This is crucial! Warm cake will melt your frosting and make the mixture too sticky to handle. Let your cake cool in the pan for about 10-15 minutes, then invert it onto a wire rack to cool completely.
Common Mistakes to Avoid
One of the most common mistakes is trying to rush the cooling process. Another is using a cake that’s too dense or dry, as it won’t hold together well when you add the binder. If your cake does turn out a bit dry, don’t worry, you can always add a little extra frosting to help it bind.
Creating the Cake Pop Dough
Once your cake is completely cool, it’s time to transform it into the perfect dough for rolling. This is where the magic really begins to happen for your monster eye cake pops.
If you enjoyed this, you might also love our How To Prepare A Cake Pan To Prevent Sticking recipe.
Crumble and Combine
Gently crumble the cooled cake into a large bowl. Remove any large chunks of unbaked batter or overly browned edges. The goal is fine crumbs, almost like coarse sand.
Next, add your binder. This is typically frosting. For a standard 9×13 inch cake, about 1/2 to 3/4 cup of frosting is usually a good starting point. You can use store-bought frosting or your favorite homemade version. Cream cheese frosting is particularly delicious with many cake flavors.
Mix the frosting into the cake crumbs gradually. Use a spatula or your hands. You want to achieve a consistency that holds together when you squeeze it, much like play-doh. It shouldn’t be too wet or sticky, nor should it be too dry and crumbly. You can always add a little more frosting, a tablespoon at a time, if it’s too dry. If it’s too wet, you can try adding a few more cake crumbs or a tablespoon of powdered sugar.
Tips for the Perfect Dough Consistency
The ideal dough should be moldable without sticking excessively to your hands. If you find it’s too sticky, chill the mixture for about 15-20 minutes. This makes it much easier to roll into smooth balls. This step is essential for achieving those perfect, round shapes for your DIY monster cake pops.
Looking for more? Try this delicious Why Did My Cake Sink In The Middle next.
Rolling and Chilling the Balls
Now for the fun part – shaping your cake pops! This is where your monster creations start to take form.
Rolling Techniques
Take about a tablespoon of the cake dough and roll it firmly between your palms to create a smooth ball. Aim for consistent sizes so they bake and dip evenly. For this monster eye cake pops recipe, you can also roll them into slightly oval or irregular shapes for a more monstrous look, but smooth balls are a great starting point.
The Importance of Chilling
Once you have rolled all your balls, place them on a baking sheet lined with parchment paper. It’s crucial to chill these balls before dipping. Pop them in the refrigerator for at least 30 minutes, or in the freezer for about 15 minutes. This firming step prevents them from losing their shape when you dip them in melted chocolate. It’s a critical step for successful chocolate dipped cake pops.
Melting and Dipping Your Cake Pops
This is where your plain cake balls begin their transformation into festive treats. The dipping process is straightforward but requires a little finesse.
Another favorite of ours is the Zucchini Cake With Cream Cheese Frosting.
Choosing Your Chocolate
You have a few options for dipping: candy melts, chocolate chips, or real chocolate. Candy melts are often the easiest to work with as they melt smoothly and harden quickly, providing a nice, glossy finish. If using chocolate chips or baking chocolate, you may need to add a bit of shortening or coconut oil to achieve a smoother consistency for dipping.
Melting Techniques
Microwave Method: Place your chosen chocolate in a microwave-safe bowl. Heat on 50% power for 30-second intervals, stirring well after each interval, until the chocolate is completely melted and smooth. Be careful not to overheat, as chocolate can seize and become unusable.
Double Boiler Method: Fill a saucepan with about an inch of water and bring it to a simmer. Place your chocolate in a heatproof bowl that fits snugly over the saucepan without touching the water. Stir the chocolate constantly until it’s melted and smooth.
The Dipping Process
Once your chocolate is melted and smooth, it’s time to dip! Insert a lollipop stick into each chilled cake ball, pushing it about halfway in. Dip the cake pop into the melted chocolate, tilting the bowl and rotating the pop to coat it completely. Gently tap the stick on the side of the bowl to let any excess chocolate drip off. This is key to avoiding thick, uneven coatings. Place the dipped cake pop back onto the parchment-lined baking sheet. Repeat with all your cake pops.
Looking for more? Try this delicious Carrot Cake With Cream Cheese Frosting next.
Tip: If the chocolate starts to thicken too much as you work, gently reheat it using the microwave or double boiler method.
Decorating Your Monster Eyes
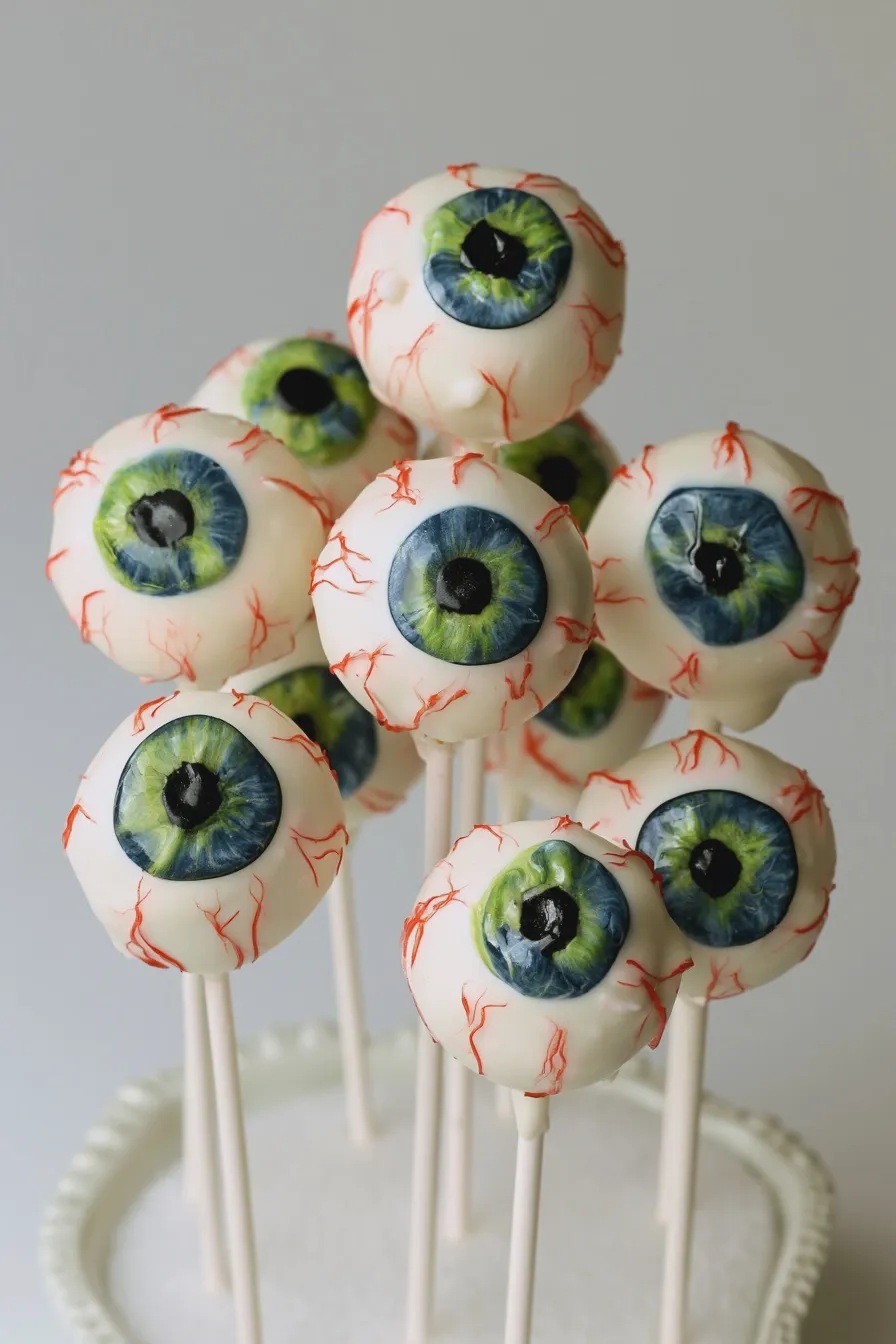
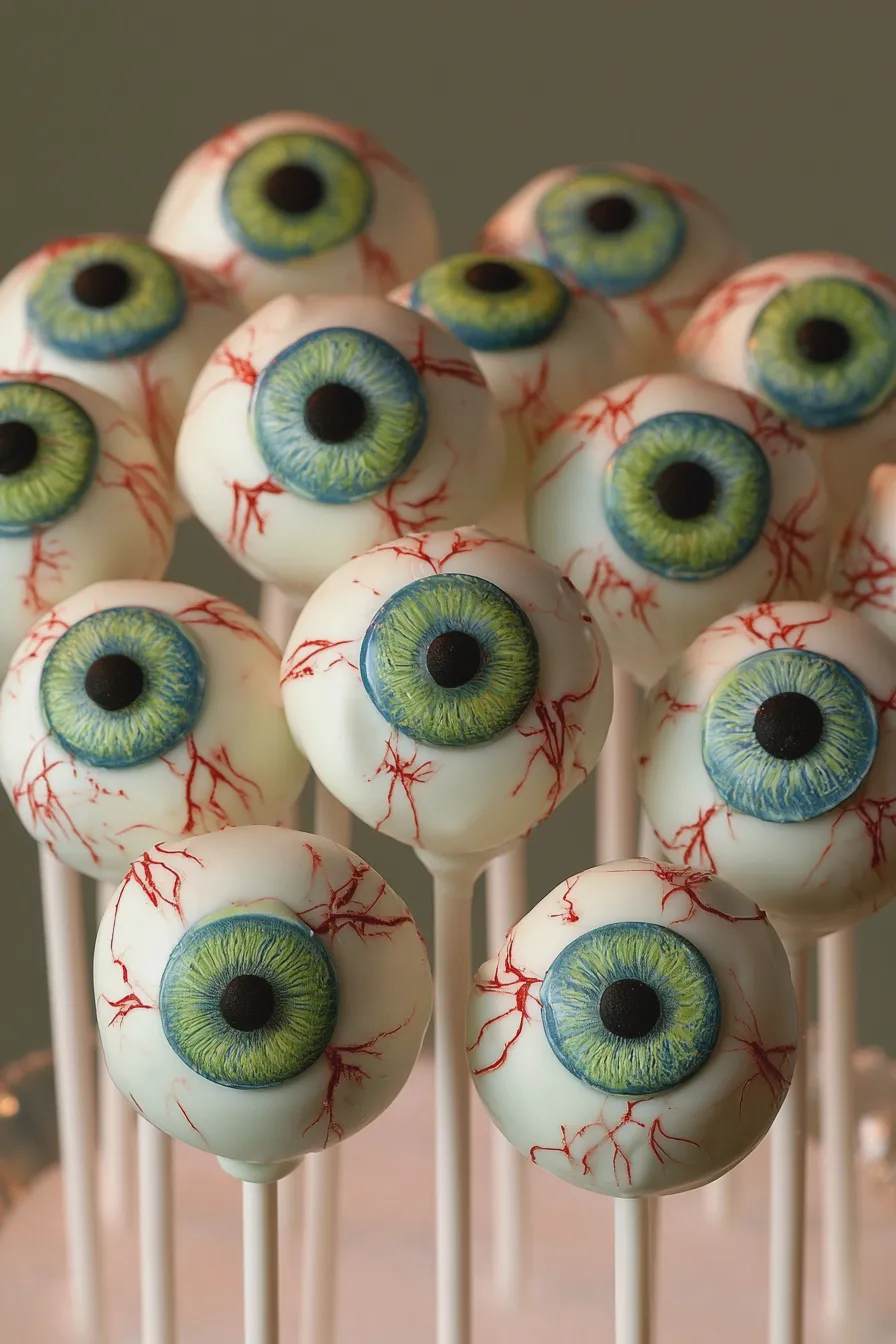
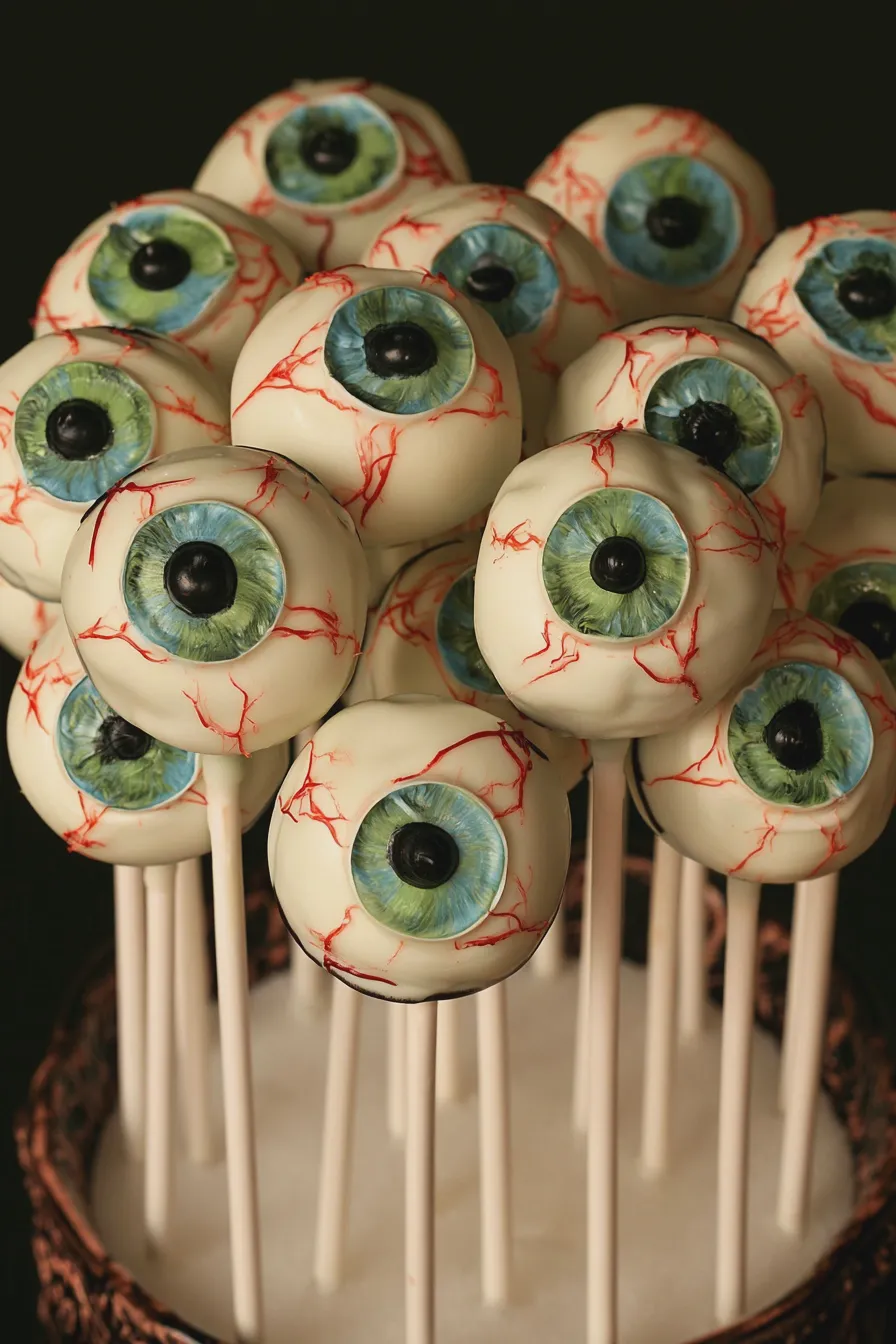
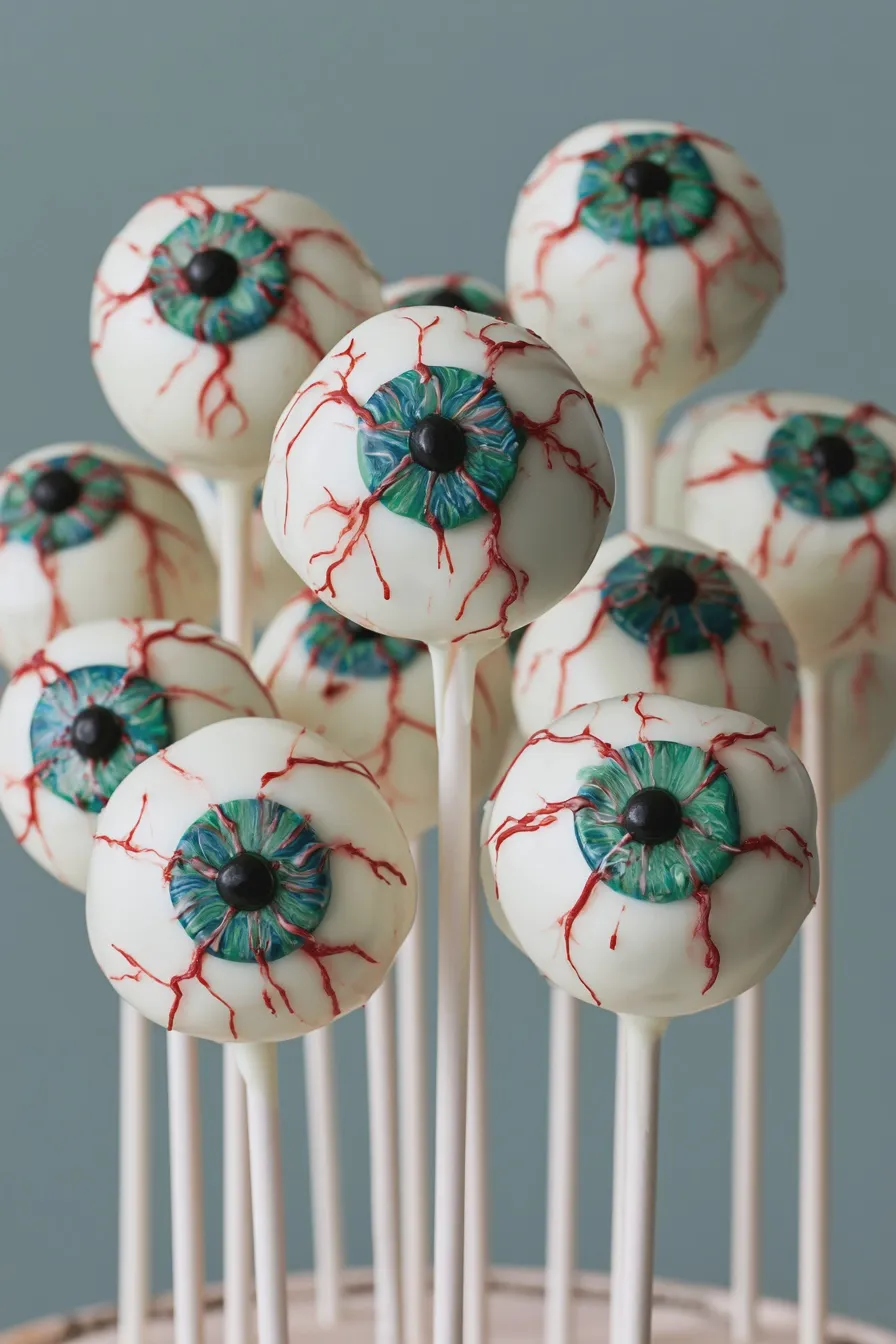
This is where your spooky cake pops truly come to life! The “monster eye” theme is wonderfully versatile, allowing for lots of creative fun. These are some of the best creative cake pop ideas for Halloween.
Creating Edible Monster Eyes
The easiest way to achieve the monster eye effect is by using pre-made edible candy eyes. You can find these at most craft stores or online baking supply shops. They come in various sizes and styles, perfect for creating a variety of monster looks.
Alternatively, you can create your own edible monster eyes! Use a bit of melted white candy melt or frosting as the base. Once it’s set slightly, add a dot of colored icing (green, blue, or even purple) for the iris, and then a tiny dot of black icing for the pupil. You can even add a tiny white highlight dot for extra dimension.
If you enjoyed this, you might also love our How To Make Ice Cream At Home recipe.
Applying the Decorations
While the dipped chocolate coating is still wet, gently press your edible candy eyes onto the surface. If you want to create a more unique monster, you can add other decorations too! Use colored icing to draw stitches, cracks, or even little fangs. Sprinkles can add texture or more creepy elements.
For our specific monster eye cake pops, focus on placing one or two eyes on each pop. You can arrange them close together, far apart, or even have one eye looking off to the side. Don’t be afraid to get a little messy and experimental – the quirkier, the better for these fun Halloween desserts!
Drying and Setting
Allow the decorated cake pops to dry and set completely on the parchment-lined baking sheet. This can take anywhere from 30 minutes to a couple of hours, depending on the humidity and the type of coating you used. You can speed up the process by placing them in the refrigerator for a short period, but be mindful of condensation if you take them out too quickly into a warm environment.
Storing and Serving Your Masterpieces
Once your monster eye cake pops are fully dry, they are ready to be admired and devoured! Proper storage will keep them fresh and looking their best.
Looking for more? Try this delicious How To Fold Ingredients Without Deflating next.
Storage Tips
Store your finished cake pops in an airtight container at room temperature. If your house is particularly warm or humid, or if you used a frosting that requires refrigeration, store them in the refrigerator. However, be aware that refrigeration can sometimes cause condensation on the chocolate coating. If refrigerating, allow them to come to room temperature for about 20-30 minutes before serving for the best texture.
Presentation Ideas
For a festive display, arrange your monster eye cake pops in a vase or jar filled with colorful crinkle paper, foam, or even a block of floral foam covered in decorative paper. You can also place them individually in small cellophane bags tied with ribbon for party favors. They make fantastic additions to any Halloween dessert table and are among the most popular kid-friendly Halloween recipes.
These spooky cake pops are perfect for themed party desserts, classroom parties, or just a fun weekend baking project. They are a guaranteed hit and a wonderful example of simple cake pop designs that pack a punch!
Print
monster eye cake pops recipe
- Total Time: PT1H20M
- Yield: 24 cake pops 1x
- Diet: Vegetarian
Description
These fun and slightly spooky Monster Eye Cake Pops are perfect for Halloween parties or any occasion that calls for a touch of creepy-crawly delight! Easy to make and incredibly cute (or maybe a little scary!), they’re a guaranteed hit with kids and adults alike.
Ingredients
- 1 (15.25 ounce) box yellow cake mix
- 1/3 cup vegetable oil
- 2 large eggs
- 1/4 cup unsweetened applesauce
- 1 teaspoon vanilla extract
- 1 cup buttercream frosting
- 1 cup white candy melts
- 1/2 cup black candy melts
- Green candy melts (for pupils)
- Blue candy melts (for irises)
- Red candy melts (for veins)
- Lollipop sticks
- Black edible marker
Instructions
- Prepare cake mix according to package directions, substituting applesauce for one of the eggs and using vegetable oil and vanilla extract.
- Pour batter into a greased and floured 9×13 inch baking pan.
- Bake at 350°F (175°C) for 30-35 minutes, or until a toothpick inserted into the center comes out clean.
- Let the cake cool completely in the pan.
- Crumble the cooled cake into a large bowl.
- Add the buttercream frosting to the cake crumbs and mix until well combined and the mixture holds its shape when pressed.
- Roll the mixture into 1-inch balls and place them on a baking sheet lined with parchment paper.
- Chill the cake balls in the refrigerator for at least 30 minutes.
- Melt the white candy melts according to package directions.
- Dip the tip of a lollipop stick into the melted white chocolate and insert it about halfway into a chilled cake ball.
- Repeat with all cake balls and return to the refrigerator to set.
- Once set, dip each cake ball into the melted white chocolate, ensuring it’s fully coated. Let excess drip off.
- Place the dipped cake pops upright in a foam block or vase to dry.
- Melt the black candy melts and pipe small pupils onto the white chocolate coating.
- Melt the green and blue candy melts separately. Use a toothpick to create colorful irises around the black pupils.
- Melt the red candy melts and use a toothpick to draw thin veins radiating from the pupils.
- Use the black edible marker to add any final details or to draw around the edges of the eyes for definition.
- Allow the candy melts to harden completely before serving.
Notes
- For a richer flavor, you can use a boxed chocolate cake mix and chocolate frosting.
- Experiment with different candy melt colors to create a variety of monster eye effects.
- Store cake pops in an airtight container at room temperature for up to 3 days.
- If the candy melts become too thick, add a small amount of vegetable shortening to thin them out.
- Prep Time: PT45M
- Cook Time: PT35M
- Category: Desserts
- Method: Baking and Dipping
- Cuisine: American
Nutrition
- Serving Size: 1 cake pop
- Calories: 250
- Sugar: 25g
- Sodium: 150mg
- Fat: 15g
- Saturated Fat: 8g
- Carbohydrates: 30g
- Protein: 2g







