
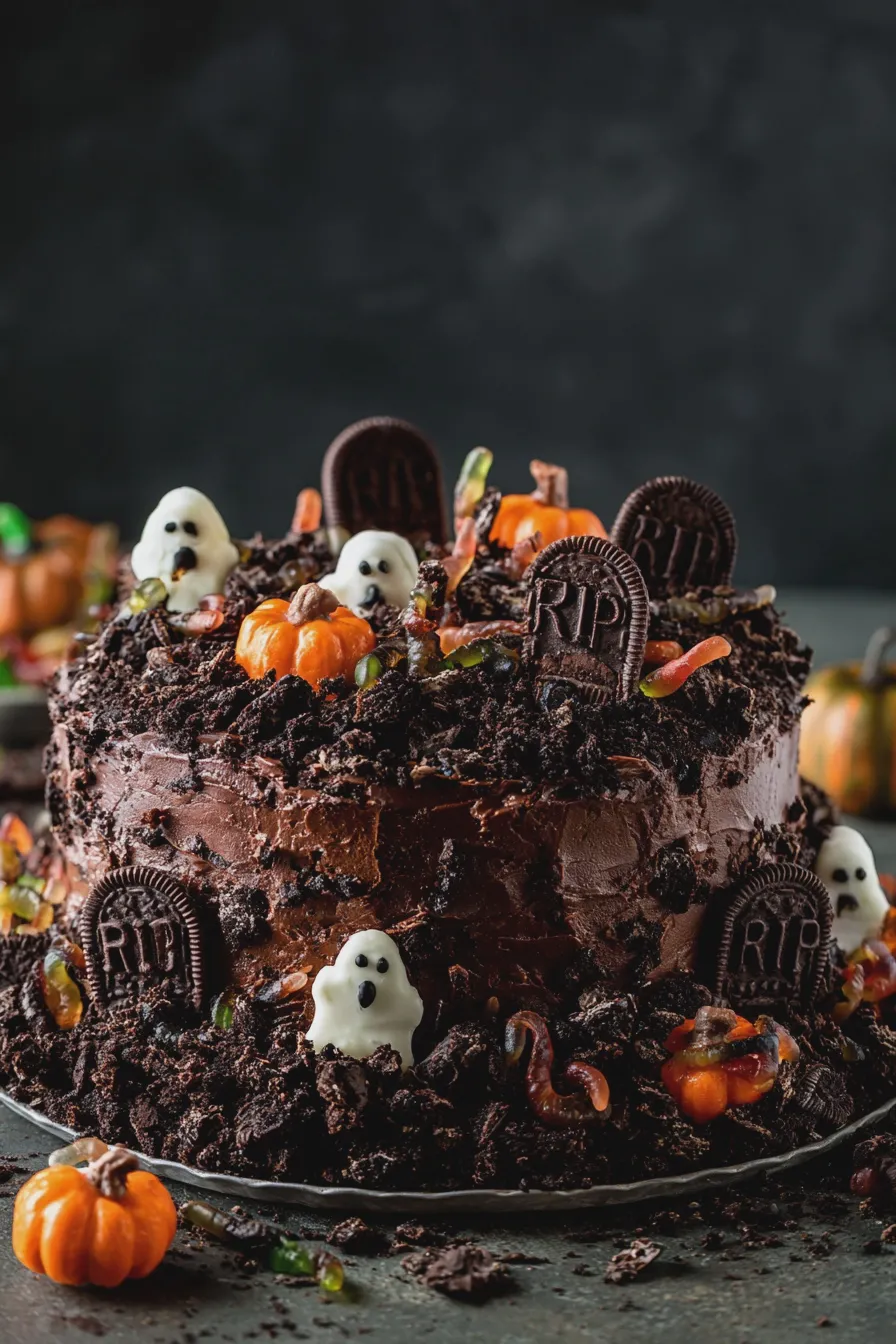
There’s something undeniably fun and festive about a Halloween graveyard cake. It’s a showstopper that’s surprisingly simple to make, perfect for impressing guests at your next spooky gathering. Whether you’re a seasoned baker or just starting out, this guide will walk you through creating a delicious and visually stunning graveyard cake that’s sure to be a hit. We’ll cover everything from choosing your cake base to adding those creepy-crawly decorations. Get ready to dig into the delicious details of creating the ultimate graveyard cake!
Choosing Your Graveyard Cake Base
The foundation of any great cake is, well, the cake itself! For a graveyard cake, you have a few fantastic options, each offering a slightly different flavor and texture profile. The most popular choice for a Halloween graveyard cake is a rich, dark chocolate cake. This works wonderfully because it mimics the look of dark soil once crumbled or frosted.
Chocolate Cake Options
A classic chocolate cake recipe is always a winner. Look for one that yields a moist crumb, as this will be easier to work with for decorations. A devil’s food cake or a deep chocolate fudge cake are excellent choices. If you’re short on time, a good quality boxed chocolate cake mix can also be a great starting point. Just be sure to follow the package directions carefully.
Another delightful option for a chocolate graveyard cake is to use a chocolate pudding cake. This type of cake often incorporates pudding mix directly into the batter, resulting in an incredibly moist and dense cake that’s almost like a pudding itself. It’s a fantastic base for creating that ‘dirt’ effect.
Non-Chocolate Alternatives
While chocolate is king for this theme, don’t feel limited! A dense vanilla or even a spice cake can also work. For a spice cake, the warm flavors might lend themselves well to a fall harvest-themed graveyard. You could even consider a red velvet cake for a bit of a bloody effect peeking through the ‘dirt’.
If you enjoyed this, you might also love our Zucchini Cake With Cream Cheese Frosting recipe.
Tips for Baking Your Cake
- Prepare your pans: Always grease and flour your cake pans, or use parchment paper. This is crucial to prevent sticking, especially when dealing with delicate decorations later. You can find a great guide on how to prepare a cake pan to prevent sticking.
- Cool completely: Ensure your cake is fully cooled before frosting or decorating. A warm cake will melt your frosting and make decorating a messy ordeal.
- Level your cake: If baking in layers, use a serrated knife or a cake leveler to ensure the tops are flat. This creates a stable base for your graveyard scene.
The All-Important Graveyard Frosting
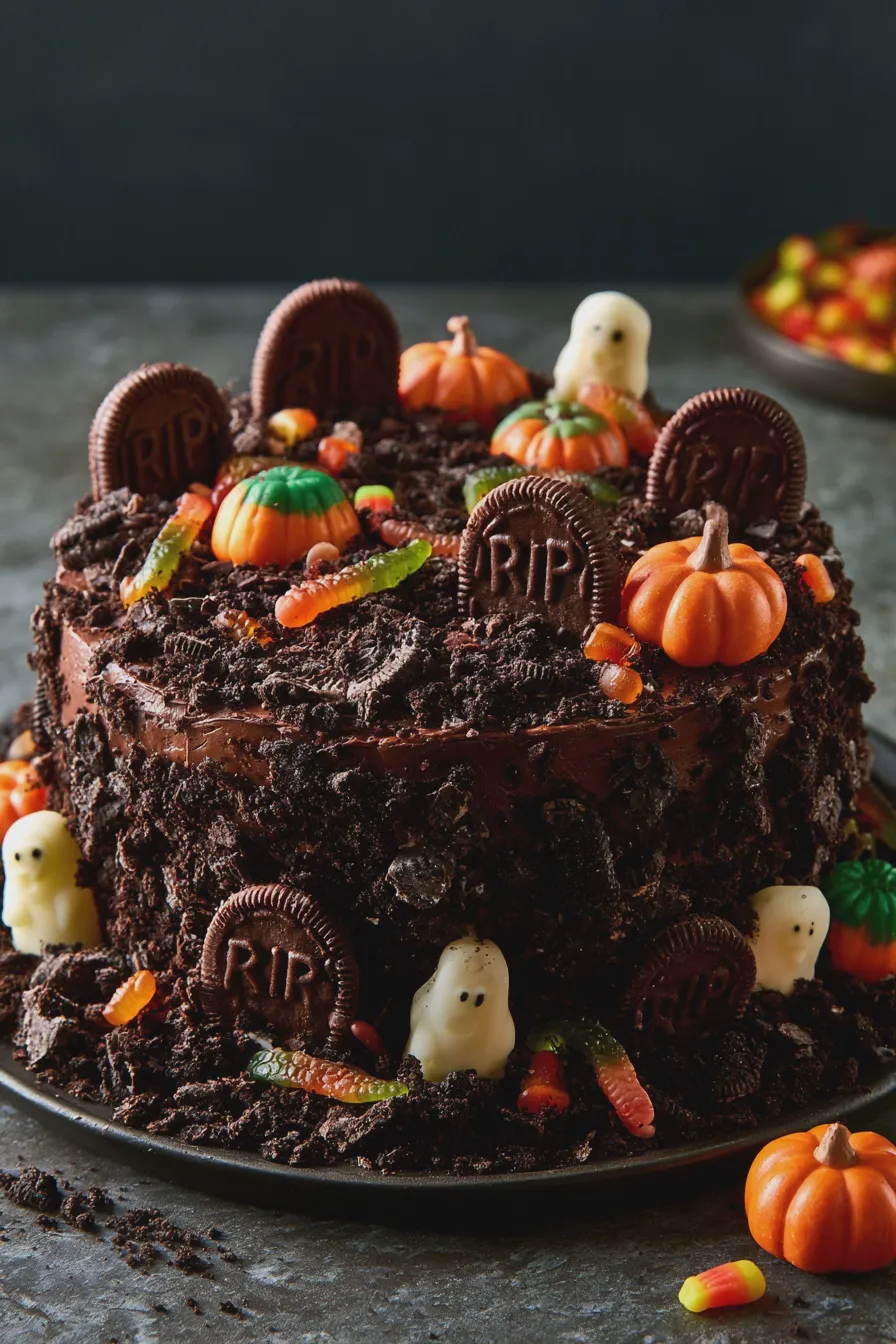
The frosting is where your graveyard cake truly comes to life! The goal is to create a surface that looks like freshly dug earth. This is where the term ‘dirt graveyard cake’ often comes into play.
Chocolate Frosting for Dirt Effect
A rich chocolate buttercream frosting is the most common and effective choice. You want it to be dark and spreadable. You can achieve this by using dark cocoa powder or even adding a touch of black food coloring to a standard chocolate frosting. The key is to get it dark enough to resemble soil.
For an even more realistic dirt texture, consider using a crushed cookie crumb topping. Chocolate sandwich cookies (like Oreos) are perfect for this. Simply pulse them in a food processor until they resemble coarse dirt. You can then mix these crumbs into your frosting or sprinkle them generously over a frosted cake.
Tips for Applying Frosting
- Crumb coat: Apply a thin layer of frosting first to trap any loose crumbs. Chill the cake for about 15-20 minutes before applying the final, thicker layer.
- Texture is key: Don’t aim for a perfectly smooth finish. Use an offset spatula or a fork to create ridges and uneven textures that mimic natural soil.
- Color variations: For added realism, you can swirl in a tiny bit of dark brown or even a hint of grey food coloring into your chocolate frosting to create subtle variations in the soil color.
Creating the Graveyard Scene: Decorations and Details
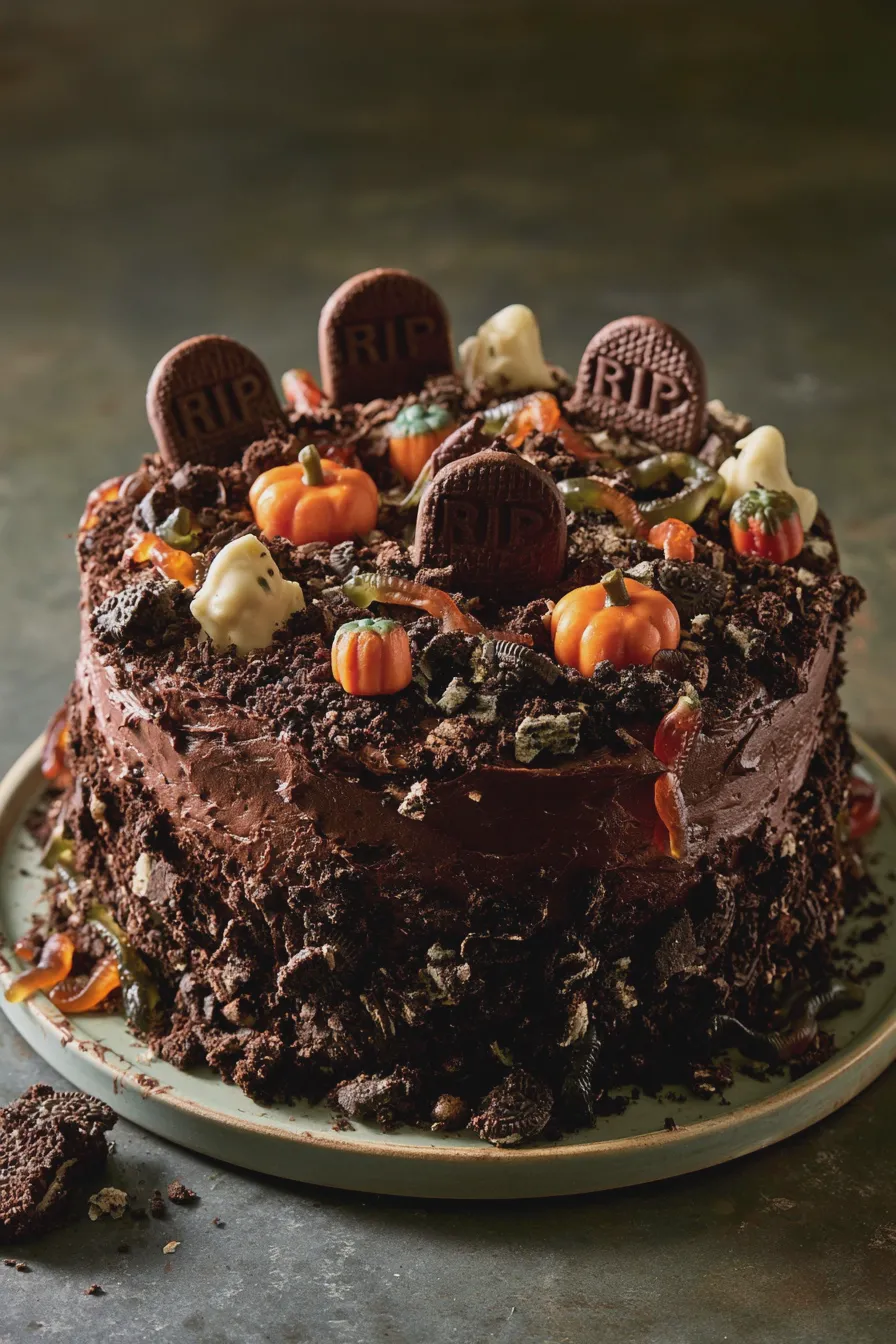
This is the most fun part – bringing your spooky graveyard to life! The possibilities for graveyard cake decorations are endless, limited only by your imagination (and perhaps the candy aisle!).
Don’t miss out on our guide to Carrot Cake With Cream Cheese Frosting.
Tombstones: The Stars of the Show
No graveyard is complete without tombstones. These can be made from various edible materials:
- Cookies: Milano cookies, Pirouette cookies, or even rectangular wafer cookies work wonderfully. You can write epitaphs on them with edible marker or black icing.
- Chocolate: Melt chocolate and pour it into rectangular molds or freehand shapes on parchment paper. Let them set completely.
- Candy Melts: Similar to chocolate, candy melts can be molded into tombstone shapes.
- Cake Slices: Small slices of cake, cut into tombstone shapes and perhaps frosted, can also be used.
For an easy graveyard cake, pre-made cookies are a fantastic shortcut. Ensure they are sturdy enough to stand upright in the cake.
Spooky Characters and Creatures
Add some life (or un-life!) to your graveyard:
- Gummy Worms and Spiders: These are classic for a reason! Drape them over the cake, have them crawling out of the ‘dirt’, or peeking from behind tombstones.
- Plastic Skeletons and Ghosts: For a more playful graveyard cake for kids, small plastic spooky figures can be placed around the scene. Just be sure to warn guests before they take a bite!
- Candy Skulls: Available in many candy stores, these add a festive touch.
Adding Realistic Touches
Elevate your spooky dessert:
Another favorite of ours is the Why Did My Cake Sink In The Middle.
- Candy Pebbles: Use chocolate rocks or small chocolate candies to create pathways or scattered stones.
- Green Sprinkles or Coconut: Lightly colored green shredded coconut can mimic grass, adding a touch of color to the dark landscape.
- Pocky Sticks: These can be used to create fences or even small trees.
Putting It All Together: A Graveyard Cake Tutorial
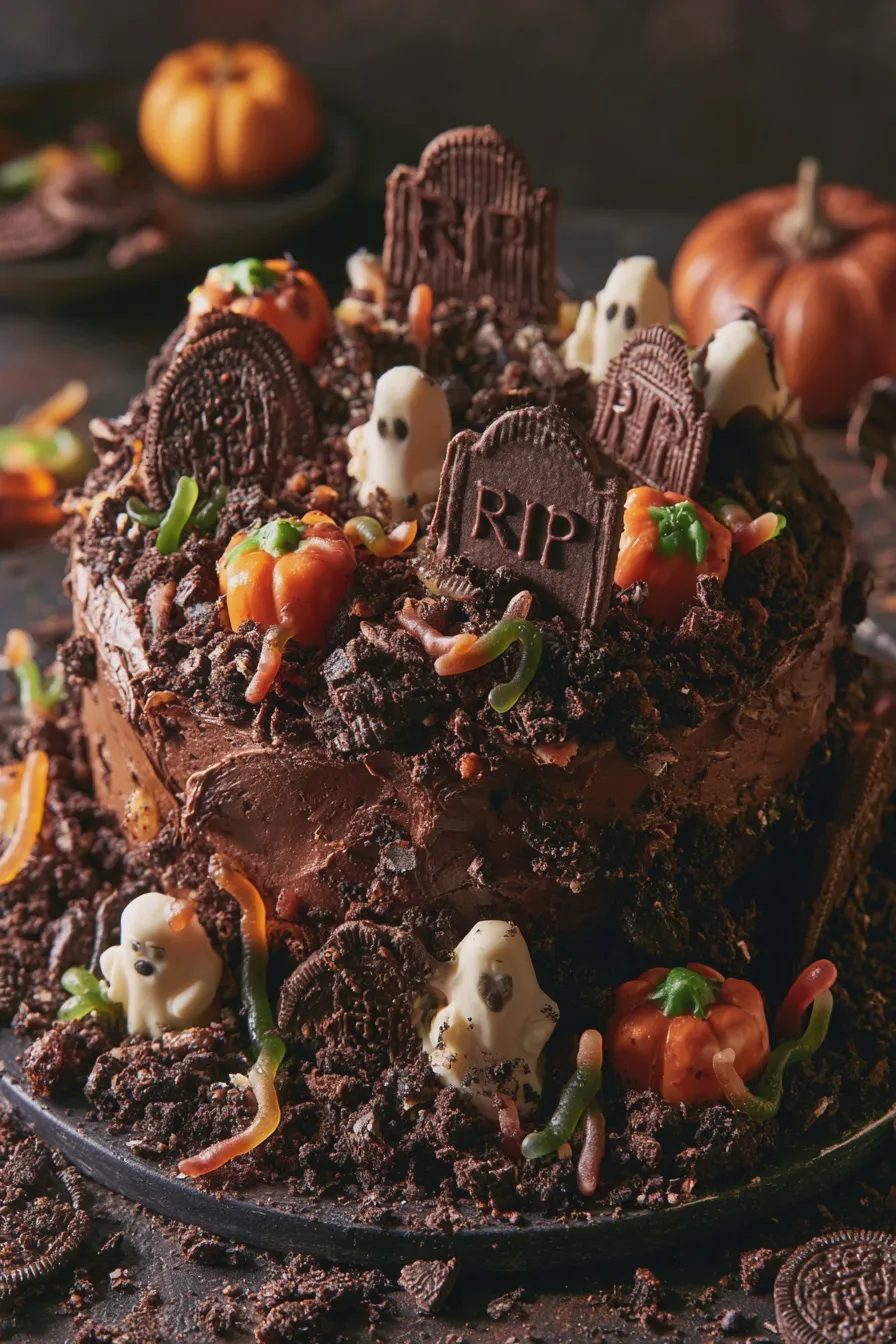
Let’s walk through the assembly process for your Halloween graveyard cake.
Step 1: Bake and Cool Your Cake
Bake your chosen cake according to the recipe or mix instructions. Once baked, let it cool in the pan for about 10-15 minutes before inverting it onto a wire rack to cool completely. If you’re making a layered cake, ensure both layers are flat and fully cooled.
Step 2: Frost the Cake
Once the cake is completely cool, apply your chocolate frosting. Start with a thin crumb coat, chill, and then apply a thicker, textured layer of frosting. Remember, unevenness is good here!
Step 3: Add the ‘Dirt’ (Optional but Recommended)
If you’re using crushed cookie crumbs for a more realistic dirt effect, sprinkle them generously over the frosted cake. You can gently press them into the frosting to ensure they adhere.
Don’t miss out on our guide to Zucchini Brownies With Frosting.
Step 4: Arrange Your Tombstones
Carefully insert your prepared tombstones into the cake. Place them at different angles and depths to create a more natural graveyard look. You might need to gently push them into the cake so they stand securely.
Step 5: Populate Your Graveyard
Now for the fun details! Add your gummy worms, spiders, candy skulls, and any other spooky elements. Arrange them around the tombstones, have them crawling out of the ‘dirt’, or peeking from behind the cake edges.
Step 6: Add Finishing Touches
Sprinkle on any ‘grass’ (green coconut) or chocolate rocks. You can even use a few candy pumpkins for an extra festive touch. Don’t be afraid to get creative!
Common Mistakes to Avoid
Even with a simple concept, a few common pitfalls can make your graveyard cake less spooky and more sloppy.
If you enjoyed this, you might also love our How To Make Ice Cream At Home recipe.
- Frosting too soon: As mentioned, a warm cake will lead to melted frosting. Patience is key!
- Over-decorating: While it’s tempting to add every spooky candy you find, sometimes less is more. A few well-placed decorations can be more impactful than an overwhelming amount.
- Tombstones falling over: Ensure your tombstones are inserted firmly enough into the cake. If they feel wobbly, you might need to prop them up with a bit of extra frosting or a strategically placed candy.
- Not enough ‘dirt’: The dirt effect is crucial for the graveyard theme. Ensure you have enough chocolate frosting and/or cookie crumbs to create a convincing soil landscape.
Graveyard Cake Ideas for Inspiration
Looking for more inspiration for your spooky dessert? Consider these graveyard cake ideas:
- The Haunted Mansion Cake: Use grey frosting and dark chocolate cake. Add edible moss (crushed green cookies) and spooky candy ghosts.
- The Zombie Apocalypse Cake: Use red and black frosting swirls for a chaotic look. Add zombie figures and broken tombstones.
- The Witch’s Brew Graveyard: Incorporate green candy ‘bubbles’ and a witch hat topper.
- The Cute Graveyard Cake for Kids: Use brighter colors, friendly ghost candies, and maybe even some candy bats. Focus on fun rather than fright.
A no-bake graveyard cake is also a fantastic option, often utilizing pudding and crushed cookies for a quick and easy dessert. This is a great way to achieve the dirt graveyard cake look without any baking required.
Print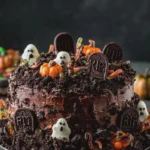
Graveyard Cake Recipe for Spooky Halloween Parties
- Total Time: PT1H20M
- Yield: 12–16 servings 1x
- Diet: Vegetarian
Description
A deliciously eerie graveyard chocolate cake, perfect for Halloween parties or any spooky celebration. This moist chocolate cake is topped with chocolate frosting and decorated with crushed chocolate cookies for ‘dirt’, candy tombstones, and gummy worms.
Ingredients
- 1 box (15.25 oz) chocolate cake mix
- 3 large eggs
- 1 cup water
- 1/3 cup vegetable oil
- 1 bag (12 oz) semi-sweet chocolate chips
- 1 cup heavy cream
- 1 teaspoon vanilla extract
- 1/2 cup unsalted butter, softened
- 3 cups powdered sugar
- 1/4 cup unsweetened cocoa powder
- 1/4 cup milk
- 1 package (14.3 oz) chocolate sandwich cookies (like Oreos), crushed
- Candy pumpkins
- Candy ghosts
- Gummy worms
- Chocolate wafer cookies or Milano cookies for tombstones
- Black edible marker
Instructions
- Preheat oven to 350°F (175°C). Grease and flour two 8-inch round cake pans.
- In a large bowl, prepare the chocolate cake mix according to package directions, using the eggs, water, and vegetable oil. Pour batter evenly into the prepared pans.
- Bake for 30-35 minutes, or until a wooden skewer inserted into the center comes out clean. Let cakes cool in pans for 10 minutes before inverting onto a wire rack to cool completely.
- While the cakes cool, make the chocolate ganache. Place chocolate chips in a heatproof bowl. Heat heavy cream in a small saucepan until it just begins to simmer. Pour hot cream over chocolate chips and let sit for 5 minutes. Whisk until smooth. Let cool to room temperature, then cover and refrigerate until thickened but still spreadable.
- Once cakes are completely cool, place one cake layer on your serving platter or cake stand. Spread a layer of ganache over the top. Place the second cake layer on top.
- In a medium bowl, cream together the softened butter, powdered sugar, and cocoa powder until smooth. Gradually add milk, 1 tablespoon at a time, until desired frosting consistency is reached.
- Frost the entire cake with the chocolate buttercream frosting.
- Sprinkle the crushed chocolate sandwich cookies all over the top and sides of the cake to resemble dirt.
- Write ‘RIP’ or other spooky messages on the chocolate wafer cookies using the black edible marker to create tombstones.
- Arrange the candy pumpkins, candy ghosts, gummy worms, and chocolate tombstones on top of the cake, sticking them into the ‘dirt’ to create a graveyard scene.
- Chill the cake for at least 30 minutes before serving to allow the frosting and ganache to set.
Notes
- For a richer chocolate flavor, use dark chocolate chips for the ganache.
- Feel free to customize the tombstone messages or decorations with your favorite Halloween candies.
- This cake can be assembled a day in advance. Store in the refrigerator and add decorations just before serving for the best presentation.
- Prep Time: PT45M
- Cook Time: PT35M
- Category: Desserts
- Method: Baking
- Cuisine: American
Nutrition
- Serving Size: 1 slice
- Calories: 450
- Sugar: 55g
- Sodium: 200mg
- Fat: 25g
- Saturated Fat: 15g
- Carbohydrates: 60g
- Fiber: 3g
- Protein: 4g
- Cholesterol: 60mg







