
Welcome, fellow baking enthusiasts! Today, we’re diving into a truly enchanting corner of the dessert world: vampire cookies. These delightful treats are perfect for adding a touch of spooky fun to any occasion, especially around Halloween. Whether you’re looking for classic red velvet vampire cookies with that signature “bite” or simple chocolate vampire cookies that are quick to whip up, this guide will have you covered. We’ll explore how to make these cookies not only look the part but also taste absolutely delicious. Get ready to sink your teeth into some fun and create some truly memorable halloween cookies that will have everyone howling for more. If you’re new to cookie making or looking for some fresh inspiration, you can find a fantastic starting point for understanding cookie basics on cookie baking tips.
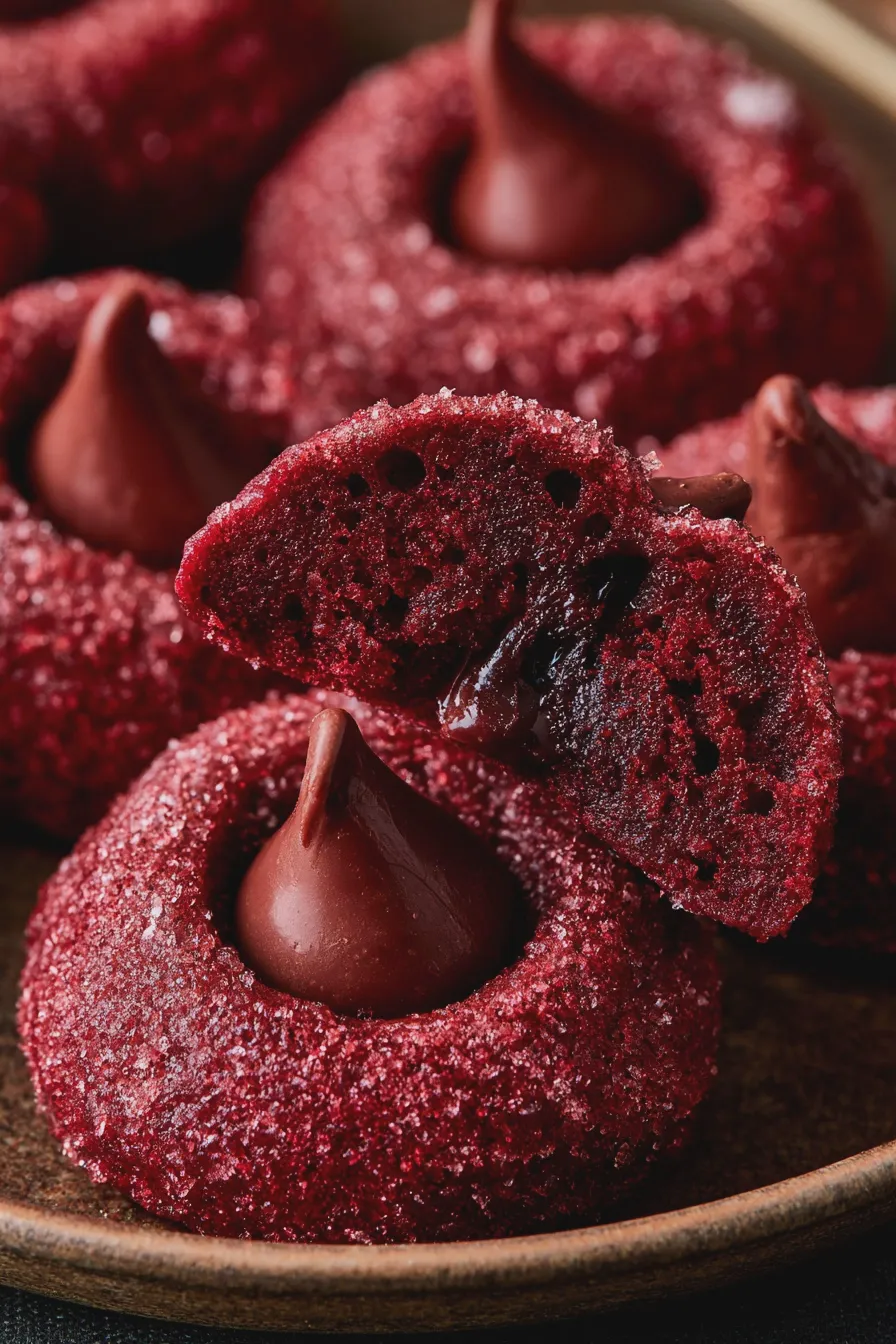
What Are Vampire Cookies?
Vampire cookies are a type of themed cookie that typically features a design or flavor profile reminiscent of vampires. The most common interpretation involves a cookie with a “bite” taken out of it, often filled with a red jam or frosting to simulate blood. However, the term can also encompass any cookie with a spooky or vampire-related theme, such as those decorated with bats, fangs, or dark colors. They are a popular choice for halloween cookies and other themed parties.
The classic vampire cookie often starts with a chocolate or red velvet cookie base. The “bite” is usually created by using a round cookie cutter and then gently pressing the edges inward to create an indentation before baking. After baking and cooling, this hollowed-out area is then filled with a vibrant red filling. This could be raspberry jam, strawberry preserves, or even a simple red-tinted buttercream or cream cheese frosting. The contrast between the dark cookie and the bright red “blood” is what gives these vampire bite cookies their iconic look.
Looking for more? Try this delicious Creaming Method For Cakes And Cookies next.
Beyond the classic bite, the world of vampire cookies is wonderfully diverse. You can find recipes for chocolate vampire cookies that are intensely rich and dark, perfect for a gothic aesthetic. Red velvet vampire cookies offer a beautiful crimson hue within the cookie itself, adding another layer of visual appeal. For those seeking simpler options, easy vampire cookies can be made with pre-made dough or a straightforward drop cookie recipe. And if you’re short on time or want a no-bake solution, no bake vampire cookies are also a delightful possibility, often involving no-bake cookie bases or assembled treats.
The versatility of vampire cookies means they can be adapted to suit any skill level and taste preference. They are a fantastic way to get creative in the kitchen, especially for events like Halloween. Whether you’re aiming for intricate vampire cookie decorations or just a simple, spooky treat, the core idea is to have fun and create something deliciously eerie. These treats are a fantastic addition to a wider array of halloween dessert ideas, standing out amongst ghost cookies, bat cookies, and monster cookies.
Don’t miss out on our guide to How To Make Ice Cream At Home.
Classic Red Velvet Vampire Cookies
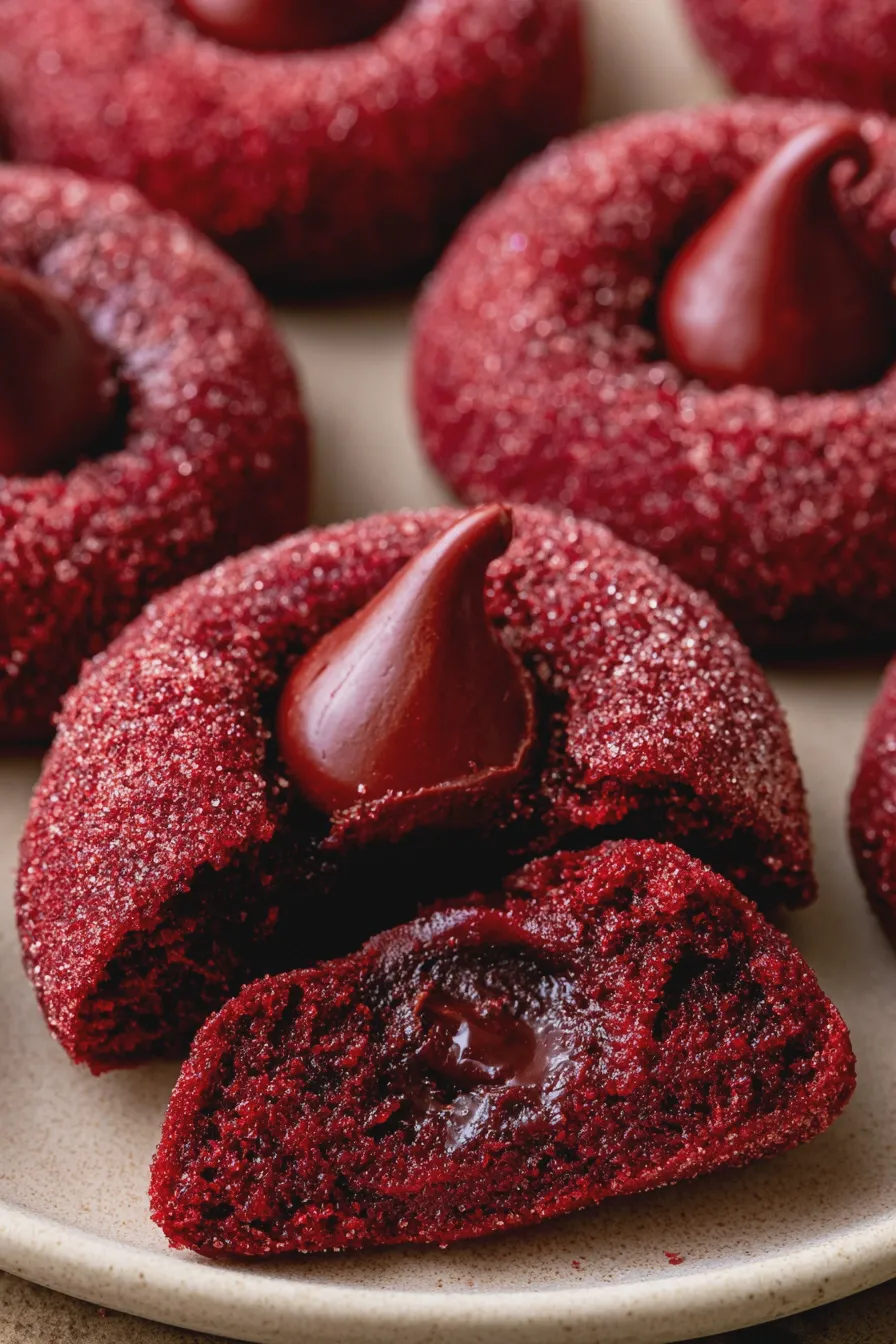
Red velvet is a natural fit for vampire cookies, thanks to its deep red color. When combined with the signature “bite” and a filling that mimics blood, it creates a striking and delicious treat. This recipe focuses on achieving that perfect balance of moist, tender cake-like cookie with a hint of cocoa and a vibrant red hue.
Ingredients You’ll Need:
- All-purpose flour
- Unsweetened cocoa powder
- Baking soda
- Salt
- Unsalted butter, softened
- Granulated sugar
- Brown sugar, packed
- Eggs
- Vanilla extract
- Red food coloring (gel or liquid)
- Buttermilk (or milk with a splash of vinegar)
- Cream cheese or buttercream frosting (for filling)
- Raspberry or strawberry jam (for filling)
The Process:
The foundation of a great red velvet cookie is the creaming method. This is where butter and sugar are beaten together until light and fluffy, incorporating air that helps the cookies spread and bake evenly. For a detailed guide on this essential technique, you can refer to our article on the how to cream butter and sugar.
Looking for more? Try this delicious How To Fold Ingredients Without Deflating next.
- Dry Ingredients: Whisk together flour, cocoa powder, baking soda, and salt in a medium bowl.
- Cream Butter and Sugars: In a large bowl, beat softened butter with granulated and brown sugars until light and fluffy.
- Add Wet Ingredients: Beat in eggs one at a time, then stir in vanilla extract and red food coloring until well combined.
- Alternate Dry and Wet: Gradually add the dry ingredients to the wet ingredients, alternating with the buttermilk. Mix until just combined, being careful not to overmix.
- Chill the Dough: Cover the dough and refrigerate for at least 1 hour. This is crucial for preventing the cookies from spreading too much and makes them easier to handle.
- Shape the Cookies: Roll the chilled dough into balls. For the “bite,” you can either use a small round cookie cutter to remove a semi-circle from the side of each ball before baking, or gently press the edges inward after baking.
- Bake: Bake on parchment-lined baking sheets at the temperature specified in your recipe until the edges are set.
- Cool and Fill: Let the cookies cool on the baking sheet for a few minutes before transferring them to a wire rack to cool completely. Once cool, fill the “bite” area with your chosen red filling.
Tips for Red Velvet Success:
- Don’t Skimp on Red Food Coloring: To get that true red velvet color, you’ll need a good amount of red food coloring. Gel coloring is often preferred as it’s more concentrated and won’t add excess liquid to the dough.
- Buttermilk Substitute: If you don’t have buttermilk, you can make your own by adding 1 tablespoon of white vinegar or lemon juice to 1 cup of milk and letting it sit for 5-10 minutes.
- Chilling is Key: Don’t skip the chilling step! Cold dough is less likely to spread, ensuring your cookies hold their shape and the “bite” indentation is more defined.
- Filling Options: For a truly “bloody” effect, raspberry or strawberry jam works wonderfully. A thick red buttercream or cream cheese frosting can also be used. For an extra spooky touch, you can even add a few drops of red food coloring to white frosting.
Common Mistakes to Avoid:
- Overmixing the Dough: Overmixing can develop the gluten in the flour, leading to tough cookies. Mix only until the ingredients are just combined.
- Not Chilling the Dough: As mentioned, this leads to excessive spreading and loss of shape.
- Baking Too Long: Red velvet cookies should be slightly soft in the center when removed from the oven. They will continue to cook on the baking sheet. Overbaking will result in dry, crumbly cookies.
Chocolate Vampire Cookies
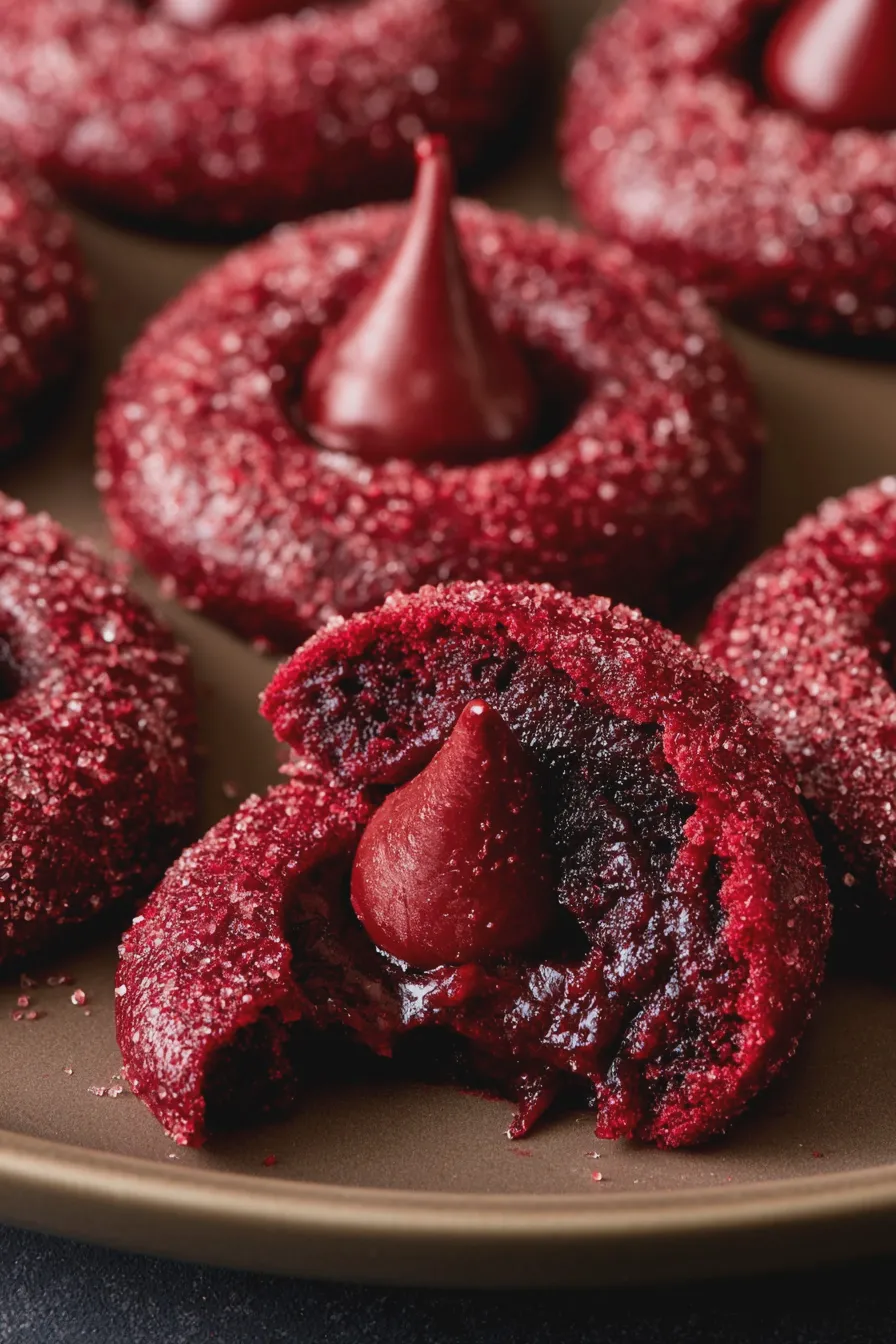
For the chocolate lovers, these chocolate vampire cookies offer a rich, decadent flavor that pairs beautifully with the spooky theme. They can be made using a similar “bite” technique or simply decorated to look vampiric.
Ingredients:
- All-purpose flour
- Unsweetened cocoa powder
- Baking soda
- Salt
- Unsalted butter, softened
- Granulated sugar
- Eggs
- Vanilla extract
- Chocolate chips (optional, for extra richness)
- Red frosting or jam (for filling/decoration)
The Process:
This recipe often uses a standard drop cookie method, making it quite straightforward. The key is to achieve a deep chocolate flavor and a texture that’s chewy on the inside and slightly crisp on the edges.
Don’t miss out on our guide to How To Prepare A Cake Pan To Prevent Sticking.
- Combine Dry Ingredients: Whisk together flour, cocoa powder, baking soda, and salt.
- Cream Butter and Sugar: Beat softened butter and sugar until creamy.
- Add Eggs and Vanilla: Beat in eggs one at a time, followed by vanilla extract.
- Incorporate Dry Ingredients: Gradually add the dry ingredients to the wet ingredients, mixing until just combined. Stir in chocolate chips if using.
- Chill Dough (Optional but Recommended): Chilling the dough will help prevent excessive spreading and make it easier to shape.
- Shape Cookies: Roll into balls. You can create the “bite” as described for the red velvet cookies, or simply bake them as rounds and decorate later.
- Bake: Bake on parchment-lined sheets until set.
- Cool and Decorate: Allow cookies to cool completely. Then, create the “bite” by gently pressing in an edge and filling with red frosting or jam. Alternatively, you can use a small amount of red frosting to draw fangs or blood drips on the cookies.
Tips for Chocolatey Goodness:
- Use Good Quality Cocoa: The better the cocoa powder, the richer the chocolate flavor. Dutch-processed cocoa can give a darker color and smoother flavor.
- Don’t Overbake: Chocolate cookies can be deceiving as they don’t show browning as readily as vanilla cookies. Bake until the edges are firm but the centers still look slightly soft.
- Flavor Boost: A pinch of espresso powder added to the dry ingredients can enhance the chocolate flavor without adding a coffee taste.
Mistakes to Watch Out For:
- Using Old Baking Soda: Ensure your baking soda is fresh for proper leavening.
- Crowding the Baking Sheet: Give cookies enough space to spread.
- Decorating While Warm: Allow cookies to cool completely before adding frosting or jam to prevent melting.
Vampire Cookie Decorations and Variations
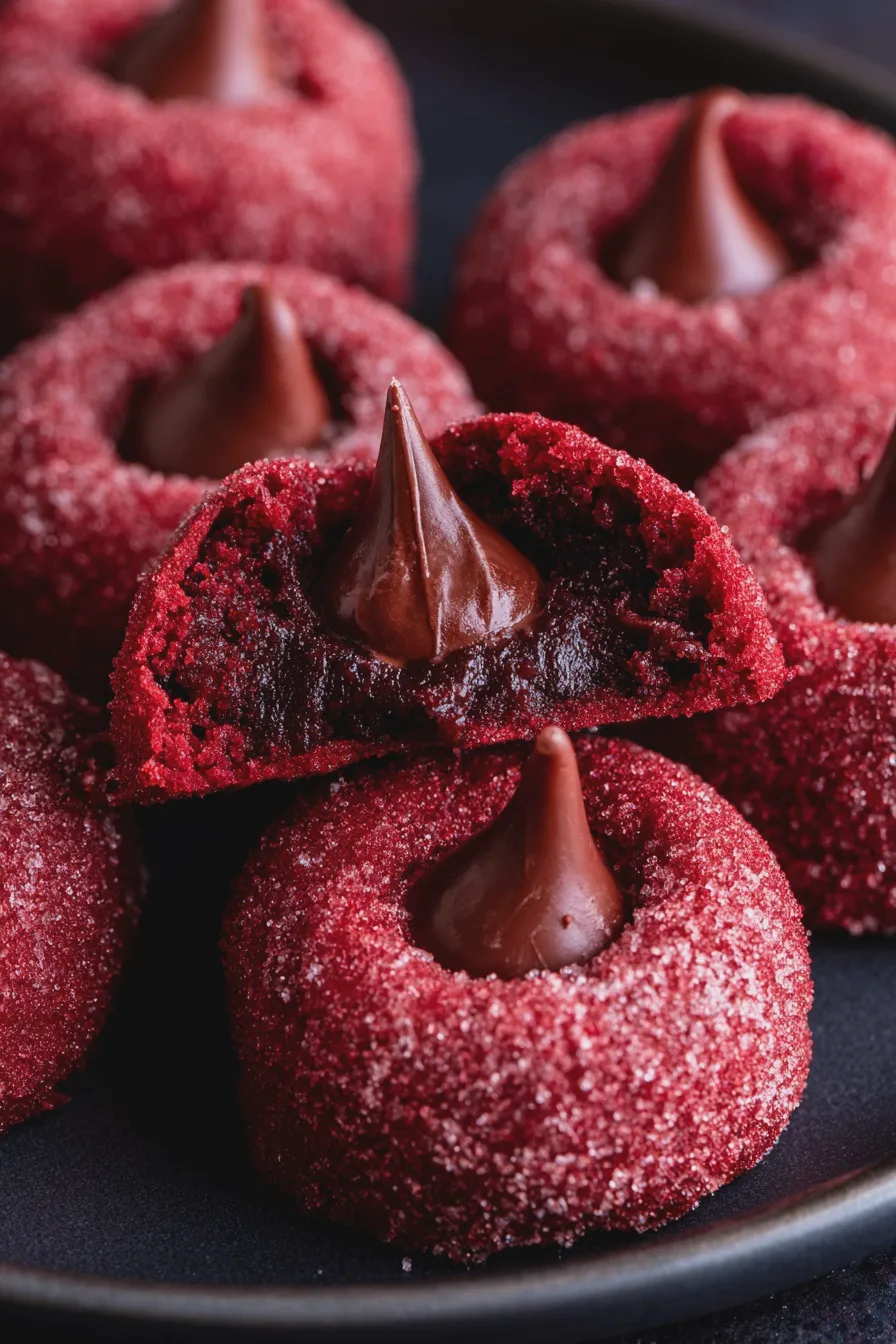
The fun doesn’t stop with the basic shape and filling! Vampire cookie decorations can elevate your treats from simple to spectacular. These ideas are great for making your halloween cookies truly stand out, whether you’re baking for a party or just for fun.
Decoration Ideas:
- The Classic “Bite”: As discussed, this is the most iconic look. Fill the indentation with bright red jam or frosting.
- Edible Blood Drips: Use red piping gel or a thin red glaze to create drips running down the sides of the cookies. This adds a dramatic, gory effect.
- Fang Details: Use white icing to pipe small triangles onto the cookie near the “bite” to represent vampire fangs.
- Dark Icing Base: Frost the entire cookie with dark chocolate or black icing, then add red accents for a dramatic contrast.
- Edible Eyes: Add googly candy eyes to make them look like spooky monster cookies.
- Edible Glitter: A dusting of edible silver or red glitter can add a touch of gothic glamour.
- Chocolate Glaze: A simple chocolate glaze can make any cookie look more polished and delicious.
Creative Variations:
Beyond the traditional red velvet and chocolate bases, consider these fun twists:
Looking for more? Try this delicious Why Did My Cake Sink In The Middle next.
- No-Bake Vampire Cookies: Use a no-bake cookie base (like oatmeal-based cookies) and shape them. Once cooled, create the “bite” and fill. These are excellent for vampire cookies for kids because they are so easy and require no oven time.
- Sandwich Cookies: Bake two smaller cookies, fill one with red jam, and then sandwich them together. You can then pipe a small bite mark or add fangs to the top cookie.
- Cookie Cut-Outs: Use vampire-shaped cookie cutters (bats, coffins, etc.) and decorate them with red and black icing. These are fantastic diy halloween cookies.
- Spiced Cookies: Add warm spices like cinnamon, nutmeg, or cloves to your cookie dough for a more complex flavor profile.
- Cream Cheese Filled: Instead of jam, use a sweetened cream cheese filling mixed with red food coloring for a tangy, creamy “blood.”
These variations allow for endless creativity, making your vampire cookies unique. Whether you’re aiming for creepy cookies or just festive halloween treats, there’s a vampire cookie idea for everyone. They are a wonderful addition to any spread of themed halloween treats.
Print
Vampire Cookies Recipe For a Spooky Sweet Treat
- Total Time: 30 minutes
Ingredients
- 1 cup (2 sticks) unsalted butter, softened
- 1 ½ cups granulated sugar, plus more for rolling
- 1 large egg
- 1 teaspoon vanilla extract
- 1–2 tablespoons red food coloring (gel works best)
- 2 ¼ cups all-purpose flour
- ¼ cup unsweetened cocoa powder
- 1 teaspoon baking soda
- ½ teaspoon salt
- 1 (10.5 ounce) package chocolate kisses, unwrapped
- Powdered sugar, for rolling (optional)
Instructions
- Preheat your oven to 350°F (175°C). Line baking sheets with parchment paper.
- In a large bowl, cream together the softened butter and granulated sugar until light and fluffy.
- Beat in the egg, vanilla extract, and red food coloring until well combined.
- In a separate bowl, whisk together the all-purpose flour, unsweetened cocoa powder, baking soda, and salt.
- Gradually add the dry ingredients to the wet ingredients, mixing until just combined. Do not overmix.
- Chill the dough for at least 30 minutes to make it easier to handle.
- Roll the dough into 1-inch balls.
- In a small bowl, mix together granulated sugar and powdered sugar. Roll each dough ball in the sugar mixture until coated.
- Place the dough balls about 2 inches apart on the prepared baking sheets.
- Bake for 9-11 minutes, or until the edges are set but the centers are still slightly soft.
- Remove from oven and immediately press a chocolate kiss into the center of each cookie, gently pushing it down.
- Let the cookies cool on the baking sheet for 5 minutes before transferring them to a wire rack to cool completely.
Notes
- For an extra spooky touch, you can add a tiny drop of black food coloring to the dough for a deeper red.
- Ensure the chocolate kisses are at room temperature so they melt slightly into the cookie.
- These cookies can be stored in an airtight container at room temperature for up to 3 days.
- Prep Time: 20 minutes
- Cook Time: 10 minutes







