
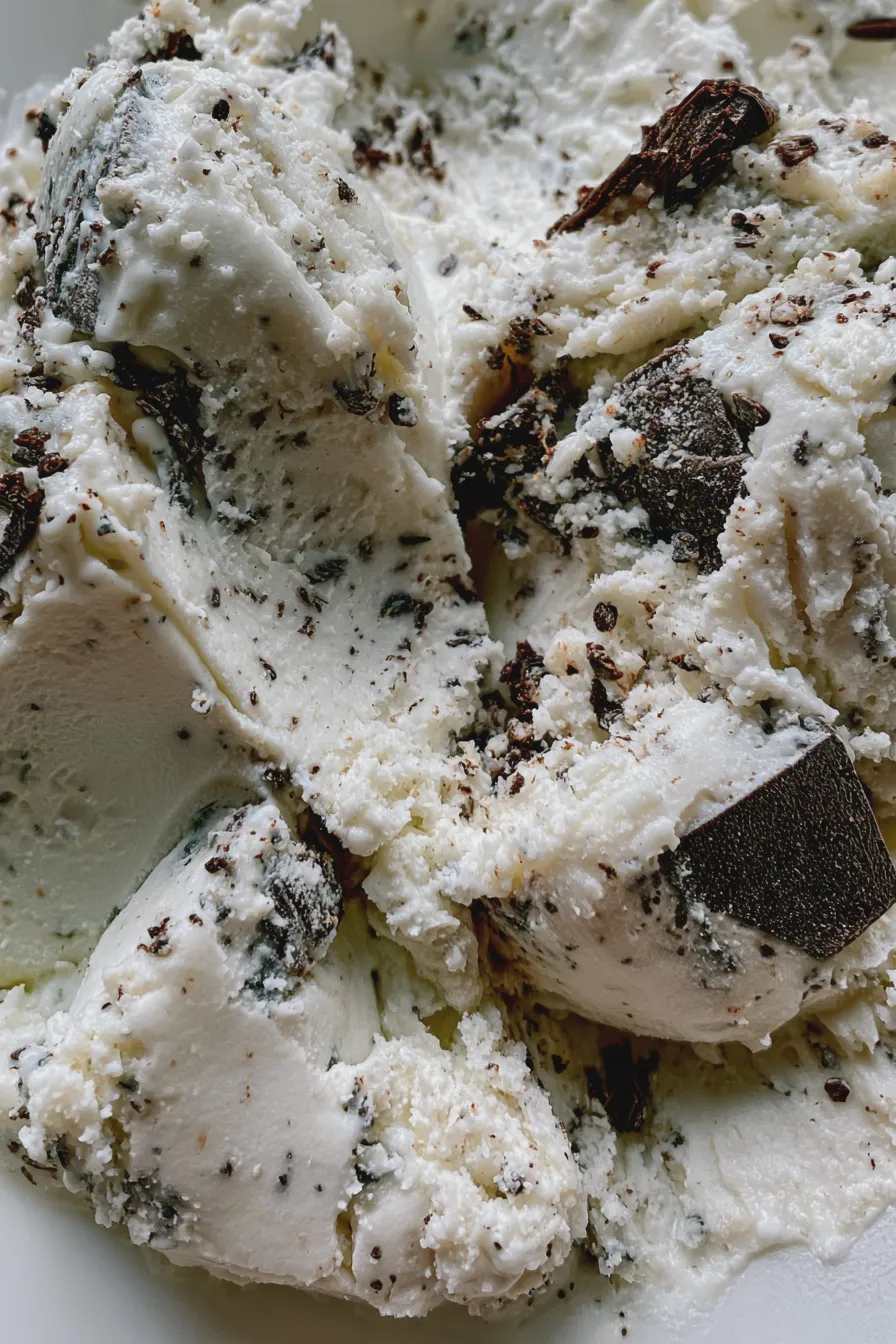
This rich and creamy vanilla bean creation proves that you don’t need dairy to achieve that perfect scoopable texture, making it the ultimate homemade vegan ice cream for summer gatherings or cozy evenings.
Craving a refreshing, completely plant-based treat that satisfies that classic frozen dessert craving? Making your own vegan ice cream at home is surprisingly simple, and this recipe delivers incredible flavor that rivals any store-bought pint. We are going to use full-fat coconut milk as our base to ensure we get that luxurious mouthfeel everyone expects from a premium scoop, yielding a truly satisfying, dairy-free ice cream recipes experience.
The magic of this recipe lies in balancing the richness of the coconut with pure vanilla extract, resulting in a smooth, scoopable texture right out of the freezer. If you have been searching for genuinely delicious vegan dessert recipes easy to master, this method requires minimal fuss and delivers maximum reward for your efforts.
Why This Homemade Vegan Ice Cream Works
Many beginners worry that homemade plant-based frozen desserts will turn out icy or hard, but our chosen base prevents this common pitfall. We rely on high-fat content—found naturally in full-fat coconut milk—to keep the mixture soft and pliable, even when fully frozen, similar to how traditional recipes use heavy cream. For those interested in exploring other bases, you might find interesting information on the differences between sorbet vs ice cream textures and structures.
This simple vanilla recipe is highly adaptable, serving as the perfect foundation whether you want to swirl in chocolate chips or fold in chunks of homemade baked goods, perhaps even something like our snickerdoodle cookies later on. It’s a fantastic starting point before diving into more complex flavors like a rich vegan chocolate ice cream.
Essential Ingredients for the Perfect Base
Gathering the right components is crucial for achieving that authentic, creamy texture in your homemade vegan frozen dessert.
- Full-Fat Canned Coconut Milk: 2 (13.5 oz) cans, chilled overnight in the refrigerator (do not shake the cans).
- Granulated Sugar: 3/4 cup (adjust slightly based on desired sweetness).
- Pure Vanilla Extract: 2 teaspoons, or the seeds scraped from 1 vanilla bean pod for maximum flavor.
- Pinch of Sea Salt: 1/4 teaspoon, to enhance the sweetness.
- Stabilizer (Optional but Recommended): 1 teaspoon arrowroot powder or cornstarch (helps prevent ice crystals).
If you find yourself avoiding coconut due to allergies or preference, consider exploring alternatives; while this recipe is optimized for coconut milk ice cream, many excellent cashew-based ice cream recipes exist for a different richness profile.
Equipment Needed for Churning
While some methods aim for no-churn vegan ice cream, using an ice cream maker yields the superior, professional texture we are aiming for here.
- Ice Cream Maker: Ensure the freezer bowl has been frozen for at least 24 hours.
- Medium Saucepan: For gently heating the base.
- Whisk and Rubber Spatula: For mixing and scraping.
- Airtight Freezer Container: A loaf pan covered tightly with plastic wrap and foil works well for storage.
Having the right equipment ready ensures the process moves smoothly, minimizing the time the base spends at room temperature before churning.
How to Make vegan ice cream
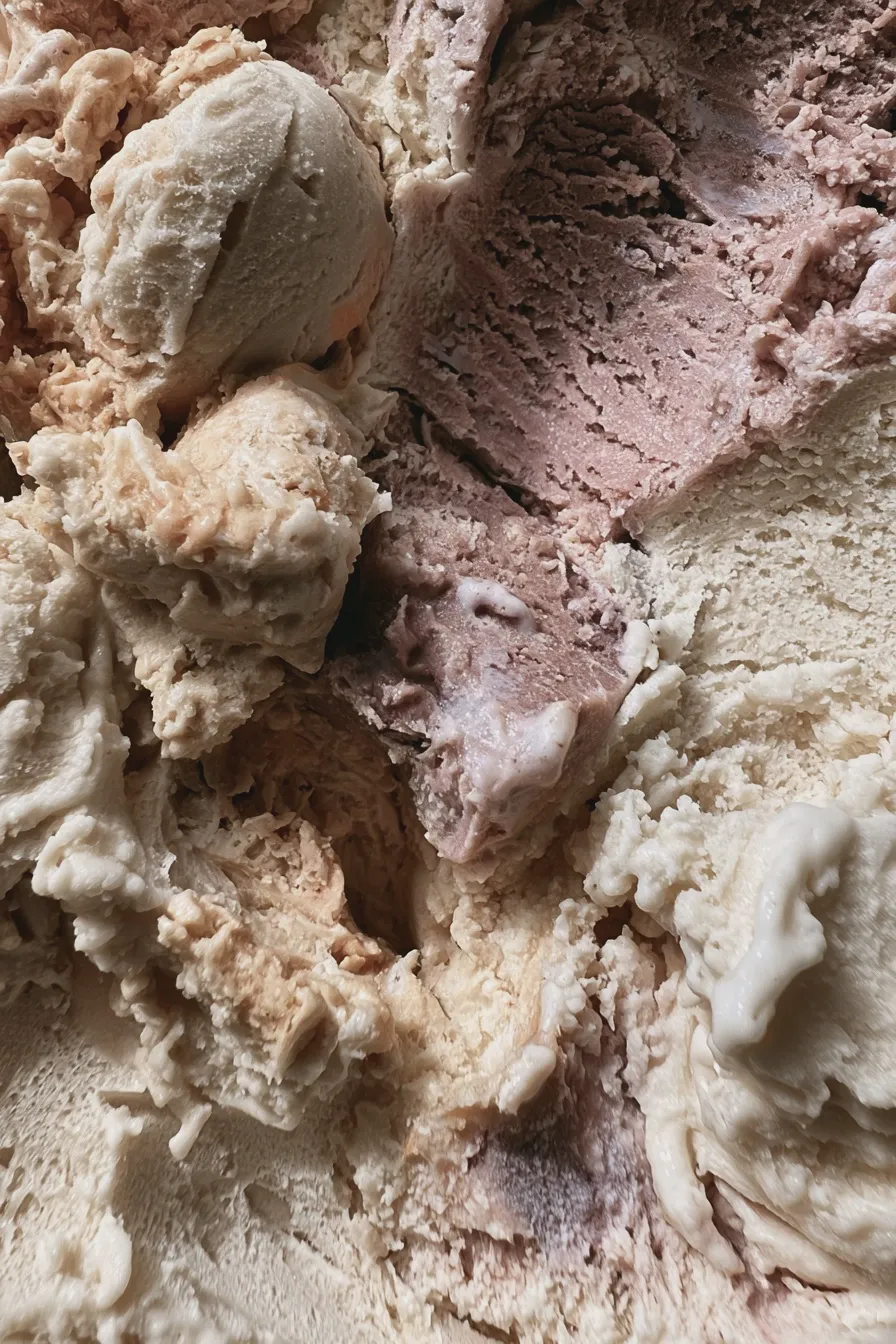
We will prepare a custard-style base first, which allows the sugar to fully dissolve and the flavors to meld beautifully before chilling.
Preparing the Sweetened Base
Gently whisk together the sugar, salt, and arrowroot powder (if using) in a medium saucepan over medium-low heat until just warm, stirring constantly for about two minutes. This brief warming stage helps to fully hydrate the starch, which is a key step for achieving a smoother final product when making dairy-free ice cream recipes.
Remove the mixture from the heat and stir in the vanilla extract and the thick cream layer scooped carefully from the top of the chilled coconut milk cans, leaving the watery liquid behind for now. Be sure to use high-quality vanilla; flavor truly shines through in simple recipes like this, much like in our lemon brownies.
Chilling the Mixture Thoroughly
Once combined, slowly whisk in the remaining thinner coconut liquid until the mixture is uniform, tasting it now to adjust sweetness if necessary for your preference. The mixture must be completely cold before churning, ideally reaching 40°F or below, so cover the bowl and refrigerate it for at least 4 hours, or preferably overnight.
A cold base is non-negotiable for successful churning, as it allows the machine to incorporate air quickly before the mixture freezes solid, leading to a lighter texture rather than a dense block, which is critical for any healthy vegan dessert.
Churning for Optimal Texture
Pour the chilled base into your pre-frozen ice cream maker bowl and churn according to the manufacturer’s instructions, which usually takes between 20 to 30 minutes. Watch the mixture closely; it will thicken considerably but will still resemble soft-serve consistency when finished.
If you are looking for a quick, minimal-effort option sometimes, you can look up methods for banana “nice” cream, although the texture achieved through a machine is generally superior for replicating traditional ice cream. This churning process incorporates the necessary air to prevent the final product from becoming too heavy, making it one of the best vegan dessert recipes easy to master when using a machine.
The Final Freeze (Hardening)
Transfer the soft-serve consistency mixture into your freezer-safe container and press a piece of plastic wrap directly onto the surface to prevent ice crystals from forming on top. Freeze the container for at least 4 to 6 hours to allow it to firm up to a scoopable consistency, which is necessary for a proper frozen dessert experience.
For the best scoopability straight from the freezer, let the container sit on the counter for about 10 minutes before serving; this tempering time allows the fats and sugars to soften just slightly, preventing it from being rock-hard, unlike some dense raw vegan ice cream preparations.
Tips for Success and Flavor Variations
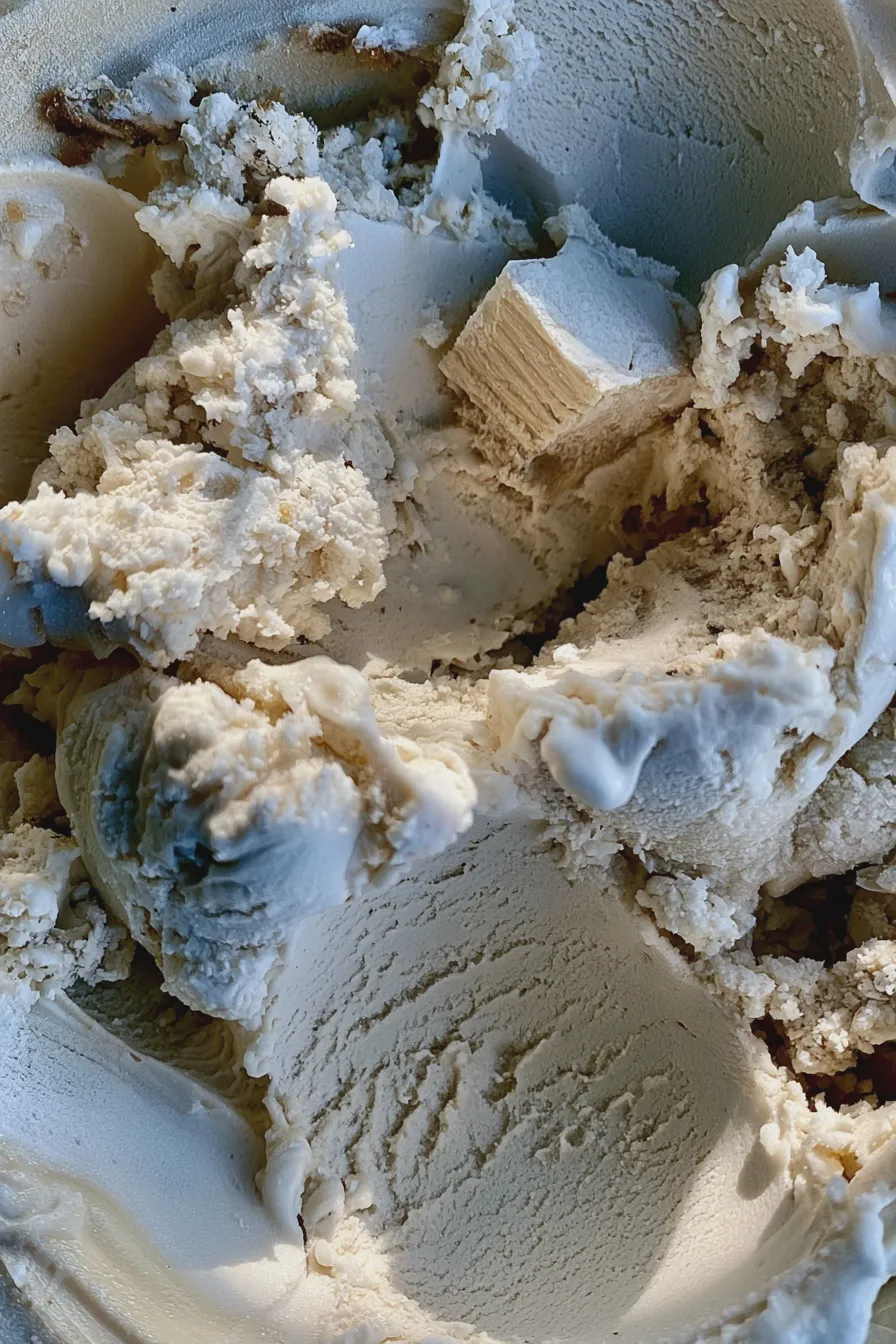
Mastering this base opens up a world of possibilities for creating your own custom frozen treats, moving beyond simple vanilla to explore richer flavors or even something like our red velvet brownies blended in.
Avoiding Common Texture Pitfalls
The most frequent issue is iciness, which usually stems from either too much water content or not enough fat/sugar stabilizer. Always use full-fat coconut milk, and ensure you chill the base thoroughly; a warmer base freezes too quickly, creating large ice crystals instead of small, creamy ones.
If you are aiming for a very low-sugar version, understand that sugar acts as an antifreeze; reducing it too much will result in a harder product, so consider using alternative sweeteners designed for freezing or explore recipes specifically tailored for low-sugar vegan desserts.
Flavor Additions and Mix-Ins
To create a rich vegan chocolate ice cream, whisk in 1/2 cup of high-quality unsweetened cocoa powder with the sugar and starch mixture before adding the liquids, ensuring it dissolves completely during the heating stage. For a fruity twist, consider making a puree from berries or peaches; this falls under the umbrella of delightful fruit-based vegan desserts.
If you are adding mix-ins like cookie dough pieces or caramel swirls, do so in the last two minutes of churning, or gently fold them in right before the final freeze, just as you would when preparing strawberry hand pies for filling.
Storage and Serving Suggestions
Store your finished frozen dessert in an airtight container, preferably one that is shallow and wide, to minimize the surface area exposed to air, which helps maintain quality over several weeks. If you find the texture becoming too firm after a few days, simply let it temper on the counter for 15 minutes before scooping.
This creamy vanilla is wonderful served simply with a drizzle of maple syrup, or you can use it as the star alongside a warm dessert, such as a slice of pound cake, perhaps even our lemon pound cake. While many search for best vegan ice cream brands, homemade allows for customization that store-bought simply cannot match, especially regarding freshness.
Print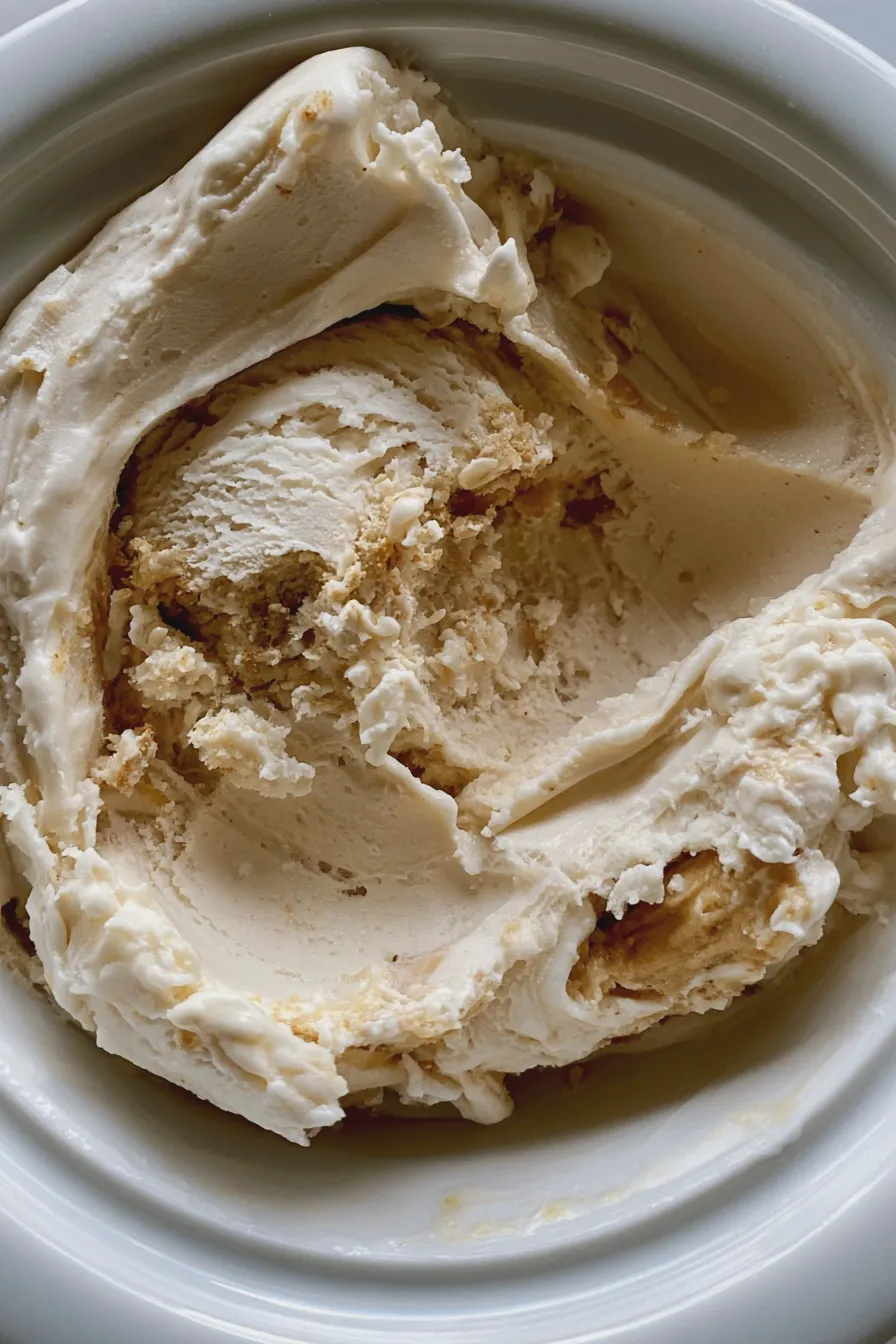
vegan ice cream Recipe Homemade Easy
- Total Time: PT6H10M
- Yield: About 1 quart 1x
- Diet: Vegan, Dairy-Free
Ingredients
- 2 (13.5 oz) cans full-fat coconut milk, chilled overnight (do not use light coconut milk)
- 1/2 cup unsweetened cocoa powder or cacao powder
- 1/2 cup pure maple syrup (adjust to taste)
- 1 teaspoon vanilla extract (optional, but recommended)
- Pinch of sea salt (optional, to enhance chocolate flavor)
Instructions
- Prepare the Coconut Cream: Open the chilled cans of coconut milk carefully without shaking them. Scoop out only the thick, solidified cream layer from the top into a large mixing bowl. Reserve the watery liquid at the bottom for smoothies or other uses; you will not need it for this recipe.
- Combine Ingredients: Add the maple syrup, cocoa powder, vanilla extract (if using), and sea salt to the bowl with the coconut cream.
- Whip Until Smooth: Using an electric hand mixer or a stand mixer fitted with the whisk attachment, beat the mixture on medium-high speed for 2 to 3 minutes until it is completely smooth, glossy, and well-combined. Scrape down the sides as needed.
- For No-Churn Method: Transfer the chocolate mixture into a freezer-safe loaf pan or an airtight container. Cover the surface directly with plastic wrap to prevent ice crystals from forming. Freeze for at least 6 hours, or until firm.
- For Churn Method (Optional): If you have an ice cream maker, pour the prepared mixture into the manufacturer’s canister and churn according to the machine’s directions (usually 20–30 minutes) until it reaches soft-serve consistency. Transfer to a container and freeze for an additional 2 hours to firm up.
- Serve: Allow the ice cream to sit on the counter for 5–10 minutes before scooping for the creamiest texture.
Notes
- For a richer flavor, consider substituting 1/4 cup of the maple syrup with melted dark chocolate (dairy-free).
- If the mixture seems too thick to mix initially, you can briefly use a whisk attachment on low speed until incorporated, then switch to high speed for whipping.
- Do not substitute with canned coconut cream intended for desserts; stick to standard full-fat canned coconut milk for the best liquid-to-solid ratio separation.
- Prep Time: PT10M
- Cook Time: 0 minutes
- Category: Vegan Ice Cream
- Method: No-Churn/Electric Mixer
- Cuisine: American
Nutrition
- Serving Size: 1/2 cup
- Calories: 280
- Sugar: 25g
- Sodium: 25mg
- Fat: 20g
- Saturated Fat: 17g
- Carbohydrates: 25g
- Fiber: 4g
- Protein: 3g
- Cholesterol: 0mg







