")
Table of Contents
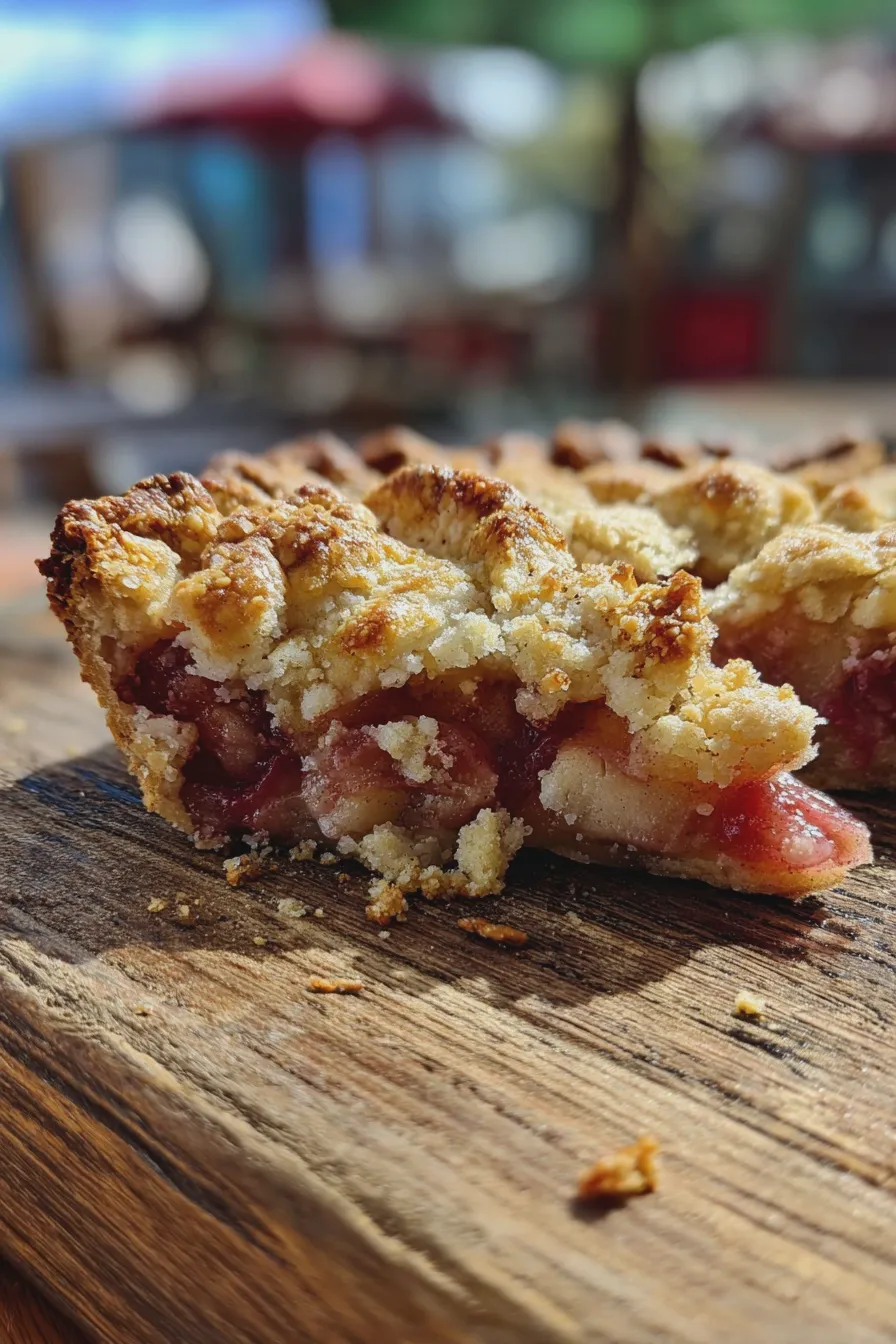
If you’re looking for a dessert that’s both stunning and delicious, look no further than these decadent red velvet brownies. These treats are a delightful twist on classic brownies, combining the rich, chocolatey flavor of a brownie with the signature tang and vibrant color of red velvet cake. They’re perfect for special occasions, a sweet treat for your loved ones, or simply a fun baking project to enjoy. The combination of flavors and textures makes these brownies irresistible.

The beauty of these red velvet brownies lies in their versatility. You can whip them up for Valentine’s Day, a holiday gathering, or any time you crave a special dessert. The striking red color and delicious flavor profile make them a crowd-pleaser. Plus, they’re surprisingly easy to make, even if you’re not an expert baker. Get ready to impress with this delightful dessert!
The distinctive flavor of red velvet is often associated with special occasions. You might be interested in exploring more red velvet dessert recipes. These brownies are a perfect example of how you can elevate a classic dessert with a touch of elegance and a burst of flavor. Let’s get started and bake some magic!
What Makes Red Velvet Brownies Special?
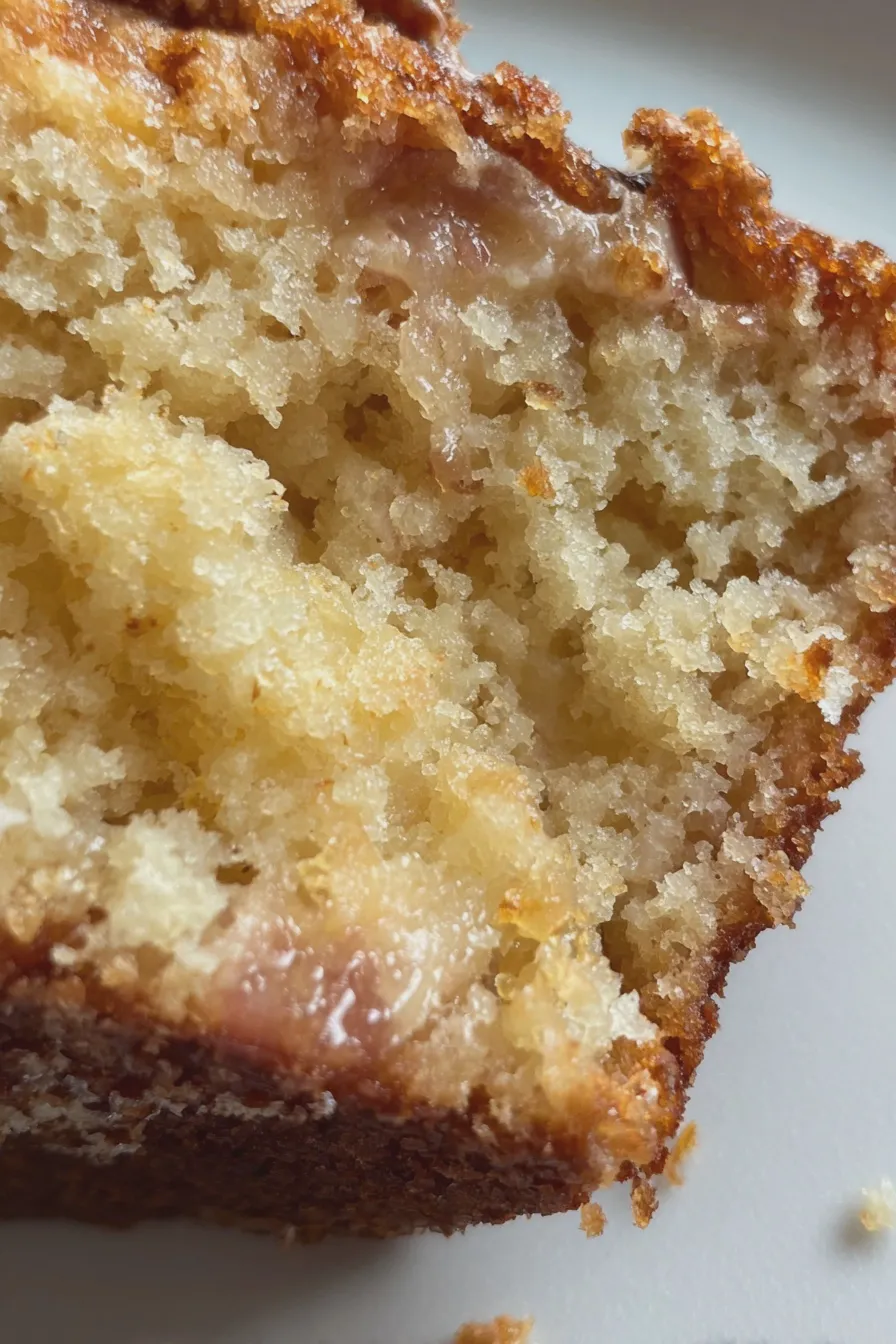
Red velvet brownies are a unique dessert because they combine the best elements of two beloved treats: brownies and red velvet cake. The result is a fudgy, chocolatey brownie with a hint of tang and a vibrant red hue. The texture is incredibly appealing, offering a delightful contrast between the fudgy interior and a slightly crisp top. These brownies are a real treat!
The signature flavor of red velvet comes from a blend of cocoa, buttermilk, and a touch of acidity, usually from vinegar or lemon juice. This combination creates a subtly tangy and slightly chocolatey flavor that’s both comforting and exciting. You can find more inspiration for your baking endeavors with a quick search on Food Network. The addition of red food coloring is what gives these brownies their iconic look, making them a festive and eye-catching dessert.
Flavor Profile of Red Velvet Brownies
The flavor profile of red velvet brownies is a delightful balance of tastes and textures. The base is a rich, chocolatey brownie, providing a deep, satisfying flavor. The addition of buttermilk or vinegar provides a subtle tang that cuts through the richness, preventing the dessert from becoming overly sweet. The cocoa powder contributes a gentle chocolate note, while the vanilla extract adds warmth and complexity. When you take a bite, you will enjoy a harmony of flavors.
The texture of these brownies is equally important. They should be fudgy and moist, with a slightly chewy edge. The best red velvet brownies will have a tender crumb and a melt-in-your-mouth quality. The combination of these textures makes each bite a truly enjoyable experience. You can adjust the baking time to achieve your preferred level of fudginess. Remember that the quality of your ingredients will also influence the final taste, so use the best you can find.
Ingredients You’ll Need
Gathering the right ingredients is the first step towards baking a batch of amazing red velvet brownies. Here’s a comprehensive list to ensure you have everything you need for the perfect brownies. Be sure to measure your ingredients accurately for the best results. Having all your ingredients ready makes the baking process smoother and more enjoyable.
- 1 cup all-purpose flour
- 1/2 cup unsweetened cocoa powder (look for a high-quality cocoa powder for the best flavor; you can also experiment with different types of cocoa powder, such as Dutch-processed cocoa powder, for a deeper chocolate flavor; red velvet brownies with cocoa powder are a classic for a reason!)
- 1/4 teaspoon baking soda
- 1/4 teaspoon salt
- 1/2 cup (1 stick) unsalted butter, melted
- 1 cup granulated sugar
- 1/2 cup packed light brown sugar
- 2 large eggs
- 1 teaspoon vanilla extract
- 2 tablespoons buttermilk (or use a substitute of 2 tablespoons milk mixed with 1 teaspoon white vinegar or lemon juice; this adds a slight tang, which is key to the red velvet flavor)
- 1-2 tablespoons red food coloring (gel food coloring provides a more vibrant color)
- Optional: Cream cheese frosting for topping (see recipe below)
How to Make Red Velvet Brownies
Now, let’s dive into the step-by-step instructions for making red velvet brownies from scratch. This recipe is designed to be easy to follow, ensuring that even novice bakers can achieve delicious results. Don’t be intimidated; the process is straightforward, and the outcome is well worth the effort. Follow these steps carefully, and you’ll be enjoying these treats in no time!
Step 1: Prep the Pan and Preheat the Oven
The first step is to prepare your baking pan. This will ensure that your brownies don’t stick and are easy to remove once baked. Preheat your oven to 350°F (175°C). Line a 9×9 inch baking pan with parchment paper, leaving an overhang on two sides. This will allow you to lift the brownies out of the pan easily after baking. You can also grease the pan with butter or cooking spray before adding the parchment paper for extra insurance. For more tips on this step, take a look at how to prepare a cake pan to prevent sticking.
Step 2: Combine Dry Ingredients
In a medium bowl, whisk together the flour, cocoa powder, baking soda, and salt. This step ensures that these ingredients are evenly distributed throughout the batter, which is essential for a consistent texture. Make sure to remove any lumps from the cocoa powder, as this can affect the final product. Set this mixture aside for now. Remember, precise measurements are key to baking success.
Step 3: Combine Wet Ingredients
In a separate large bowl, whisk together the melted butter, granulated sugar, and brown sugar until well combined. The brown sugar adds moisture and a hint of caramel flavor. Next, add the eggs one at a time, whisking well after each addition. Then, stir in the vanilla extract, buttermilk, and red food coloring. The red food coloring is what gives the brownies their signature color. If you are aiming for moist red velvet brownies, ensure you do not overmix at this stage.
Step 4: Combine Wet and Dry Ingredients
Gradually add the dry ingredients to the wet ingredients, mixing until just combined. Be careful not to overmix the batter, as this can result in tough brownies. Overmixing can develop the gluten in the flour, leading to a less tender texture. A few streaks of flour are okay; the batter will come together as it bakes. If you want fudgy red velvet brownies, be gentle with the mixing.
Step 5: Bake the Brownies
Pour the brownie batter into the prepared baking pan and spread it evenly. Bake for 25-30 minutes, or until a toothpick inserted into the center comes out with moist crumbs. The baking time may vary depending on your oven, so keep a close eye on the brownies during the last few minutes of baking. For easy red velvet brownies, this step is crucial for achieving that perfect texture. Remove the pan from the oven and let the brownies cool completely in the pan before frosting or cutting into squares.
Step 6: Cool and Frost (Optional)
Once the brownies are completely cool, you can frost them with your favorite cream cheese frosting. This frosting adds a tangy and creamy element that perfectly complements the rich brownies. For a simple cream cheese frosting, beat together cream cheese, butter, powdered sugar, and vanilla extract until smooth. Spread the frosting evenly over the cooled brownies and cut into squares. If you are looking for red velvet brownie with cream cheese frosting, this is the final step for achieving that. For a festive look, you can also create red velvet swirl brownies by swirling the frosting into the brownie batter before baking.
Tips for Perfect Red Velvet Brownies
Here are some helpful tips to ensure your red velvet brownies turn out perfectly every time. These tips cover everything from ingredient selection to baking techniques, helping you achieve the best possible results. Whether you’re a beginner or an experienced baker, these tips will elevate your brownie game.
Choosing the Right Ingredients

The quality of your ingredients can significantly impact the final taste and texture of your brownies. Use high-quality cocoa powder for a richer chocolate flavor. Fresh eggs and good-quality butter will also enhance the taste. For the best color, use gel food coloring. If you want to bake red velvet brownies without buttermilk, you can easily substitute it with a mixture of milk and vinegar or lemon juice. Remember that using the best ingredients will always result in a better-tasting dessert.
Achieving the Perfect Texture
To achieve the perfect texture for your brownies, it’s essential to follow the recipe closely. Do not overmix the batter, as this can lead to tough brownies. The brownies should be fudgy and moist, with a slightly chewy edge. Baking time is crucial; keep an eye on your brownies during the last few minutes of baking to prevent them from drying out. A toothpick inserted into the center should come out with moist crumbs. For a creamier texture, try the creaming method for cakes and cookies.
Troubleshooting Common Issues
Sometimes, things don’t go as planned. If your brownies turn out dry, you may have overbaked them. Reduce the baking time next time or check your oven’s temperature. If your brownies are too cakey, you may have overmixed the batter or used too much flour. If the brownies are not red enough, add more red food coloring. For red velvet brownie mix, make sure to follow the instructions on the package to avoid any issues.
Variations of Red Velvet Brownies
Once you’ve mastered the basic recipe, you can experiment with different variations to create unique and exciting red velvet brownies. Here are a few ideas to inspire you. These variations will allow you to customize your brownies to your liking and add a personal touch. Experiment and have fun with it!
Red Velvet Cheesecake Brownies
For a decadent treat, try making red velvet cheesecake brownies. Swirl a mixture of cream cheese, sugar, and an egg into the brownie batter before baking. This creates a beautiful marbled effect and adds a creamy, tangy layer to the brownies. This variation is a guaranteed crowd-pleaser.
Red Velvet Swirl Brownies
Create red velvet swirl brownies by swirling the brownie batter with cream cheese frosting before baking. This creates a visually stunning dessert with a delightful combination of flavors. You can also add a layer of frosting on top after baking for an even more decadent treat.
Red Velvet Brownie Cookies
Transform your favorite recipe into red velvet brownie cookies. Simply drop spoonfuls of the brownie batter onto a baking sheet and bake until set. These cookies are a fun and easy alternative to traditional brownies. They are perfect for parties or a quick treat.
Gluten-Free Red Velvet Brownies

For those with dietary restrictions, you can easily make gluten-free red velvet brownies. Substitute the all-purpose flour with a gluten-free flour blend. Make sure the blend you use is designed for baking. The taste and texture will be very similar to the original, ensuring everyone can enjoy this delicious dessert.
Frequently Asked Questions About Red Velvet Brownies
Here are some frequently asked questions about red velvet brownies, along with helpful answers to guide you through the baking process. These questions cover common concerns and provide practical solutions. This information will help you bake with confidence and achieve the best results.
Can I use a boxed brownie mix to make red velvet brownies?
Yes, you can adapt a boxed brownie mix to make red velvet brownie mix. Add red food coloring and a teaspoon of vanilla extract to the batter. For a tangier flavor, add a teaspoon of vinegar or lemon juice. Follow the instructions on the box for baking.
How can I store red velvet brownies?
Store your red velvet brownies in an airtight container at room temperature for up to three days. For longer storage, you can freeze them for up to two months. Wrap them individually in plastic wrap before placing them in a freezer-safe bag or container.
What can I substitute for buttermilk?
If you don’t have buttermilk, you can easily make a substitute. Mix 2 tablespoons of milk with 1 teaspoon of white vinegar or lemon juice. Let it sit for 5-10 minutes before adding it to the batter. This will help mimic the tanginess of buttermilk. The presence of buttermilk is a key element for the best red velvet brownies.
Can I make these brownies ahead of time?
Yes, you can make homemade red velvet brownies ahead of time. Bake the brownies and let them cool completely. Store them in an airtight container at room temperature for up to three days. Frost them just before serving to maintain the freshness and flavor.
How many calories are in a red velvet brownie?
The red velvet brownie calories can vary depending on the recipe and ingredients used. Typically, one brownie can range from 200 to 300 calories. The addition of cream cheese frosting will increase the calorie count. If you are watching your calorie intake, consider using low-fat ingredients or smaller portions.