
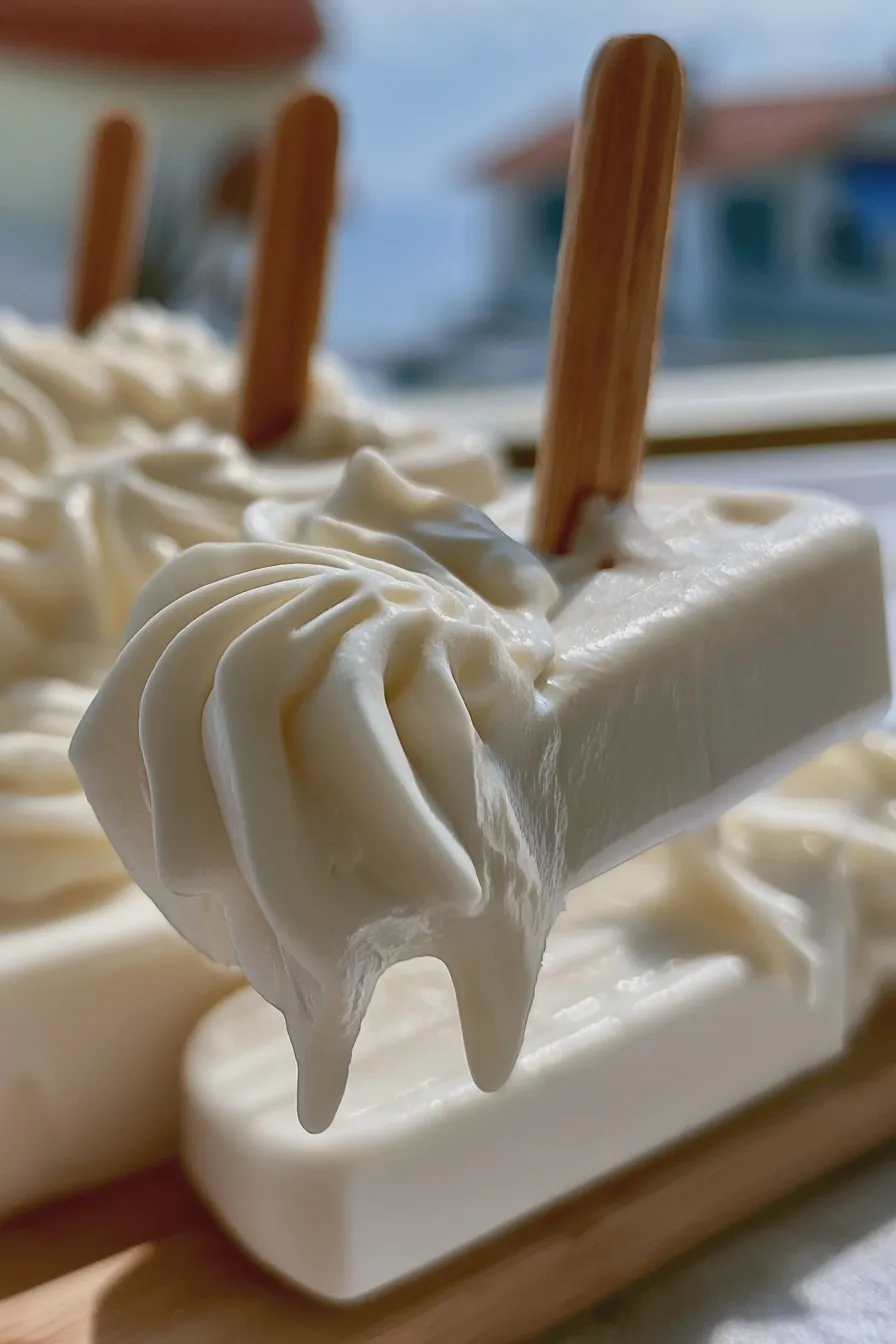
These rich and creamy vanilla bean ice cream popsicles are the ultimate summer indulgence, offering a delightful, single-serving frozen dessert that beats the heat with homemade quality. They are wonderfully easy to prepare using a simple base, making them a fantastic option when you need quick frozen desserts without relying on an ice cream maker.
Welcome to the world of elevated frozen treats where simple ingredients transform into something truly special. If you are looking for a way to cool down while enjoying that classic, comforting flavor, mastering these homemade ice pops is a must-do for your summer baking repertoire. We are going to dive deep into creating the best popsicle experience, ensuring a smooth texture every time, whether you are making these for an afternoon snack or a backyard gathering.
Why You Will Love These Homemade Ice Cream Popsicles
There’s something deeply satisfying about making your own frozen novelties, especially when they taste far superior to store-bought versions of creamy ice cream bars. These vanilla bean creations are incredibly versatile; you can easily adapt the base recipe to create flavored ice cream variations or even turn them into chocolate raspberry cake inspired treats if you get creative later on. The satisfaction of pulling a perfectly formed, rich frozen treat from the mold is unmatched, especially when you know exactly what quality ingredients went into them.
One of the biggest wins with this recipe is how straightforward the process is, positioning it perfectly among the category of easy frozen desserts that don’t require hours of churning. Even if you are new to making frozen yogurt bars or similar confections, this recipe delivers reliable results, yielding smooth, non-icy textures that home cooks of all levels will appreciate. This simplicity makes them ideal for whipping up even on a busy weeknight when you crave something cool and sweet.
Ingredients for Creamy Vanilla Bean Ice Cream Popsicles
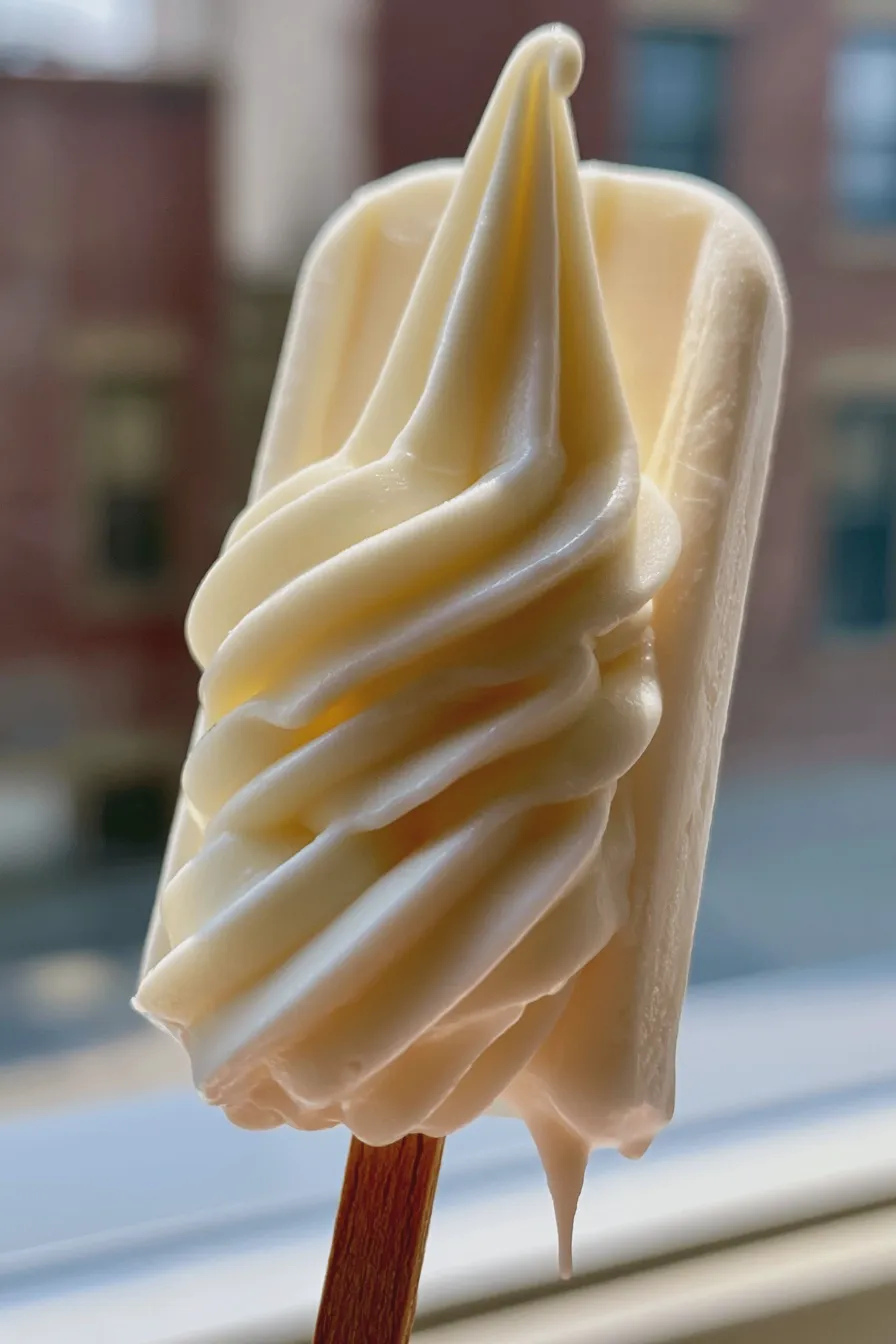
The key to achieving that luxurious, smooth texture in your homemade ice popsicles lies in using high-quality dairy and ensuring the right balance of fat and sugar, much like when baking a decadent chocolate Bundt cake. Don’t skimp on the vanilla bean paste or extract, as this is where the primary flavor profile shines through in these single-serving ice cream molds.
- Heavy Cream: 2 cups (Essential for that rich, creamy texture)
- Whole Milk: 1 cup (Helps balance the richness of the cream)
- Granulated Sugar: 3/4 cup (Adjust slightly based on desired sweetness)
- Egg Yolks: 4 large (These act as a natural emulsifier, crucial for smoothness)
- Vanilla Bean Paste or Pure Extract: 2 teaspoons (Paste provides visible specks of vanilla bean)
- Pinch of Salt: 1/4 teaspoon (Enhances all the sweet flavors)
If you find yourself running low on heavy cream, remember that the fat content is vital for preventing ice crystals; you might consider adding a tablespoon of corn syrup if you must substitute part of the cream, though the result will lean closer to a lemon blueberry tart recipe consistency if dairy is completely replaced. For those seeking dairy-free popsicles, you would need significant changes, likely involving full-fat coconut milk, but this specific recipe relies on traditional dairy fat for its signature mouthfeel.
How to Make ice cream popsicles
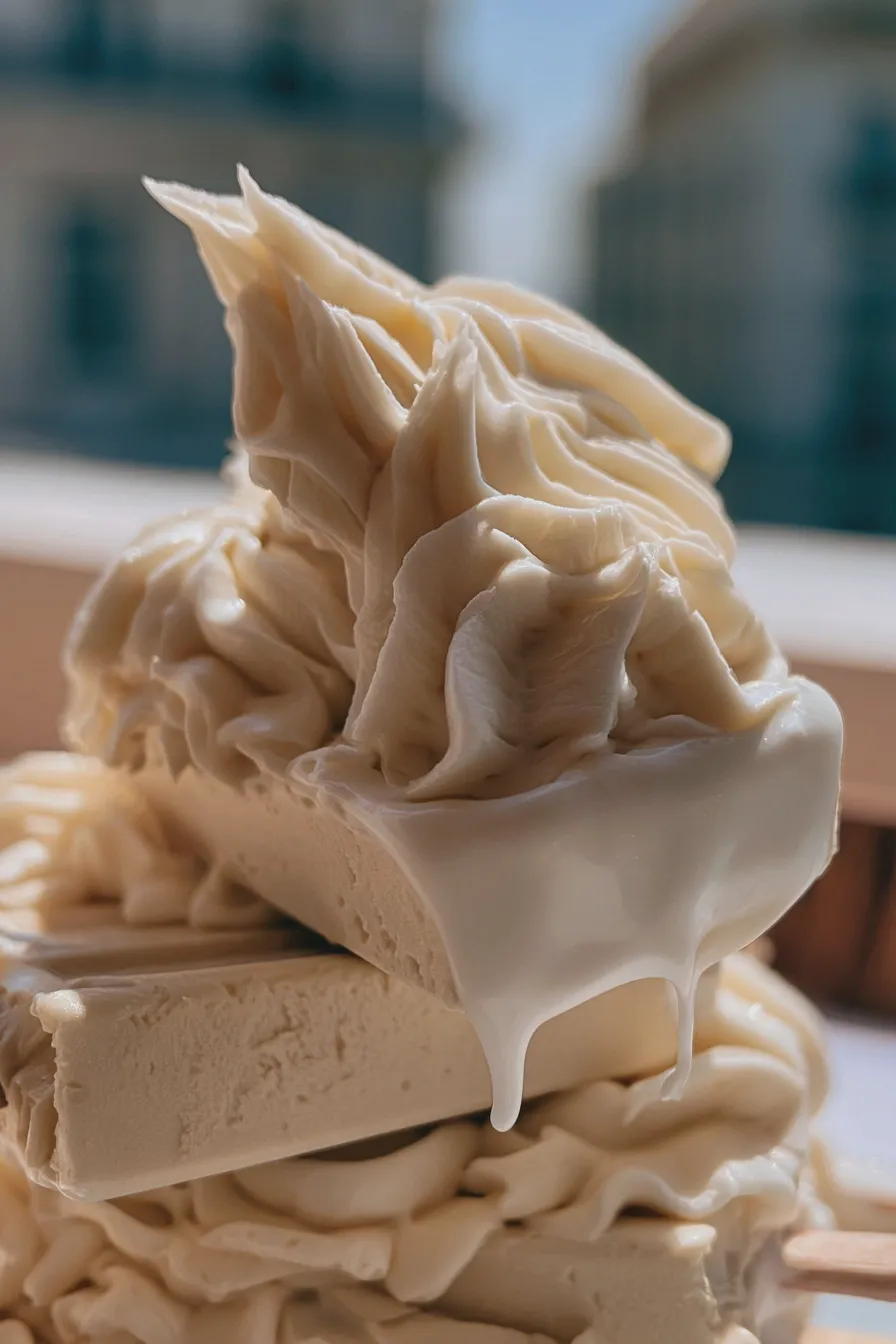
Creating these frozen delights involves making a simple custard base first, often called a crème anglaise, which ensures the final product is delightfully smooth and not icy—a common pitfall when making homemade ice pops. Once the base is chilled completely, it’s ready to be poured into your best popsicle molds for freezing.
Prepare the Custard Base
Gently whisk the egg yolks and sugar together in a medium bowl until the mixture becomes pale yellow and slightly thickened, a process known as ribboning. This initial step incorporates air and dissolves the sugar thoroughly, which is necessary for preventing graininess in your final product.
Temper the Yolks with Warm Dairy
Heat the heavy cream, milk, and salt in a saucepan over medium heat until just steaming around the edges, ensuring it does not boil vigorously. Slowly drizzle about one cup of the warm dairy mixture into the yolk mixture while whisking constantly to gently raise the temperature of the eggs without scrambling them.
Cook the Base to Nappe Stage
Pour the tempered egg mixture back into the saucepan with the remaining dairy and cook over low-medium heat, stirring constantly with a wooden spoon or spatula. Continue cooking until the custard thickens enough to coat the back of the spoon (nappe stage), usually reaching about 175°F; this step is crucial for achieving that desirable creamy fruit bars texture in your custard base.
Chill and Flavor the Mixture
Immediately strain the cooked custard through a fine-mesh sieve into a clean bowl set over an ice bath, stirring occasionally to cool it down quickly. Once cooled slightly, stir in the vanilla bean paste or extract, then cover the bowl tightly and refrigerate for at least four hours, or preferably overnight, until thoroughly chilled.
Fill the Molds and Freeze
Pour the chilled ice cream base into your best popsicle molds, leaving about a quarter-inch of space at the top to account for expansion during freezing. Insert the sticks according to your mold’s design, or if using standard molds, freeze for about one hour until slushy before inserting the sticks to ensure they stand straight in your no-churn ice cream pops.
Release and Enjoy Your Gourmet Popsicles
These need to freeze completely, which typically takes a minimum of six hours but overnight is always best for the firmest results for these summer frozen treats. To release the frozen dessert, briefly run the outside of the mold under warm (not hot) water for about 10 to 15 seconds, and then gently pull the stick straight up.
Tips for Perfect Texture and Flavor
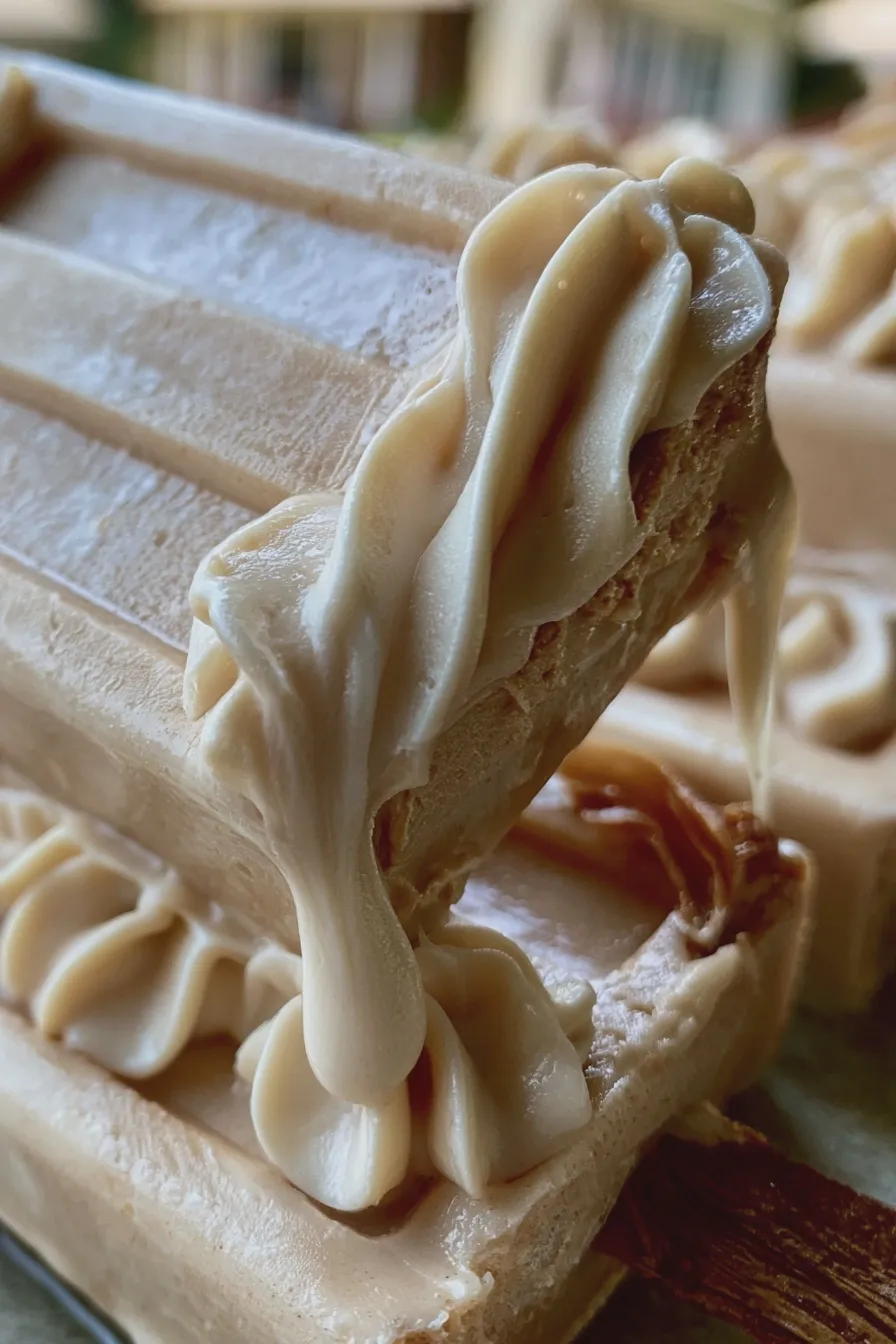
Achieving that desirable creamy texture, similar to a high-quality scoop shop offering, requires paying attention to the sugar and fat ratio, as well as the chilling time. If your mixture freezes too hard, it often means there wasn’t enough sugar or alcohol (though we avoid alcohol here for simplicity) to keep it pliable when frozen solid.
For an enhanced flavor experience, consider steeping a scraped vanilla bean pod in the milk and cream mixture while it heats, removing the pod before tempering the eggs; this provides a deeper, more authentic vanilla note that really elevates these gourmet ice cream treats. If you are looking to try dipping these later, such as making chocolate dipped popsicles, ensure they are frozen rock-solid for at least 12 hours before proceeding with a coating, otherwise they might bend or break.
Creative Ways to Serve and Customize
While classic vanilla is wonderful, these molds are perfect canvases for creating layered ice cream pops or incorporating fruit swirls, turning them into beautiful healthy fruit pops if you use yogurt instead of a full custard base. For a fun, textural variation, try folding in finely chopped nuts or small pieces of chocolate chips after the base has chilled but before pouring it into the molds.
Another fantastic customization involves dipping the fully frozen popsicles into melted chocolate tempered with a touch of coconut oil for a snappy shell; for a fudgy coating, you might use melted chocolate paired with a small amount of butter, similar to how you might approach a rich chocolate brownies recipe topping. If you prefer a lighter option, consider making these with a fruit puree base instead of cream to create vibrant fruit popsicles recipe options, though the texture will be icier.
Storage and Make-Ahead Guidance
These homemade ice popsicles store beautifully, provided they are kept away from temperature fluctuations which cause surface melting and refreezing, leading to unwelcome ice crystallization. Always keep them fully submerged in the freezer and tightly covered, either in the molds or carefully placed in an airtight, freezer-safe bag once removed.
You can certainly make these well in advance; in fact, chilling the base overnight and freezing the finished popsicles for a full day ensures they are perfectly set for serving later. This makes them an excellent choice for preparing ahead of summer parties, allowing you to focus on other aspects of hosting your guests.
Print
ice cream popsicles Homemade Easy Recipe
- Total Time: PT6H10M
- Yield: 8–10 popsicles (depending on mold size) 1x
- Diet: Vegetarian
Description
These homemade ice cream popsicles are packed with real fruit flavor and have a wonderfully creamy texture, thanks to the blend of yogurt and bananas. They are naturally sweet and require absolutely no churning!
Ingredients
- 2 cups fresh or frozen strawberries (if frozen, no extra chilling needed)
- 2 ripe bananas, sliced and frozen
- 1/2 cup plain Greek yogurt (full-fat recommended for creaminess)
- 1/4 cup milk (dairy or non-dairy)
- 2 tablespoons honey or maple syrup (adjust to taste)
- 1 teaspoon vanilla extract
Instructions
- Combine the strawberries, frozen banana slices, Greek yogurt, milk, honey/maple syrup, and vanilla extract in a high-speed blender or food processor.
- Blend until the mixture is completely smooth and creamy. You may need to stop and scrape down the sides several times. If the mixture is too thick, add milk one tablespoon at a time until it blends smoothly but remains thick, like soft-serve ice cream.
- Carefully spoon or pour the mixture into popsicle molds, leaving about 1/4 inch of space at the top for expansion.
- Insert popsicle sticks into the center of each mold.
- Freeze for a minimum of 6 hours, or preferably overnight, until completely solid.
- To unmold, run the outside of the mold briefly under warm water for about 10-15 seconds. Carefully pull the stick to release the popsicle.
Notes
- For a richer flavor, substitute the milk with heavy cream.
- To make these vegan, use a plant-based yogurt (like coconut or almond) and ensure you use maple syrup instead of honey.
- If you don’t have popsicle molds, you can pour the mixture into small paper cups and insert sticks once partially frozen (after about 2 hours).
- Prep Time: PT10M
- Cook Time: 0 minutes
- Category: Frozen Desserts
- Method: Blended/No-Churn
- Cuisine: American
Nutrition
- Serving Size: 1 popsicle
- Calories: 110
- Sugar: 17g
- Sodium: 15mg
- Fat: 3g
- Saturated Fat: 1.5g
- Carbohydrates: 20g
- Fiber: 2g
- Protein: 3g
- Cholesterol: 5mg







