
Get ready to sink your teeth into a deliciously spooky treat that’s perfect for your next Halloween gathering! These vampire bite brownies are not only incredibly easy to make but also guaranteed to be a showstopper. Imagine rich, fudgy brownies with a surprise burst of color and flavor that evokes the spirit of the season. Whether you’re a seasoned baker or just looking for some fun easy Halloween treats, this recipe is for you. We’ll guide you through every step, ensuring your Halloween brownies turn out perfectly eerie and utterly delicious.
What Makes These Vampire Bite Brownies So Special?
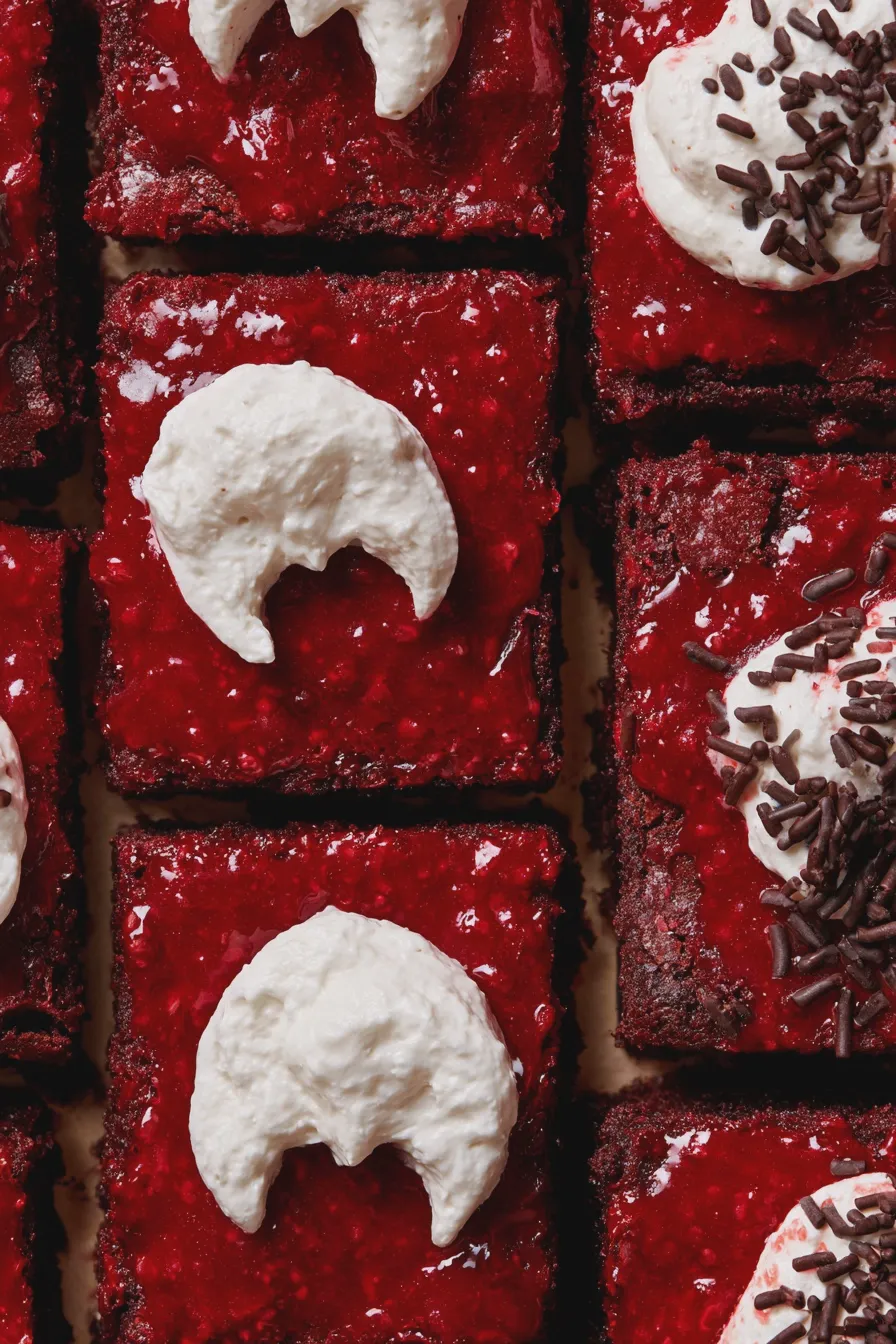
These aren’t just any brownies; they’re a culinary adventure into the world of spooky desserts. The magic lies in the combination of a decadent, dark chocolate brownie base with a vibrant, “bloody” red center. This creates a delightful surprise with every bite, making them a hit at any Halloween party. They are the ultimate vampire treats, offering a fun and festive twist on a classic favorite.
The “vampire bite” effect is achieved through a simple yet ingenious addition that mimics the look of a vampiric encounter. This visual appeal makes them stand out among other Halloween party desserts. Plus, they’re incredibly versatile; you can adjust the “blood” element to be more or less intense, depending on your preference for creepiness.
Ingredients You’ll Need
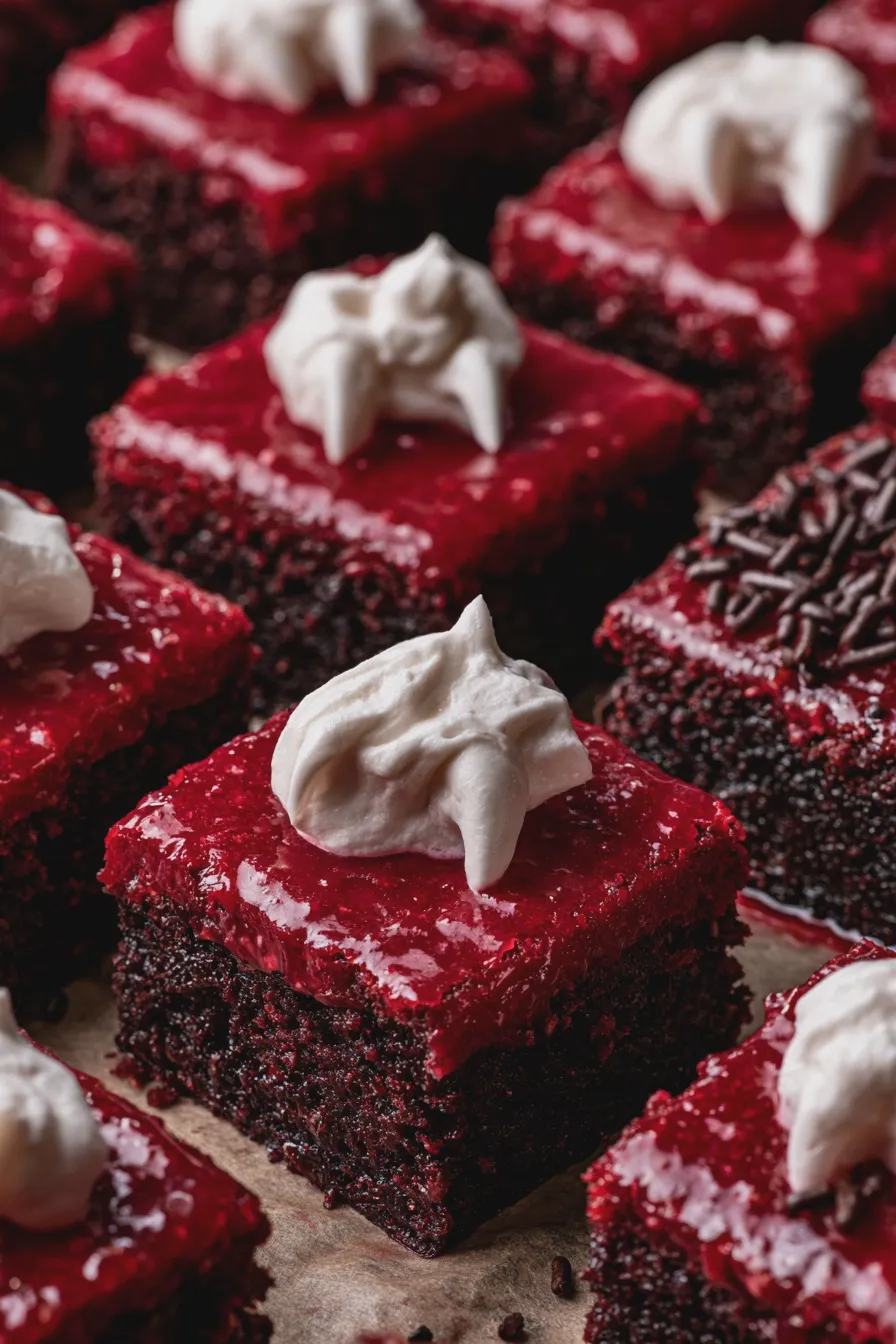
Gathering your ingredients is the first step to baking these delightful vampire bite brownies recipe. We’re focusing on rich flavors and vibrant colors for that perfect spooky effect.
For the Dark Chocolate Brownie Base:
- 1 cup (2 sticks) unsalted butter, melted
- 2 cups granulated sugar
- 4 large eggs
- 1 teaspoon vanilla extract
- 1 cup all-purpose flour
- 1 cup unsweetened cocoa powder (Dutch-process for darker color)
- 1/2 teaspoon baking powder
- 1/2 teaspoon salt
- 1 cup dark chocolate chips (optional, for extra richness)
For the “Vampire Bite” Red Velvet Swirl:
- 1 cup powdered sugar
- 1/4 cup unsalted butter, softened
- 2 tablespoons unsweetened cocoa powder
- 1/4 cup milk (or buttermilk for tang)
- 1 teaspoon red food coloring (gel works best for vibrant color)
- 1/2 teaspoon white vinegar
- Pinch of salt
Step-by-Step Baking Instructions
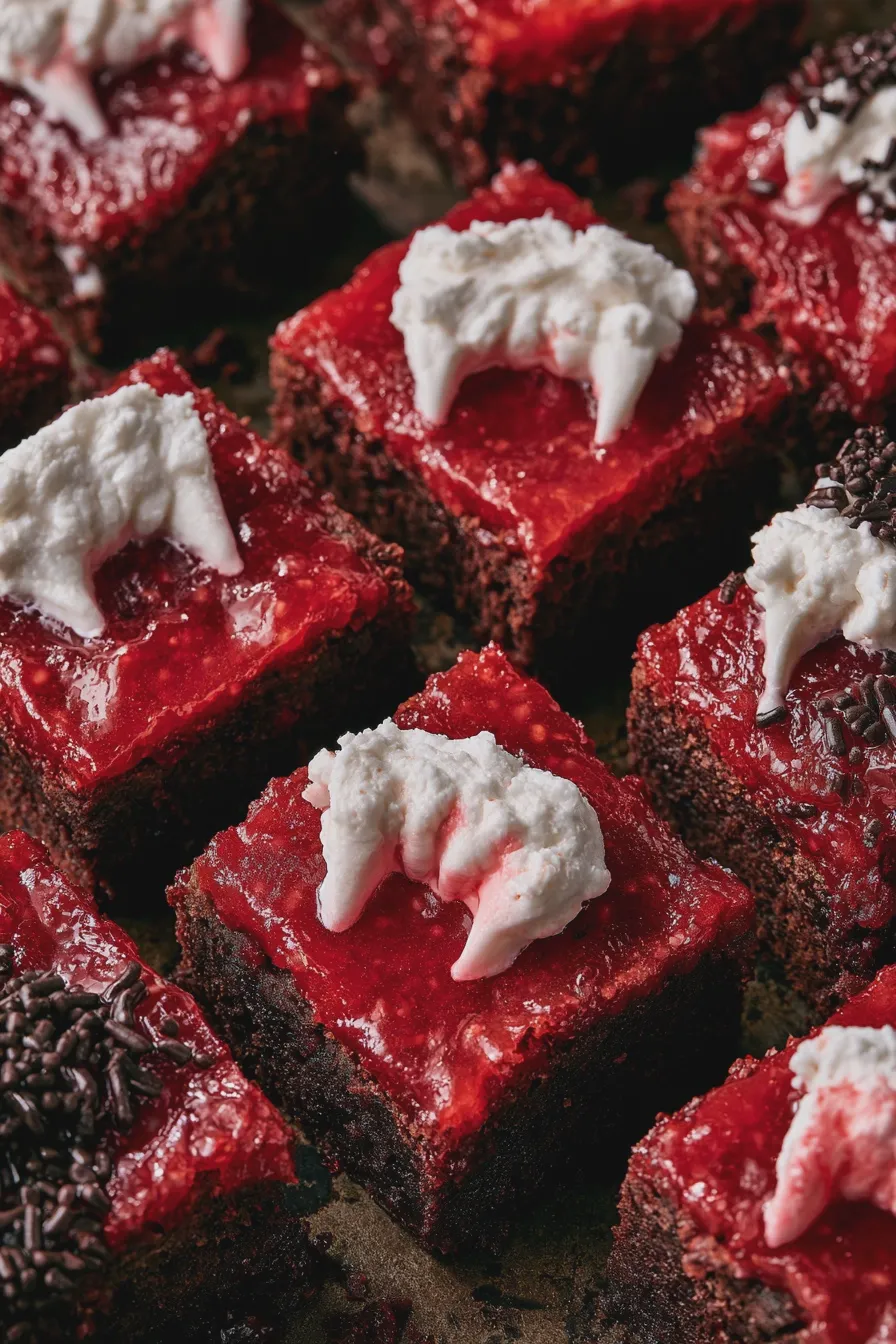
Let’s get baking! Follow these steps carefully to create your show-stopping chocolate brownies recipe with a spooky twist.
Looking for more? Try this delicious Zucchini Brownies With Frosting next.
Step 1: Prepare Your Baking Pan and Preheat Oven
Preheat your oven to 350°F (175°C). Grease and flour a 9×13 inch baking pan, or line it with parchment paper, leaving an overhang on the sides for easy removal. This ensures your chocolate fudge brownies Halloween don’t stick.
Step 2: Mix the Brownie Batter
In a large bowl, whisk together the melted butter and granulated sugar until well combined. Beat in the eggs one at a time, then stir in the vanilla extract. In a separate bowl, whisk together the flour, cocoa powder, baking powder, and salt.
Gradually add the dry ingredients to the wet ingredients, mixing until just combined. Be careful not to overmix; this is key for fudgy brownies. If using, fold in the dark chocolate chips.
Step 3: Create the Red Velvet Swirl Mixture
In another bowl, cream together the softened butter and powdered sugar until smooth. Beat in the cocoa powder and salt. Gradually add the milk, mixing until you have a smooth, thick frosting consistency. Stir in the red food coloring and white vinegar. The vinegar helps activate the red color, making it more vibrant. This mixture will form the “bloody” swirl.
Looking for more? Try this delicious How To Make Ice Cream At Home next.
Step 4: Assemble and Swirl
Pour about two-thirds of the brownie batter into your prepared baking pan, spreading it evenly. Dollop spoonfuls of the red velvet mixture over the brownie batter. Then, pour the remaining brownie batter over the red velvet dollops.
Now for the fun part! Take a knife or a skewer and gently swirl the red velvet mixture into the brownie batter. Don’t over-swirl, or the colors will blend too much. You want distinct streaks of red to mimic blood splatters. Aim for a marbled effect that looks like dramatic blood splatter brownies.
Step 5: Bake the Brownies
Bake for 25-35 minutes, or until a toothpick inserted into the center comes out with moist crumbs attached. Be careful not to overbake, as this will result in dry brownies. The red swirl may appear slightly darker when baked.
Step 6: Cool and Cut
Let the brownies cool completely in the pan on a wire rack. This is crucial for them to set properly. Once completely cooled, use the parchment paper overhang to lift the brownies out of the pan. Cut them into squares. For an extra spooky touch, you can use a small, sharp knife to cut small “bite” marks into the sides of some brownies.
Another favorite of ours is the No Bake Cheesecake Cool Whip.
Tips for Perfect Vampire Bite Brownies
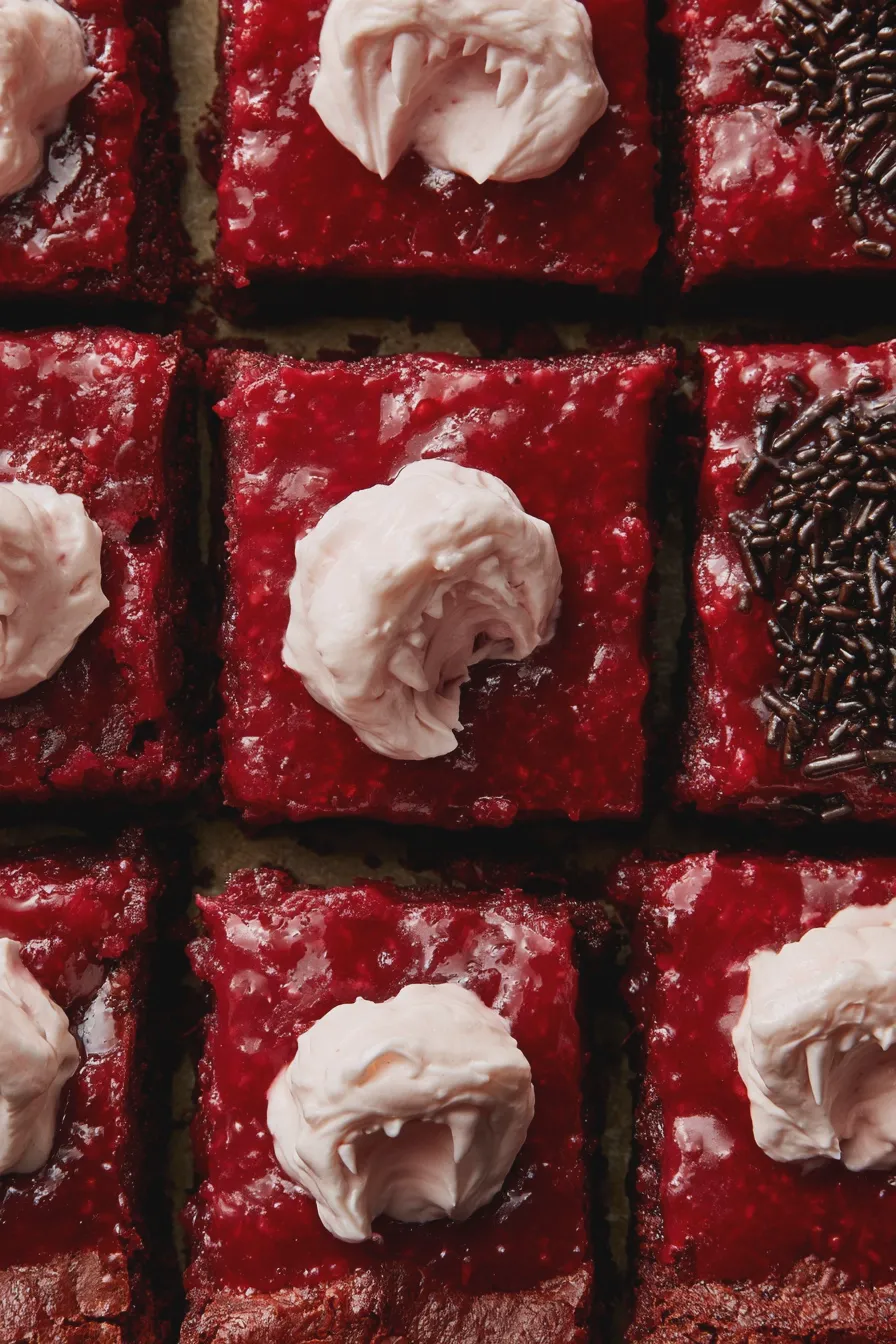
Achieving the perfect creepy brownies is all about a few key techniques. Here are some expert tips to ensure your Halloween baking is a smashing success.
- Use High-Quality Cocoa Powder: For the deepest, richest chocolate flavor in your dark chocolate brownies, opt for Dutch-process cocoa powder. It yields a darker color and a smoother, less acidic taste.
- Don’t Overmix the Batter: Overmixing develops the gluten in the flour, leading to tough brownies. Mix until just combined for that signature fudgy texture.
- Gel Food Coloring is Your Friend: For the most vibrant red swirl, use gel food coloring. It’s more concentrated than liquid coloring and won’t add excess moisture to your swirl mixture.
- Cool Completely Before Cutting: Patience is a virtue when it comes to brownies! Allowing them to cool completely ensures clean cuts and prevents a messy outcome.
- Embrace the Imperfect Swirl: The beauty of these red velvet brownies lies in their slightly chaotic, spooky appearance. Don’t stress about a perfect swirl; a little imperfection adds to the Halloween charm.
- Enhance the “Bite”: For an even more dramatic effect, after the brownies have cooled, you can use a small, sharp knife to carefully carve out small semi-circles from the edges of some brownies, making them look like they’ve been bitten.
Common Mistakes to Avoid
Even experienced bakers can run into issues. Here are some common mistakes when making Halloween baking ideas like these, and how to avoid them.
- Overbaking: This is the most common culprit for dry, crumbly brownies. Keep a close eye on them during the last few minutes of baking. A toothpick should come out with moist crumbs, not completely clean.
- Underbaking: While you don’t want dry brownies, you also don’t want them to be completely gooey and undercooked in the center. This can lead to them falling apart.
- Forgetting to Cool: Trying to cut warm brownies is a recipe for disaster. They need time to set and firm up.
- Too Much Swirling: If you over-swirl, the red and brown colors will merge, losing the distinct “vampire bite” effect. Aim for visible streaks.
- Not Enough Red Color: If your red swirl isn’t vibrant enough, the effect will be lost. Use gel food coloring and don’t be shy with it!
Variations and Creative Ideas
Once you’ve mastered the basic vampire bite brownies recipe, feel free to get creative! These brownies are a fantastic base for all sorts of Halloween fun.
- “Bloody” Ganache Drizzle: After cooling, whip up a simple chocolate ganache and tint a portion of it with red food coloring. Drizzle this over the brownies for an extra layer of spooky decadence.
- Candy Fangs: Press candy corn or white chocolate fangs into the edges of the brownies before serving for a playful touch.
- Edible “Blood”: Use a piping bag with a fine tip filled with red decorating gel or melted red candy melts to draw small drips or splatters on top of the cooled brownies.
- Add Extracts: A hint of peppermint or cherry extract in the red swirl can add an unexpected flavor dimension.
- Different Brownie Bases: While dark chocolate is perfect, you could also experiment with a cream cheese swirl brownies base and add the red velvet swirl for a different kind of Halloween treat.
- Kid-Friendly Fun: For kid-friendly Halloween desserts, let the little ones help with the swirling and decorating. They’ll love creating their own monster brownies or ghost brownies.
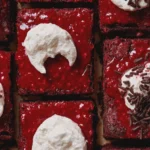
Vampire Bite Brownies You’ll Make All the Time
- Total Time: PT55M
- Yield: 24 brownies 1x
- Diet: Vegetarian
Description
These spooky Vampire Bite Brownies are the perfect Halloween treat! Rich, fudgy brownies are topped with a blood-red raspberry glaze and a dollop of whipped cream for a truly terrifyingly delicious dessert.
Ingredients
- 1 cup (2 sticks) unsalted butter, melted
- 2 cups granulated sugar
- 4 large eggs
- 1 teaspoon vanilla extract
- 1 cup all-purpose flour
- 1 cup unsweetened cocoa powder
- 1/2 teaspoon baking powder
- 1/4 teaspoon salt
- 1/2 cup milk
- 1/2 cup heavy cream
- 1 cup powdered sugar, sifted
- 1/4 cup raspberry jam, seedless
- Red food coloring (optional)
- Whipped cream, for topping
- Chocolate sprinkles (optional)
Instructions
- Preheat your oven to 350°F (175°C). Grease and flour a 9×13 inch baking pan.
- In a large bowl, whisk together melted butter and granulated sugar until well combined.
- Beat in the eggs one at a time, then stir in the vanilla extract.
- In a separate medium bowl, whisk together flour, cocoa powder, baking powder, and salt.
- Gradually add the dry ingredients to the wet ingredients, alternating with the milk, beginning and ending with the dry ingredients. Mix until just combined. Do not overmix.
- Pour the batter into the prepared baking pan and spread evenly.
- Bake for 30-35 minutes, or until a toothpick inserted into the center comes out with moist crumbs attached.
- Let the brownies cool completely in the pan on a wire rack.
- While the brownies cool, prepare the glaze. In a small saucepan, heat the heavy cream over medium heat until it just begins to simmer.
- Remove from heat and whisk in the sifted powdered sugar until smooth.
- Stir in the raspberry jam and a few drops of red food coloring (if using) until the glaze is a vibrant red.
- Once the brownies are completely cool, pour the raspberry glaze over the top, spreading it evenly to the edges.
- Allow the glaze to set for at least 15 minutes.
- Cut the brownies into squares. Top each brownie with a dollop of whipped cream and a sprinkle of chocolate sprinkles, if desired, to resemble vampire bites.
Notes
- For an extra spooky touch, you can use a toothpick to create jagged edges on the whipped cream, mimicking fangs.
- If you don’t have raspberry jam, strawberry jam can be used as a substitute.
- Ensure the brownies are completely cool before adding the glaze to prevent it from melting.
- Store leftovers in an airtight container at room temperature for up to 3 days.
- Prep Time: PT20M
- Cook Time: PT35M
- Category: Halloween Desserts
- Method: Baking
- Cuisine: American
Nutrition
- Serving Size: 1 brownie
- Calories: 280
- Sugar: 35g
- Sodium: 100mg
- Fat: 15g
- Saturated Fat: 9g
- Unsaturated Fat: 5g
- Trans Fat: 0g
- Carbohydrates: 40g
- Fiber: 2g
- Protein: 3g
- Cholesterol: 70mg







