
Halloween is a magical time for baking, and what could be more fun than creating some frightfully delicious treats? If you’re looking for a showstopper that’s both impressive and surprisingly simple, then you’ve come to the right place. Today, we’re diving into the wonderful world of skeleton brownies! These aren’t just any brownies; they’re a canvas for your creativity, perfect for adding a touch of spooky charm to your Halloween celebrations. Whether you’re a seasoned baker or just starting out, this guide will walk you through everything you need to know to make the best skeleton brownies that will wow your family and friends. Get ready for some fun Halloween treats that are sure to be a hit at any party!
What are Skeleton Brownies?
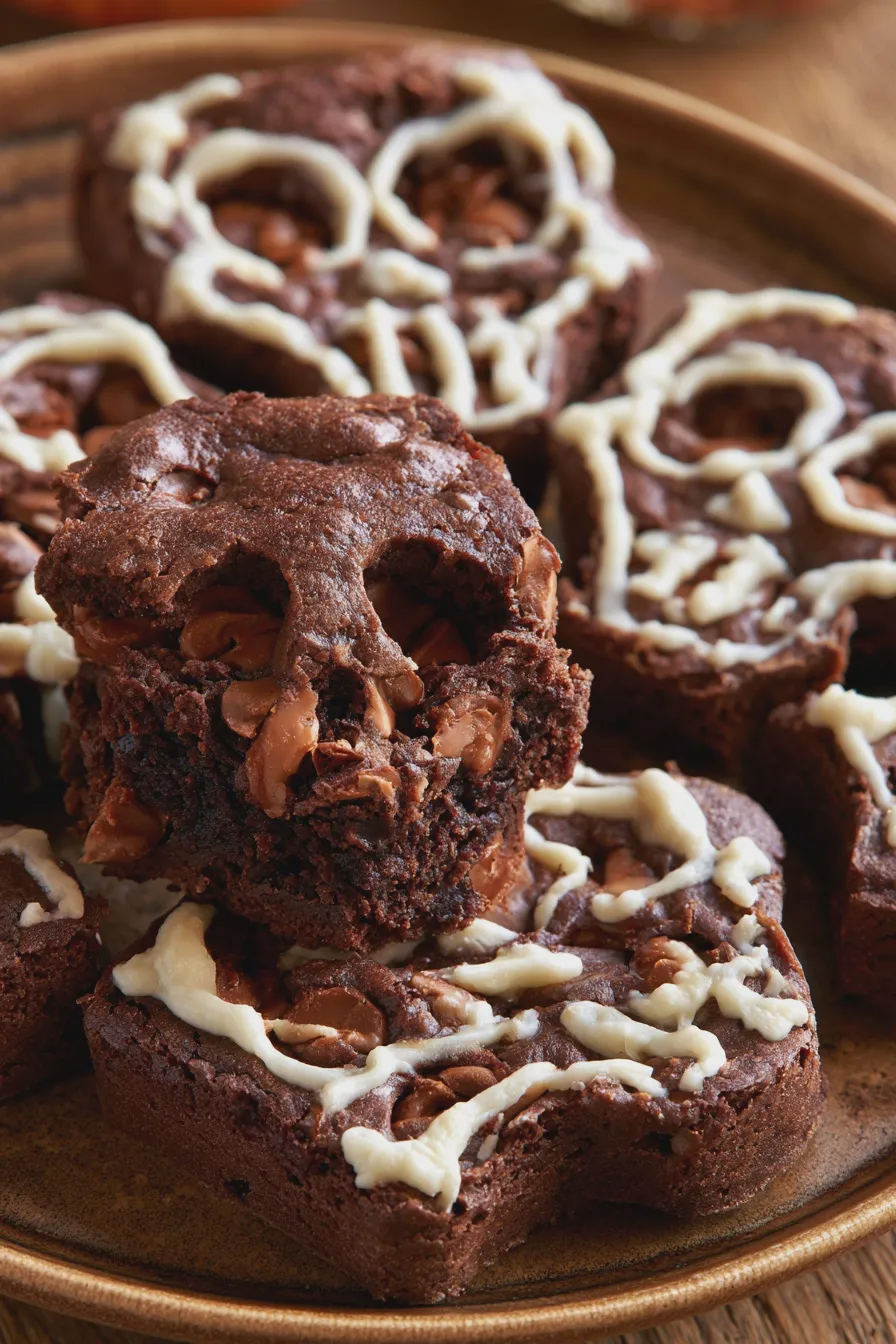
Skeleton brownies are a delightful and festive take on the classic chocolate brownie, designed specifically for Halloween. The “skeleton” aspect typically comes from decorating the brownies to resemble a skeleton or incorporating skeleton-themed elements. This can range from simple icing designs to more elaborate cut-outs or candy additions. They are a fantastic way to elevate your standard chocolate brownies into a truly spooky and memorable Halloween dessert. Think of them as edible Halloween decorations that taste as good as they look!
The beauty of skeleton brownies lies in their versatility. You can start with your favorite brownie recipe, whether it’s a rich, fudgy base or a lighter, cake-like texture. The magic truly happens in the decorating phase. This is where you can let your imagination run wild and transform a simple pan of brownies into a spooky scene.
Why Make Skeleton Brownies This Halloween?
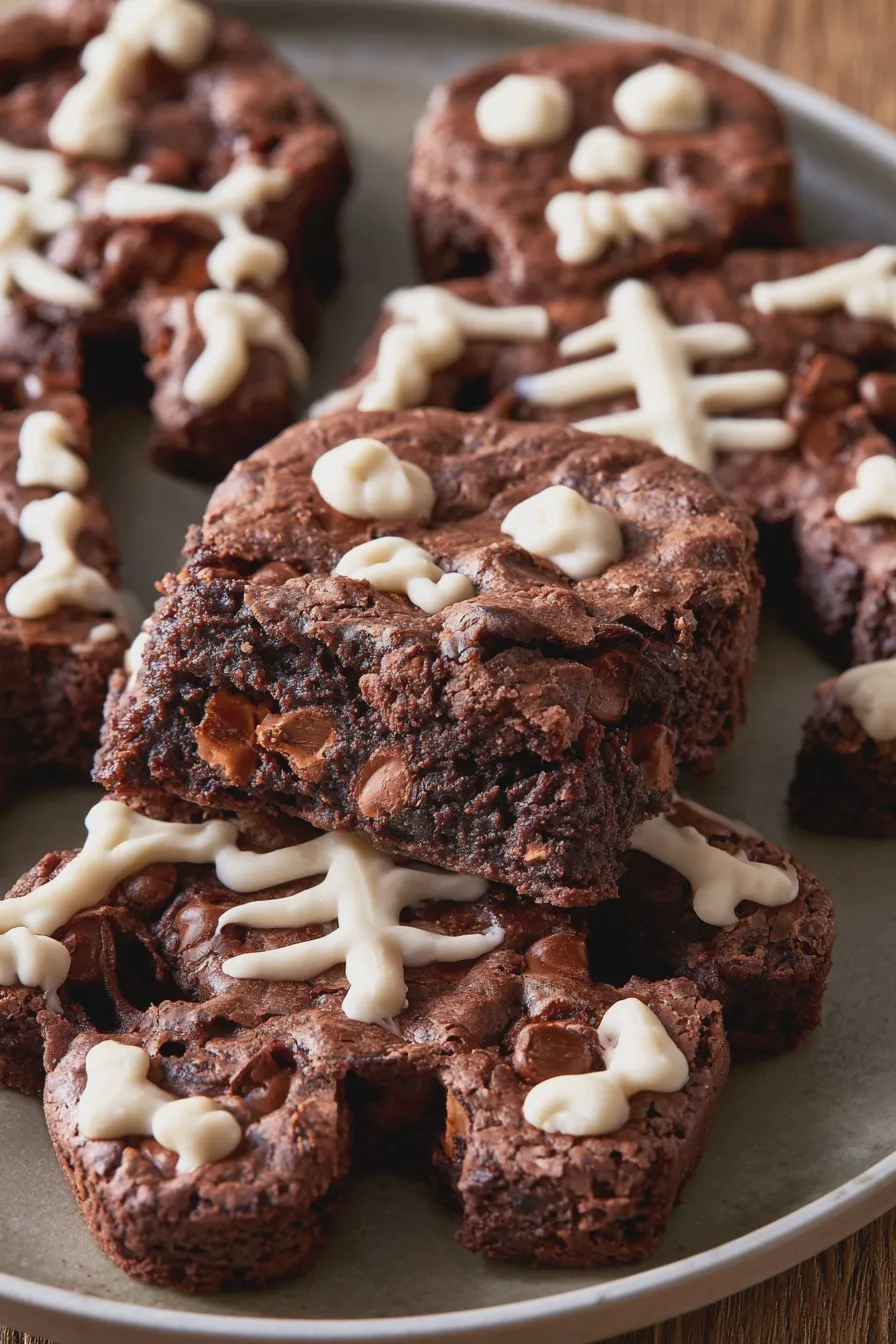
There are so many reasons why skeleton brownies are a must-have for your Halloween baking repertoire. Firstly, they are incredibly fun to make, especially with kids. The decorating process is interactive and allows everyone to get involved in creating their own spooky masterpieces. Secondly, they are a guaranteed crowd-pleaser. Who doesn’t love a good brownie, especially when it’s dressed up for a holiday?
Another favorite of ours is the Zucchini Brownies With Frosting.
Furthermore, skeleton brownies are a fantastic option for Halloween parties, school bake sales, or even just a special treat for your family. They add a festive touch to any gathering and are a step above your average Halloween baking recipes. They are one of the most fun Halloween treats you can whip up. They also offer a chance to practice your decorating skills in a low-pressure, high-reward environment.
Finally, they are adaptable. You can create easy skeleton brownies with simple icing, or go all out with intricate details. This means they are suitable for bakers of all skill levels. If you’re looking for Halloween dessert ideas that are both impressive and approachable, skeleton brownies are the perfect choice.
Choosing Your Brownie Base
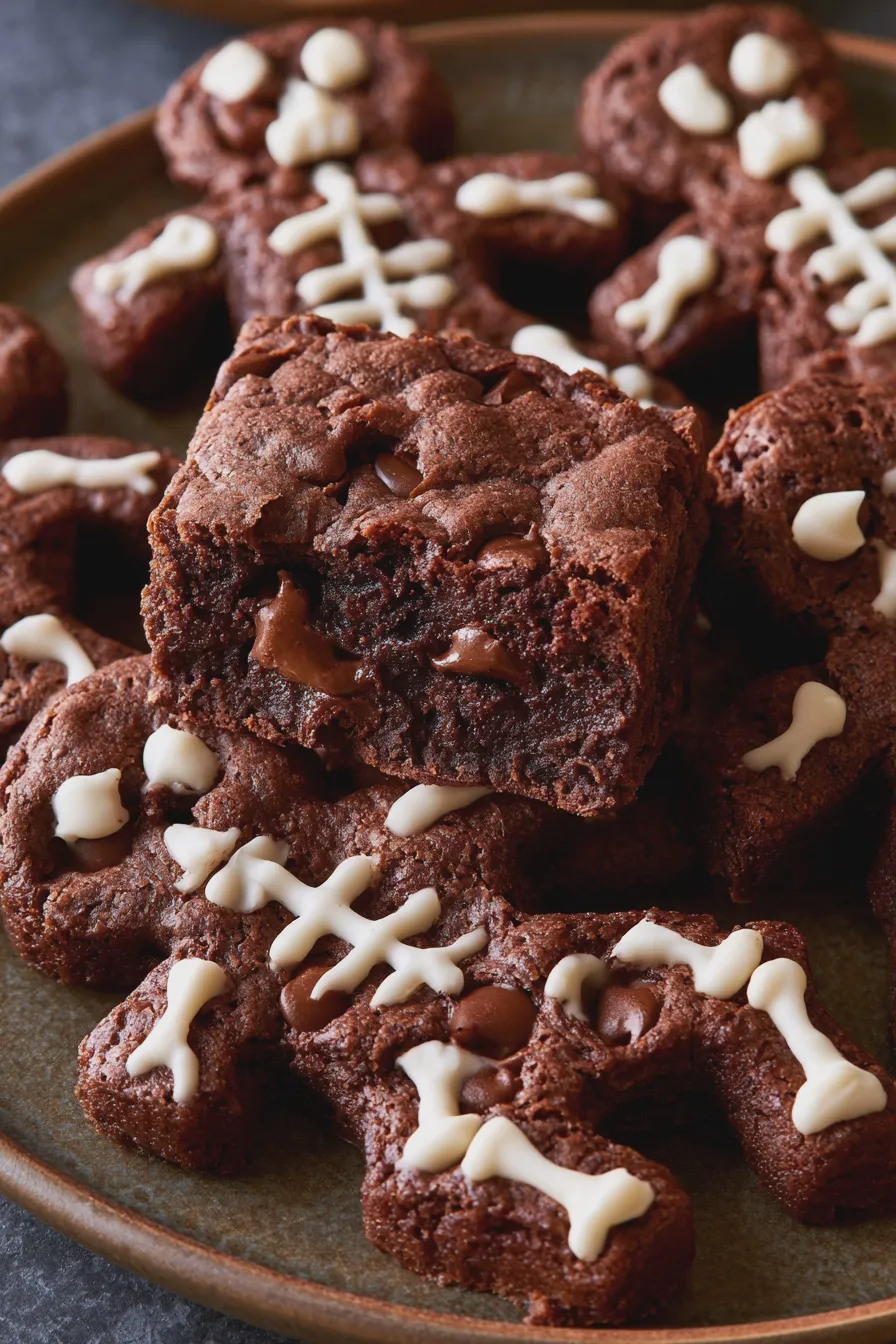
The foundation of any great skeleton brownie is, of course, the brownie itself. You have a few options here, depending on your preference and how much time you have:
Another favorite of ours is the Chocolate Brownies Recipe.
- From Scratch: This is where you get to control every ingredient. A classic fudgy brownie recipe is often the best choice because its dense texture holds up well to frosting and decorations. You’ll typically need ingredients like butter, sugar, eggs, flour, cocoa powder, and chocolate. For a truly exceptional fudgy brownie, consider a recipe that uses melted chocolate in addition to cocoa powder.
- From a Mix: If you’re short on time or prefer a simpler approach, a good quality brownie mix can be a lifesaver. Just follow the package directions carefully. You can often “doctor up” a mix by adding an extra egg or a bit of melted butter for a richer flavor and texture.
- No-Bake Options: For those who want to avoid the oven altogether, no-bake skeleton brownies are a fantastic alternative. These often involve a base made from crushed cookies or graham crackers mixed with butter and a binder, topped with a chocolate layer and then decorated. These are especially great if you have little ones helping out.
No matter which base you choose, ensure it’s cooled completely before you start decorating. A warm brownie will melt your frosting and make decorating a messy affair. Patience is key here!
Decorating Your Skeleton Brownies
This is where the spooky fun truly begins! The key to making great skeleton brownies is in the decorations. Here are some popular methods and ideas:
Icing Techniques
Royal icing is your best friend for detailed decorating. It dries hard, making it perfect for creating clean lines and designs. You can also use buttercream frosting, but it will remain soft, which might be better for simpler designs or if you plan to eat them immediately.
Looking for more? Try this delicious How To Make Ice Cream At Home next.
- Skeleton Shapes: Use a small round tip (like a Wilton #3 or #4) to pipe the outline of a skull and crossbones, or a full skeleton. You can draw a simple skeleton body on each brownie. Start with the head, then the torso, arms, and legs.
- Ghost Brownies: For a simpler spooky look, pipe a rounded ghost shape on each brownie. Add two small dots for eyes. These are especially fun for younger bakers.
- Spiderwebs: Pipe concentric circles of white icing on a chocolate brownie, then drag a toothpick from the center outwards to create a spiderweb effect. Add a small candy spider for extra creepiness.
- Monster Brownies: Get creative with different colored icings and edible candy eyes to create various monster faces on your brownies.
Candy and Sprinkles
Don’t underestimate the power of candy and sprinkles! They can add texture, color, and extra Halloween flair.
- Candy Skulls and Bones: You can purchase edible candy skulls and bones to place directly onto your frosted brownies. This is an easy way to achieve a spooky look without intricate piping.
- Halloween Sprinkles: Jimmies, nonpareils, and shaped sprinkles in Halloween colors (orange, black, purple, green) can add a festive touch to plain frosted brownies.
- Edible Halloween Decorations: Look for pre-made edible Halloween decorations like candy eyeballs, gummy worms, or even small plastic skeletons (ensure they are food-safe and removed before eating if not edible).
Cutting and Shaping
For a more advanced approach, you can cut your brownies into shapes before decorating.
- Cookie Cutters: If you’ve baked your brownies in a thin layer, you might be able to use Halloween-themed cookie cutters (like skull or ghost shapes) to cut out individual brownies.
- Freehand Cutting: Once your brownies are cool and frosted, you can carefully use a sharp knife to cut out shapes or even to carve details into the frosting.
Remember to work on a cooled brownie base. If you’re using a rich, fudgy brownie, it might be best to frost the entire pan and then cut it into squares. For lighter brownies or if you want to decorate individual pieces, cutting first might be easier.
Looking for more? Try this delicious How To Fold Ingredients Without Deflating next.
Tips for Perfect Skeleton Brownies
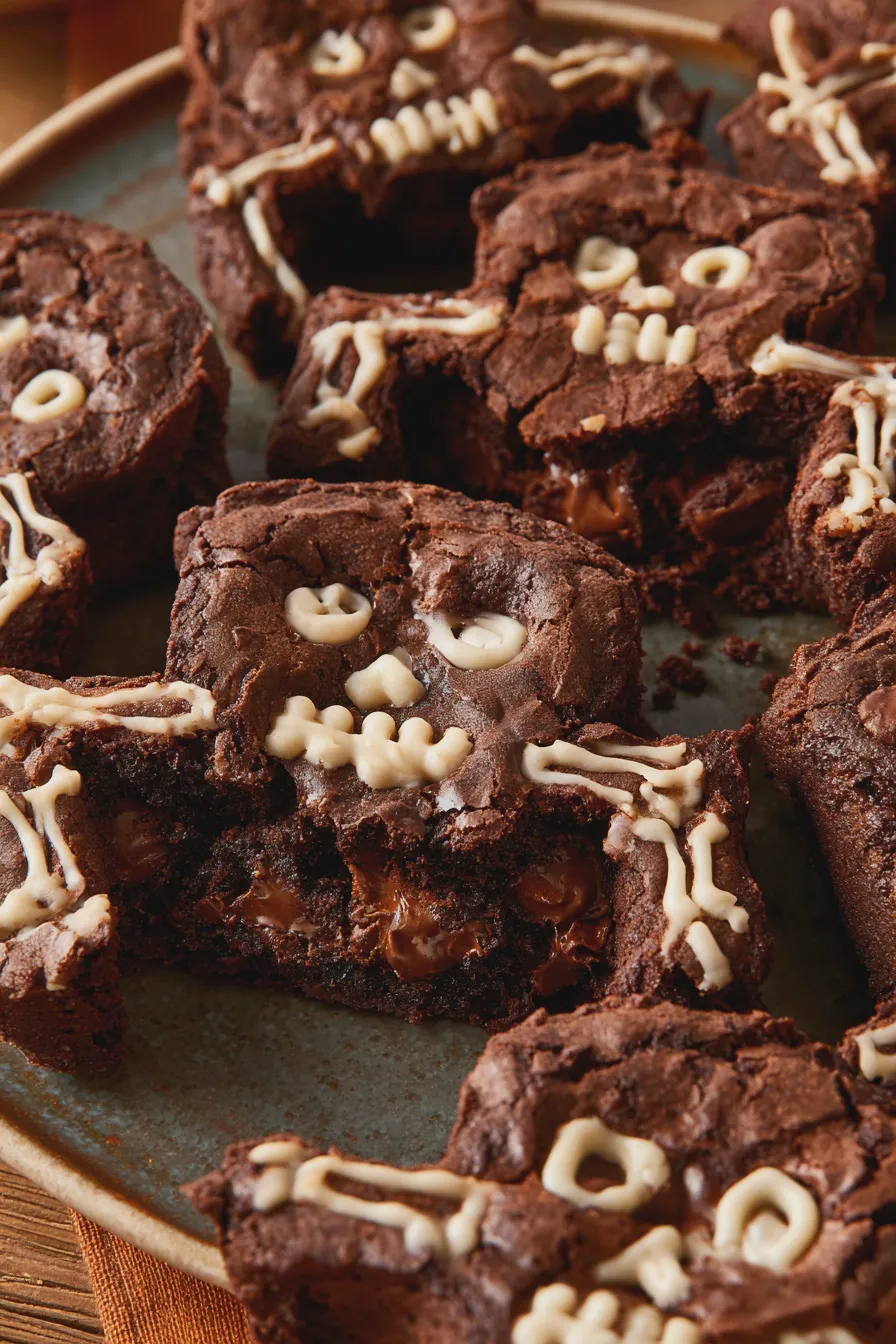
Here are some expert tips to ensure your skeleton brownies turn out spooktacular:
- Cool Completely: I cannot stress this enough! Warm brownies will lead to melted frosting and a decorating disaster. Let them cool for at least a couple of hours, or even overnight.
- Use the Right Icing: For detailed work, royal icing is the way to go. It hardens beautifully. For simpler designs or a softer finish, buttercream works well.
- Invest in Piping Bags and Tips: Even a few basic piping tips can make a huge difference in the neatness and detail of your decorations. A small round tip is essential for drawing lines.
- Practice Your Piping: If you’re new to piping, practice on parchment paper first. This will help you get a feel for the pressure and consistency of the icing.
- Don’t Be Afraid to Simplify: If intricate designs feel overwhelming, opt for simpler decorations like candy skulls, sprinkles, or basic ghost shapes. They will still be festive and delicious.
- Work in Batches: If you’re decorating a large pan, it might be easier to frost and decorate in sections so the icing doesn’t dry out too quickly.
- Add a Touch of Shine: A little bit of edible glitter or luster dust can add a magical, spooky shimmer to your decorated skeleton brownies.
- Consider a Theme: Beyond just skeletons, think about other Halloween themes like haunted brownies, graveyard brownies, or even witch brownies. This can guide your color choices and decorations.
Common Mistakes to Avoid
Even experienced bakers can run into a few snags when decorating. Here are some common mistakes to steer clear of when making your skeleton brownies:
- Decorating Warm Brownies: As mentioned, this is the number one mistake. Patience is a virtue in baking!
- Icing Too Thin or Too Thick: The consistency of your icing is crucial. If it’s too thin, it will run. If it’s too thick, it will be difficult to pipe smoothly. Adjust with a little more liquid (water or milk) or powdered sugar as needed.
- Overcrowding the Pan: When decorating, try not to put too many designs too close together. Give each brownie a little breathing room so your designs don’t smudge into each other.
- Not Having Enough Icing: It’s always better to have a little extra icing than to run out mid-decoration. You can always store leftover royal icing in an airtight container.
- Using the Wrong Tools: Trying to pipe fine details with a large tip will lead to frustration. Use the appropriate tools for the job.
- Forgetting the Base: While the decoration is fun, don’t forget that the brownie itself needs to be delicious. Ensure your base recipe is sound. A dry, crumbly brownie won’t be enjoyable even with the best decorations.
Variations and Creative Ideas
Once you’ve mastered the basic skeleton brownie, why not try some variations? These ideas can inspire your own unique Halloween baking recipes:
If you enjoyed this, you might also love our How To Cream Butter And Sugar recipe.
- Chocolate Skull Brownies: Instead of a full skeleton, focus on decorating with skull shapes using dark chocolate frosting or candy molds.
- Spooky Swirl Brownies: Swirl different colored icings together before they set for a marbled, haunted look.
- Graveyard Brownies: Frost brownies with chocolate icing, then add crushed chocolate cookies for “dirt.” Stick Milano cookies or graham crackers in them like tombstones, and pipe “RIP” on them.
- Monster Mash Brownies: Use a variety of colored icings, candy eyes, and sprinkles to create a menagerie of fun, quirky monster brownies.
- DIY Skeleton Brownies: Provide plain frosted brownies and a variety of decorating supplies (icing, sprinkles, candies) at a party and let guests decorate their own! This is a fantastic activity for kids and adults alike.
- No-Bake Skeleton Brownies: For a quick and easy option, use a no-bake brownie base (like crushed Oreos and melted butter) and top with a chocolate ganache. Once set, decorate with white icing skeletons.
The possibilities are endless, making these some of the most versatile and fun Halloween treats around.
Print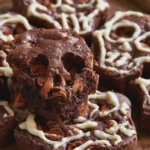
Skeleton Brownies Recipe
- Total Time: PT50M
- Yield: 20 brownies 1x
- Diet: Vegetarian
Description
These fudgy skeleton brownies are the perfect spooky treat for Halloween! Easy to make and deliciously rich, they’re sure to be a hit with ghouls and goblins of all ages.
Ingredients
- 1 cup (2 sticks) unsalted butter
- 2 cups granulated sugar
- 1 teaspoon vanilla extract
- 4 large eggs
- 1 cup all-purpose flour
- 1/2 cup unsweetened cocoa powder
- 1/2 teaspoon baking powder
- 1/4 teaspoon salt
- 1 cup chocolate chips
- Optional: White icing or melted white chocolate for decoration
Instructions
- Preheat your oven to 350°F (175°C). Grease and flour a 9×13 inch baking pan, or line it with parchment paper.
- In a large bowl, melt 1 cup (2 sticks) of unsalted butter.
- Stir in 2 cups of granulated sugar and 1 teaspoon of vanilla extract until well combined.
- Add 4 large eggs, one at a time, beating well after each addition.
- In a separate bowl, whisk together 1 cup of all-purpose flour, 1/2 cup of unsweetened cocoa powder, 1/2 teaspoon of baking powder, and 1/4 teaspoon of salt.
- Gradually add the dry ingredients to the wet ingredients, mixing until just combined. Do not overmix.
- Fold in 1 cup of chocolate chips.
- Pour the batter into the prepared baking pan and spread evenly.
- Bake for 25-30 minutes, or until a toothpick inserted into the center comes out with moist crumbs attached (not wet batter).
- Let the brownies cool completely in the pan on a wire rack.
- Once cooled, cut the brownies into desired shapes. For skeleton shapes, you can use a cookie cutter or freehand cut.
- Optional: Decorate with white icing or melted white chocolate to create skeleton features like eyes and bones.
Notes
- For an extra fudgy texture, do not overbake the brownies.
- Ensure the brownies are completely cooled before cutting to prevent them from crumbling.
- Feel free to add other mix-ins like nuts or sprinkles.
- For a richer chocolate flavor, use a good quality cocoa powder.
- Prep Time: PT20M
- Cook Time: PT30M
- Category: Desserts
- Method: Baking
- Cuisine: American







