
Halloween is a time for treats, and what could be more fun than a batch of spooky skeleton cake pops? These bite-sized delights are perfect for parties, trick-or-treaters, or just a fun afternoon baking project. They’re a fantastic way to get creative in the kitchen and impress your guests with some DIY Halloween treats. If you’re looking for inspiration, exploring Halloween treats can give you a head start on your party planning.
What Are Skeleton Cake Pops?
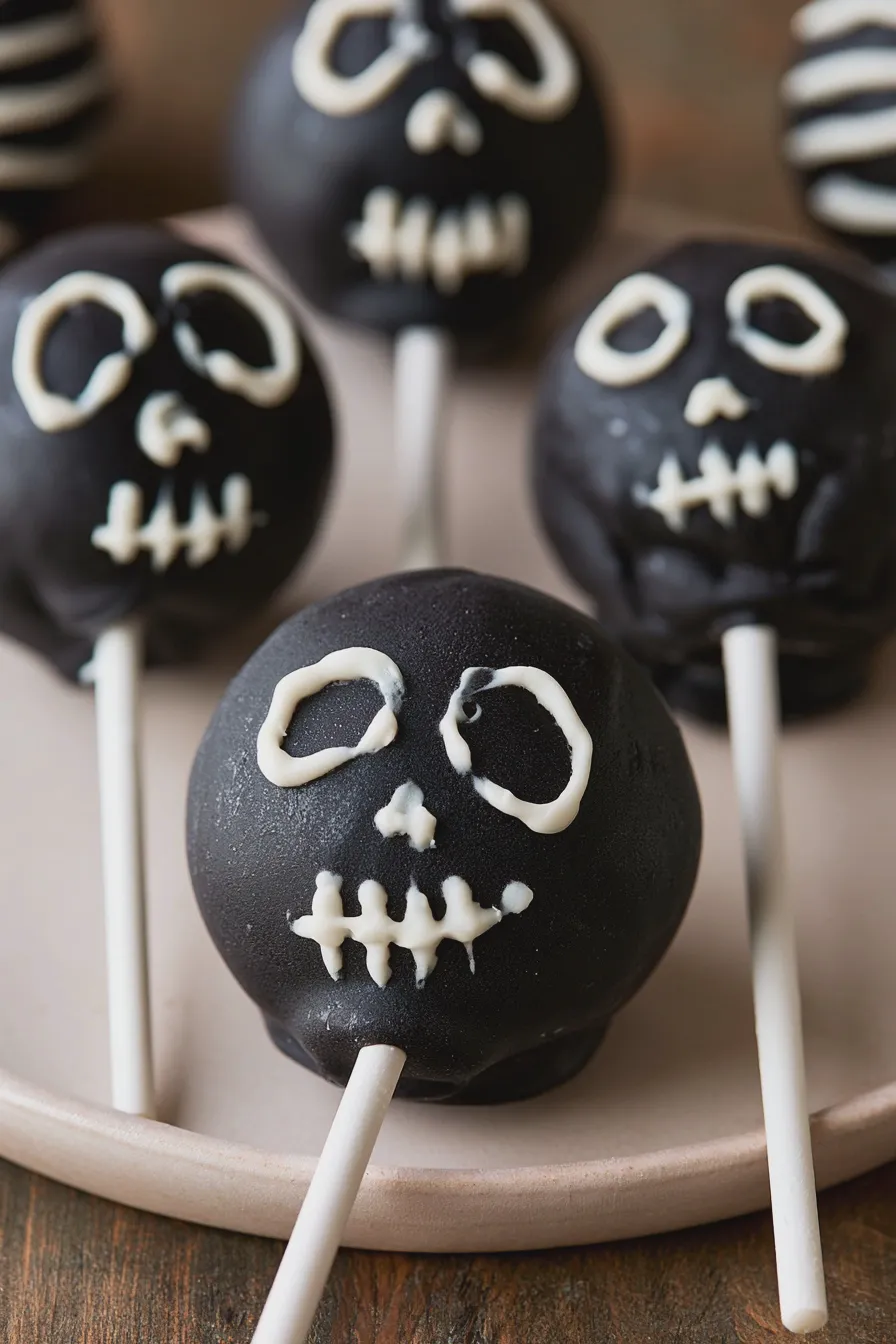
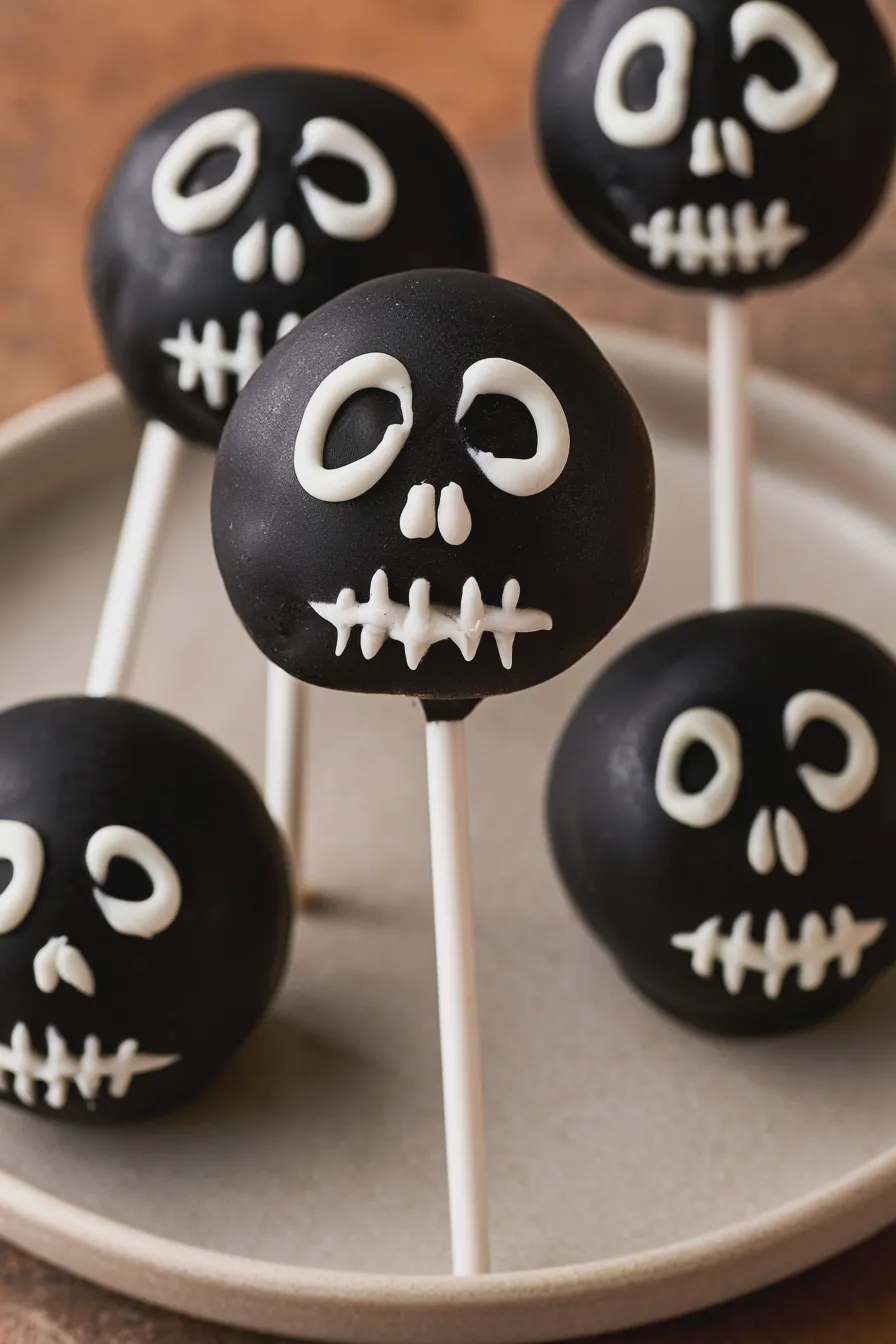
Skeleton cake pops are a festive take on the ever-popular cake pop. Instead of simply dipping them in colorful candy melts, these are decorated to resemble the iconic Halloween skeleton. This often involves using white or bone-colored candy melts as a base, with black or dark icing to draw on facial features, ribs, and other skeletal details. They are a type of themed cake pops that are incredibly popular for the season.
The beauty of skeleton cake pops recipe is its versatility. You can make them as simple or as elaborate as you like. For a truly impressive display, consider incorporating other spooky elements like ghost cake pops or monster cake pops. They are a wonderful addition to any spread of fun Halloween party food.
The basic concept involves crumbling baked cake, mixing it with frosting to form a dough, shaping it into balls, chilling them until firm, dipping them in melted candy melts, and then decorating. While this sounds straightforward, there are a few nuances that can make the difference between a perfectly formed skeleton and a slightly sad, lopsided blob. Understanding the core technique is the first step to mastering these spooky cake pops.
For those new to the cake pop world, it’s helpful to get a grasp on the fundamentals. A good starting point is to understand the different types of cake you can use and how they affect the dough’s consistency. Some bakers prefer a denser cake, while others opt for a lighter crumb. This choice can impact how well the cake pop holds its shape. Learning about cake recipes in general can provide a great foundation.
Looking for more? Try this delicious How To Prepare A Cake Pan To Prevent Sticking next.
Gathering Your Ingredients and Tools
Before you can start crafting your chocolate skeleton pops, you’ll need to gather a few essential items. Having everything ready will make the process much smoother and more enjoyable.
Essential Ingredients:
- Baked Cake: You can use a box mix or your favorite homemade cake recipe. Vanilla, chocolate, or even a red velvet cake works wonderfully. For skeleton cake pops, a white or yellow cake often provides the best base color.
- Frosting: A creamy frosting is key to binding the cake crumbs. Vanilla buttercream or cream cheese frosting are popular choices. You’ll need just enough to moisten the cake crumbs, not so much that the mixture becomes too wet.
- Candy Melts: White or bone-colored candy melts are ideal for the skeleton base. You’ll also need black or dark brown candy melts or royal icing for drawing details.
- Lollipop Sticks: These are essential for holding your cake pops.
- Optional Decorations: Edible black marker, sprinkles, or edible glitter can add extra flair.
Essential Tools:
- Large Mixing Bowl: For combining cake and frosting.
- Baking Sheet: To chill the cake balls.
- Parchment Paper or Wax Paper: To line the baking sheet.
- Microwave-Safe Bowls: For melting candy melts.
- Spatula or Spoon: For stirring.
- Tall, Narrow Jar or Cup: For dipping the cake pops.
- Styrofoam Block or Cardboard Box: To hold the cake pops upright while they dry.
Having the right tools makes all the difference. A good set of baking tools will serve you well for many projects to come.
Step-by-Step Guide to Making Skeleton Cake Pops
Let’s get baking! Follow these steps carefully for perfectly formed and decorated skeleton cake pops.
Step 1: Prepare the Cake Base
Start by crumbling your cooled baked cake into fine crumbs in a large mixing bowl. Ensure there are no large chunks. You can do this by hand or by pulsing it in a food processor. The finer the crumbs, the smoother your cake ball mixture will be.
Don’t miss out on our guide to Why Did My Cake Sink In The Middle.
Step 2: Mix in the Frosting
Add your frosting to the cake crumbs, a tablespoon at a time. Mix thoroughly until the mixture resembles a dough that holds together when squeezed. Be careful not to add too much frosting, as this can make the cake pops too soft and difficult to shape. The consistency should be like playdough.
Tip: If your mixture is too dry, add a tiny bit more frosting. If it’s too wet, add a few more cake crumbs or a tablespoon of powdered sugar.
Step 3: Shape the Cake Balls
Roll the cake mixture into uniform balls, about 1 to 1.5 inches in diameter. Consistency in size will help them bake and set evenly. Place the shaped balls onto a parchment-lined baking sheet.
Step 4: Chill the Cake Balls
Once all the balls are formed, place the baking sheet in the refrigerator for at least 30 minutes, or in the freezer for about 15 minutes. This chilling step is crucial for preventing the cake balls from falling apart when you dip them in the warm candy melts.
Another favorite of ours is the Zucchini Cake With Cream Cheese Frosting.
Mistake to Avoid: Skipping the chilling step. This is a common error that leads to cake pops crumbling apart during the dipping process.
Step 5: Melt the Candy Melts
While the cake balls are chilling, melt your white or bone-colored candy melts. Place them in a microwave-safe bowl and heat in 30-second intervals, stirring in between, until smooth and fully melted. Alternatively, you can use a double boiler.
Tip: Do not overheat candy melts, as they can seize and become difficult to work with. If they seem too thick, you can add a tiny bit of vegetable shortening (not oil) to thin them out.
Step 6: Dip the Cake Pops
Remove the chilled cake balls from the refrigerator. Dip the tip of a lollipop stick into the melted candy melts and then insert it about halfway into a cake ball. This helps the stick adhere better. Once all cake balls have sticks inserted, let them sit for a few minutes to firm up slightly.
Don’t miss out on our guide to Carrot Cake With Cream Cheese Frosting.
Now, dip each cake ball into the melted candy melts, ensuring it’s fully coated. Gently tap the stick against the side of the bowl to let excess candy melt drip off. This is where you aim for a smooth, even coating. Place the dipped cake pop, stick-side down, into a Styrofoam block or cardboard box to dry completely.
Tip: Work quickly but carefully. If the candy melts start to thicken, gently rewarm them.
Step 7: Decorate Your Skeletons
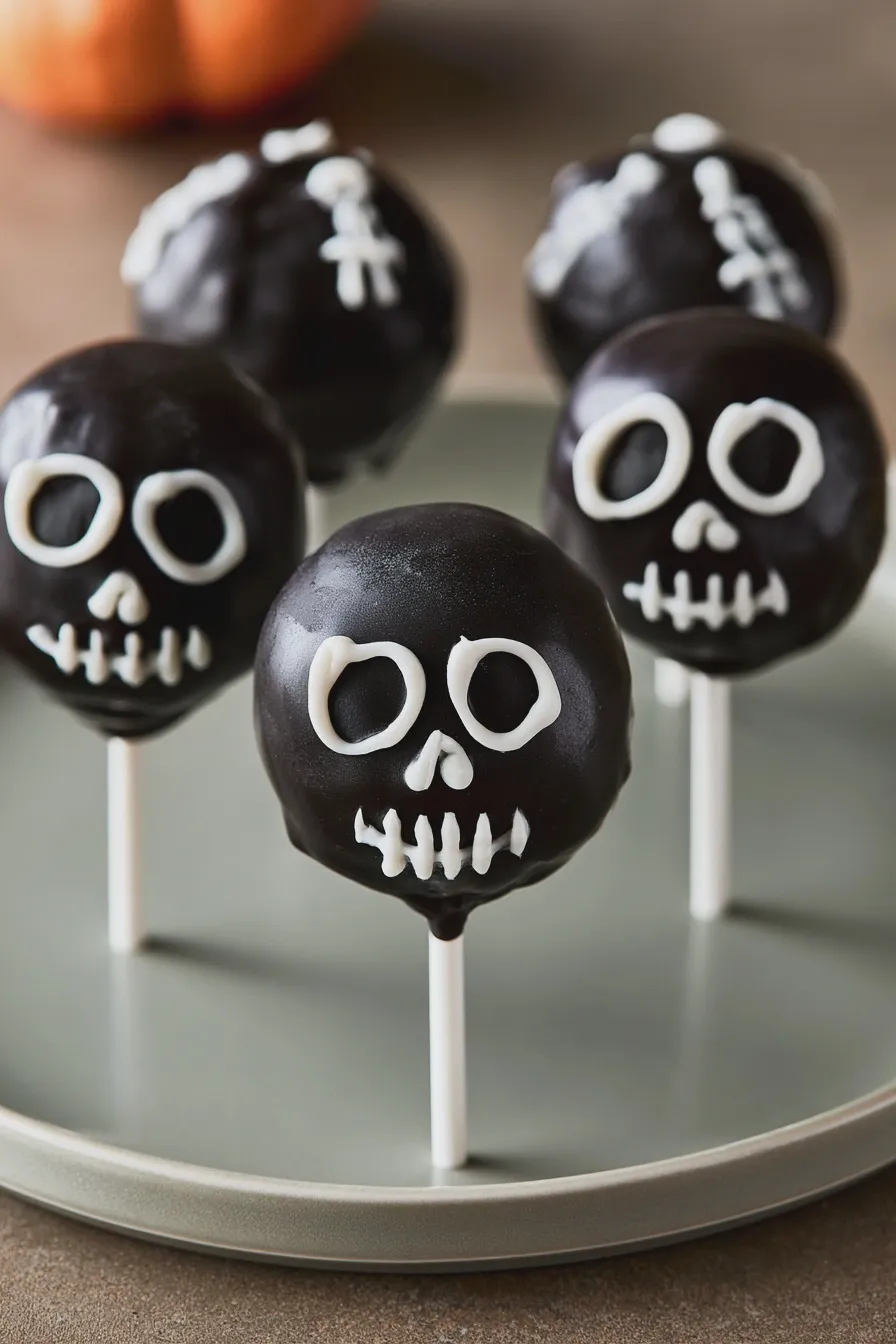
Once the base layer of candy melts has set, it’s time for the fun part: decorating! Melt your black or dark brown candy melts or prepare your royal icing. You can use a piping bag with a fine tip, a toothpick, or an edible black marker to draw the skeleton features.
Cake Pop Decorating Ideas:
Don’t miss out on our guide to How To Make Ice Cream At Home.
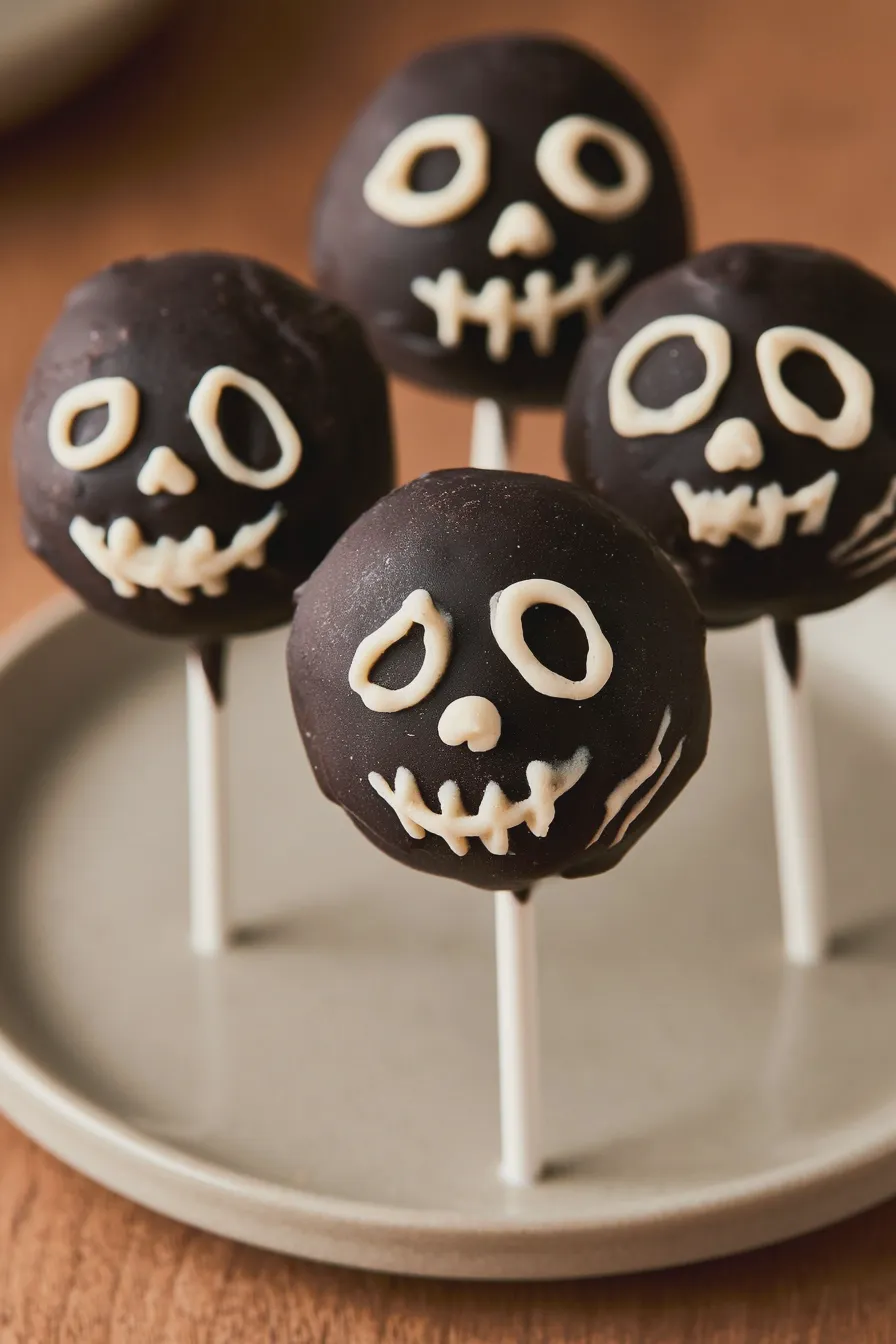
- Face: Draw two eye sockets, a nose cavity, and a row of jagged teeth for a classic skull look.
- Ribcage: Draw a few vertical lines with horizontal lines connecting them to suggest ribs.
- Spine: A single line down the center can represent the spine.
- Limbs: You can add simple lines to suggest arm and leg bones.
Let your creativity flow! These are meant to be fun, and even imperfect skeletons add to the spooky charm. For those looking for more advanced cake pop decorating ideas, exploring online tutorials can offer a wealth of inspiration.
Mistake to Avoid: Decorating before the base layer is completely dry. This can cause the colors to bleed and create a messy look.
Tips for Perfect Skeleton Cake Pops Every Time
Making perfect cake pops takes a little practice, but these tips will help you achieve professional-looking results:
- Cake Texture: Use a cake that isn’t too moist or crumbly. A slightly denser cake tends to hold its shape better. If your cake is very moist, you might need less frosting.
- Frosting Ratio: The key is to use just enough frosting to bind the crumbs. You want a dough-like consistency, not a sticky batter.
- Chilling is Key: Never skip the chilling step for your cake balls. It’s the most important factor in preventing them from falling apart.
- Dipping Technique: Dip swiftly and allow excess candy melts to drip off. A gentle tap on the side of the bowl is usually sufficient.
- Drying Time: Give your cake pops ample time to dry. Rushing this process can lead to smudged decorations or uneven coatings.
- Storage: Store finished cake pops in an airtight container at room temperature. Avoid refrigerating them, as this can cause the candy melts to sweat and become sticky.
Variations for Your Halloween Cake Pops
While skeleton cake pops are a fantastic focal point, don’t be afraid to mix things up! Here are a few ideas to expand your spooky dessert repertoire:
Another favorite of ours is the How To Fold Ingredients Without Deflating.
- Black and Orange Cake Pops: Use black and orange candy melts for a classic Halloween color scheme. Dip half in one color and half in the other, or create stripes and swirls.
- Ghost Cake Pops: Dip in white candy melts and use a black edible marker to draw simple ghost faces.
- Monster Cake Pops: Dip in various colors and add edible eyes, sprinkles, or piped details to create fun, quirky monsters.
- Vampire Cake Pops: Dip in red candy melts and add fangs using small pieces of candy or piped white icing.
- Spooky Sprinkles: Use Halloween-themed sprinkles (bats, ghosts, skulls) on top of the wet candy melts for an extra festive touch.
These variations ensure you have a delightful assortment of easy Halloween desserts for any party. They are also great examples of kid-friendly Halloween desserts that children can help make.
Common Mistakes and How to Avoid Them
Even experienced bakers can encounter a few hiccups when making cake pops. Here are some common mistakes and how to steer clear of them:
- Cake Pops Crumbling: This is almost always due to not chilling the cake balls sufficiently or using too much frosting. Ensure your mixture is firm enough before dipping.
- Candy Melts Seizing: Overheating candy melts is the main culprit. Melt them slowly and gently. Also, avoid getting any water into the candy melts, as this can cause them to seize.
- Cake Pops Falling Off Sticks: Make sure to dip the stick in melted candy melts before inserting it into the cake ball. This acts as “glue.” Also, ensure the cake ball is firmly on the stick.
- Uneven Coating: Dip quickly and swirl to coat. Tap gently to remove excess. If you’re struggling, try dipping the cake pop twice, allowing the first coat to set slightly before the second dip.
- Decorations Smudging: Always wait for the base coat of candy melts to dry completely before adding details.
By being aware of these potential pitfalls, you can create beautiful and delicious skeleton cake pops that will be the star of your Halloween spread. They are truly fun Halloween party food.
Print
Skeleton Cake Pops Quick and Easy Halloween Treat
- Total Time: PT2H
- Yield: 24 cake pops 1x
- Diet: Vegetarian
Description
Whip up a batch of these adorable and delicious skeleton cake pops for your next Halloween party! They’re surprisingly easy to make and are sure to be a hit with guests of all ages.
Ingredients
- 1 (15.25 ounce) box yellow cake mix
- 3 large eggs
- 1/2 cup vegetable oil
- 1 1/3 cups water
- 1 (16 ounce) package candy melts (black or dark grey)
- 1/4 cup white candy melts
- 1/2 cup frosting (vanilla or cream cheese)
- 1/2 cup powdered sugar
- 1/4 teaspoon vanilla extract
- Black edible marker
- Lollipop sticks
Instructions
- Preheat oven to 350°F (175°C). Grease and flour a 9×13 inch baking pan.
- In a large bowl, whisk together cake mix, eggs, vegetable oil, and water until well combined.
- Pour batter into the prepared baking pan and bake for 30-35 minutes, or until a wooden skewer inserted into the center comes out clean.
- Let the cake cool completely in the pan.
- Crumble the cooled cake into a large bowl. Add the frosting and mix until well combined and the mixture holds its shape.
- Roll the cake mixture into 1-inch balls and place them on a baking sheet lined with parchment paper. Chill in the refrigerator for at least 30 minutes.
- Melt the black candy melts according to package directions. Dip the tip of a lollipop stick into the melted candy and insert it about halfway into a cake ball.
- Dip each cake ball into the melted black candy, ensuring it’s fully coated. Tap off any excess candy.
- Place the coated cake pops back on the parchment-lined baking sheet and let them set.
- In a small bowl, combine the white candy melts, powdered sugar, and vanilla extract. Add a tiny bit of water if needed to reach a piping consistency.
- Once the black coating is set, use the white icing to pipe on skeleton details like eyes, a nose, and a mouth.
- Use a black edible marker to draw on any additional details, such as ribs or finger bones, if desired.
- Allow the details to dry completely before serving.
Notes
- For a spooky effect, you can also use white candy melts for the base and black for the details.
- Store cake pops in an airtight container at room temperature for up to 3 days.
- If the candy melts become too thick, you can thin them with a little bit of vegetable shortening, not oil.
- Prep Time: PT45M
- Cook Time: PT35M
- Category: Halloween Desserts
- Method: Baking and Dipping
- Cuisine: American
Nutrition
- Serving Size: 1 cake pop
- Calories: 250
- Sugar: 25g
- Sodium: 100mg
- Fat: 15g
- Saturated Fat: 8g
- Carbohydrates: 30g
- Protein: 2g







