
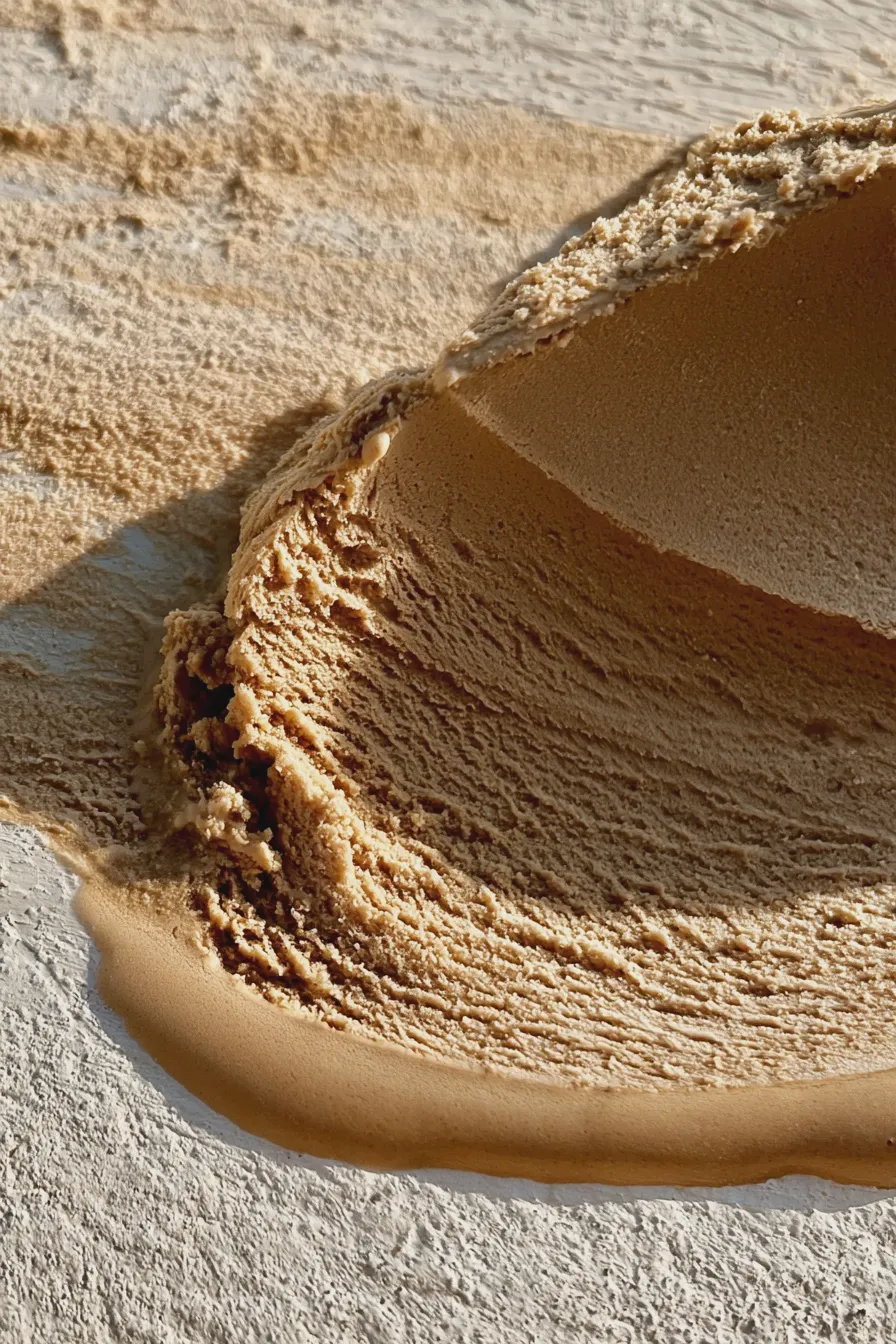

This recipe delivers a wonderfully rich and deeply flavorful homemade coffee ice cream, perfect for those who adore the robust taste of a fresh brew transformed into a smooth, frozen treat. We achieve that signature creamy texture and intense dark roast essence using high-quality ingredients, making this the best coffee ice cream recipe you’ll want to keep in your rotation for summer gatherings or cozy evenings.
Making your own frozen coffee dessert at home is much simpler than you might think, especially when you follow a few key techniques that prevent iciness and maximize flavor extraction. Forget those watery store-bought versions; we are aiming for a truly gourmet coffee ice cream experience right from your freezer.
What Makes This Homemade Coffee Ice Cream So Good?
What truly elevates this particular recipe is the balance between the dairy richness and the assertive coffee flavor, ensuring that even when frozen solid, the taste doesn’t fade into mere sweetness. We use a combination of strong brewed coffee and instant espresso powder to create a deep, authentic flavor profile often missing in simpler recipes, resulting in a wonderfully rich coffee ice cream. If you are interested in exploring other rich, decadent flavors, you might enjoy my recipe for Oreo Brownies, which shares a similar commitment to deep flavor indulgence.
Ingredient Spotlight: Achieving Peak Coffee Flavor
The secret to superb homemade espresso ice cream lies mostly in the quality and concentration of your coffee components. Using freshly brewed, very strong coffee is essential, but pairing it with instant espresso powder supercharges the flavor without adding extra liquid that could compromise texture. For those who prefer not to use a machine, learning how to make coffee ice cream without churning involves careful attention to sugar and fat content, which we address in the method.
Essential Components for Creamy Coffee Ice Cream
To ensure we achieve that sought-after creamy coffee ice cream texture, we rely on a classic base featuring heavy cream and whole milk, providing the necessary fat content to keep ice crystals small. Sugar is crucial not just for sweetness but also for lowering the freezing point, which keeps the final product scoopable right out of the freezer. If you are curious about how different flours affect baking structure, perhaps you’d like to compare all-purpose flour vs. cake flour for future baking projects.
Ingredients List
Gathering your supplies beforehand makes the process much smoother; read through this list and ensure you have everything measured out before you start heating anything on the stove.
- 2 cups Heavy Cream (full fat is essential for texture)
- 1 cup Whole Milk (do not substitute with low-fat milk for best results)
- 3/4 cup Granulated Sugar
- 1/4 cup Light Brown Sugar, packed (adds a subtle molasses note)
- 1/2 cup Very Strong Brewed Coffee, cooled completely (use a French press or Moka pot brew)
- 2 teaspoons Instant Espresso Powder (or more, to taste)
- 1 tablespoon Vanilla Extract
- Pinch of Salt (enhances all the sweet flavors)
Preparing the Rich Coffee Ice Cream Base
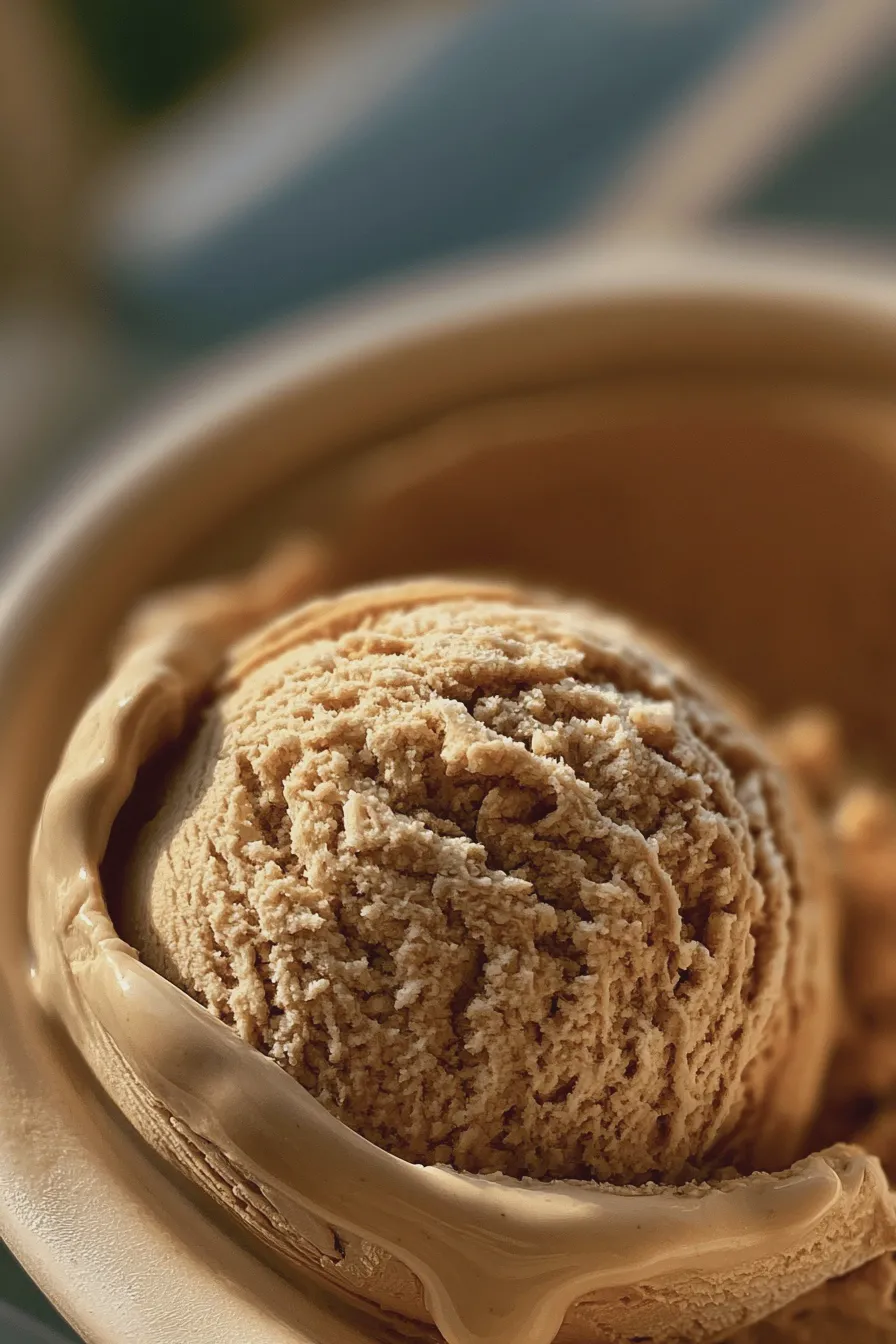
This section focuses on creating a stable, flavorful base that will chill properly before churning or freezing, which is the foundation for any excellent coffee dessert recipes.
Infusing the Dairy and Dissolving Sugars
In a medium saucepan, combine the heavy cream, whole milk, granulated sugar, and brown sugar over medium heat, stirring constantly until the sugars are fully dissolved and the mixture is steaming but not boiling. Once the sugar is completely incorporated, remove the pan from the heat immediately to prevent scorching the dairy.
Combining Coffee Elements and Cooling
Whisk in the cooled strong coffee, instant espresso powder, vanilla extract, and salt until the espresso powder has completely dissolved into the warm liquid base. If you find yourself needing an extra caffeine kick, this is the point where you could add a tablespoon of strong brewed coffee concentrate, but be mindful of the total liquid volume if you are using an ice cream maker. For a more complex flavor profile in your mocha ice cream recipe variations, consider adding a teaspoon of unsweetened cocoa powder here.
Chilling the Base Thoroughly
Transfer the base mixture to an airtight container and refrigerate for at least 4 hours, though overnight chilling is highly recommended for the best flavor development and texture. A well-chilled base ensures the ice cream machine works efficiently, leading to smaller ice crystals and a smoother final product—this step is critical for achieving that frozen coffee dessert perfection.
How to Make coffee ice cream (Churning Method)
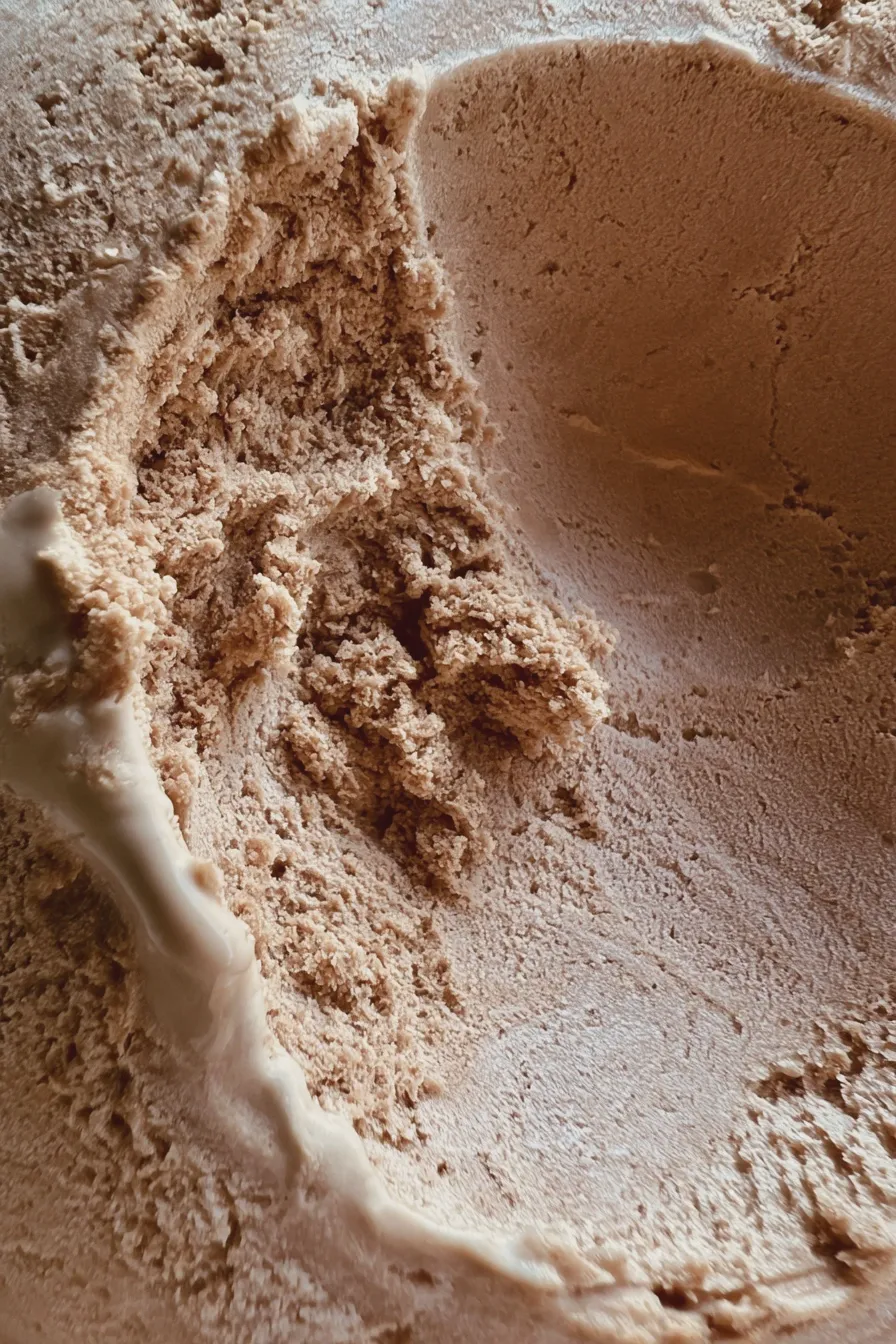
If you own an ice cream machine, this is the most reliable way to achieve the smoothest possible texture for your homemade ice cream flavors.
Preparing Your Ice Cream Maker
Ensure your ice cream maker bowl has been frozen for the time specified by the manufacturer, usually 15 to 24 hours, as this is the primary source of cold for churning. Pour the thoroughly chilled base into the frozen bowl and churn according to your machine’s instructions, typically taking between 20 to 30 minutes.
Checking for Soft-Serve Consistency
The mixture will thicken significantly and resemble soft-serve consistency when churning is complete, usually pulling away from the sides of the bowl easily. At this stage, you can taste a small sample for final seasoning adjustments—a pinch more salt or espresso powder can make a big difference in intensity.
The Final Freeze (Hardening)
Scrape the semi-frozen mixture into a freezer-safe container, pressing a piece of plastic wrap directly onto the surface to prevent ice crystal formation. Freeze for an additional 4 hours or until firm enough to scoop, which transforms your soft-serve into scoopable gourmet coffee ice cream.
Making Coffee Ice Cream Without Machine (No Churn Method)
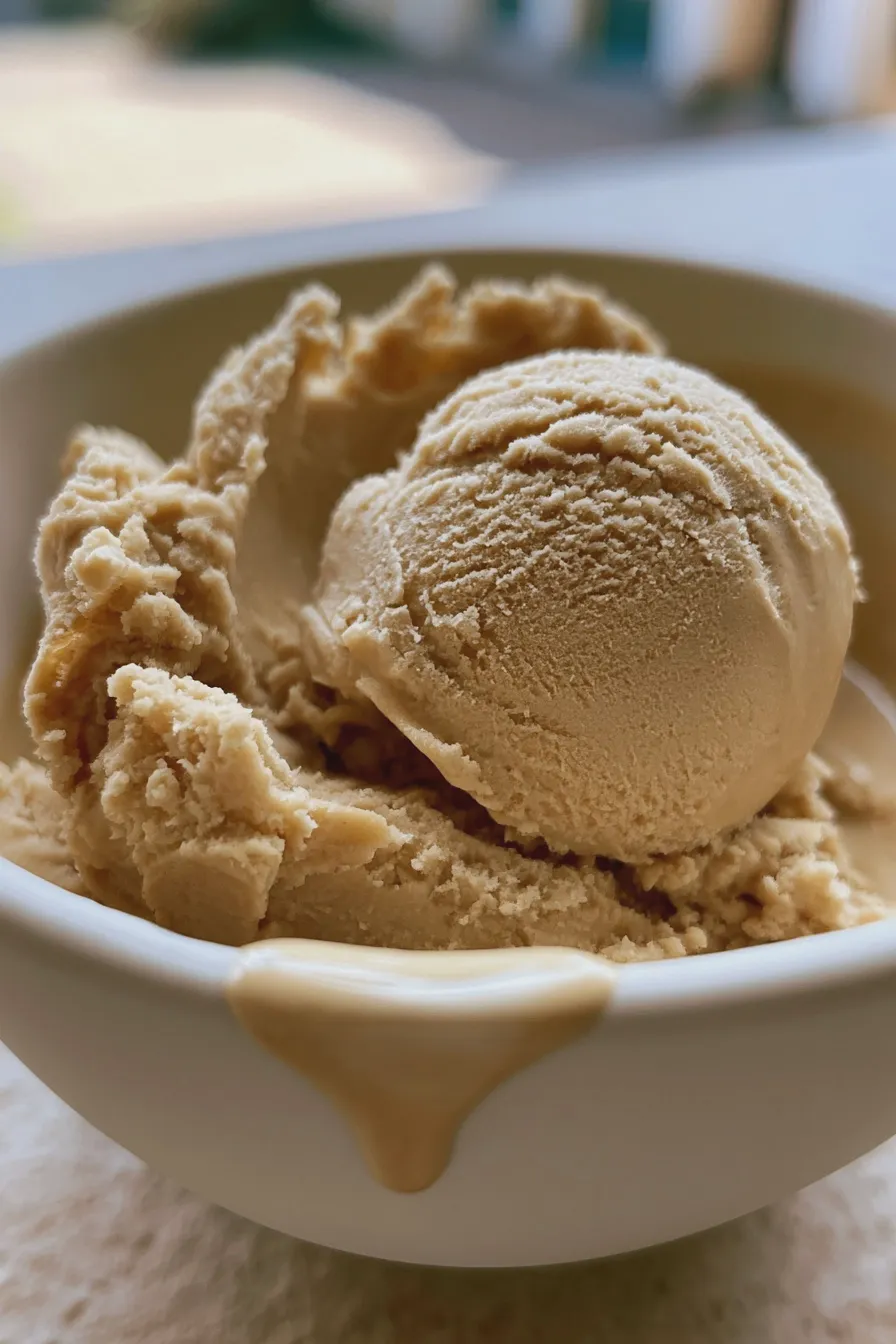
For those without specialized equipment, learning no churn coffee ice cream techniques allows you to enjoy this treat, though the texture will be slightly different—often lighter and fluffier.
Whipping the Cream for Air Incorporation
Instead of churning, you will need to whip 1 1/2 cups of cold heavy cream separately until stiff peaks form, incorporating the air that churning usually provides. This whipped cream acts as the stabilizer and aerator for your coffee ice cream without machine base.
Folding in the Coffee Concentrate
Gently fold the chilled coffee base mixture (made using only half the original cream and milk quantities listed, plus the sugars and coffee) into the stiff whipped cream using a spatula until just combined, taking care not to deflate the air. If you are experimenting with alternative bases, remember that recipes like almond flour brownies show how different foundational ingredients change the final result.
Freezing the No-Churn Dessert
Pour the airy mixture into your freezer-safe container, cover tightly, and freeze for at least 6 to 8 hours, stirring vigorously every hour for the first three hours to break up any developing ice crystals. This manual stirring mimics the action of a machine and results in a much better final texture for your easy frozen desserts.
Tips for Serving and Storing Your Frozen Coffee Dessert
Proper serving and storage ensure that every scoop retains the intended luxurious mouthfeel and intense coffee flavor.
Perfect Serving Temperature
Always allow your hardened ice cream to sit on the counter for about 5 to 10 minutes before attempting to scoop, especially if you made the churned version, to achieve the best texture. For an elegant presentation, try serving it alongside a baked good, perhaps a rich chocolate square like those found in a Nutella Brownies recipe.
Storage Best Practices
Store the ice cream in the coldest part of your freezer, ensuring the container is airtight to prevent freezer burn, which can dull the delicate coffee notes. If you notice any hard spots after a week, you can briefly let it temper, then quickly blend it in a food processor with a splash of milk to revive the creaminess of your coffee ice cream toppings base.
Delicious Coffee Ice Cream Toppings
To elevate this simple frozen treat, consider adding crunchy or contrasting textures right before serving. Excellent additions include homemade chocolate fudge sauce, toasted pecans, or even a dusting of finely ground dark chocolate. If you’re looking for a lighter dessert option that still offers a satisfying texture, you might want to check out raspberry lemon cupcakes for a bright contrast.
Print
coffee ice cream Homemade Recipe Easy
- Total Time: PT4H35M
- Yield: About 1 Quart 1x
- Diet: Vegetarian
Ingredients
- 2 cups Heavy Cream
- 1 cup Whole Milk
- ¾ cup Granulated Sugar, divided
- 5 large Egg Yolks
- 1 cup Strongly Brewed Coffee (cooled completely, or 4 shots of espresso diluted to 1 cup)
- 1 teaspoon Vanilla Extract
- Pinch of Salt
Instructions
- Prepare the Coffee: Brew 1 cup of very strong coffee and allow it to cool completely to room temperature. If using espresso, brew 4 shots and mix with ½ cup hot water to make 1 cup of strong coffee.
- Heat Dairy & Half Sugar: In a medium saucepan, combine the heavy cream, whole milk, salt, and ½ cup of the sugar. Heat over medium heat until steaming, but do not boil. Remove from heat.
- Temper the Yolks: In a separate bowl, whisk the egg yolks with the remaining ¼ cup of sugar until pale and slightly thickened. Slowly drizzle about 1 cup of the hot dairy mixture into the yolks while whisking constantly (tempering).
- Cook the Custard: Pour the tempered yolk mixture back into the saucepan with the remaining dairy. Cook over low heat, stirring constantly with a wooden spoon or spatula, until the mixture thickens enough to coat the back of the spoon (reaching about 175°F / 80°C). Do not let it boil.
- Strain and Flavor: Immediately remove the custard from the heat and pour it through a fine-mesh sieve into a clean bowl to catch any cooked egg bits. Stir in the cooled strong coffee and vanilla extract.
- Chill the Base: Cover the surface of the ice cream base directly with plastic wrap to prevent a skin from forming. Refrigerate for at least 4 hours, or preferably overnight, until completely cold (below 40°F / 4°C).
- Churn: Pour the chilled base into your ice cream maker and churn according to the manufacturer’s instructions, usually 20-30 minutes, until it reaches a thick, soft-serve consistency.
- Freeze (Ripen): Transfer the churned ice cream to an airtight, freezer-safe container. Press a piece of parchment paper onto the surface, cover tightly, and freeze for at least 4 hours to fully harden before serving.
Notes
- For an extra coffee kick, consider adding 1 tablespoon of instant espresso powder directly into the saucepan with the dairy mixture in Step 2.
- If you prefer an egg-free (Philadelphia-style) ice cream, you can skip steps 3 and 4. Simply heat the dairy, mix with the sugar until dissolved, cool completely, and then mix in the coffee, salt, and vanilla before chilling and churning.
- To soften the ice cream for easier scooping, let it sit on the counter for 5-10 minutes before serving.
- Prep Time: PT20M
- Cook Time: PT15M
- Category: Ice Cream
- Method: Custard Base (Churned)
- Cuisine: American
Nutrition
- Serving Size: ½ Cup
- Calories: 320
- Sugar: 25g
- Sodium: 70mg
- Fat: 22g
- Saturated Fat: 13g
- Protein: 6g
- Cholesterol: 170mg







